
Ah, Chicken Parmesan. Just the name brings me back to those cozy family dinners at my grandmother’s house, where the aroma of rich tomato sauce and melting cheese filled the air. Chicken Parmesan, or “Chicken Parm” as we affectionately called it, was always a favorite. My grandmother had a knack for turning simple ingredients into something extraordinary, and this dish is a testament to that magic. It’s a meal that gathers everyone around the table, forks in hand, ready to dive into layers of crispy chicken, tangy sauce, and gooey cheese. Let me share with you my version of this beloved recipe, complete with a few personal tips and tricks to make it your own.
Why You’ll Love This Comforting Classic
- Easy to Make: With simple ingredients and straightforward steps, this Chicken Parmesan recipe is perfect for busy weeknights and impressive enough for a weekend feast. Even if you’re a novice in the kitchen, you’ll find that this dish comes together with ease. The preparation process is broken down into manageable steps to guide you from start to finish. You’ll feel like a seasoned chef as you watch each component come together in harmony.
- Family-Friendly: Who can resist the combination of crispy chicken, savory tomato sauce, and melty cheese? It’s a hit with both kids and adults! The universal appeal of this meal ensures that it will be a crowd-pleaser at any gathering. Plus, it’s customizable—if someone prefers extra cheese or a different sauce, you can easily tweak it to suit their tastes. It’s a surefire way to ensure everyone leaves the table satisfied.
- Versatile: Serve it over pasta, alongside a fresh salad, or even in a sandwich. It’s a dish that adapts to your needs. Whether you’re planning a formal dinner or a casual lunch, Chicken Parmesan fits the bill. The leftovers can be reimagined in numerous ways, keeping your meals exciting throughout the week. Consider slicing leftovers into strips and serving them as a topping for a hearty Caesar salad, or layering them in a lasagna for a twist on a classic favorite.
- Make-Ahead Friendly: Prepare the chicken and sauce ahead of time, so all you need to do is assemble and bake when ready to eat. This feature is especially handy for those who like to meal prep or need to manage their time efficiently. Imagine coming home after a long day with most of the work already done! It allows you to spend more time with your family or guests and less time stressing in the kitchen.
- Comforting and Satisfying: It’s the ultimate comfort food that warms the heart and fills the belly. Each bite is a harmonious blend of flavors and textures that evoke a sense of nostalgia and contentment. It’s no wonder that Chicken Parmesan is a favorite in so many households. Whether it’s a chilly winter evening or a warm summer night, this dish is guaranteed to bring comfort and joy.
The Recipe
Prep Time: 20 minutes
Cook Time: 25 minutes
Servings: 4
Calories: Approximately 450 per serving
Ingredients:
- 2 large boneless, skinless chicken breasts
- 1 cup all-purpose flour
- 2 large eggs, beaten
- 1 cup breadcrumbs
- 1/2 cup grated Parmesan cheese
- 2 cups marinara sauce
- 1 1/2 cups shredded mozzarella cheese
- 1/4 cup fresh basil leaves, chopped
- Salt and pepper to taste
- Olive oil for frying
Instructions:
-
Prepare the Chicken: Preheat your oven to 375°F (190°C). Slice the chicken breasts in half horizontally to create four thin cutlets. Season them with salt and pepper. This step ensures even cooking and enhances the flavor of the chicken. Thin cutlets cook more evenly and quickly, which helps maintain their juiciness and reduces the risk of drying out.
-
Coat the Chicken: Set up three shallow bowls: one with flour, one with beaten eggs, and one with a mixture of breadcrumbs and Parmesan cheese. Dredge each piece in flour, dip in eggs, and finally coat in the breadcrumb mixture, pressing to adhere. This breading process is essential for achieving that perfect crispy exterior. The flour provides a dry surface for the egg to adhere to, while the egg helps the breadcrumb mixture stick securely to the chicken.
-
Fry the Chicken: Heat olive oil in a large skillet over medium-high heat. Fry the chicken cutlets until golden brown on each side, about 3-4 minutes per side. Transfer to a paper towel-lined plate to drain excess oil. Frying not only cooks the chicken but also gives it a satisfying crunch that is pivotal to the dish. Be sure not to overcrowd the pan, as this can lower the oil temperature and lead to soggy breading.
-
Assemble the Dish: In a baking dish, spread a layer of marinara sauce. Place the fried chicken cutlets on top, then cover with more marinara sauce. Sprinkle with mozzarella cheese. This layering process ensures every bite is packed with flavor and cheesy goodness. For an extra cheesy experience, you can add a layer of cheese between the chicken and the sauce before finishing with another layer on top.
-
Bake: Place the baking dish in the preheated oven and bake for 15-20 minutes, or until the cheese is bubbly and golden. Baking melds all the layers together, creating a cohesive and delicious dish. If you like a little extra crispiness, turn on the broiler for the last 2-3 minutes to brown the cheese further.
-
Finish and Serve: Remove from the oven and let it cool slightly. Sprinkle with fresh basil before serving. The basil adds a fresh, aromatic finish that complements the rich flavors of the dish. For a gourmet touch, consider drizzling a bit of balsamic glaze over the top before serving.
Kitchen Tools You’ll Need
- Large Skillet: For frying the chicken to golden perfection. A heavy-bottomed skillet helps maintain consistent heat, ensuring even cooking. Consider using a cast-iron skillet for its excellent heat retention properties.
- Shallow Bowls: Essential for the breading station. Using shallow bowls makes it easier to coat the chicken evenly. They provide ample space for dredging and help keep the mess to a minimum.
- Baking Dish: Perfect for layering and baking the chicken and sauce. A glass or ceramic dish works well as it distributes heat evenly. Opt for a size that allows the chicken to fit snugly, which helps prevent the sauce from spreading too thin.
- Tongs: Handy for flipping the chicken pieces. Tongs provide better control, minimizing mess and potential burns from oil splatters. Ensure they are sturdy enough to handle the weight of the chicken without bending.
The Benefits of Each Ingredient

- Chicken Breast: A lean source of protein that cooks quickly and remains juicy when properly prepared. Its mild flavor makes it the perfect canvas for the other ingredients. Plus, it’s widely available and relatively affordable, making it an excellent choice for family meals.
- Breadcrumbs and Parmesan: Create a crispy, flavorful crust that contrasts beautifully with the tender chicken. The Parmesan adds depth and a salty kick to the crust. You can use panko breadcrumbs for an extra crunchy texture or season them with herbs and spices for additional flavor.
- Marinara Sauce: Provides a tangy, savory base that complements the richness of the cheese. Opt for a high-quality sauce or make your own for the best results. If you have time, simmer a homemade sauce with garlic, onions, and fresh herbs for a truly authentic taste.
- Mozzarella Cheese: Melts into a gooey topping that is irresistible. Choose whole milk mozzarella for the creamiest texture. If you prefer a bit of tang, mix in some provolone or fontina cheese.
- Fresh Basil: Adds a burst of freshness that lifts the entire dish. Basil’s herbal notes balance the richness of the cheese and sauce. If basil is unavailable, fresh parsley or oregano can also provide a delightful aromatic touch.
What to Serve With This Comforting Classic
Pair this Chicken Parmesan with a side of spaghetti or a fresh green salad for a balanced meal. A simple arugula salad with lemon vinaigrette or a classic Caesar salad complements the dish wonderfully. You can also serve it with garlic bread or steamed vegetables for a lighter option. If you’re feeling adventurous, try it in a sub sandwich for a hearty lunch! Use a sturdy roll and add a little extra sauce before toasting for a delicious twist. Another option is to serve it alongside a creamy risotto or a hearty polenta for a more indulgent meal.
Storage & Leftover Tips
Leftovers can be stored in an airtight container in the refrigerator for up to 3 days. To reheat, simply place the Chicken Parmesan in a preheated oven at 350°F (175°C) until warmed through. Avoid microwaving, as it can make the breading soggy. If you plan to freeze, do so without the cheese topping, and add fresh cheese before reheating. This ensures that the final dish remains fresh and appealing, even after storage. When reheating, consider adding a touch of extra sauce to prevent the chicken from drying out.
Chicken Parmesan is more than just a meal; it’s a comforting reminder of home and family. I hope this recipe brings as much joy to your table as it does to mine. Enjoy every bite and share the warmth with those you love!
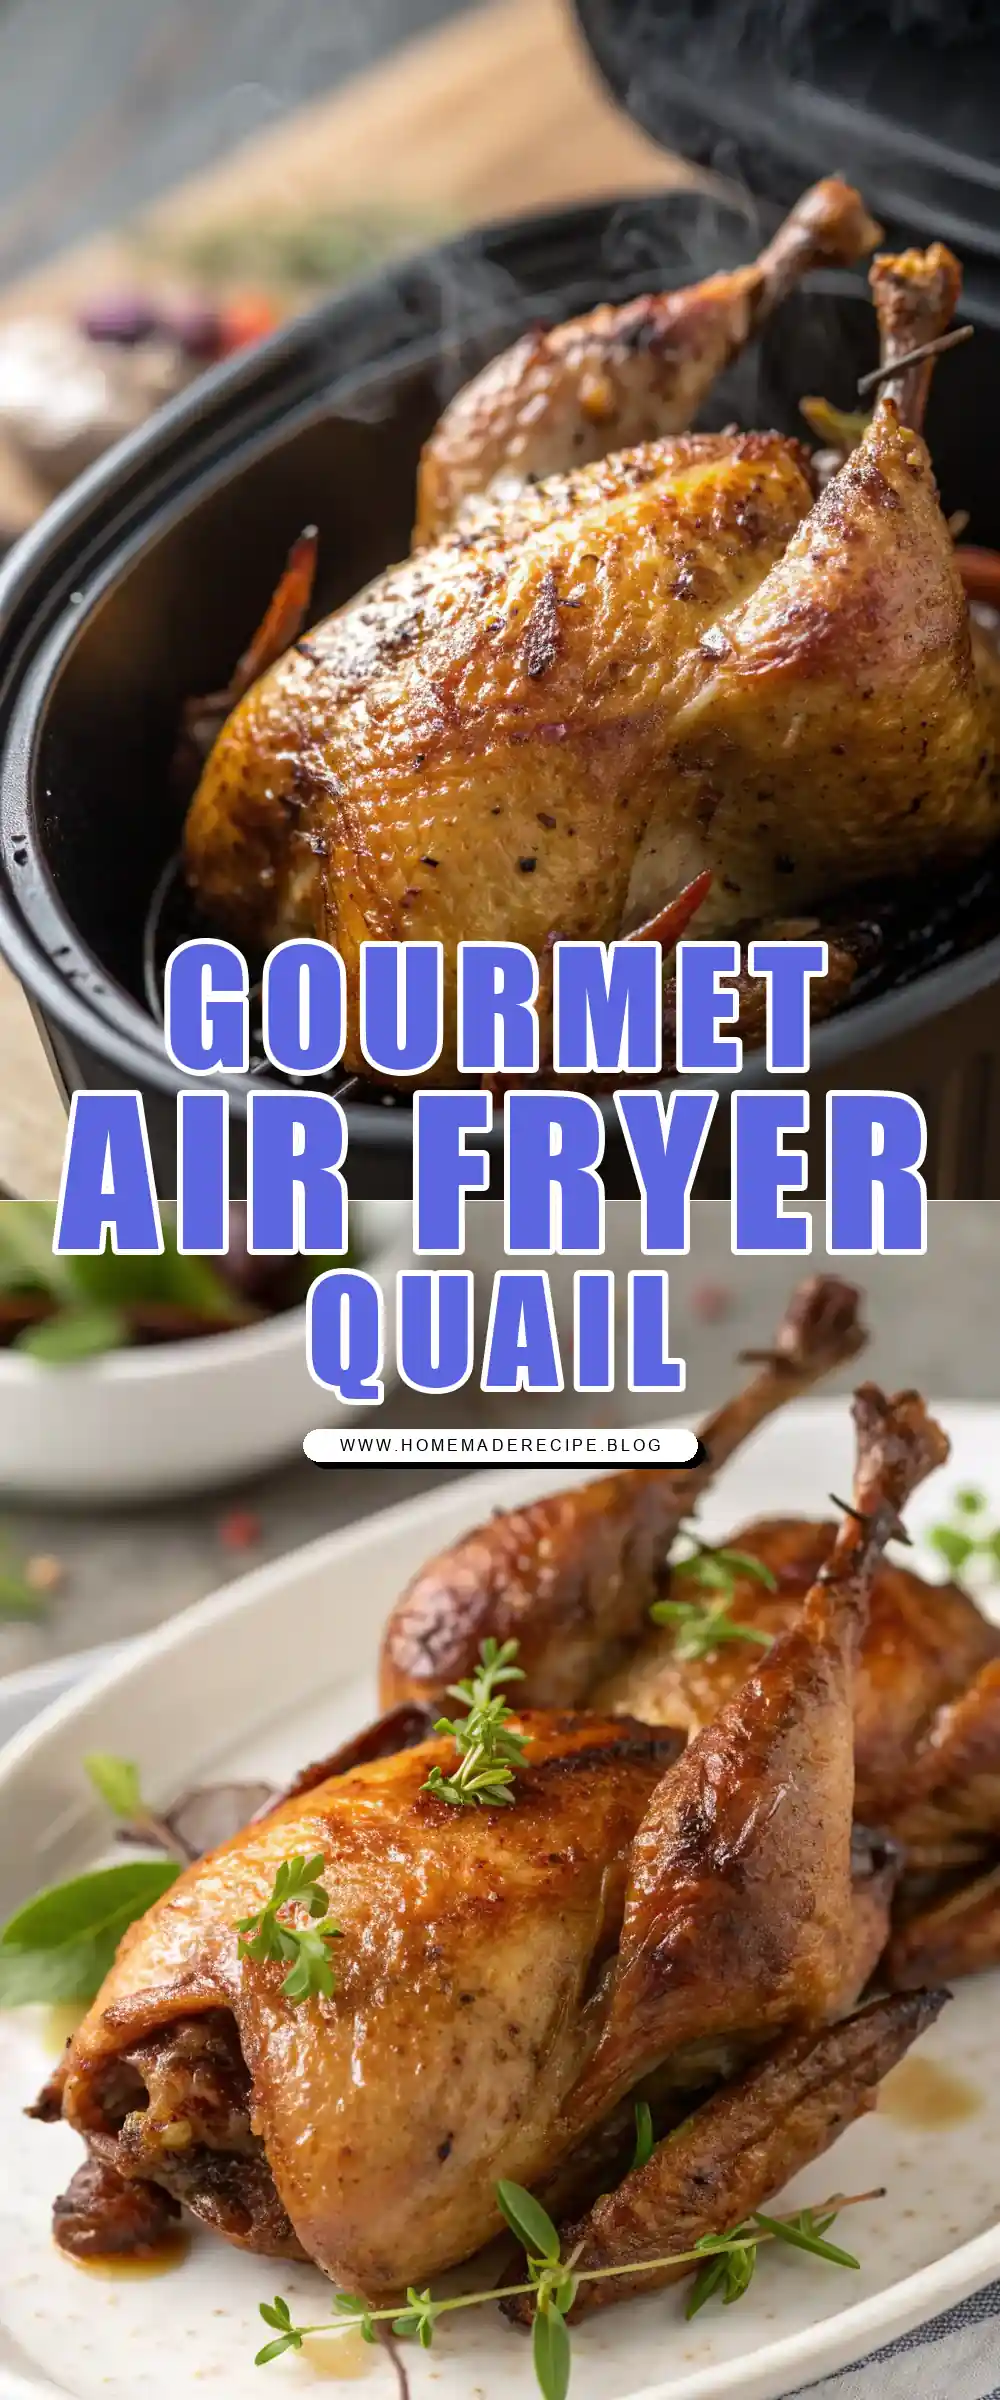
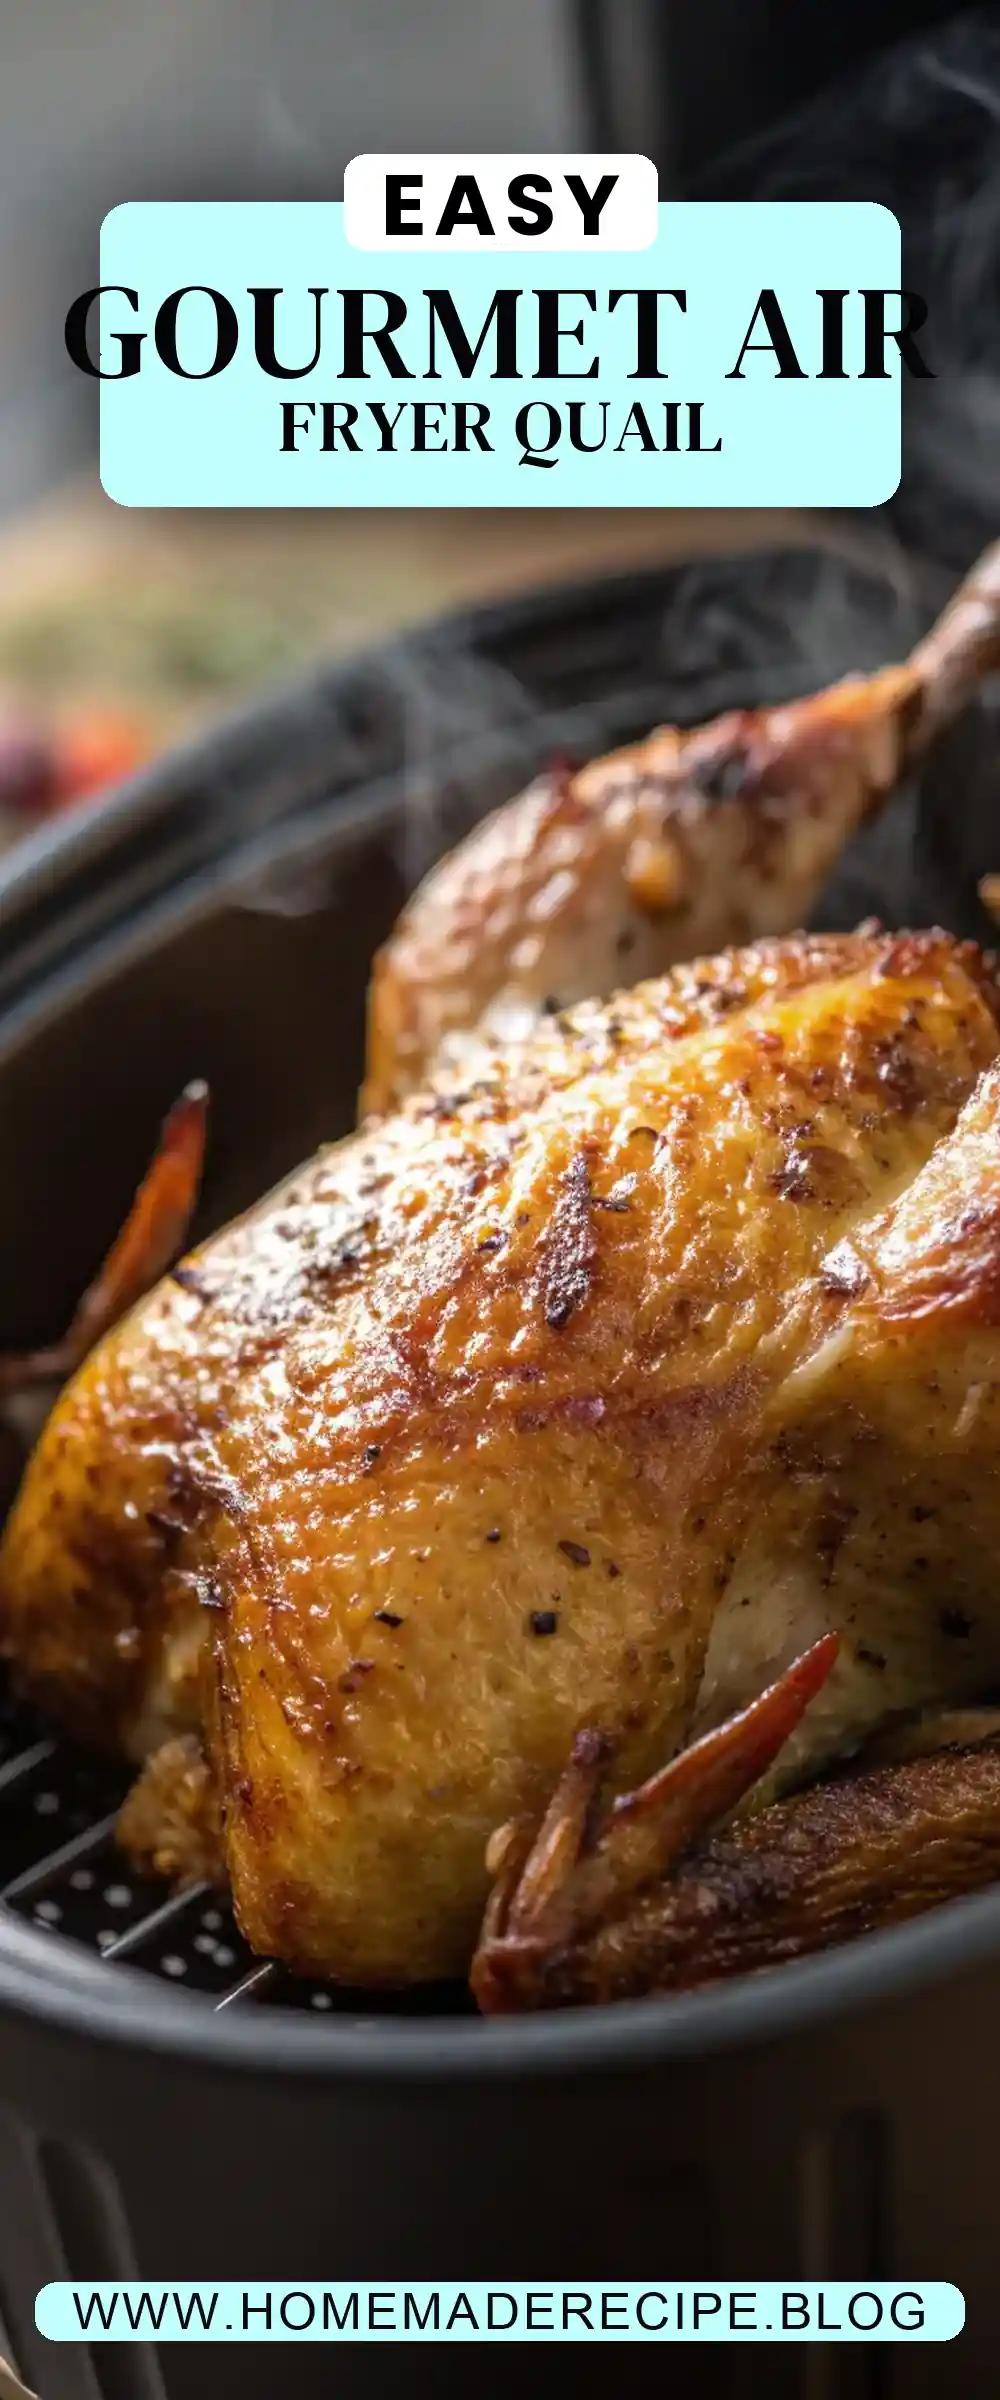
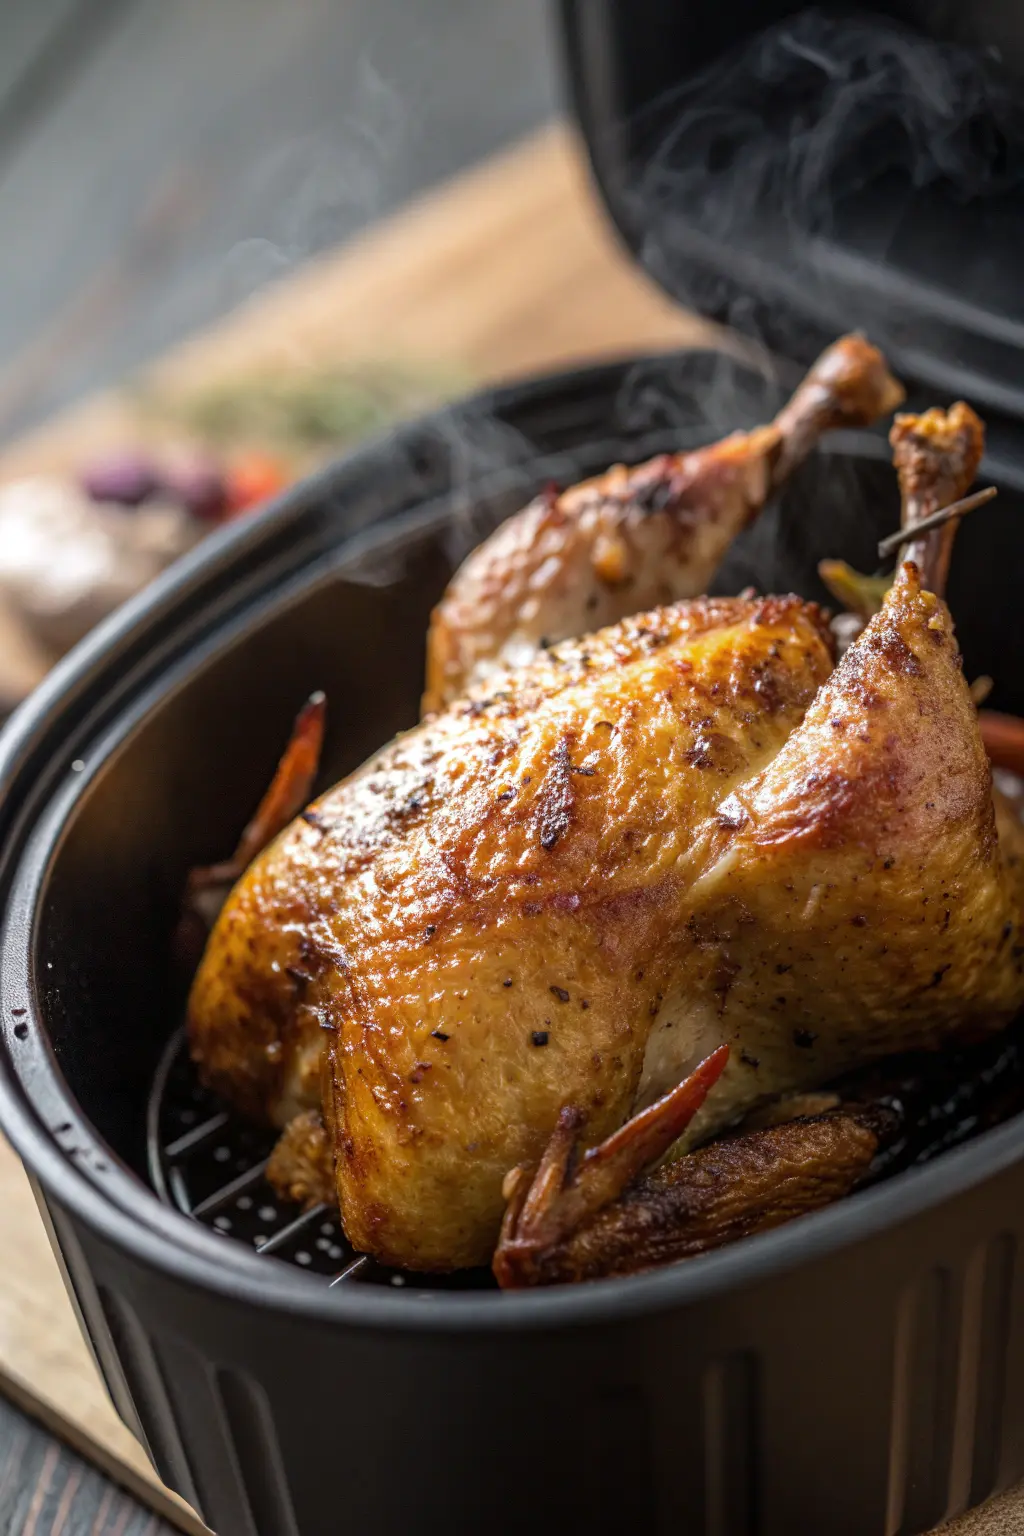
Air Fryer Quail
Ingredients
Equipment
Method
- In a small bowl, mix the olive oil, garlic powder, smoked paprika, salt, black pepper, and dried thyme to create a marinade.
- Rub the marinade evenly over both sides of the spatchcocked quail. Let them marinate for at least 10 minutes.
- Preheat the air fryer to 400°F (200°C) for 5 minutes.
- Place the marinated quail in the air fryer basket in a single layer, skin side up.
- Cook at 400°F for 10 minutes, then flip the quail and cook for an additional 10 minutes, or until the internal temperature reaches 165°F.
- Remove the quail from the air fryer and let them rest for 5 minutes before serving.