

Ah, chicken pot pie—just saying the name brings a sense of warmth and nostalgia. I remember my grandmother making this dish on chilly Sunday afternoons, the savory aroma filling the house and drawing everyone to the kitchen. There’s something magical about a perfectly baked pot pie, with its golden crust and creamy filling. It’s a dish that feels like a warm hug, bringing families together around the dining table. Today, I’m excited to share my favorite chicken pot pie recipe with you, a beloved staple in my home that I hope will become a favorite in yours!
Why You’ll Love This Comfort Food Classic
-
Heartwarming and Satisfying: This chicken pot pie is the ultimate comfort food. Its creamy filling and buttery crust are guaranteed to leave you feeling cozy and content. The combination of tender chicken, sweet vegetables, and a savory sauce wrapped in a flaky crust is a symphony of flavors and textures that delights the senses. Every bite offers a balance of rich creaminess and the subtle sweetness of the vegetables, with the crust providing a satisfying crunch that completes the experience.
-
Family-Friendly: Perfect for kids and adults alike, this dish is a great way to sneak in some veggies while keeping the whole family happy. The vibrant colors from the carrots and peas not only make it appealing to the eye but also entice even the pickiest eaters to dig in. It’s a meal where children can enjoy the fun of discovering their favorite veggies hidden within a delicious filling, encouraging them to eat more of what’s good for them without any fuss.
-
Make-Ahead Friendly: You can prepare the filling in advance, making weeknight dinners a breeze! Just pop it in the oven when you’re ready. This feature is especially handy for those busy weeknights when time is of the essence but you still want to serve a homemade meal. The filling can be stored in an airtight container in the refrigerator for up to two days, allowing you to simply roll out the crust and assemble the pie whenever you choose.
-
Customizable: Swap in your favorite vegetables or add herbs to suit your taste. This recipe is wonderfully adaptable. Consider adding mushrooms for an earthy note or a pinch of thyme for an aromatic twist. The possibilities are endless, allowing you to tailor it to your family’s preferences. You might also try using turkey instead of chicken for a post-holiday meal that uses up leftovers creatively while still delivering on flavor.
-
Freezer-Friendly: This pot pie freezes beautifully, so you can always have a hearty meal ready to go. It’s perfect for meal prep enthusiasts who love having ready-to-bake options at their fingertips. Simply assemble, freeze, and bake when needed. For the best results, freeze the assembled pie before baking, ensuring you have a freshly baked pie that doesn’t compromise on texture or taste even after it’s been stored for a while.
The Recipe
Prep Time: 30 minutes
Cook Time: 45 minutes
Servings: 6
Calories: 450 per serving
Ingredients
- 2 cups diced cooked chicken
- 1 cup diced carrots
- 1 cup frozen peas
- 1/2 cup diced potatoes
- 1/2 cup chopped onion
- 1/4 cup unsalted butter
- 1/3 cup all-purpose flour
- 1 3/4 cups chicken broth
- 2/3 cup milk
- Salt and pepper to taste
- 2 unbaked pie crusts
Instructions
-
Preheat the Oven: Start by preheating your oven to 425°F (220°C). This high temperature ensures the pie crust will bake to a beautiful golden brown while the filling becomes bubbly and delicious. Preheating the oven beforehand is crucial as it helps maintain the texture of the crust and ensures even cooking throughout.
-
Cook the Vegetables: In a large saucepan, melt the butter over medium heat. Add onions, carrots, and potatoes. Cook until the onions are soft and translucent, about 5 minutes. Stir occasionally to prevent the vegetables from sticking to the pan, allowing them to release their natural sweetness. The gentle cooking of the vegetables helps develop their flavors while keeping them tender but not mushy.
-
Make the Sauce: Stir in the flour, salt, and pepper until well combined. Gradually add chicken broth and milk, stirring constantly until the mixture thickens and begins to bubble. The sauce should coat the back of a spoon, indicating it’s ready to envelop the chicken and veggies with creamy goodness. This step is essential for achieving the right consistency that holds the filling together without being too runny or thick.
-
Combine Filling: Add the cooked chicken and peas to the sauce. Stir well to combine and then remove from heat. Ensure everything is evenly mixed, so each bite is loaded with flavor. The balance of ingredients is key, as it ensures each serving is equally satisfying and flavorful.
-
Assemble the Pie: Line a pie dish with one of the pie crusts. Pour the chicken mixture into the crust. Cover with the second crust, sealing the edges, and make a few slits on top to allow steam to escape. Crimp the edges for a decorative touch and to ensure the filling stays neatly inside. The slits are essential for venting steam, which prevents the pie from becoming soggy and ensures a perfect crust.
-
Bake: Place the pie on a baking sheet and bake in the preheated oven for 30-35 minutes, or until the crust is golden brown. Let it cool for a few minutes before serving. This cooling time helps the filling set slightly, making it easier to slice. Allowing the pie to rest also enhances the melding of flavors, making each bite more cohesive and delicious.
Kitchen Tools You’ll Need
-
Large Saucepan: Essential for cooking the vegetables and making the sauce. A heavy-bottomed pan works best for even heat distribution. This ensures that the sauce thickens evenly and prevents hot spots that could cause sticking or burning.
-
Pie Dish: To hold the delicious filling and crust. A standard 9-inch pie dish will do, but feel free to use whatever you have on hand. If you prefer individual servings, consider using ramekins for mini pot pies, which can be a fun and personalized way to serve this dish.
-
Baking Sheet: Placing the pie on a baking sheet catches any potential drips and makes transferring to and from the oven a breeze. It also helps in even browning by reflecting heat back onto the crust.
-
Rolling Pin: If you’re making your own crust, this tool will help you achieve the perfect thickness. A well-rolled crust ensures even baking and a consistent texture throughout the pie.
-
Measuring Cups and Spoons: For precise ingredient measurements, ensuring the best result every time. Precision is key, especially when making the sauce, to maintain the right balance of flavors and thickness.
The Benefits of Each Ingredient
-
Chicken: A great source of protein, chicken makes this dish hearty and filling. It’s also a lean meat, providing essential nutrients without excessive calories. Using cooked chicken also speeds up the preparation process, making this dish convenient for weeknight meals.
-
Carrots and Peas: These vegetables add sweetness and color, plus they’re packed with vitamins A and C. Peas also provide a good amount of fiber and protein. Their vibrant colors and flavors enhance the visual and taste appeal of the pie, making it not just delicious but also nutritious.
-
Potatoes: They add substance and texture, making the pie more filling. Potatoes are also a good source of potassium. Their starchy nature helps absorb some of the sauce, making each bite perfectly balanced.
-
Onions: Provide a robust flavor base, enhancing the overall taste. Onions are also rich in antioxidants. Their aromatic qualities deepen the flavor profile of the dish, complementing the sweetness of the carrots and peas.
-
Butter and Flour: Create a roux that thickens the filling, giving it a creamy consistency. Butter adds richness, while flour provides structure. This classic combination is the backbone of many comforting sauces, lending a luxurious texture to the dish.
-
Chicken Broth: Adds depth of flavor and keeps the filling moist. Opt for low-sodium broth to control the salt level. This helps maintain a healthy balance and allows the natural flavors of the ingredients to shine through.
-
Pie Crusts: The buttery crust provides a delightful contrast to the creamy filling, adding both texture and flavor. A well-made crust is essential for the overall enjoyment of the pie, providing a satisfying crunch and a rich, buttery taste that complements the savory filling.
What to Serve With This Comfort Food Classic
For a complete meal, consider pairing your chicken pot pie with a simple green salad tossed with vinaigrette. This adds a refreshing and crisp element to your meal, balancing the richness of the pie. You could also serve it with a side of roasted vegetables for an extra dose of nutritional goodness. Roasted Brussels sprouts or asparagus would add a nice touch of color and flavor contrast. A glass of chilled white wine or a warm apple cider complements the flavors beautifully, making your dining experience all the more enjoyable. The acidity from the wine or cider can cut through the richness of the pie, enhancing the meal’s overall harmony.
Storage & Leftover Tips
If you have leftovers (a rare occurrence in my house!), cover the pie tightly and store it in the refrigerator for up to 3 days. To reheat, simply cover with aluminum foil and warm it in a 350°F oven until heated through. This method helps maintain the pie’s moisture and prevents the crust from becoming too dry. Reheating in the oven rather than the microwave ensures the crust stays flaky and crisp.
For longer storage, you can freeze the pie before baking. Wrap it tightly in plastic wrap and then foil. When you’re ready to enjoy, bake from frozen at 400°F for about 60 minutes. This ensures you have a delicious homemade meal ready whenever the craving hits, without any hassle. If you prefer, you can also freeze individual portions, making it easy to grab and bake just what you need.
This chicken pot pie is a true comfort food classic that will surely become a beloved dish in your home. Whether you’re looking for an easy dinner option or a meal that warms the heart, this recipe is the perfect choice. Enjoy and happy cooking!
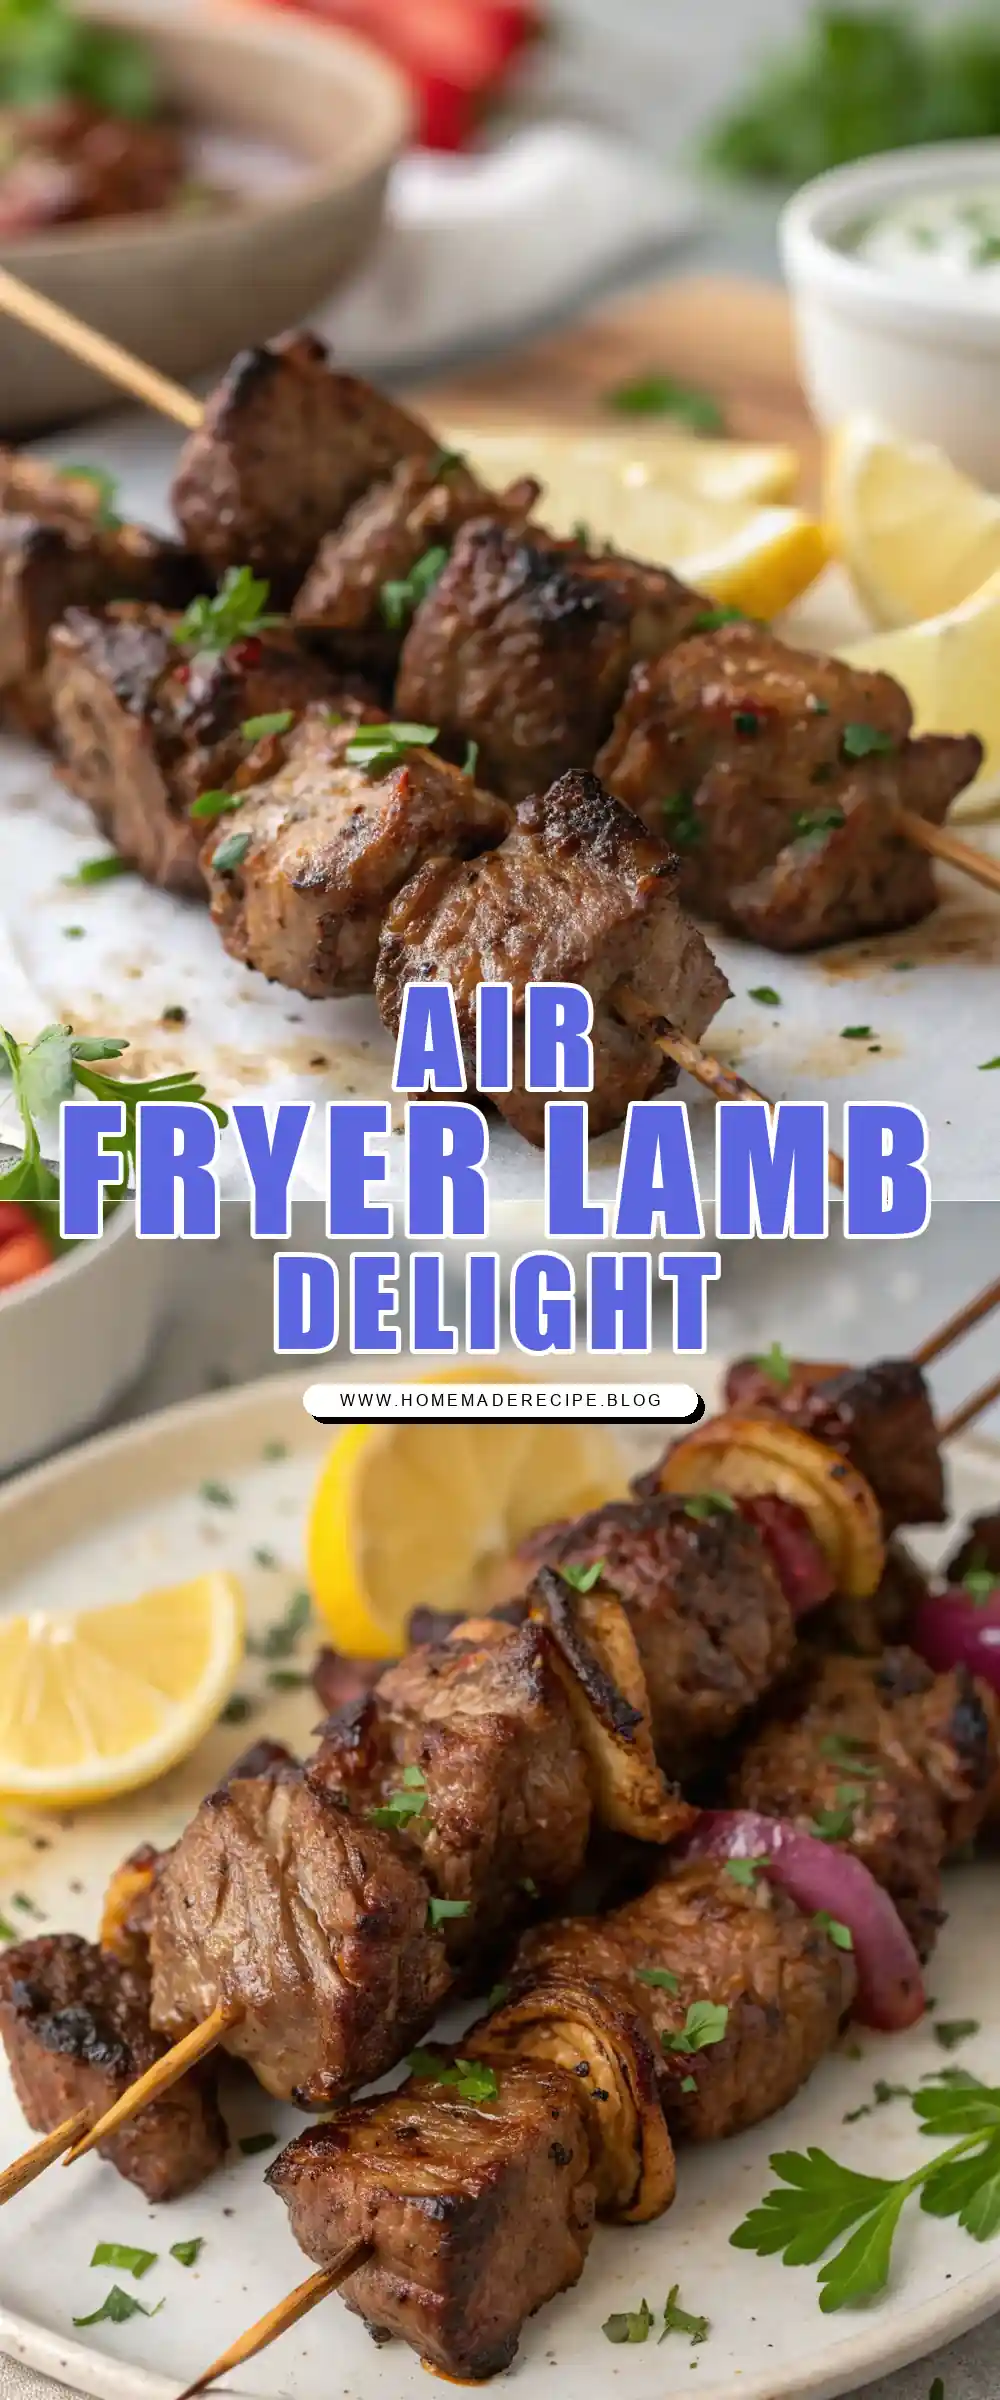

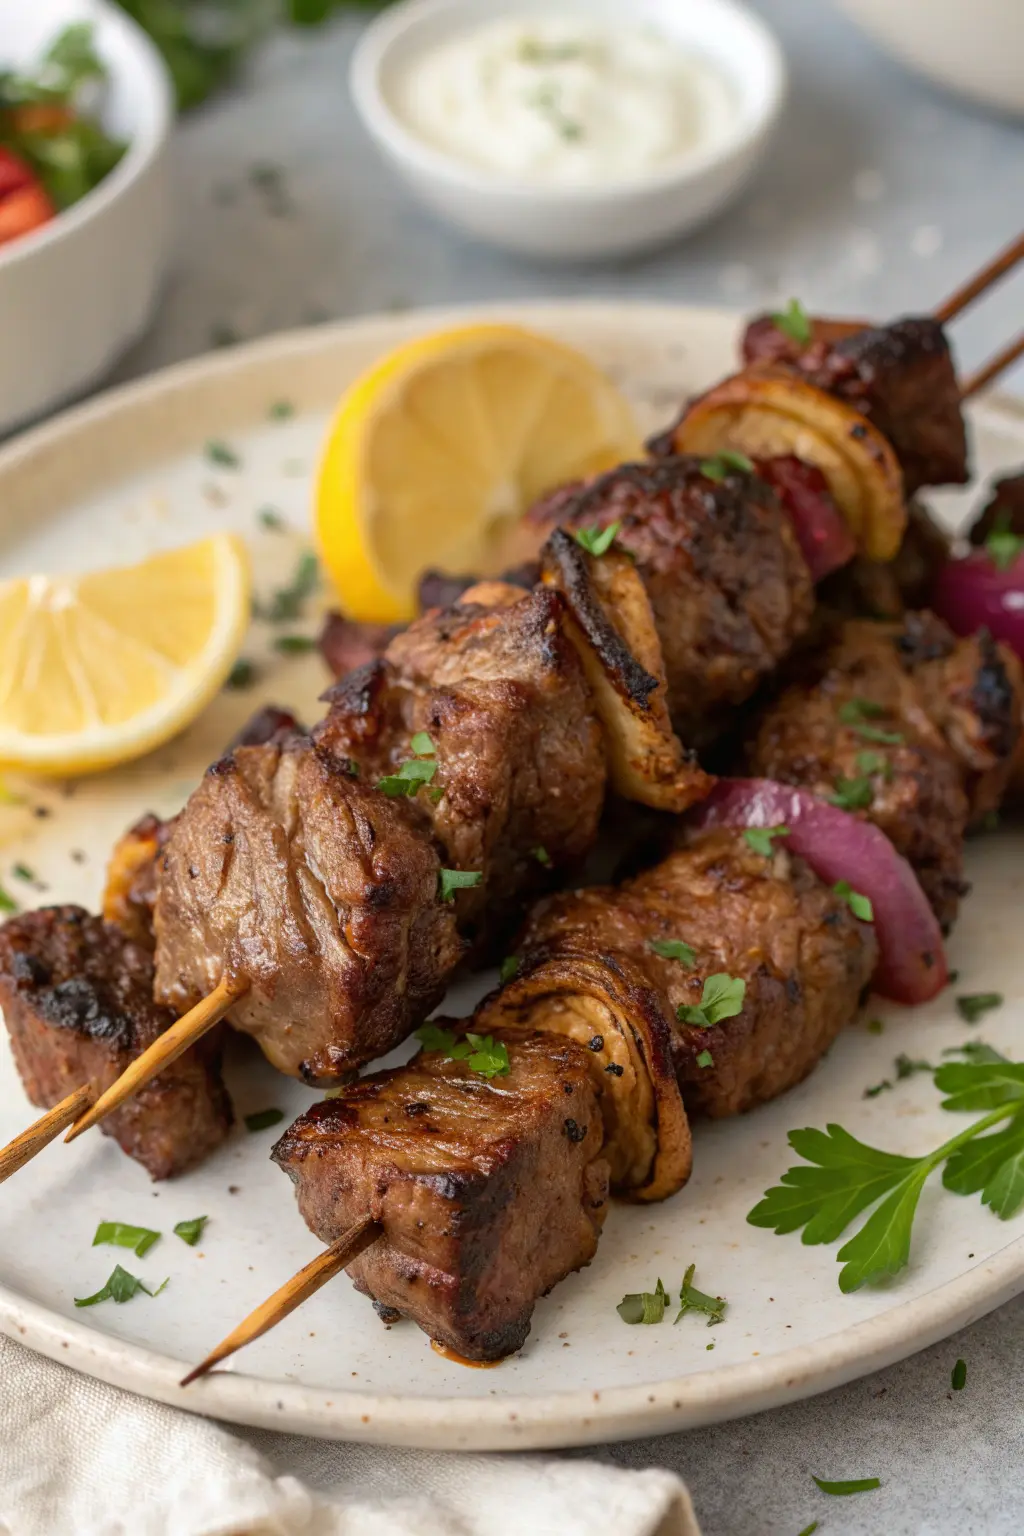
Air Fryer Lamb Kebabs
Ingredients
Equipment
Method
- In a large bowl, combine the lamb cubes, olive oil, cumin, coriander, smoked paprika, garlic powder, onion powder, salt, black pepper, and lemon juice. Toss to coat the lamb evenly.
- Thread the marinated lamb on the skewers, alternating with pieces of red bell pepper and onion.
- Preheat the air fryer to 400°F (200°C) for about 5 minutes.
- Place the skewers in the air fryer basket in a single layer, ensuring they are not overcrowded. You may need to cook in batches.
- Cook for 10 minutes, flipping the skewers halfway through for even cooking.
- Remove from the air fryer and let rest for a few minutes before serving.