
Ah, chicken pot pie. Just saying the words brings back memories of family gatherings, bustling kitchens, and the comforting aroma of a home-cooked meal. This dish is the epitome of comfort food, a classic that never goes out of style. I remember my grandmother pulling a golden pot pie out of the oven, the flaky crust bubbling over with savory filling. It was always a treat, one that brought everyone to the table with eager anticipation. Today, I’m excited to share my version of this beloved dish—a recipe that’s been passed down through my family and perfected over time. It’s a hug in a dish, and I hope it brings as much warmth to your home as it does to mine.
Why You’ll Love This Comforting Dish
- Family-Friendly: This chicken pot pie is a hit with kids and adults alike, making it perfect for family dinners. The familiar flavors and creamy texture appeal to picky eaters, and it’s a great way to sneak in some vegetables. The dish is versatile enough to accommodate the preferences of both young and old, ensuring everyone leaves the table satisfied.
- Full of Flavor: The combination of tender chicken, vibrant vegetables, and a rich, creamy sauce is simply irresistible. Each bite is a harmonious blend of savory and slightly sweet flavors, thanks to the medley of fresh veggies and aromatic herbs. The sauce, infused with thyme and pepper, ties the ingredients together, providing a depth of flavor that lingers on the palate.
- Make-Ahead Friendly: You can prepare the filling ahead of time, making weeknight dinners a breeze. Simply store the filling in the fridge for up to two days, then top with pastry and bake when ready. It’s a lifesaver for busy schedules. This feature also makes it a great dish to prepare in advance for gatherings, allowing you to spend more time with guests and less time in the kitchen.
- Versatile: Swap in your favorite veggies or use leftover chicken to make this dish your own. Whether you prefer mushrooms, corn, or even a handful of spinach, this recipe is adaptable to whatever you have on hand. You can even experiment with different herbs like rosemary or sage to create new flavor profiles.
- Cozy & Comforting: There’s nothing like a warm pot pie on a cold day to make you feel right at home. It’s the kind of meal that wraps you in warmth and conjures a sense of nostalgia and contentment. The golden crust and creamy filling are reminiscent of simpler times and are perfect for creating new memories around the dinner table.
The Recipe
Prep Time: 20 minutes
Cook Time: 45 minutes
Servings: 6
Calories: Approximately 450 per serving
Ingredients:
- 1 lb chicken breasts, cooked and cubed: Opt for organic, free-range chicken for the best flavor and texture. The quality of the chicken can significantly influence the final taste of the dish.
- 1 cup carrots, diced: Freshly diced carrots add a touch of sweetness and color. Their natural sugar caramelizes slightly during cooking, enhancing the overall flavor.
- 1 cup peas: Frozen or fresh peas work equally well, providing a pop of green and sweetness. Peas are rich in protein and fiber, making them a nutritious addition.
- 1 cup potatoes, diced: Choose Yukon Gold or red potatoes for a creamy texture. These varieties hold their shape well during cooking and add a hearty element to the pie.
- 1/2 cup celery, diced: Adds a subtle crunch and aromatic flavor. Celery’s slight bitterness balances the sweetness of the carrots and peas.
- 1/3 cup butter: Unsalted is best, allowing you to control the saltiness. Butter is crucial for creating the roux, which thickens the sauce.
- 1/3 cup all-purpose flour: Essential for thickening the sauce. The flour combines with the butter to form a roux, the base of the creamy sauce.
- 2 cups chicken broth: Low-sodium broth lets you adjust the seasoning to your liking. It provides a savory depth to the sauce.
- 1 cup milk: Whole milk gives the sauce a rich and creamy finish. For a lighter option, you can use skim milk, though it may slightly alter the creaminess.
- Salt and pepper, to taste: Season generously to enhance all the flavors. Balancing these basic seasonings is key to letting the other ingredients shine.
- 1/2 teaspoon thyme: Dried or fresh thyme adds an earthy note that’s crucial for depth. Thyme pairs beautifully with chicken and vegetables, enhancing the overall aroma.
- 1 package puff pastry, thawed: A time-saving shortcut that results in a flaky, golden crust. Puff pastry provides the perfect contrast to the creamy filling.
Instructions:
- Preheat oven to 400°F (200°C). Ensuring your oven is fully preheated will help the pastry puff and turn golden. An even oven temperature is crucial for achieving a perfectly cooked crust.
- In a large skillet, melt the butter over medium heat. Add the carrots, peas, potatoes, and celery. Cook until just tender, about 5-7 minutes, stirring occasionally to prevent sticking. This initial cooking step helps to release the natural sweetness of the vegetables.
- Stir in the flour, salt, pepper, and thyme until well blended. This step forms a roux that will thicken the sauce. Cook for about 1-2 minutes to remove the raw flour taste. The roux should be smooth and lightly golden, indicating that the flour is cooked.
- Gradually stir in the chicken broth and milk, cooking until the mixture is thickened, about 5 minutes. Stir continuously to prevent lumps from forming. A smooth sauce base is crucial for a creamy filling.
- Add the chicken to the mixture and stir until well combined. Ensure the chicken is evenly distributed throughout the filling. The chicken should be fully coated in the sauce, ensuring each bite is flavorful.
- Pour the mixture into a baking dish. Roll out the puff pastry to fit over the dish and place it on top of the filling. Trim any excess and crimp the edges to seal, which will keep the filling from bubbling over. A good seal also helps the pastry rise evenly.
- Cut slits in the pastry to allow steam to escape, ensuring a crisp crust. These vents prevent the pastry from becoming soggy and help it cook evenly.
- Bake for 30 to 35 minutes, or until the pastry is golden brown and the filling is bubbling. If the crust browns too quickly, cover with foil during the last 10 minutes of baking. Allow the pie to rest for a few minutes before serving, letting the filling set.
Kitchen Tools You’ll Need
- Large skillet: Essential for cooking the filling evenly and efficiently. A non-stick skillet can make this process smoother and reduce the risk of burning.
- Baking dish: A 9-inch round or an 8×8-inch square dish works perfectly for this recipe. Ensure it’s deep enough to hold the filling without spilling over.
- Rolling pin: To roll out the puff pastry to the desired thickness and size. A light dusting of flour on the rolling pin prevents sticking.
- Sharp knife: For dicing vegetables and cutting slits in the pastry. A sharp knife makes for precise cuts, ensuring even cooking.
The Benefits of Each Ingredient
- Chicken: A lean protein that keeps you full and satisfied. It’s also rich in essential nutrients like B vitamins and selenium. Chicken is versatile and absorbs the flavors of the sauce beautifully.
- Carrots & Peas: Add natural sweetness and a pop of color, plus a boost of vitamins like A, C, and K. They’re also high in fiber, which aids digestion. These vegetables contribute to the dish’s balance of flavors and nutritional value.
- Potatoes: Heartiness and texture that make the pie filling substantial. They provide potassium and vitamin C, important for heart health and immune function. Their creamy texture complements the sauce perfectly.
- Butter & Flour: Create a roux, the base of a rich and creamy sauce. The combination imparts a luscious texture to the sauce, making it cling beautifully to each ingredient. The butter adds a subtle richness that enhances the dish.
- Thyme: Provides an earthy flavor that enhances the dish’s overall taste. Known for its antioxidant properties, thyme also supports a healthy immune system. Its subtle fragrance ties together the flavors of the pie.
- Puff Pastry: Creates a flaky, buttery crust that’s easy to work with. Store-bought puff pastry saves time without sacrificing flavor, offering layers of texture that complement the creamy filling. It provides a delightful contrast to the rich filling.
What to Serve With This Cozy Dish
A fresh green salad or roasted vegetables make a perfect accompaniment to this hearty pot pie. The crispness of a salad with a light vinaigrette can balance the richness of the pie, while roasted vegetables add another dimension of flavor. For a complete meal, consider serving it with a glass of crisp white wine or apple cider. The acidity and fruitiness of these beverages complement the savory notes of the pot pie. If you’re planning a larger gathering, you might also enjoy pairing it with my Garlic Mashed Potatoes or a side of Buttery Dinner Rolls. These side dishes are comforting in their own right and can turn a simple dinner into a feast. Including a variety of textures and flavors will enhance the dining experience.
Storage & Leftover Tips
Leftover chicken pot pie can be stored in an airtight container in the fridge for up to 3 days. The flavors often meld more as they sit, enhancing the taste. To reheat, cover with foil and warm in a 350°F oven until heated through. This method helps maintain the crust’s texture, preventing it from becoming soggy. You can also freeze the pot pie before baking. Simply wrap it tightly in plastic wrap and foil, then freeze for up to 2 months. Freezing helps preserve the pie for those days when you crave comfort without the effort. When ready to bake, thaw in the refrigerator overnight and follow the baking instructions. This make-ahead option means you can enjoy a homemade meal with minimal prep.
With its comforting flavors and heartwarming aroma, this classic chicken pot pie is sure to become a staple in your home. Whether you’re sharing it with family or savoring a solo meal, it’s a dish that brings people together and makes any day feel special. Enjoy every bite!
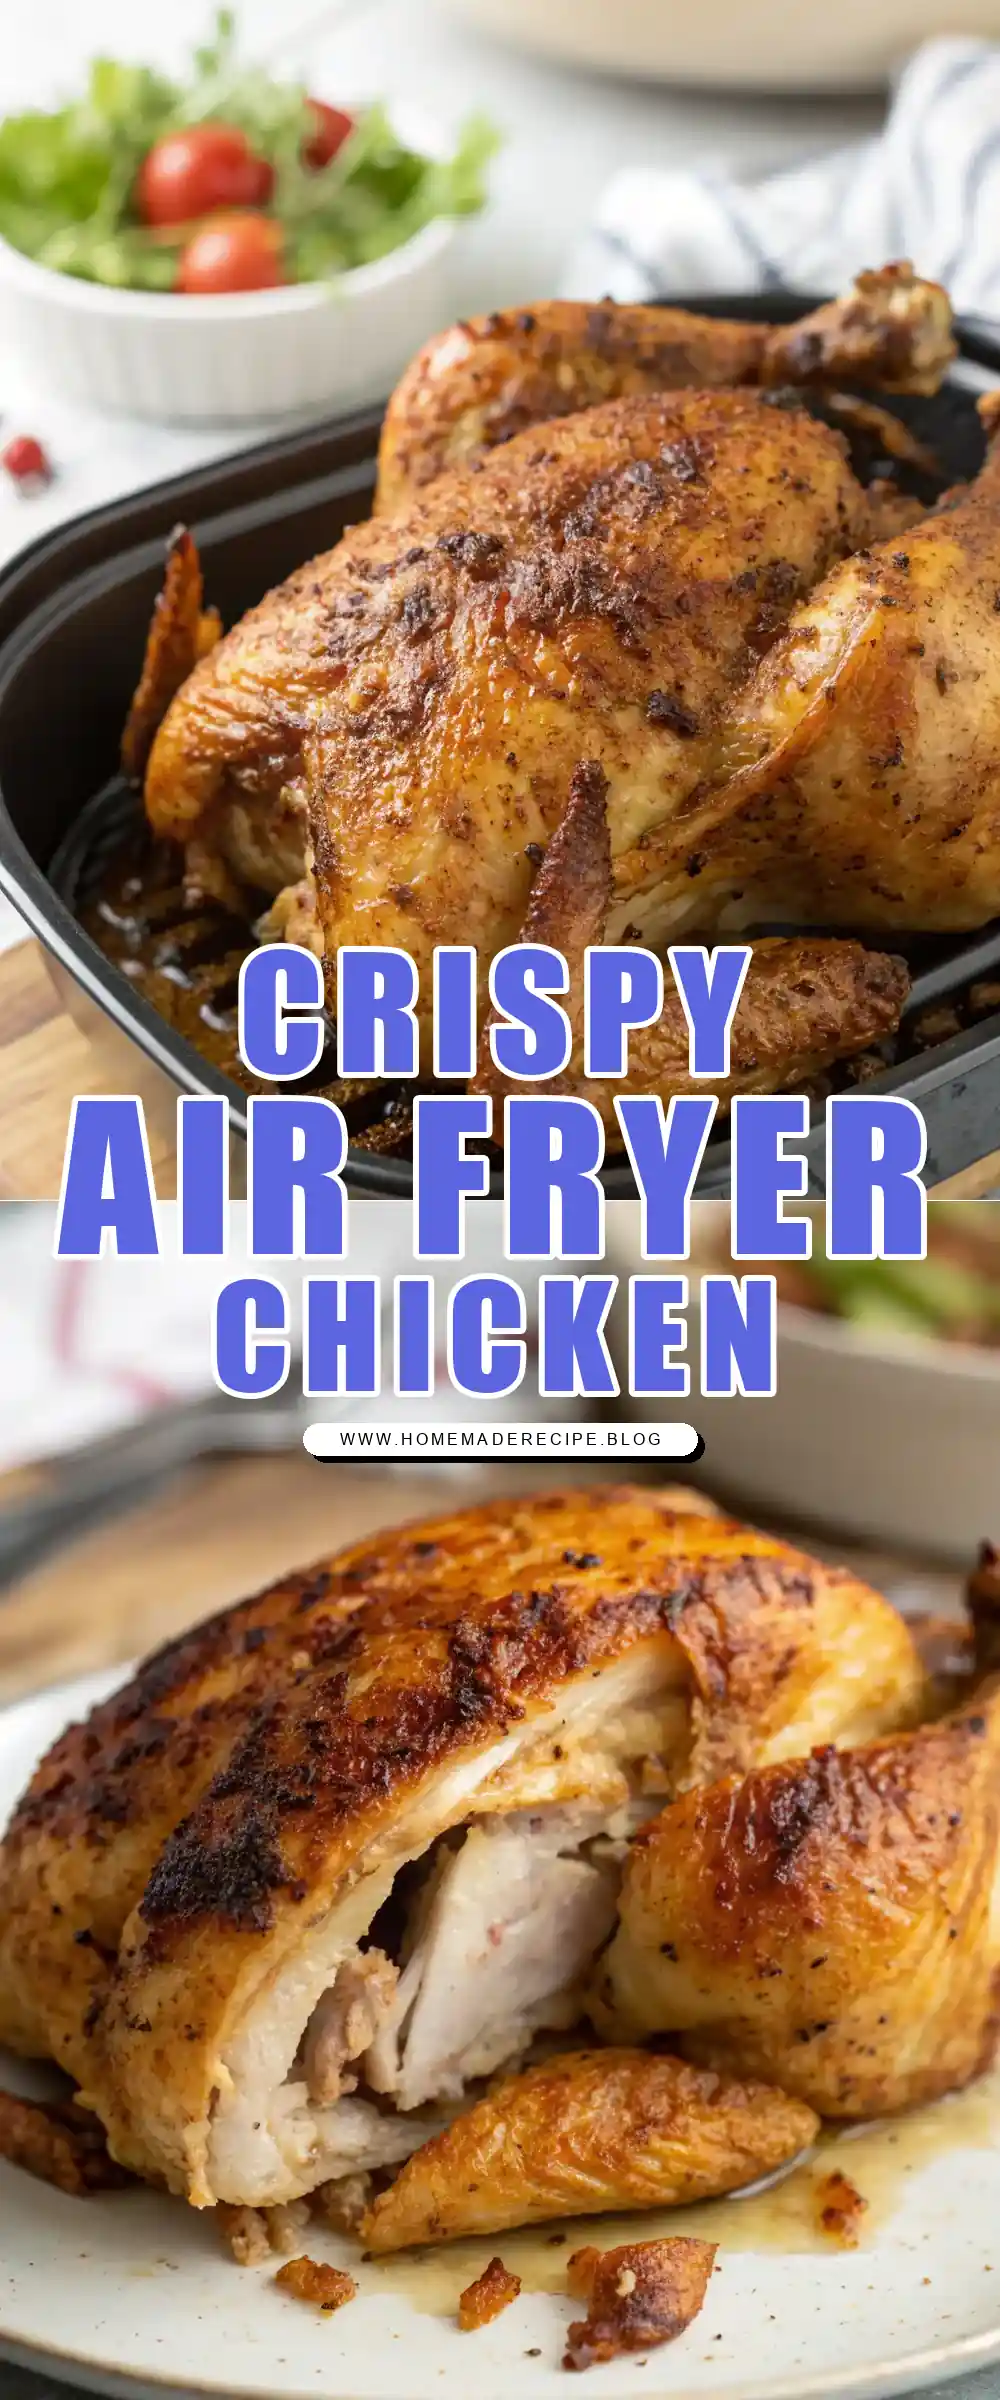

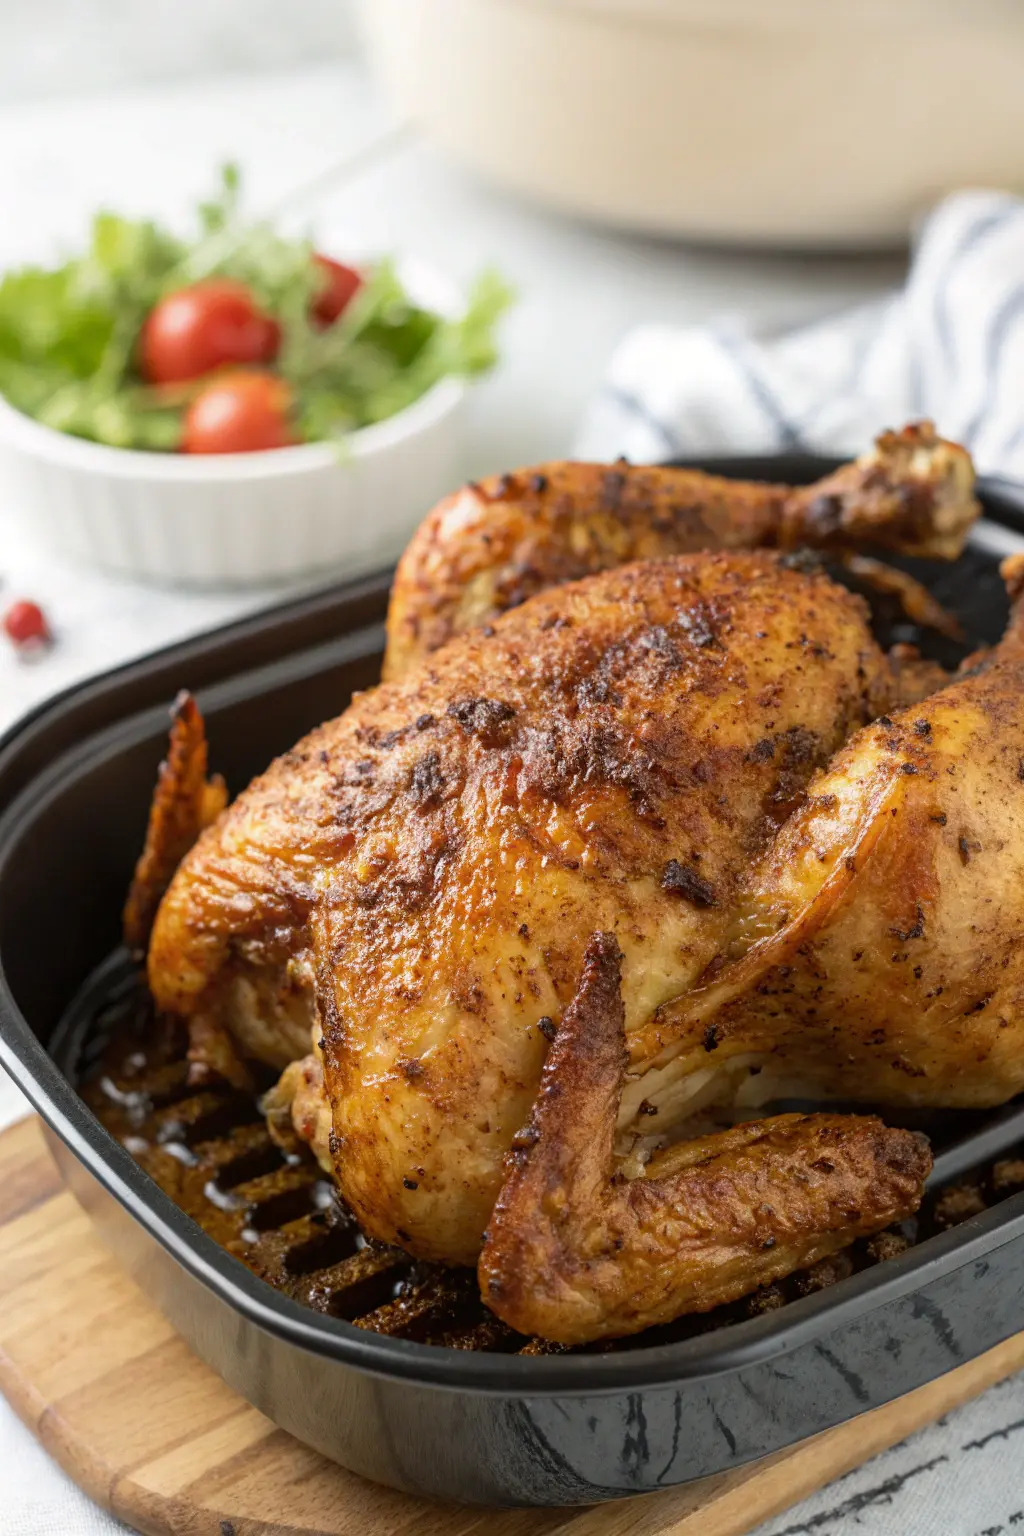
Air Fryer Chicken Khorasan
Ingredients
Equipment
Method
- In a large bowl, mix olive oil, cumin, coriander, paprika, garlic powder, onion powder, salt, pepper, and lemon juice to create a marinade.
- Add the chicken thighs to the bowl and coat them well with the marinade. Let them sit for 10 minutes.
- Preheat your air fryer to 375°F (190°C) for 5 minutes.
- Place the marinated chicken thighs in the air fryer basket in a single layer, ensuring they do not overlap.
- Cook the chicken for 12 minutes, then flip them over and cook for an additional 10-13 minutes, or until the internal temperature reaches 165°F (75°C).
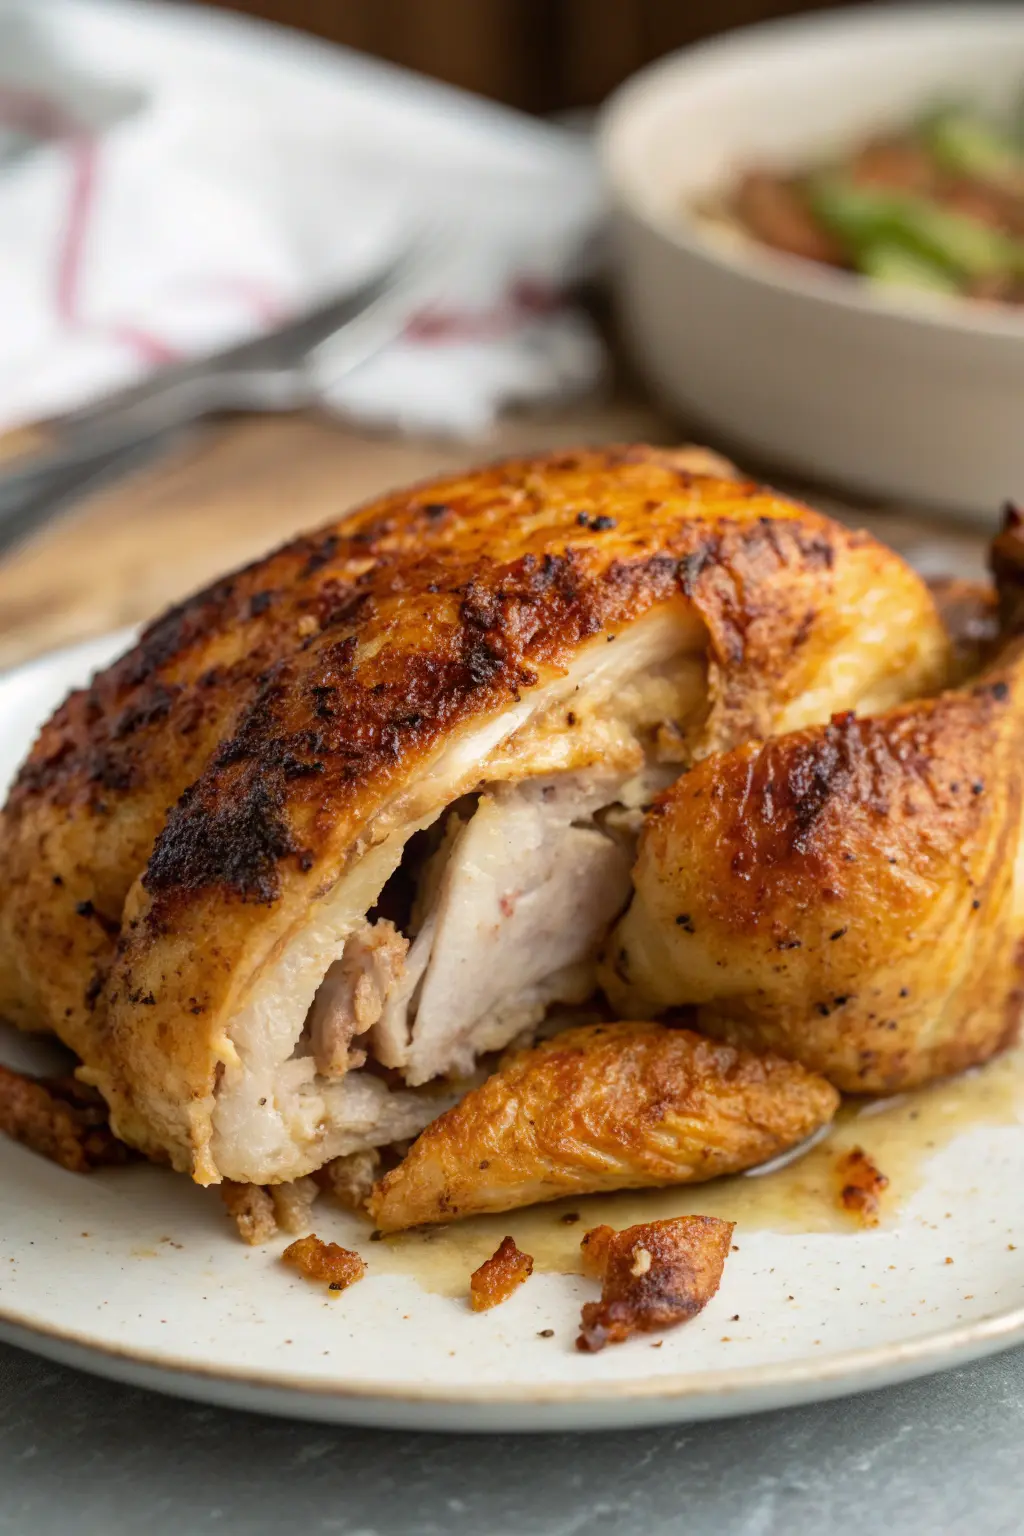
- Once cooked, let the chicken rest for 5 minutes before slicing.
- Garnish with chopped parsley and serve.