
There’s something incredibly comforting about a freshly baked chicken pot pie. The aroma fills the house, and it always reminds me of the chilly Sundays spent with family gathered around the table, eagerly awaiting that first warm bite. This classic chicken pot pie with a flaky homemade crust is a recipe that’s been passed down through generations in my family. It’s not just a meal; it’s a tradition, a way to bring everyone together with comfort food that truly warms the heart.
Why You’ll Love This Comforting Dish
There are so many reasons why this chicken pot pie could become one of your favorite dishes, beyond just its delicious taste. Here’s why it deserves a spot on your dining table:
- Hearty and Filling: This chicken pot pie is packed with tender chicken and vegetables enveloped in a rich, creamy sauce and topped with a buttery crust. The combination of these ingredients not only fills you up but also satisfies your soul. The balance of protein, vegetables, and carbohydrates ensures you’re left feeling full and nourished.
- Family-Friendly: Perfect for family dinners, it’s a dish that both kids and adults love. The pie’s mild flavors and creamy texture make it a hit with even the pickiest eaters. You can even get kids involved in the preparation, from mixing the filling to crimping the edges of the crust, making it an enjoyable family activity.
- Make-Ahead Friendly: You can prepare parts of the recipe in advance, making it great for busy weeknights. Simply prepare the filling a day ahead, and all you need to do is assemble and bake. This feature is particularly helpful during holiday seasons or when you’re hosting a dinner party and want to minimize last-minute kitchen stress.
- Customizable: Easily swap in your favorite vegetables or use rotisserie chicken to save time. This flexibility means you can cater to different dietary preferences or simply use what you have on hand. Consider adding mushrooms for an earthy flavor or swapping potatoes with sweet potatoes for a hint of sweetness.
- Leftover Magic: The flavors only get better the next day, making it an ideal leftover meal. In fact, many say the pie tastes even better once the flavors have had time to meld together in the fridge. This makes it a perfect candidate for meal prep, as you can enjoy it over multiple days.
The Recipe
Crafting this comforting chicken pot pie is a straightforward process that yields delicious results. The prep and cook times are manageable, even on a weekday evening.
Prep Time: 30 minutes
Cook Time: 45 minutes
Servings: 6
Calories: Approximately 450 per serving
Ingredients
- 2 cups cooked chicken, shredded
- 1 cup carrots, diced
- 1 cup peas
- 1 cup potatoes, diced
- 1/2 cup onions, chopped
- 1/3 cup unsalted butter
- 1/3 cup all-purpose flour
- 1 3/4 cups chicken broth
- 2/3 cup milk
- Salt and pepper to taste
- 1 package of pie crusts (or homemade)
Instructions
- Preheat your oven to 425°F (220°C). This ensures your pie starts cooking in a hot oven, giving the crust a head start towards becoming beautifully golden and flaky. Preheating the oven is crucial for achieving the right texture in the crust, preventing it from becoming soggy.
- Prepare the filling: In a large skillet, melt the butter over medium heat. Add the onions, carrots, peas, and potatoes. Cook until the vegetables are tender, which should take about 10 minutes. This step allows the vegetables to release their flavors into the butter, enhancing the dish’s overall taste. Stirring occasionally ensures even cooking and prevents the vegetables from sticking to the pan.
- Make the sauce: Stir in the flour and cook for about 1 minute, forming a roux that will thicken your sauce. Gradually whisk in the chicken broth and milk, cooking until the mixture thickens, about 5 minutes. Season with salt and pepper to taste. The sauce should coat the back of a spoon, indicating it’s ready. The gradual addition of liquids is key to avoiding lumps and achieving a smooth, creamy consistency.
- Combine: Stir in the cooked chicken, ensuring it’s well coated with the sauce. Remove from heat. This step integrates the flavors, making sure every bite is packed with taste. If you like a bit of a kick, you could add a pinch of cayenne pepper or a dash of hot sauce.
- Assemble the pie: Roll out one pie crust into a 9-inch pie plate. Pour the chicken mixture into the crust. Top with the second pie crust, sealing the edges by pinching them together. Cut small slits in the top to allow steam to escape, which is crucial to prevent the pie from becoming soggy. For an extra golden crust, consider brushing the top with a beaten egg.
- Bake: Place in the preheated oven and bake for 30-35 minutes, or until the crust is golden brown. Allow the pie to cool for at least 10 minutes before serving, which helps the filling set so it doesn’t spill out when you cut into it. The cooling time is essential not only for setting the filling but also for allowing flavors to meld together perfectly.
Kitchen Tools You’ll Need
Having the right tools can make the cooking process smoother and more enjoyable. Here’s what you’ll need:
- Large skillet: Essential for preparing the filling, ensuring even cooking of the vegetables and sauce. A heavy-bottomed skillet is ideal as it distributes heat evenly.
- Whisk: A whisk is crucial for achieving a smooth sauce without lumps. A silicone whisk can be useful if you’re using a non-stick pan to prevent scratching.
- 9-inch pie plate: This is the perfect size for holding all the delicious filling. If you prefer a deeper pie, opt for a deep-dish pie plate.
- Rolling pin (if making homemade crust): For those who prefer the taste of a homemade crust, a rolling pin is important for getting the dough to the right thickness. A marble rolling pin can help keep the dough cool as you work with it.
- Sharp knife: A sharp knife is necessary for chopping vegetables and making slits in the pie crust. A well-sharpened knife ensures precise cuts, making prep work faster and safer.
The Benefits of Each Ingredient
Understanding the role and benefits of each ingredient can deepen your appreciation for this dish:
- Chicken: A great source of protein, it makes the pie hearty and satisfying. Chicken also provides essential amino acids that help in muscle repair and maintenance. Opting for organic chicken can enhance the flavor and nutritional value of the dish.
- Carrots and Peas: These add a touch of sweetness and are rich in vitamins A and C, which are important for immune function and skin health. Fresh or frozen peas work well; avoid canned peas as they can be overly mushy.
- Potatoes: Provide an excellent source of energy and make the dish filling. They are also high in potassium, which is vital for heart health. Yukon Gold or red potatoes hold their shape well during cooking.
- Onions: Enhance flavor, adding depth to the dish. Onions also contain antioxidants that support overall health. Sautéing them until translucent brings out their natural sweetness.
- Butter and Flour: Create a roux for a rich, creamy sauce. The butter adds a depth of flavor, while the flour thickens the sauce, giving it the perfect consistency. Using unsalted butter allows you to control the salt content more precisely.
What to Serve With This Comforting Dish
This chicken pot pie is versatile and pairs well with a variety of sides. Here are some ideas:
- Simple Green Salad: A crisp salad with a light vinaigrette complements the richness of the pie, providing a refreshing contrast. Consider adding sliced apples or pears for a hint of sweetness.
- Steamed Broccoli: Adding a green vegetable like broccoli not only enhances the meal’s nutritional value but also adds a vibrant color to your plate. A sprinkle of lemon juice can brighten the dish.
- Buttery Mashed Potatoes: If you’re in the mood for something more indulgent, mashed potatoes are a classic choice that complements the creamy filling of the pot pie. Garlic-infused mashed potatoes can add an extra layer of flavor.
Storage & Leftover Tips
Proper storage ensures that your chicken pot pie remains just as delicious after a day or two:
- Refrigeration: Once cooled, store any leftovers in an airtight container in the refrigerator for up to 3 days. This keeps the pie fresh while allowing the flavors to develop further. Wrapping the pie tightly with aluminum foil can also help preserve freshness.
- Freezing: For longer storage, freeze individual portions. This method makes it easy to grab a single serving and reheat it as needed. Wrap each portion in plastic wrap and then in foil to prevent freezer burn.
- Reheating: Reheat in a 350°F oven until warm throughout. This method helps maintain the pie’s texture, keeping the crust flaky and the filling hot and delicious. Avoid microwaving, as it can make the crust soggy.
This recipe is a celebration of classic comfort food, perfect for bringing loved ones together around the table. I hope it becomes a cherished part of your family traditions, just like it has in mine. Happy cooking!
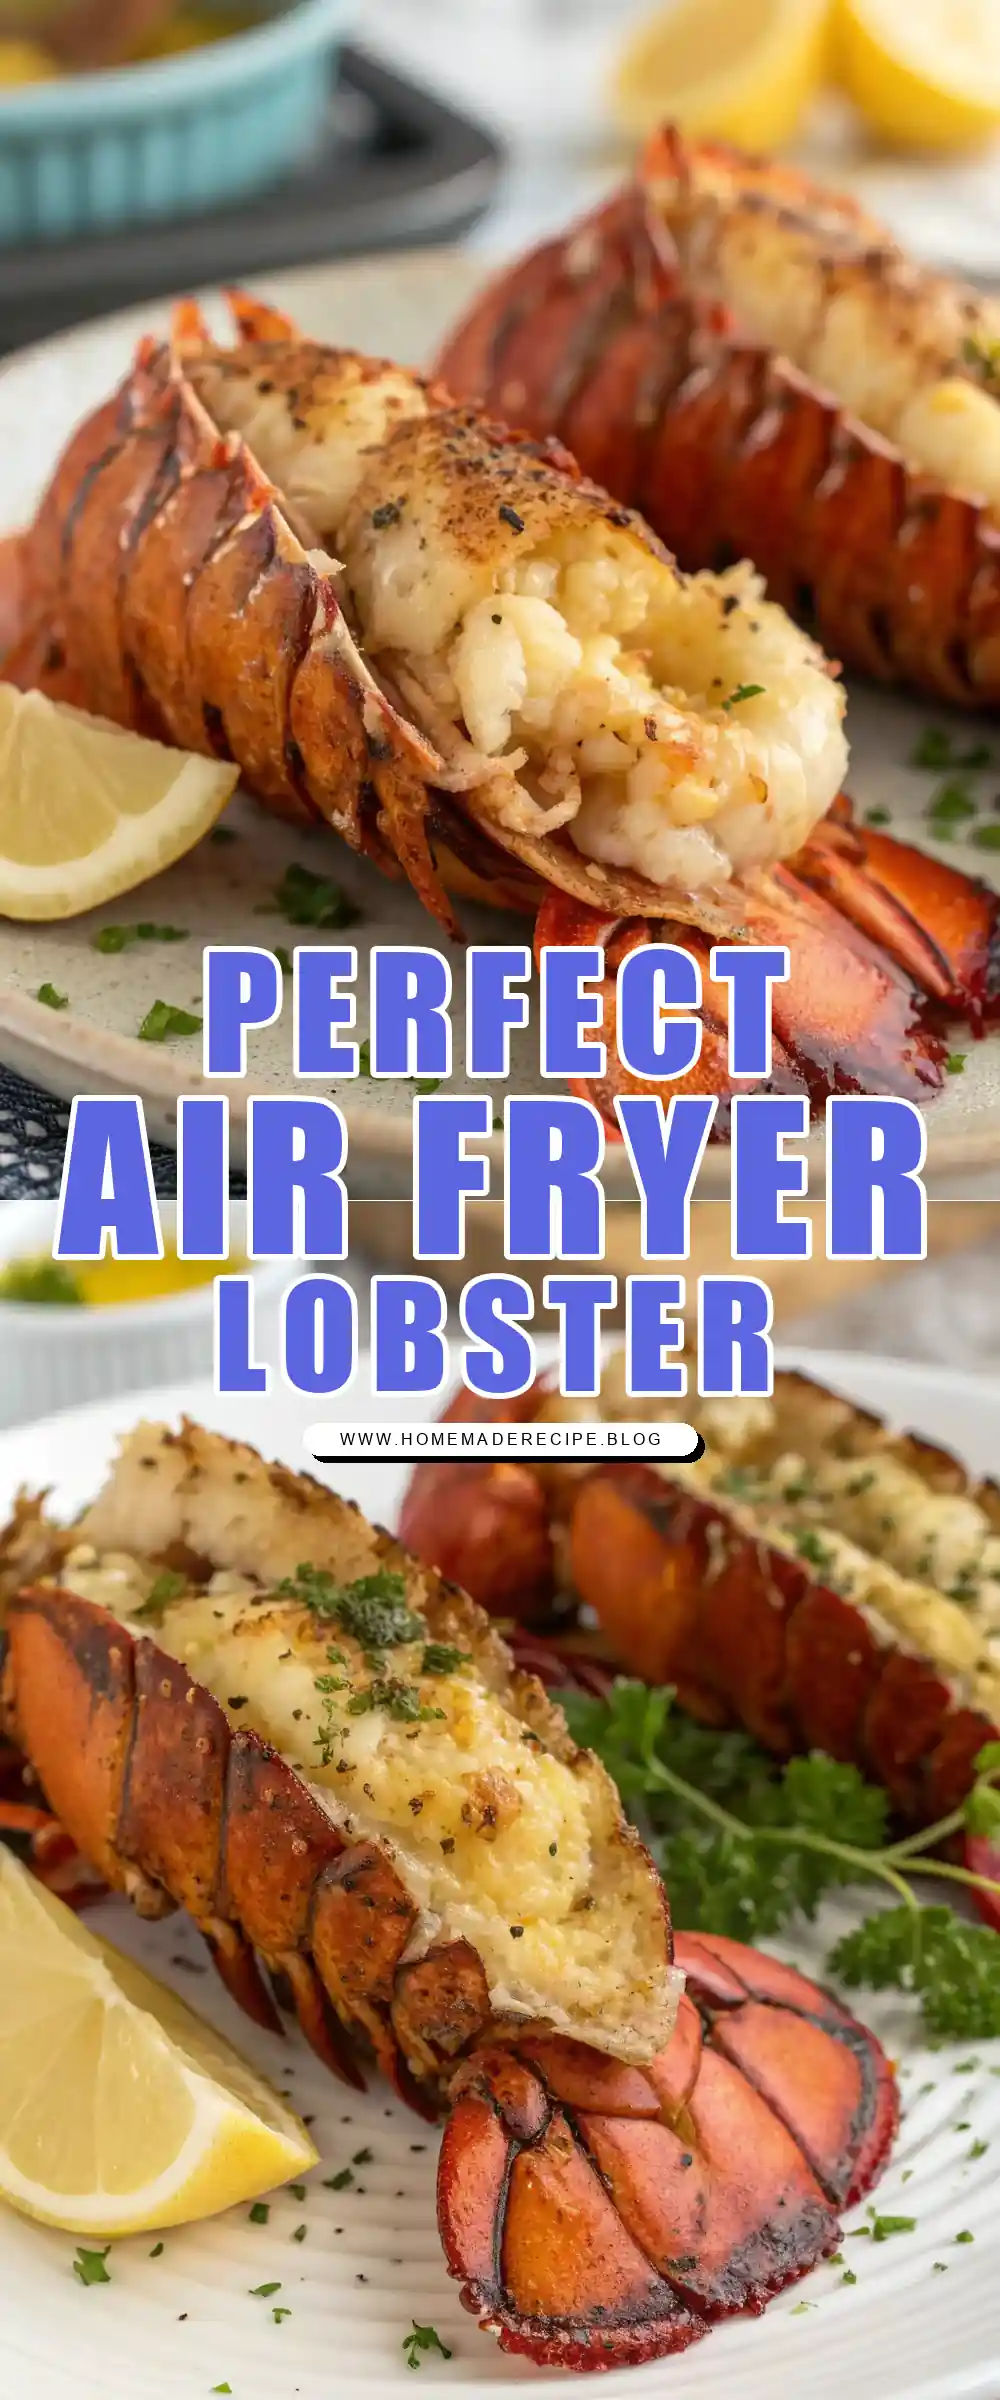

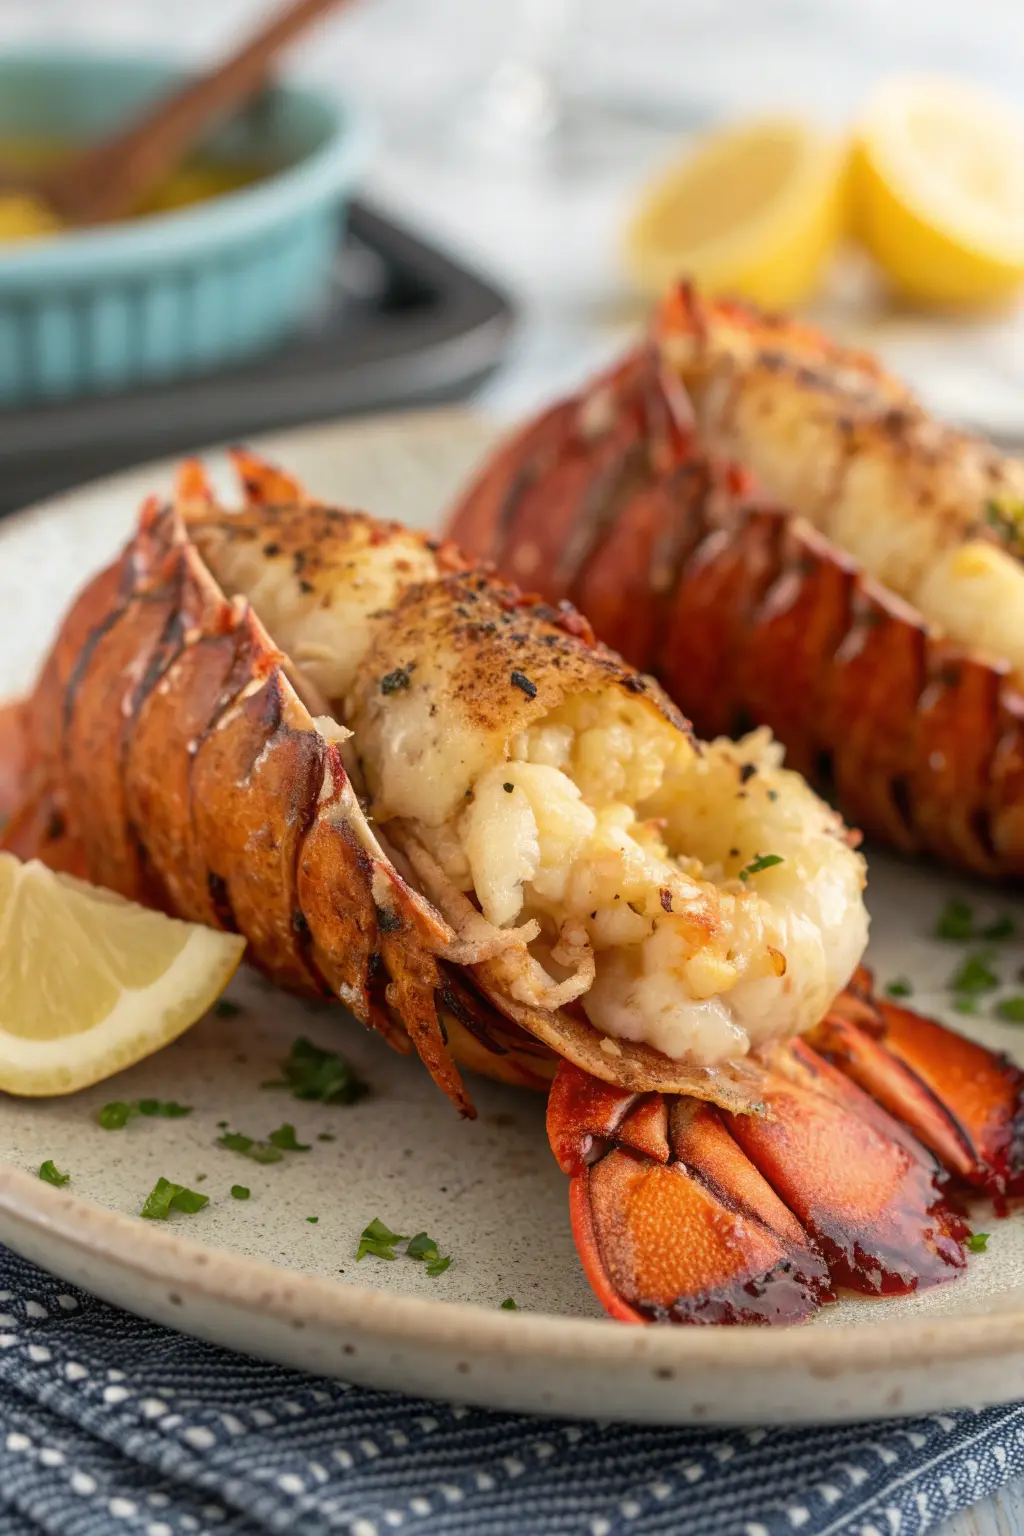
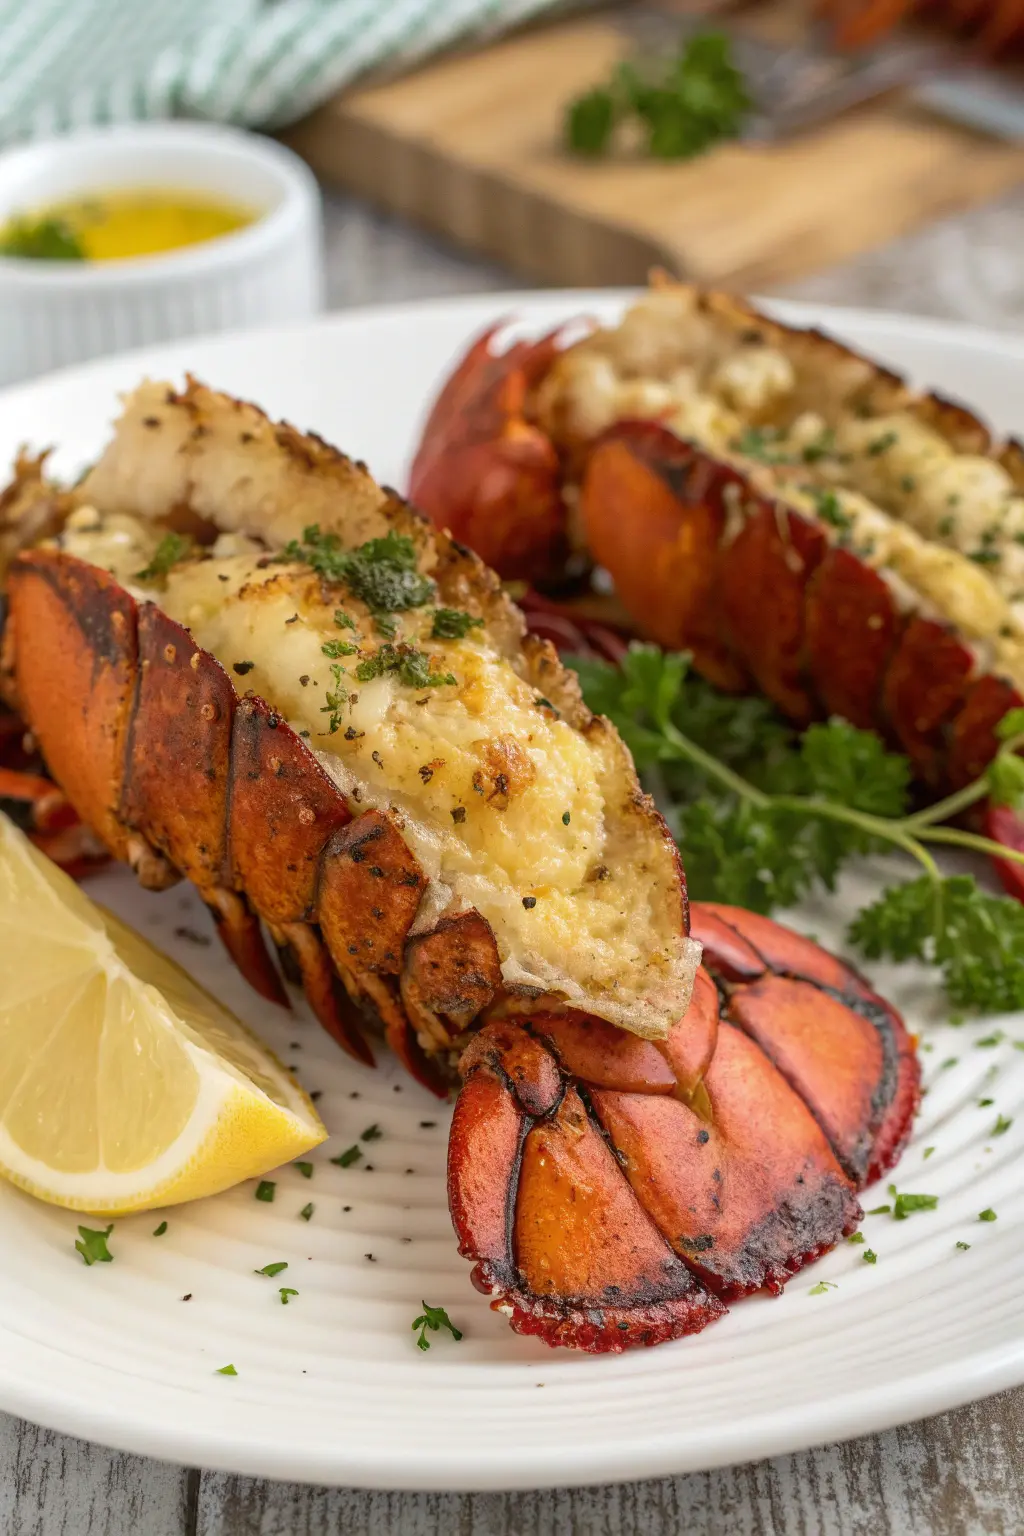
Air Fryer Lobster Tails
Ingredients
Equipment
Method
- Preheat the air fryer to 380°F (193°C).
- Using kitchen scissors, cut the top shell of each lobster tail lengthwise to expose the meat. Gently pull the meat out slightly and lay it on top of the shell.
- In a small bowl, mix the melted butter, minced garlic, lemon juice, paprika, salt, and pepper.
- Brush the butter mixture generously over the lobster meat.
- Place the lobster tails in the air fryer basket, meat side up, ensuring they do not overlap.
- Cook for 8-10 minutes, or until the lobster meat is opaque and reaches an internal temperature of 145°F (63°C).
- Remove from the air fryer and garnish with chopped parsley before serving.