
I remember the first time I stumbled upon this old-fashioned drop butter cookies recipe, tucked away in my grandmother’s well-loved recipe box, marked simply “Butter Cookies (Since 1985!).” It was a rainy afternoon; my kids were restless, and the idea of baking together seemed like the perfect cure for the weather blues. Little did I know, these cookies would become a staple in our home, a tradition passed down through generations, carrying the essence of family and love in every bite.
Table of Contents
- Why You’ll Love This Cookie Recipe
- The Recipe
- Kitchen Tools You’ll Need
- The Benefits of Each Ingredient
- What to Serve With These Cookies
- Storage & Leftover Tips
Why You’ll Love This Cookie Recipe
- Simplicity at Its Best: With just six ingredients, this recipe is a testament to the beauty of simplicity. It’s easy to whip up, even if you’re new to baking. You don’t need any fancy equipment or hard-to-find ingredients—just the basics you likely have in your pantry.
- Perfectly Buttery: These cookies are melt-in-your-mouth buttery, thanks to the generous use of real butter. They have a rich flavor that is both comforting and nostalgic. The butter is not just a flavor component but also contributes significantly to the texture, making these cookies soft yet with a satisfying bite.
- Versatile and Customizable: Whether you enjoy them plain or dressed up with a sprinkle of sugar, these cookies are a blank canvas for your creativity. Add a drizzle of chocolate or a dusting of cinnamon for a twist! You can even add a handful of your favorite nuts or a pinch of citrus zest to bring a new dimension to these classic treats.
- Family-Friendly: A wonderful activity for the whole family, this recipe is simple enough for kids to help with. It’s a delightful way to bond and create sweet memories together. Let your little ones get involved by measuring ingredients or forming the dough balls. It’s a perfect opportunity to teach them about baking and create lasting memories.
- Long-Lasting Appeal: These cookies have been a hit since 1985 for a reason. Their timeless appeal makes them a beloved choice for any occasion, from holiday gatherings to simple afternoon snacks. They are as fitting for a festive cookie swap as they are for a quiet afternoon with a good book.

The Recipe
Prep Time: 15 minutes
Cook Time: 8-10 minutes
Servings: 24 cookies
Calories: Approximately 120 per cookie
Ingredients
- 1 cup butter, softened: Using unsalted butter gives you control over the saltiness of the final product. Make sure it’s at room temperature for easy mixing.
- 1 cup sugar: Granulated sugar works best, but you can experiment with brown sugar for a deeper flavor.
- ¼ teaspoon salt: Balances the sweetness and enhances the buttery flavor.
- 1 large egg: Acts as a binder and adds richness.
- 1 teaspoon vanilla extract: Pure vanilla extract is best for authentic flavor.
- 2 cups sifted all-purpose flour (original recipe uses White Lily All-Purpose Flour): Sifting is crucial for a light texture.
Instructions
- Preheat Oven:
Preheat your oven to 375°F (190°C). Line a baking sheet with parchment paper. This ensures easy cleanup and prevents the cookies from sticking. If you don’t have parchment paper, a silicone baking mat is a great reusable option. - Cream the Butter & Sugar:
In a mixing bowl, beat the softened butter and sugar together until light, fluffy, and pale in color. This step is crucial for giving the cookies their creamy texture, so don’t rush it! It usually takes about 3-4 minutes with an electric mixer on medium speed. - Add the Egg & Vanilla:
Beat in the egg and vanilla extract until fully combined. The vanilla adds a lovely depth of flavor that complements the buttery richness. Make sure the egg is at room temperature to ensure it incorporates smoothly into the batter. - Add the Dry Ingredients:
Add the salt, then gradually mix in the sifted flour until a soft dough forms. Be careful not to overmix — stop as soon as the flour disappears to maintain the tender texture of the cookies. Overmixing can lead to tough cookies. - Drop the Dough:
Using a teaspoon or small cookie scoop, drop rounded portions of dough onto the baking sheet, leaving about 2 inches of space between each cookie. This spacing allows for even baking and prevents the cookies from merging. If you prefer, roll the dough into balls for a more uniform shape. - Bake:
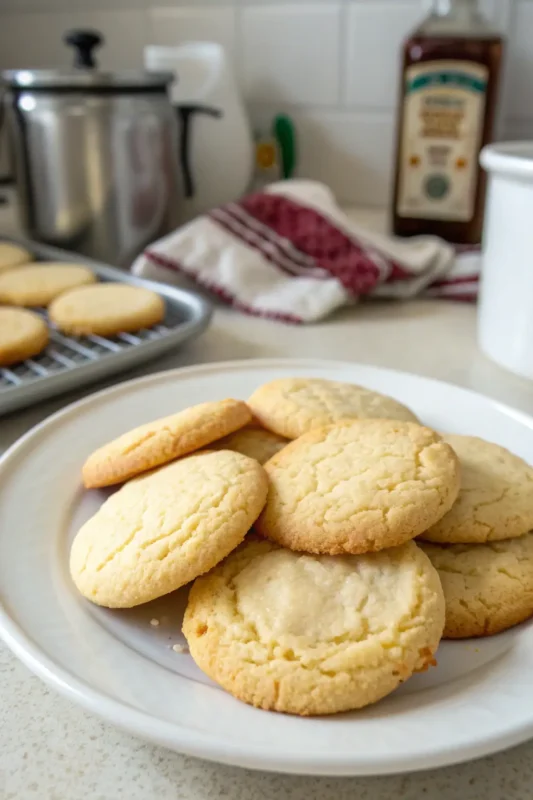
Bake for 8–10 minutes, or until the edges are just lightly golden. The centers should remain pale for that perfect buttery softness. Keep an eye on the first batch to gauge the perfect timing for your oven, as all ovens bake differently. - Cool:
Remove from the oven and allow the cookies to cool on the baking sheet for 2–3 minutes before transferring them to a wire rack. This cooling time helps the cookies set without becoming too hard. If you try to move them too soon, they might crumble.
Kitchen Tools You’ll Need
- Mixing Bowl: Essential for combining ingredients. A medium-sized bowl is typically sufficient for this recipe.
- Electric Mixer: To cream the butter and sugar efficiently. A hand mixer or stand mixer both work well.
- Baking Sheet: A flat surface for baking the cookies. Make sure it’s large enough to fit all the cookies.
- Parchment Paper: Prevents sticking and simplifies cleanup. Alternatively, a silicone baking mat can be used.
- Wire Rack: For cooling the cookies evenly. This allows air to circulate, preventing the bottoms from getting soggy.
- Teaspoon or Small Cookie Scoop: For portioning the dough consistently. A scoop ensures even-sized cookies for uniform baking.
The Benefits of Each Ingredient
- Butter: The star of the show, butter provides flavor and tenderness. Its fat content is crucial for creating the cookies’ soft, melt-in-your-mouth texture. Using high-quality butter can make a noticeable difference in flavor.
- Sugar: Adds sweetness and helps achieve the cookies’ light, golden-brown edges. It also contributes to the spread and texture of the cookies.
- Salt: Enhances the overall flavor by balancing the sweetness. A small amount goes a long way.
- Egg: Contributes to the structure and stability of the cookies, helping them rise just right. It also adds moisture and richness.
- Vanilla Extract: Adds a warm, aromatic flavor that pairs perfectly with butter. Opt for pure vanilla extract to avoid artificial aftertastes.
- Flour: The foundation of the cookie, flour provides structure. Sifting it ensures a light, tender crumb. For a slightly nutty flavor, try substituting a small portion with almond flour.
What to Serve With These Cookies
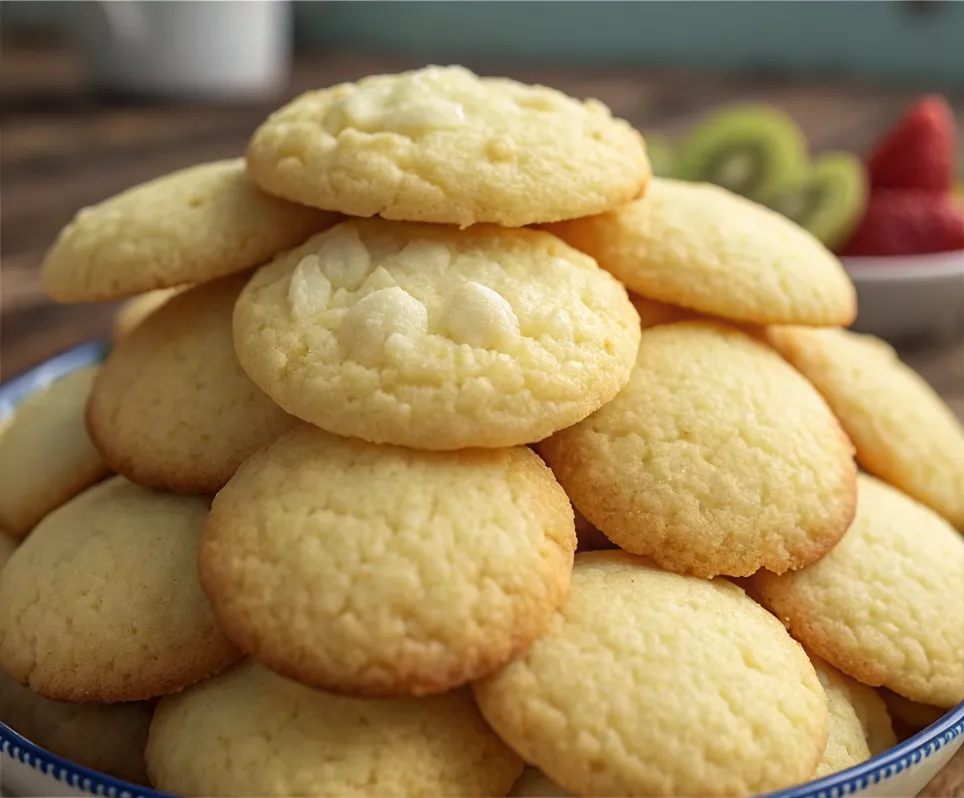
These Butter Cookies (Since 1985!) are delightful on their own, but they also pair beautifully with a variety of beverages and other treats:
- Tea or Coffee: The subtle sweetness of the cookies makes them a perfect companion for your afternoon tea or coffee break. A fragrant Earl Grey or a robust cup of dark roast coffee complements the buttery flavor beautifully.
- Ice Cream: Serve them alongside a scoop of vanilla or chocolate ice cream for an indulgent dessert. The contrast of warm cookies with cold, creamy ice cream is heavenly.
- Fruit Compote: A dollop of berry compote or lemon curd adds a refreshing contrast to the buttery richness of the cookies. The tartness of the fruit balances the sweetness of the cookies perfectly.
For more delightful pairings, check out our Lemon Curd Recipe and explore our Homemade Vanilla Ice Cream Guide. Serving these cookies alongside fresh berries or a fruit salad can also be a refreshing option.
Storage & Leftover Tips
- Room Temperature: Store your butter cookies in an airtight container at room temperature for up to a week. They maintain their softness and flavor beautifully. Place a small piece of bread in the container to help keep the cookies moist.
- Freezing: If you want to keep them longer, freeze the cookies in a single layer on a baking sheet. Once frozen, transfer them to a zip-top bag or airtight container. They can be frozen for up to three months. For best results, let them thaw at room temperature before serving.
- Reheating: To enjoy frozen cookies, allow them to thaw at room temperature. You can also briefly warm them in the oven at 300°F (150°C) for a few minutes for that freshly-baked taste. Avoid microwaving as it can make them chewy.

For more tips on storing baked goods, visit our Baking Basics Page. If you plan to bake these cookies for an event, they can be made a day or two in advance and stored properly to ensure they remain fresh and delicious.
In conclusion, these Butter Cookies (Since 1985!) are more than just a sweet treat; they’re a testament to the joys of simple, homemade baking. Whether you’re sharing them with family or savoring a quiet moment with a cup of tea, these cookies are sure to bring warmth and happiness to your home. So, gather your loved ones, roll up your sleeves, and create a batch of memories that will last for years to come. Happy baking!

Butter Cookies (Since 1985!)
Ingredients
Equipment
Method
- Preheat your oven to 375°F (190°C). Line a baking sheet with parchment paper.
- In a mixing bowl, beat the softened butter and sugar together until light, fluffy, and pale in color.
- Beat in the egg and vanilla extract until fully combined.
- Add the salt, then gradually mix in the sifted flour until a soft dough forms. Do not overmix — stop as soon as the flour disappears.
- Using a teaspoon or small cookie scoop, drop rounded portions of dough onto the baking sheet, leaving about 2 inches of space between each cookie.
- Bake for 8–10 minutes, or until the edges are just lightly golden. The centers should stay pale for that perfect buttery softness.
- Remove from the oven and allow the cookies to cool on the baking sheet for 2–3 minutes before transferring them to a wire rack.