
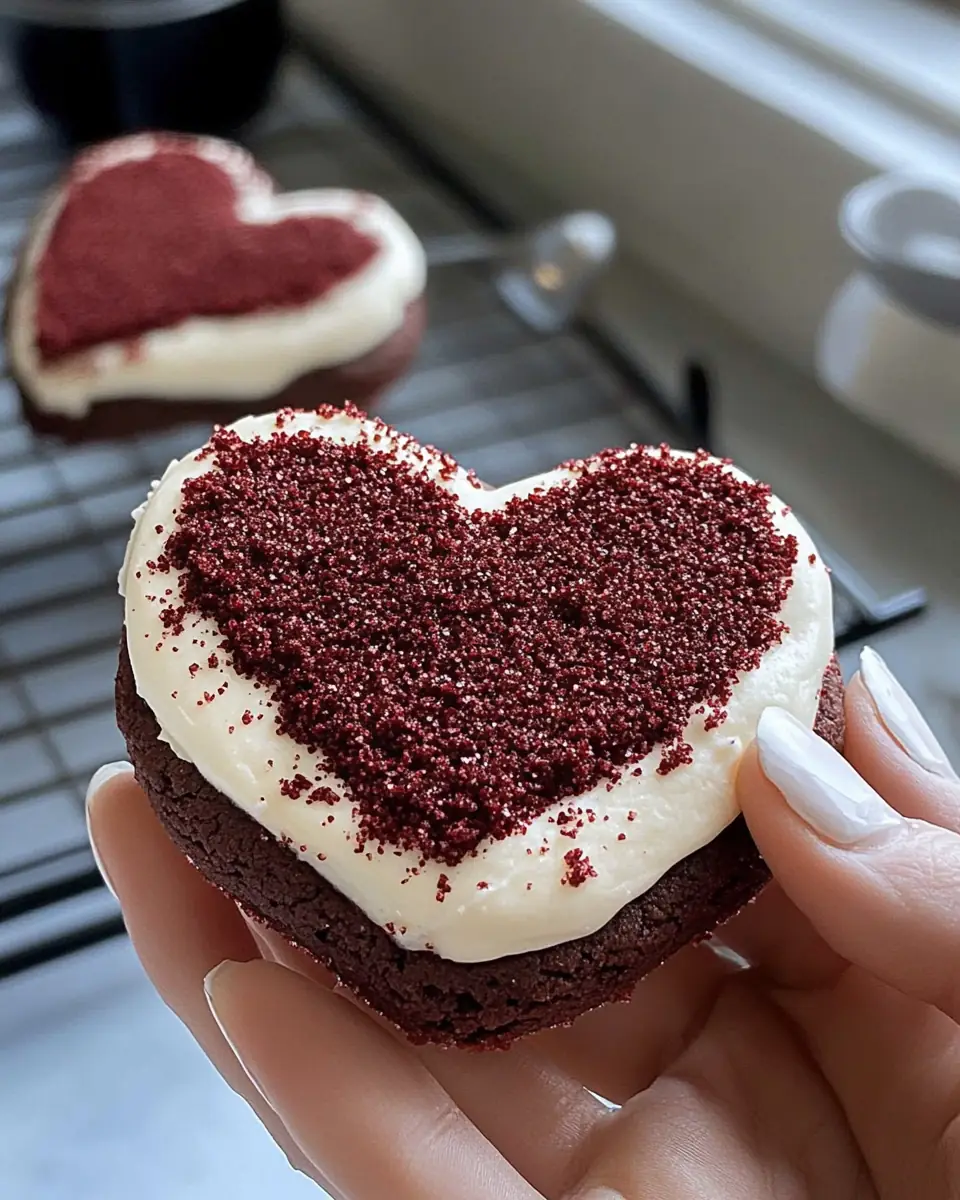
Heart Shaped Red Velvet Frosted Cookies: A Labor of Love
When I think about my favorite family traditions, baking Heart Shaped Red Velvet Frosted Cookies always comes to mind. There’s something magical about the aroma of cocoa and vanilla wafting through the house, signaling that love is indeed in the air. These cookies have been a staple in my kitchen around Valentine’s Day, but honestly, they’re perfect for any occasion that calls for a bit of heartwarming indulgence. Whether it’s a cozy afternoon with the kids or a festive holiday gathering, these cookies are the epitome of warmth and care.
Why You’ll Love These Cookies
These cookies are more than just a treat; they’re an experience, a testament to love, and a delightful way to bring people together. Here’s why they’ll become a favorite in your home:
- Irresistibly Delicious: The combination of cocoa and a hint of espresso gives these heart-shaped cookies a rich, decadent flavor that pairs beautifully with the creamy frosting. The balance of sweet and slightly bitter notes creates a harmony that is hard to resist.
- Easy to Make: With straightforward steps and common pantry ingredients, this recipe is perfect for bakers of all levels. Even if you’re new to baking, you’ll find these cookies approachable and rewarding to make.
- Perfect for Celebrations: Their charming heart shape makes these cookies a delightful addition to any celebration, from anniversaries to birthdays. They’re a conversation starter and a surefire way to impress your guests.
- Kid-Friendly Activity: Shaping the cookies into hearts and decorating them with frosting is a fun way to get the little ones involved in the kitchen. It’s a wonderful way to create memories and instill a love for baking in your children.
- Versatile Treat: These cookies can be customized with different decorations and flavors, making them a versatile addition to your baking repertoire. You can experiment with colors, shapes, and even fillings to suit different occasions.
The Recipe
Ingredients:
- 1 cup butter
- 1/2 cup packed brown sugar
- 1/2 cup granulated sugar
- 1 large egg
- 2 tsp vanilla extract
- 1 tbsp molasses (optional)
- 1 tbsp red food coloring
- 2 cups all-purpose flour
- 1 tsp baking soda
- 1/2 tsp baking powder
- 1/4 tsp salt (optional if you used salted butter)
- 1/2 cup cocoa powder
- 1 tbsp espresso powder (optional)
For the frosting: – 1 cup butter – 3 cups powdered sugar – 3 tbsp heavy cream (or milk) – 1/2 tsp vanilla extract – 1/2 cup granulated sugar – Cookie crumbles
Directions:
Preheat your oven to 350°F (convection). Beat room-temperature butter in a stand mixer or by hand for 3–5 minutes until pale and off-white. This step is crucial as it ensures that the butter is aerated, resulting in light and fluffy cookies.
Add sugars: Incorporate brown sugar and granulated sugar, beating until light and fluffy, about 2 minutes. The blend of sugars adds depth and complexity to the flavor profile of the cookies.
Mix in the egg: Combine thoroughly, then add vanilla extract and molasses if using. The egg acts as a binding agent, ensuring that your cookies hold their shape, while vanilla adds a subtle aromatic undertone.
Incorporate dry ingredients: Gradually mix in flour, baking soda, baking powder, espresso powder, cocoa powder, and salt on low speed or by folding with a spatula. The dry ingredients form the structure of the cookies, while the espresso powder enhances the cocoa flavor without overpowering it.
Bake a test cookie: Scoop 1/3 cup of dough for a test cookie to check oven temperature and consistency. This step helps ensure that your entire batch will bake evenly.
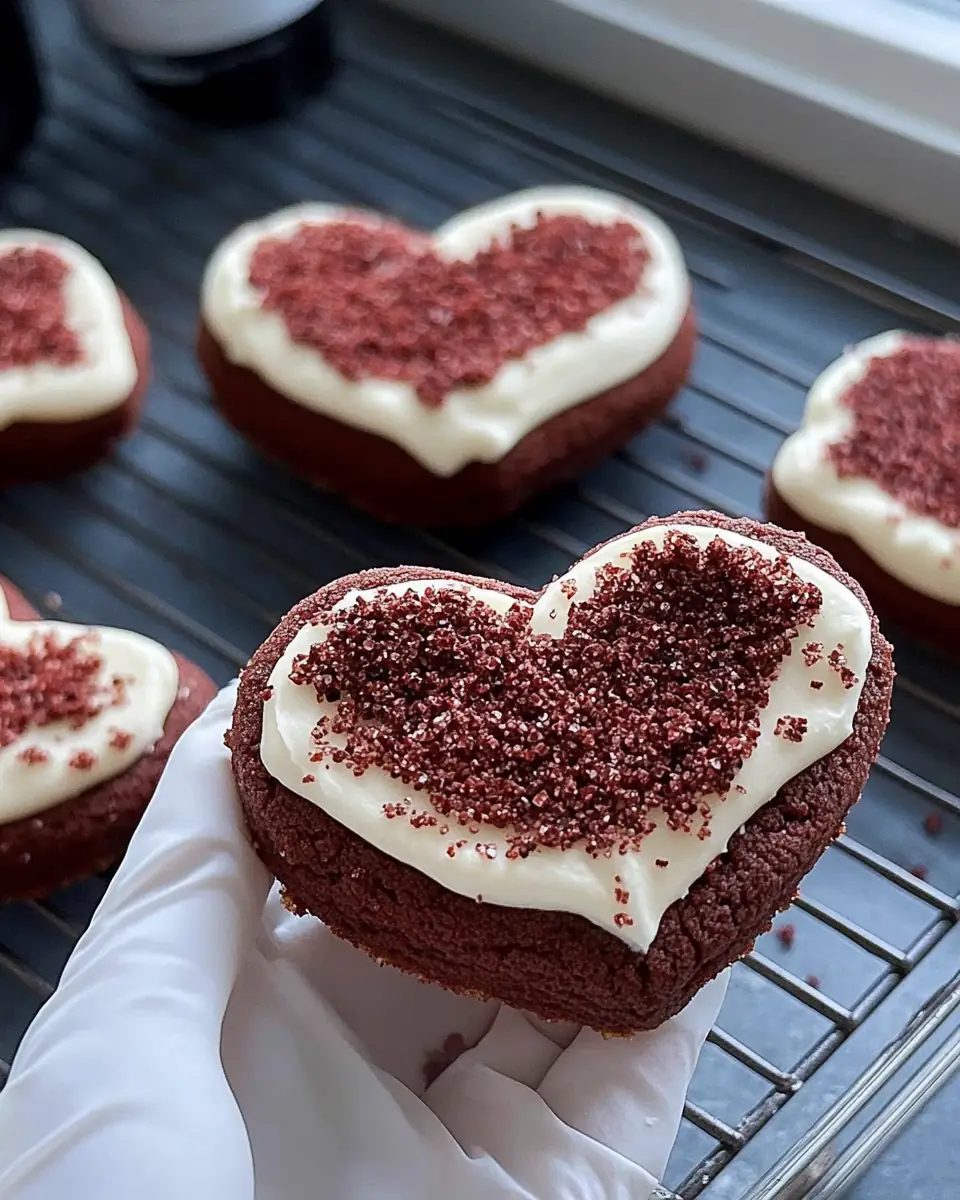
Shape the cookies: Once satisfied, scoop the rest of the dough, shape into hearts, and roll in granulated sugar if desired. Bake for 9–10 minutes. The granulated sugar adds a delightful crunch and sparkle to the cookies.
Cool and chill: Allow cookies to cool on the tray for 10 minutes, then transfer to a cooling rack. Chill cookies before frosting. Cooling ensures that the cookies set properly and don’t crumble when frosted.
Prepare the frosting: Beat butter until pale, add powdered sugar, and mix until smooth. Whip in heavy cream and vanilla until fluffy. Optional: Fold frosting to remove air bubbles before piping onto chilled cookies. The frosting should be smooth and creamy, perfect for spreading or piping.
Decorate: Pipe or spread frosting and sprinkle with cookie crumbles. This is where your creativity can shine, adding personal touches to each cookie.
Nutrition:
- Calories: 480 kcal
- Carbohydrates: 50 g
- Protein: 1 g
- Fat: 33 g
- Sugar: 47 g
Time:
- Prep Time: 25 minutes
- Cook Time: 12 minutes
- Total Time: 37 minutes
Kitchen Tools You’ll Need
Creating these delightful cookies is even easier with the right tools. Here’s a list of what you’ll need:
- Stand Mixer or Hand Mixer: Essential for achieving the perfect texture in your cookie dough and frosting.
- Mixing Bowls: Various sizes for mixing ingredients.
- Baking Tray: Ensure even baking with a good-quality tray.
- Parchment Paper: Prevents sticking and makes cleanup a breeze.
- Cooling Rack: Allows cookies to cool evenly, maintaining their shape and texture.
- Piping Bag or Spatula: For frosting the cookies beautifully.
The Benefits of Each Ingredient
Understanding the role of each ingredient can elevate your baking skills and appreciation for the process:
- Butter: Adds richness and moisture, making the cookies tender with a melt-in-your-mouth texture.
- Brown Sugar: Provides a deep, molasses-like sweetness that complements the cocoa and enhances the overall flavor.
- Cocoa Powder: The star for the classic red velvet flavor, offering a rich chocolatey taste.
- Espresso Powder: Intensifies the chocolate flavor without tasting like coffee, adding depth to the cookies.
- Molasses: Offers a subtle complexity that’s optional but recommended for depth and a more layered taste.
Each ingredient’s unique contribution to the recipe not only enhances flavor but also impacts texture, making these cookies truly exceptional.
What to Serve With These Cookies
These Heart Shaped Red Velvet Frosted Cookies pair wonderfully with a hot cup of coffee or a glass of cold milk. For a festive touch, consider serving them alongside a bowl of fresh strawberries or a scoop of vanilla ice cream. The contrast of flavors and temperatures can create a delightful dessert experience.
Imagine a cozy evening with friends and family, where these cookies are the centerpiece of a dessert table. Pair them with a selection of teas or a rich hot chocolate for an indulgent treat that everyone will love. Alternatively, consider a wine pairing; a sweet dessert wine like a late harvest Riesling can complement the rich flavors of the cookies beautifully.
If you’re in the mood for more baking adventures, try our Classic Chocolate Chip Cookies or Fluffy Vanilla Cupcakes for a delightful dessert spread. They complement each other well and provide a variety of textures and flavors for your guests to enjoy.
Storage & Leftover Tips
To keep these cookies fresh, store them in an airtight container in the fridge for up to 10 days or at room temperature for up to 8 days. If you find yourself with leftovers (a rare occurrence!), you can freeze the unfrosted cookies. Just wrap them tightly in plastic wrap and store them in a freezer bag for up to 3 months. Thaw at room temperature before frosting, and they’ll taste just as fresh as the day they were baked.
Storing them properly ensures that these cookies maintain their delightful texture and flavor. If frozen, consider frosting them fresh for a just-baked taste. This makes them a convenient option for planning ahead, especially during busy holiday seasons.
Customization Ideas
For those who love to experiment, here are some fun ways to customize these cookies to suit different tastes and occasions:
- Chocolate Drizzle: After frosting, drizzle some melted chocolate over the top for an extra layer of richness.
- Nutty Addition: Add crushed nuts like pecans or walnuts to the dough for a crunchy texture contrast.
- Spicy Twist: Introduce a pinch of cayenne pepper or cinnamon to the dough for a subtle spice kick.
- Color Variations: Use different food coloring to match the theme of your event, such as green for St. Patrick’s Day or orange for Halloween.
These customization options allow you to tailor the cookies to specific holidays or personal preferences, making them not only a delicious treat but also a versatile one.
A Journey Through Red Velvet’s History
Red velvet is not just a flavor; it’s a culinary tradition with roots that stretch back to the Victorian era when velvet cakes were the luxury dessert of choice. The term “velvet” was used to describe cakes that had a soft, tender crumb, which was achieved by using cocoa. The red hue didn’t become prominent until the 1930s and 1940s when food coloring became more widely used.
The evolution of red velvet from a luxurious cake to a beloved cookie form is a testament to its enduring appeal. It has become synonymous with sophistication and indulgence, often appearing at weddings, holidays, and romantic celebrations. The allure of red velvet lies not only in its striking appearance but in its balance of flavors and textures.
Conclusion
In conclusion, these Heart Shaped Red Velvet Frosted Cookies are not just a treat; they’re a heartfelt expression of love and care. Whether you’re sharing them with family or indulging on your own, I hope this recipe brings warmth and joy to your kitchen. Baking is an art that transcends mere sustenance; it’s about creating something beautiful that can be shared and enjoyed by others. Happy baking!
Through this expanded exploration of our beloved Heart Shaped Red Velvet Frosted Cookies, we’ve delved into the details that make them so special—from their ingredients to their cultural history. I hope this comprehensive guide inspires you to embrace the joy of baking and to share that joy with those you love.
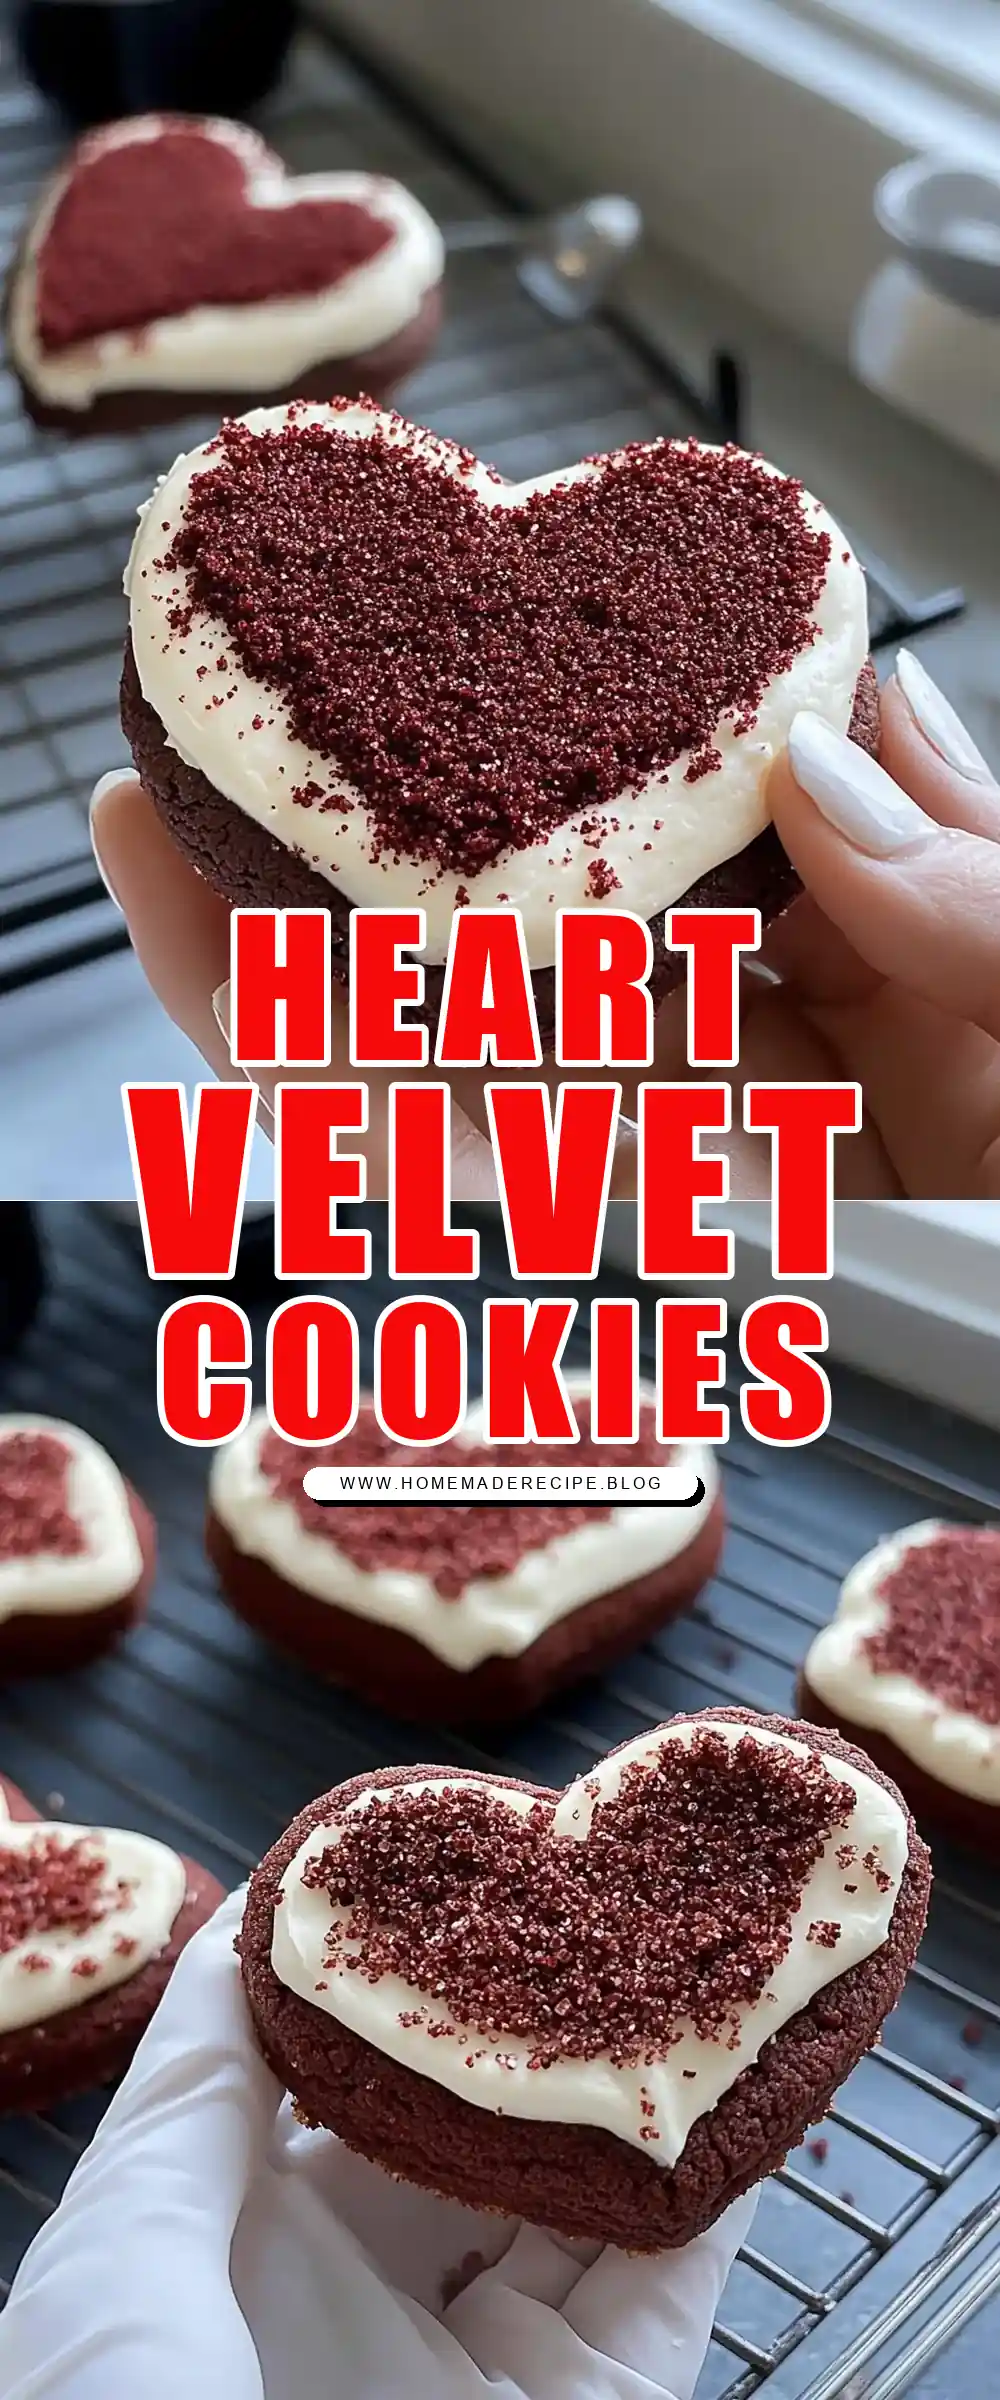
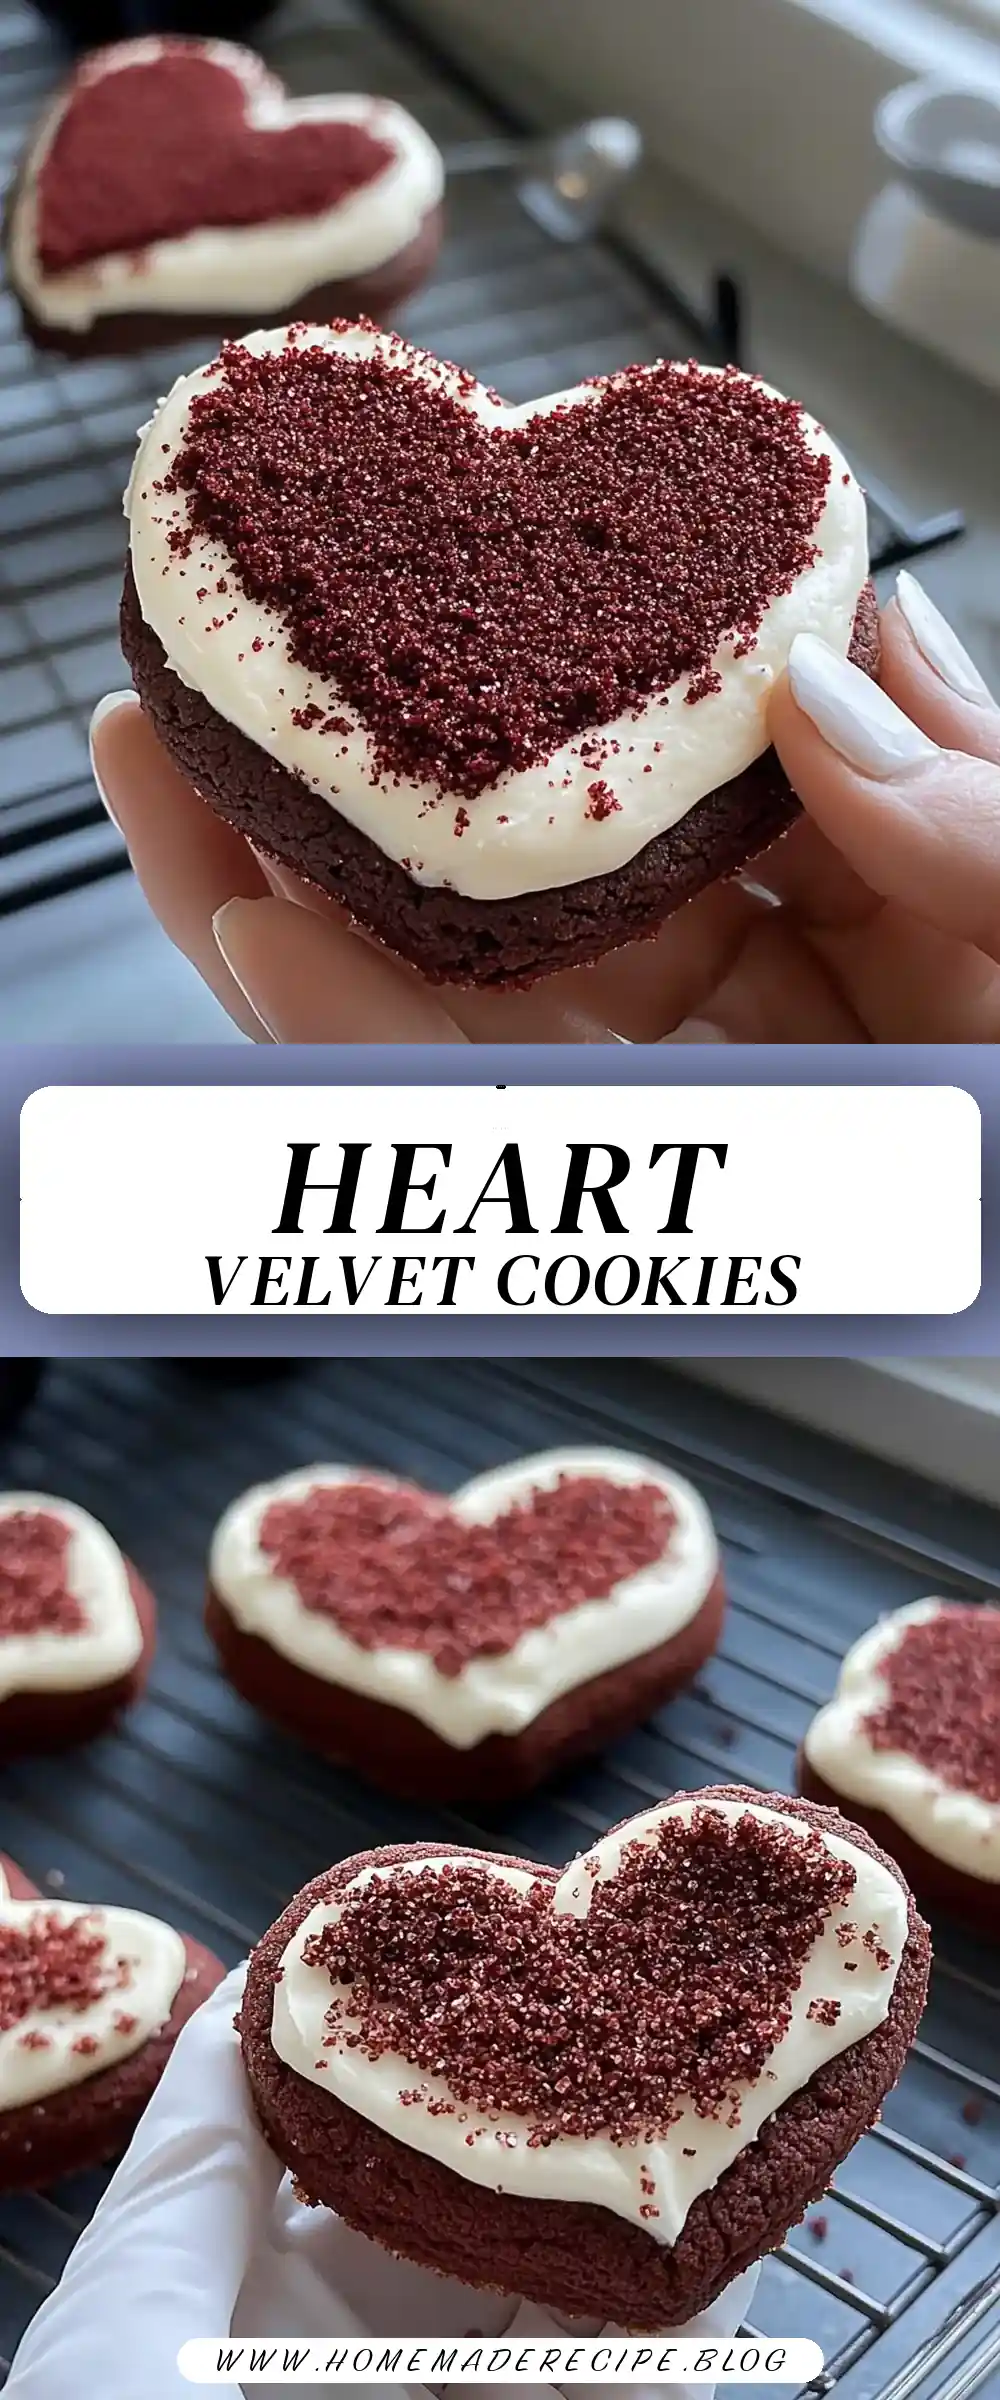
Heart Shaped Red Velvet Frosted Cookies
Ingredients
Equipment
Method
- Preheat oven to 350°F (convection).
- Beat room-temperature butter in a stand mixer or by hand for 3–5 minutes, until pale and off-white.
- Add brown sugar and granulated sugar. Beat until light and fluffy, about 2 minutes.
- Mix in the egg until combined. Add vanilla extract and molasses (optional).
- Add flour, baking soda, baking powder, espresso powder, cocoa powder, and salt. Mix on low speed if using a stand mixer, or gently fold with a spatula until a dough forms.
- Scoop 1/3 cup (56 g) of dough and place one ball on a baking tray. Bake this test cookie first to check oven temperature, spread, and flavor before baking the full batch.
- Once satisfied with the test cookie, scoop remaining dough and place on the tray. Gently mold into heart shapes and roll in granulated sugar if desired. Use the test cookie to determine spacing. Bake for 9–10 minutes.
- Let cookies cool on the tray for 10 minutes, then transfer to cool completely. Chill cookies in the fridge before frosting.
- For the frosting, beat butter and shortening together until pale. Add powdered sugar and mix until smooth. Pour in heavy cream and extracts, then whip until light and fluffy. Optional: fold frosting with a spatula to remove air bubbles before piping. Pipe or spread frosting onto chilled cookies. Crumble one cookie and sprinkle on top.