
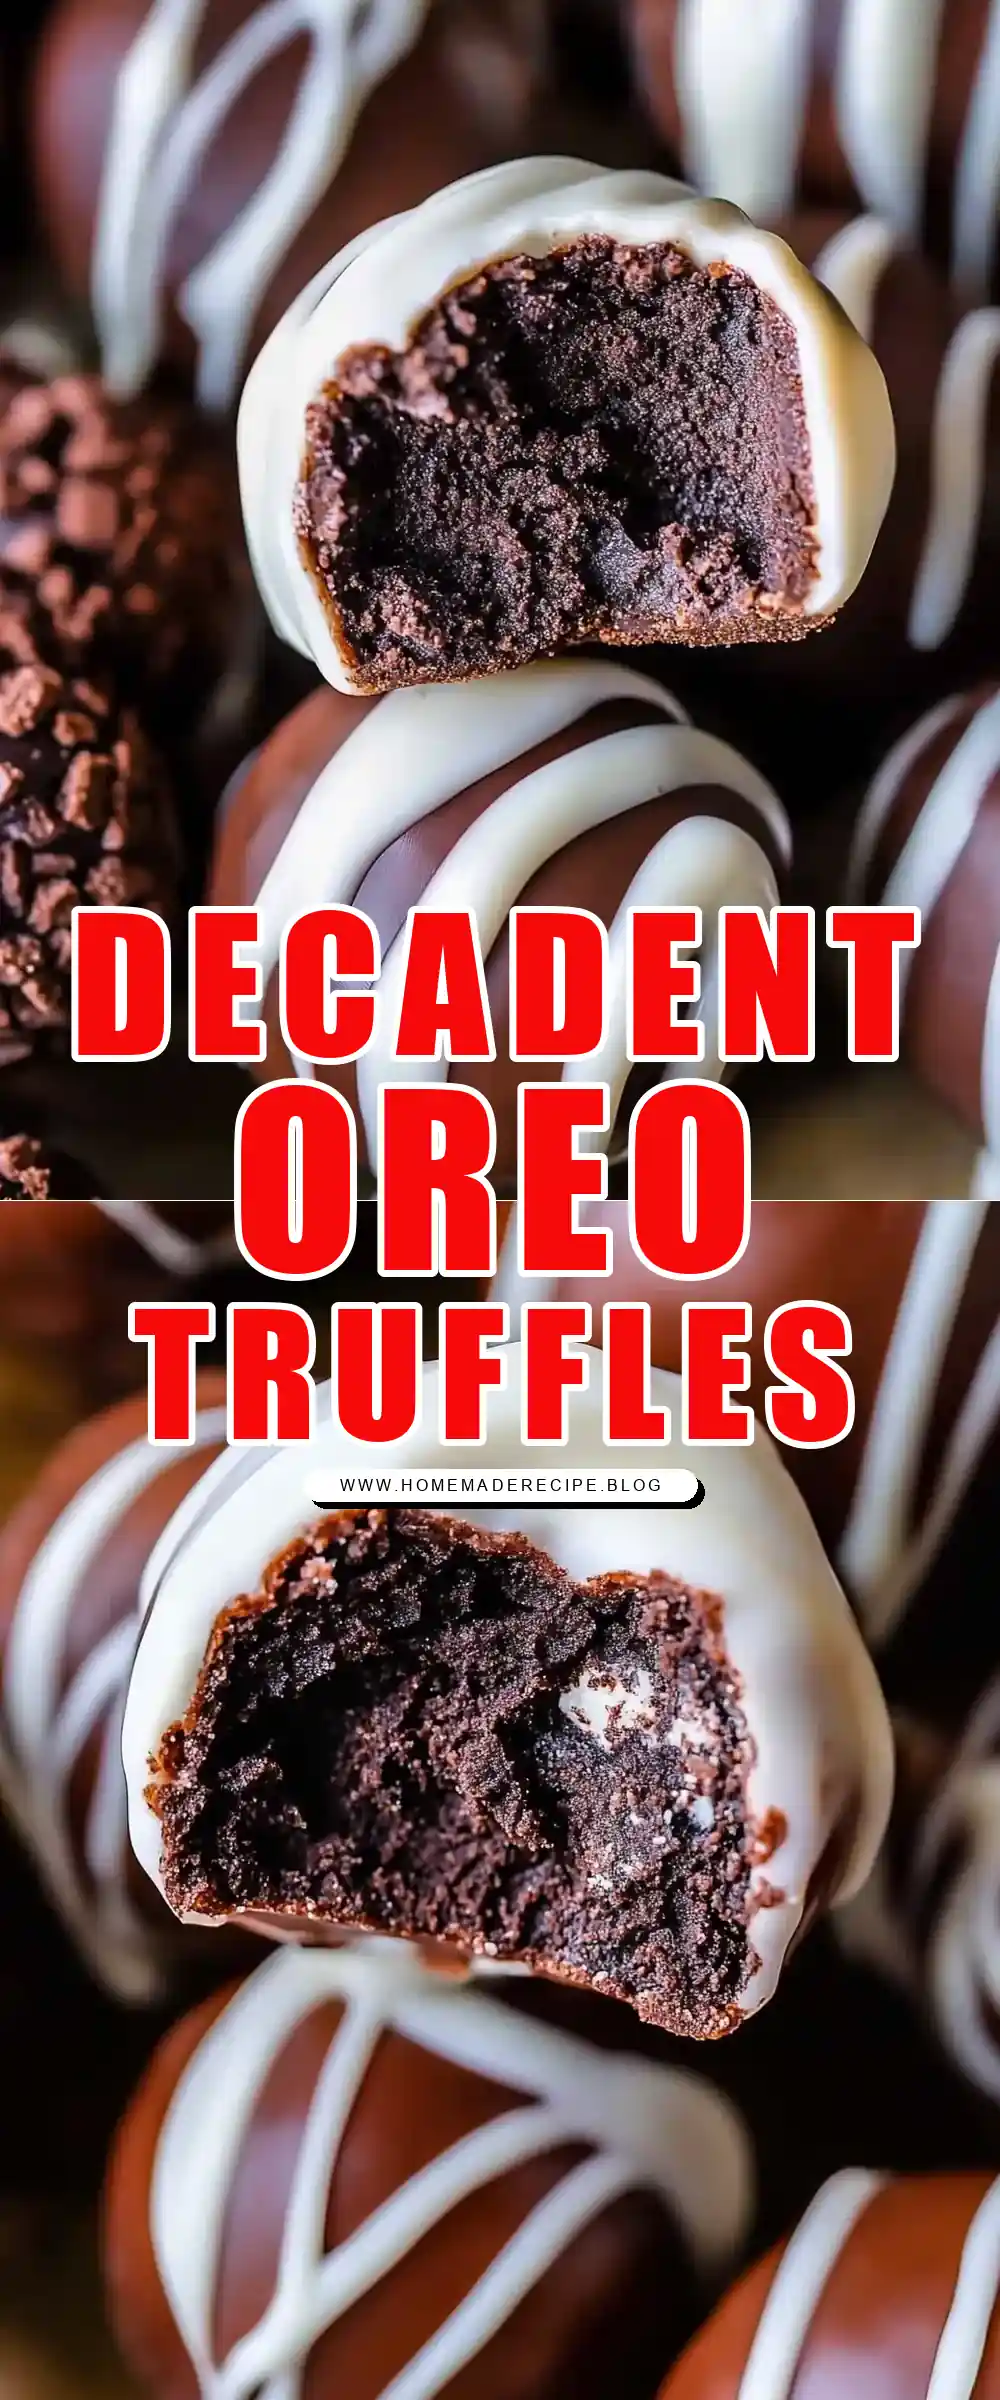
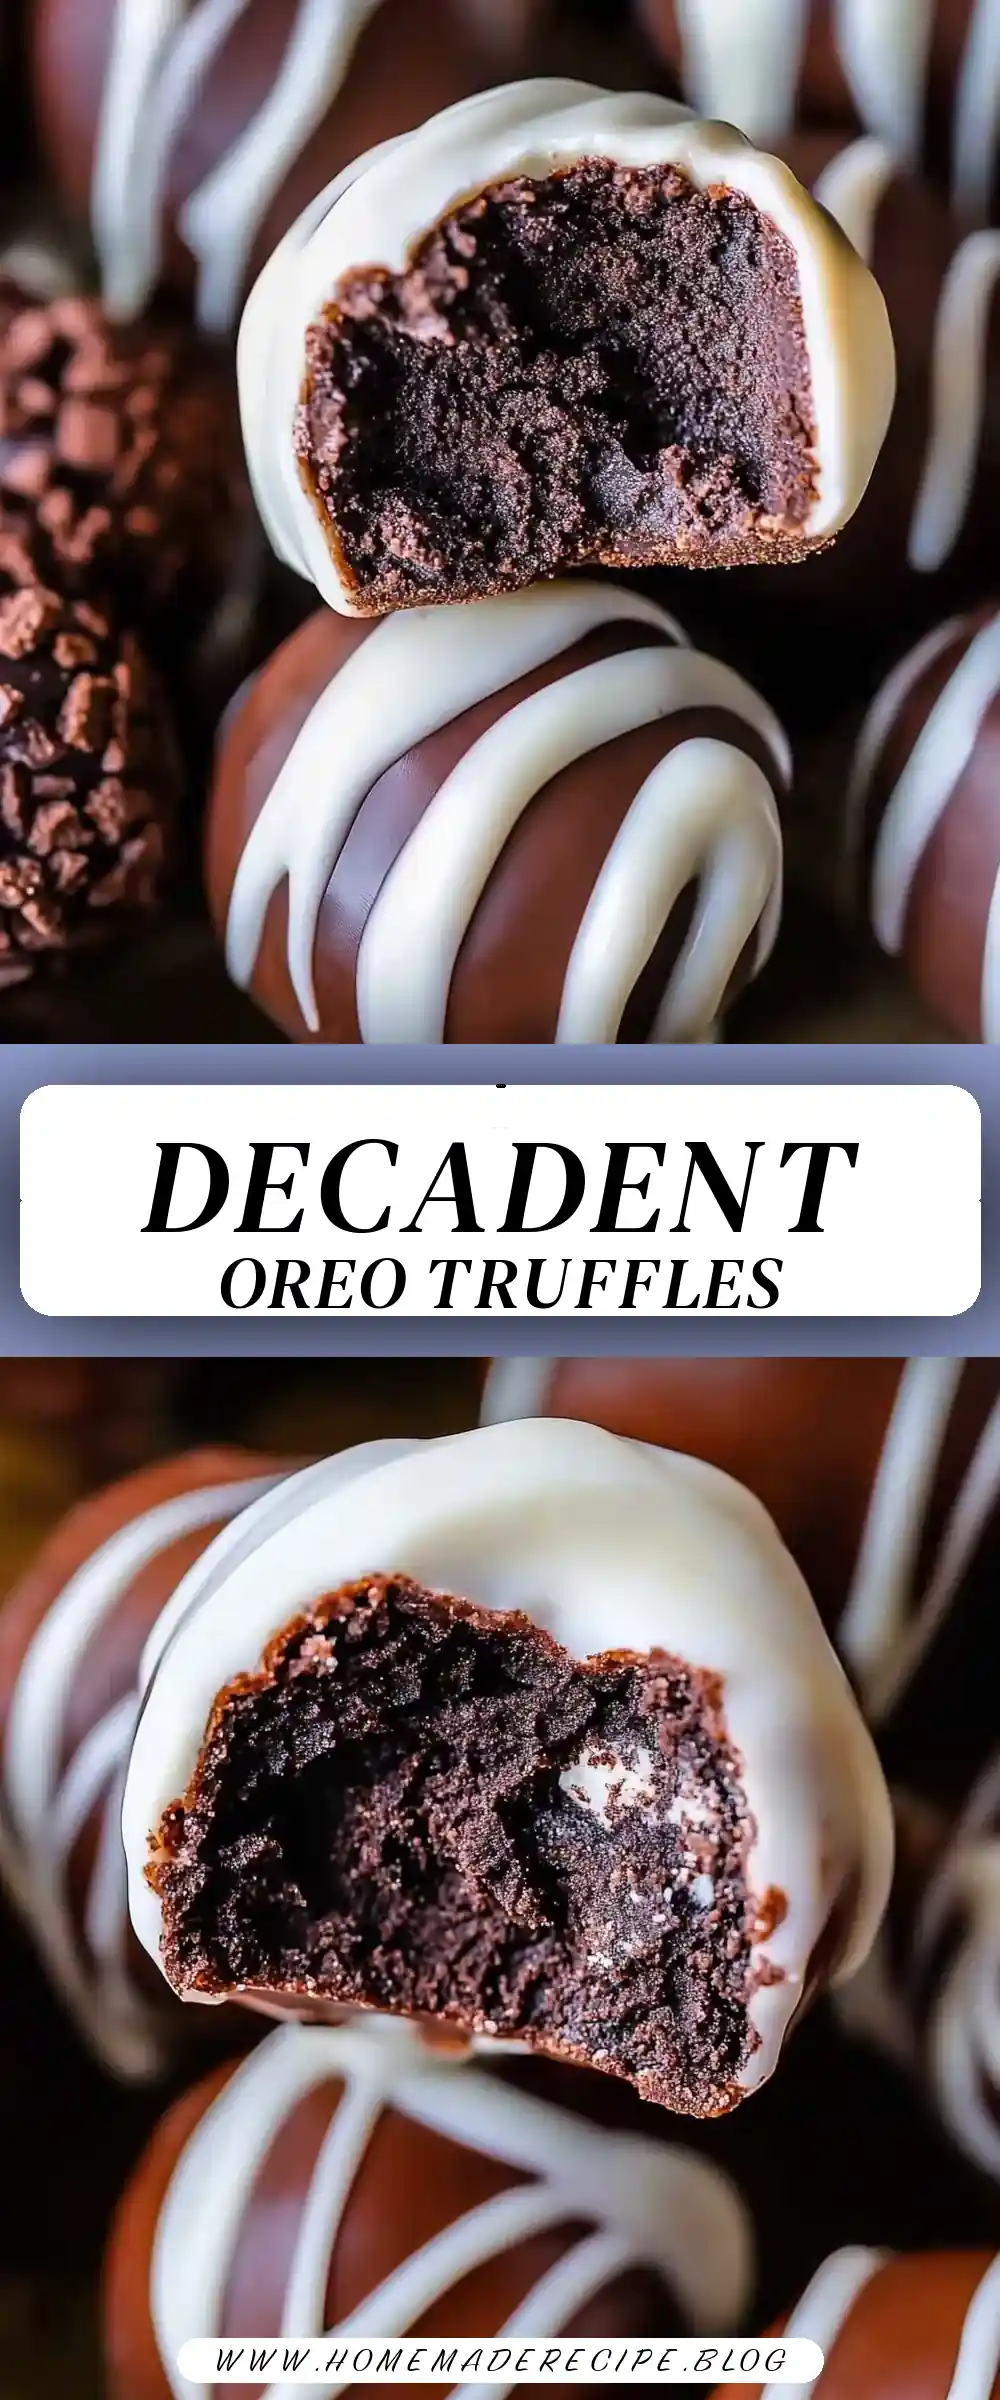
Embracing the Holiday Spirit with Delicious Oreo Truffles
The holiday season, filled with warmth, laughter, and the aroma of delectable treats, is a magical time that naturally brings people together. For many, the festive period is not just about the parties and gatherings but also the chance to don an apron and craft some favorite sweet delights. One such recipe that has won the hearts of family and friends over the years is for Oreo Truffles. These bite-sized pieces of chocolaty joy are not only a staple at many gatherings but also a testament to the simple pleasures of holiday baking. Whether you’re hosting a festive soirée or enjoying a quiet night by the fireplace, Oreo Truffles offer a sense of warmth and satisfaction that is truly unparalleled.
Why You’ll Fall in Love with Oreo Truffles
There’s an undeniable charm about these little treats that makes them irresistible. Here’s why Oreo Truffles will become a beloved tradition in your home:
Simplicity at Its Best: With only three main ingredients and no baking involved, this recipe is an ideal choice for cooks of all skill levels. Whether you’re a kitchen novice or a seasoned baker, you’ll appreciate the ease with which these truffles come together. The process is straightforward, allowing even those with the busiest holiday schedules to whip up a batch in no time.
Perfect for Little Helpers: The joy of cooking is often in sharing the experience. Kids will love getting involved in making these truffles, from the fun task of crushing Oreos to creatively decorating the finished goodies. By involving children in the kitchen, you not only create delicious treats but also cherished memories and invaluable cooking skills.
Endlessly Customizable: The versatility of this recipe allows you to adapt the truffles with various types of chocolate and toppings. From holiday sprinkles to a drizzle of caramel, the possibilities are endless. You can even incorporate flavored extracts like mint or almond to give your truffles a unique twist that reflects your personal taste.
Thoughtful Homemade Gifts: Packaged in a pretty box, these truffles make for a heartfelt homemade gift. Share them with neighbors, friends, or family to spread holiday cheer. The act of giving something homemade adds a personal touch that store-bought items can’t match, making your loved ones feel appreciated and special.
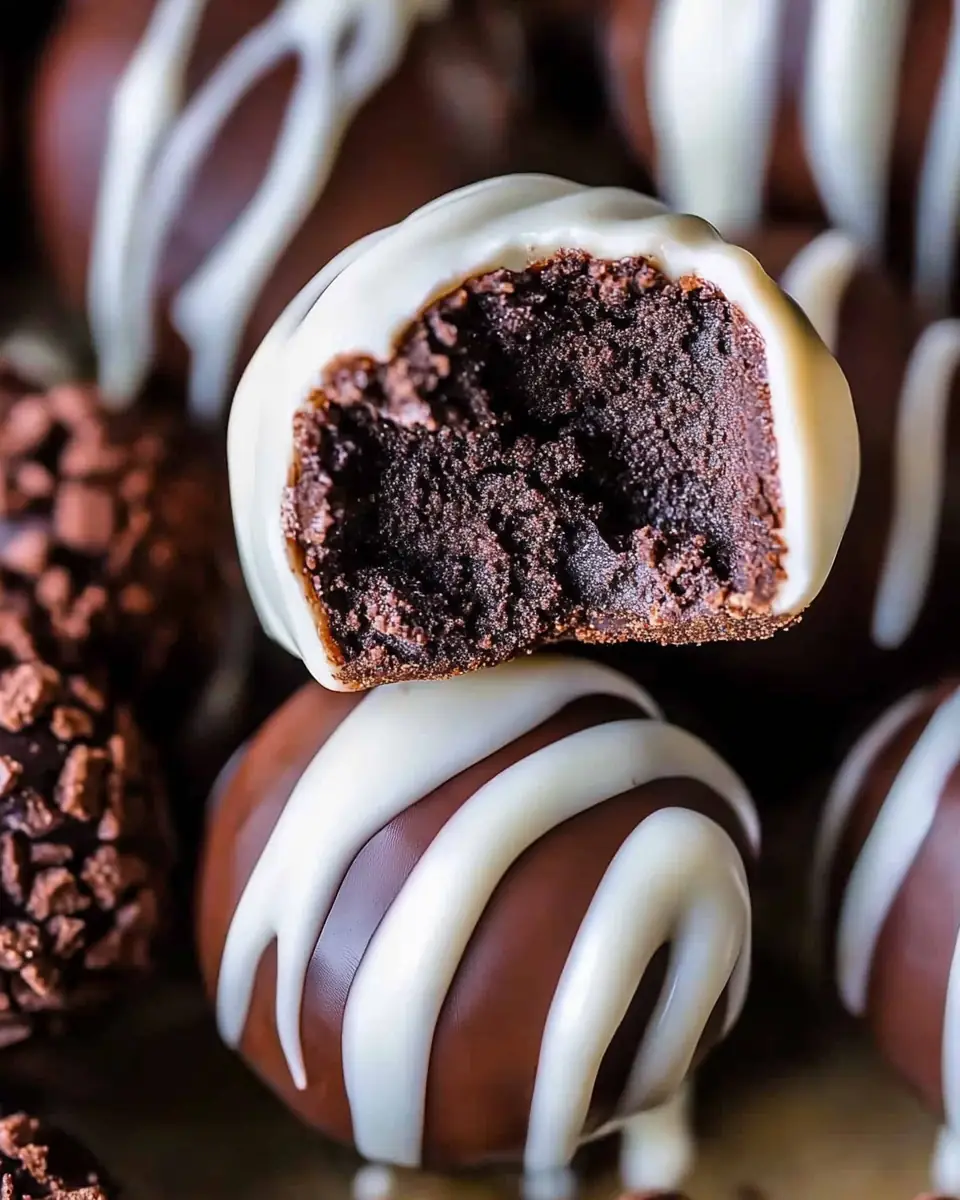
Decadence in Every Bite: The combination of creamy filling wrapped in a smooth chocolate coating delivers a rich, indulgent experience that satisfies even the most discerning sweet tooth. Each bite offers a perfect balance of textures and flavors, making these truffles a hit at any occasion.
Crafting Your Oreo Truffles: The Recipe
Ingredients
- 1 (14-oz) package Oreos (36 cookies)
- 1 (8-oz) package cream cheese, softened
- 16 ounces chocolate (white chocolate or semi-sweet)
- 1 tablespoon shortening (like Crisco)
Directions
Crush the Oreos: Begin by adding all 36 Oreos to a food processor or blender. Pulse until the cookies become fine crumbs. If you don’t have a food processor, place the cookies in a ziplock bag and crush them with a rolling pin until they reach the desired consistency. Crushing the Oreos is a fun and satisfying task, perfect for getting any stress out while also engaging younger helpers.
Prepare Cream Cheese: Cut the cream cheese into small pieces and ensure it’s softened. If needed, microwave it on power level 1 for a minute or two, checking that it doesn’t melt but reaches a creamy consistency. Softening the cream cheese ensures it blends smoothly with the Oreo crumbs, creating a cohesive mixture.
Mix Ingredients: Combine the softened cream cheese with the Oreo crumbs in the food processor. Blend until the mixture is smooth and well combined. Alternatively, use a hand mixer to beat the ingredients together in a bowl. This step is crucial to ensure that every bite of your truffle has a consistent texture and flavor.
Shape the Truffles: Using your hands or a cookie scoop, shape the mixture into 1-inch balls. If the mixture is too soft to handle, refrigerate for 15-30 minutes to firm it up. Rolling the mixture into balls is another great step to involve kids, as they can help shape the truffles to their liking.
Freeze the Balls: Arrange the truffle balls on a baking sheet lined with parchment paper and freeze them for at least 30 minutes until they are firm to the touch. Freezing helps the truffles maintain their shape during the chocolate coating process, ensuring a professional-looking finish.
Melt the Chocolate: In a microwave-safe bowl, melt the chocolate in 30-second intervals, stirring after each interval until smooth. Stir in the shortening to achieve a smooth, drizzle-like consistency. The addition of shortening helps the chocolate coat the truffles evenly, giving them a glossy finish.
Dip the Truffles: Use a fork to dip each truffle ball into the melted chocolate, allowing any excess to drip off before placing it back on the parchment-lined baking sheet. This step is where you can get creative with coatings and toppings, experimenting with different chocolates and decorations.
Decorate: While the chocolate coating is still wet, sprinkle the truffles with reserved Oreo crumbs or other toppings of your choice. Return them to the refrigerator or freezer until the chocolate is set. Decorating is a chance to personalize your truffles, adding festive flair or personal touches that make each batch unique.
Finish with Flair: Once set, drizzle additional melted chocolate over the top for a decorative touch. This final step adds an elegant touch to your truffles, making them look as beautiful as they taste.
Essential Kitchen Tools
- Food Processor or Blender: Crucial for effectively crushing the Oreos into fine crumbs.
- Microwave: Handy for softening cream cheese and melting chocolate with ease.
- Baking Sheet: Provides a flat surface for lining up and freezing truffles.
- Parchment or Wax Paper: Prevents sticking and makes for easy cleanup.
- Microwave-Safe Bowl: Perfect for safely melting chocolate.
Each of these tools plays a vital role in ensuring your Oreo Truffles come out perfectly every time. Having the right equipment on hand makes the process smoother and more enjoyable, allowing you to focus on the fun of creating.
The Role of Each Ingredient
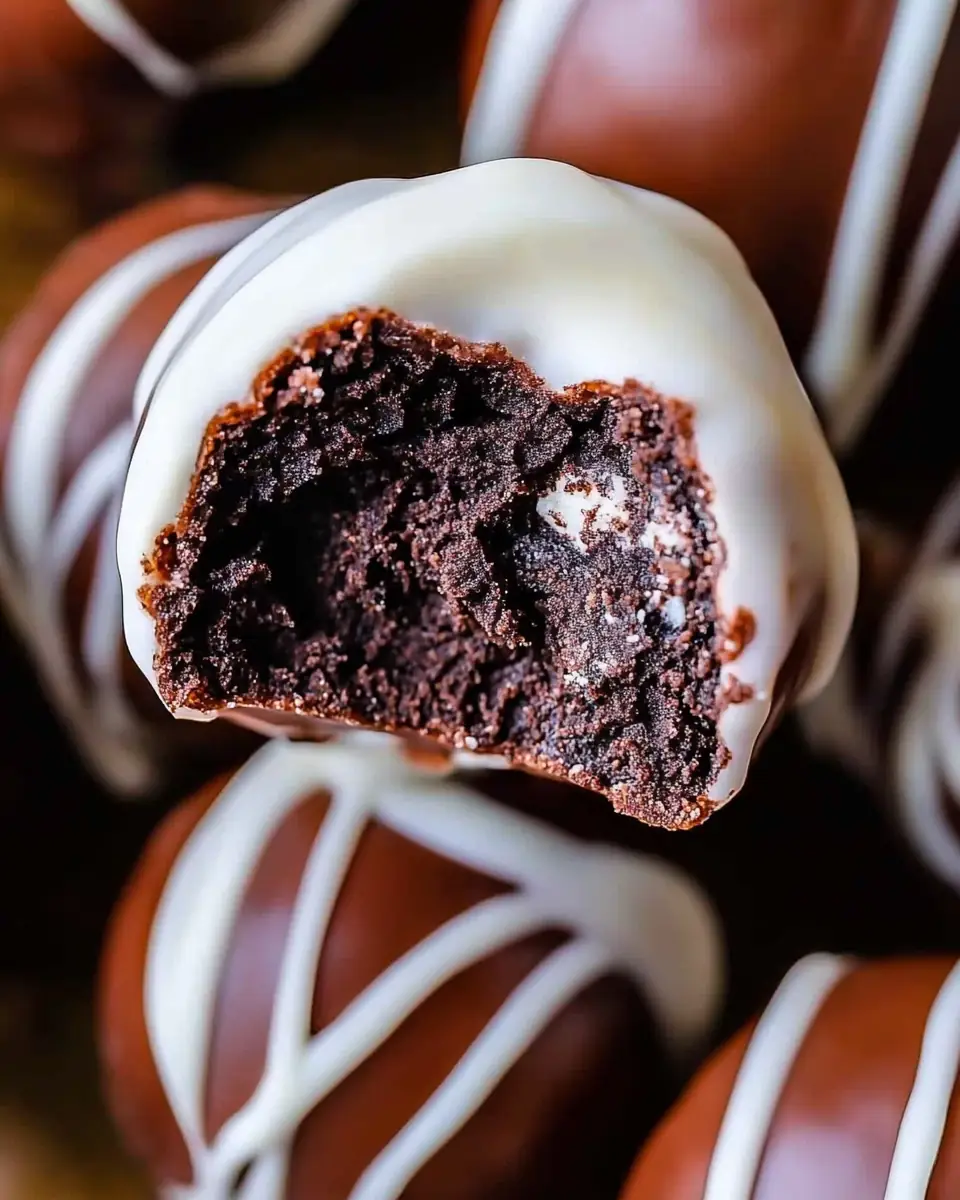
- Oreos: These cookies form the rich, chocolatey base and the essential crumbly texture of the truffles. Their iconic flavor is what gives these truffles their unique appeal, making them a favorite among Oreo lovers.
- Cream Cheese: This ingredient adds a luscious creaminess and acts as the binding agent that holds the truffles together. Its slightly tangy flavor complements the sweetness of the Oreos, creating a balanced taste.
- Chocolate: Envelops the truffle in a smooth, decadent coating that complements the Oreo filling beautifully. Choosing high-quality chocolate can elevate the flavor of your truffles, making them taste even more luxurious.
- Shortening: Ensures the melted chocolate maintains the right consistency for dipping, giving the truffles a professional finish. This ingredient is key for achieving that perfect, glossy coating that makes these truffles visually appealing.
Pairing Your Oreo Truffles
These Oreo Truffles are a versatile treat that pairs perfectly with various beverages. Enjoy them with a steaming cup of coffee or hot chocolate for a cozy afternoon delight. The richness of the truffles pairs beautifully with the bitterness of coffee or the sweetness of hot chocolate, creating a harmonious balance of flavors. For a festive touch, serve alongside a selection of other homemade treats such as our Classic Chocolate Chip Cookies or Peanut Butter Fudge. They also make a delightful addition to a dessert platter at parties, offering guests a bite-sized burst of sweetness.
Storage and Leftover Suggestions
To maintain the freshness of your Oreo Truffles, store them in an airtight container in the refrigerator. They can last up to two weeks, making them an excellent make-ahead option for holiday gatherings. The ability to prepare these truffles in advance allows you to focus on other holiday preparations, knowing that you have a delicious treat ready to go. For longer storage, freeze the truffles in an airtight container, where they will keep for up to three months. Simply allow them to thaw in the refrigerator before serving to ensure optimal flavor and texture.
A Tradition of Joy
Sharing recipes like these Oreo Truffles feels like sharing a part of my heart. Each bite is not just a treat but a piece of the joy and warmth that comes from making and sharing food with loved ones. As you indulge in these truffles, remember that the best ingredient in any recipe is a sprinkle of love. Whether you’re making them for a special occasion or simply as a treat for yourself, I hope they bring as much happiness to your home as they do to mine. Enjoy every delicious bite, and may your holidays be filled with sweetness and light!
Building Traditions and Memories
As you integrate Oreo Truffles into your holiday traditions, consider how you can build memories around these delightful treats. Whether it’s an annual truffle-making day with family or a tradition of gifting them to friends and neighbors, these activities can become cherished rituals that you look forward to each year. The process of creating and sharing food connects us to each other and to the joy of the season, reminding us of the importance of togetherness and love.
Exploring Variations and Innovations
Don’t be afraid to experiment with new variations of this classic recipe. Consider adding a splash of liqueur, such as Irish cream or peppermint schnapps, to the mixture for an adult twist. You might also try incorporating crushed nuts or dried fruits for added texture and flavor. By exploring different ingredients and techniques, you can keep the tradition fresh and exciting, ensuring that your Oreo Truffles continue to be a highlight of the holiday season.
Conclusion
Oreo Truffles are more than just a delicious treat; they are a symbol of the joy and creativity that the holiday season inspires. By embracing the simplicity and versatility of this recipe, you can create something truly special that brings smiles to the faces of everyone who tastes them. Whether you’re sharing them with loved ones or savoring a quiet moment of indulgence, these truffles encapsulate the essence of holiday cheer. So gather your ingredients, invite your helpers, and let the magic of Oreo Truffles transform your holiday celebrations into memorable moments of joy and togetherness.
Oreo Truffles
Ingredients
Equipment
Method
- Add all 36 Oreos to a food processor or blender. Pulse until they are fine crumbs. Use a spoon to stir everything up a bit if you get some stubborn ones that won’t break down.
- Cut the cream cheese into several pieces. Make sure it is really soft. Add it to your food processor and pulse until a soft mixture has formed.
- Use your hands or a 1-inch cookie scoop to shape the mixture into 1 inch balls. If the mixture is too soft, put it in the fridge for 15-30 minutes.
- Line up the balls on a baking sheet. Freeze until hardened, at least 30 minutes.
- In a medium bowl, melt the chocolate in the microwave in 30 second increments, stirring each time. Be careful, chocolate scorches very easily!
- Dip each of the Oreo balls in chocolate one at a time using a fork and a butter knife. Once covered, lift the fork out of the chocolate and tap the fork on the edge of the bowl.
- Sprinkle the tops with Oreo crumbs or sprinkles while the dipped truffles are hot. Freeze or refrigerate until the chocolate shell is firm.
- Once the truffles are firm, you can decorate the top with more drizzled chocolate. Melt chocolate, add to a ziplock bag, and snip the corner. Drizzle to your heart’s content.