
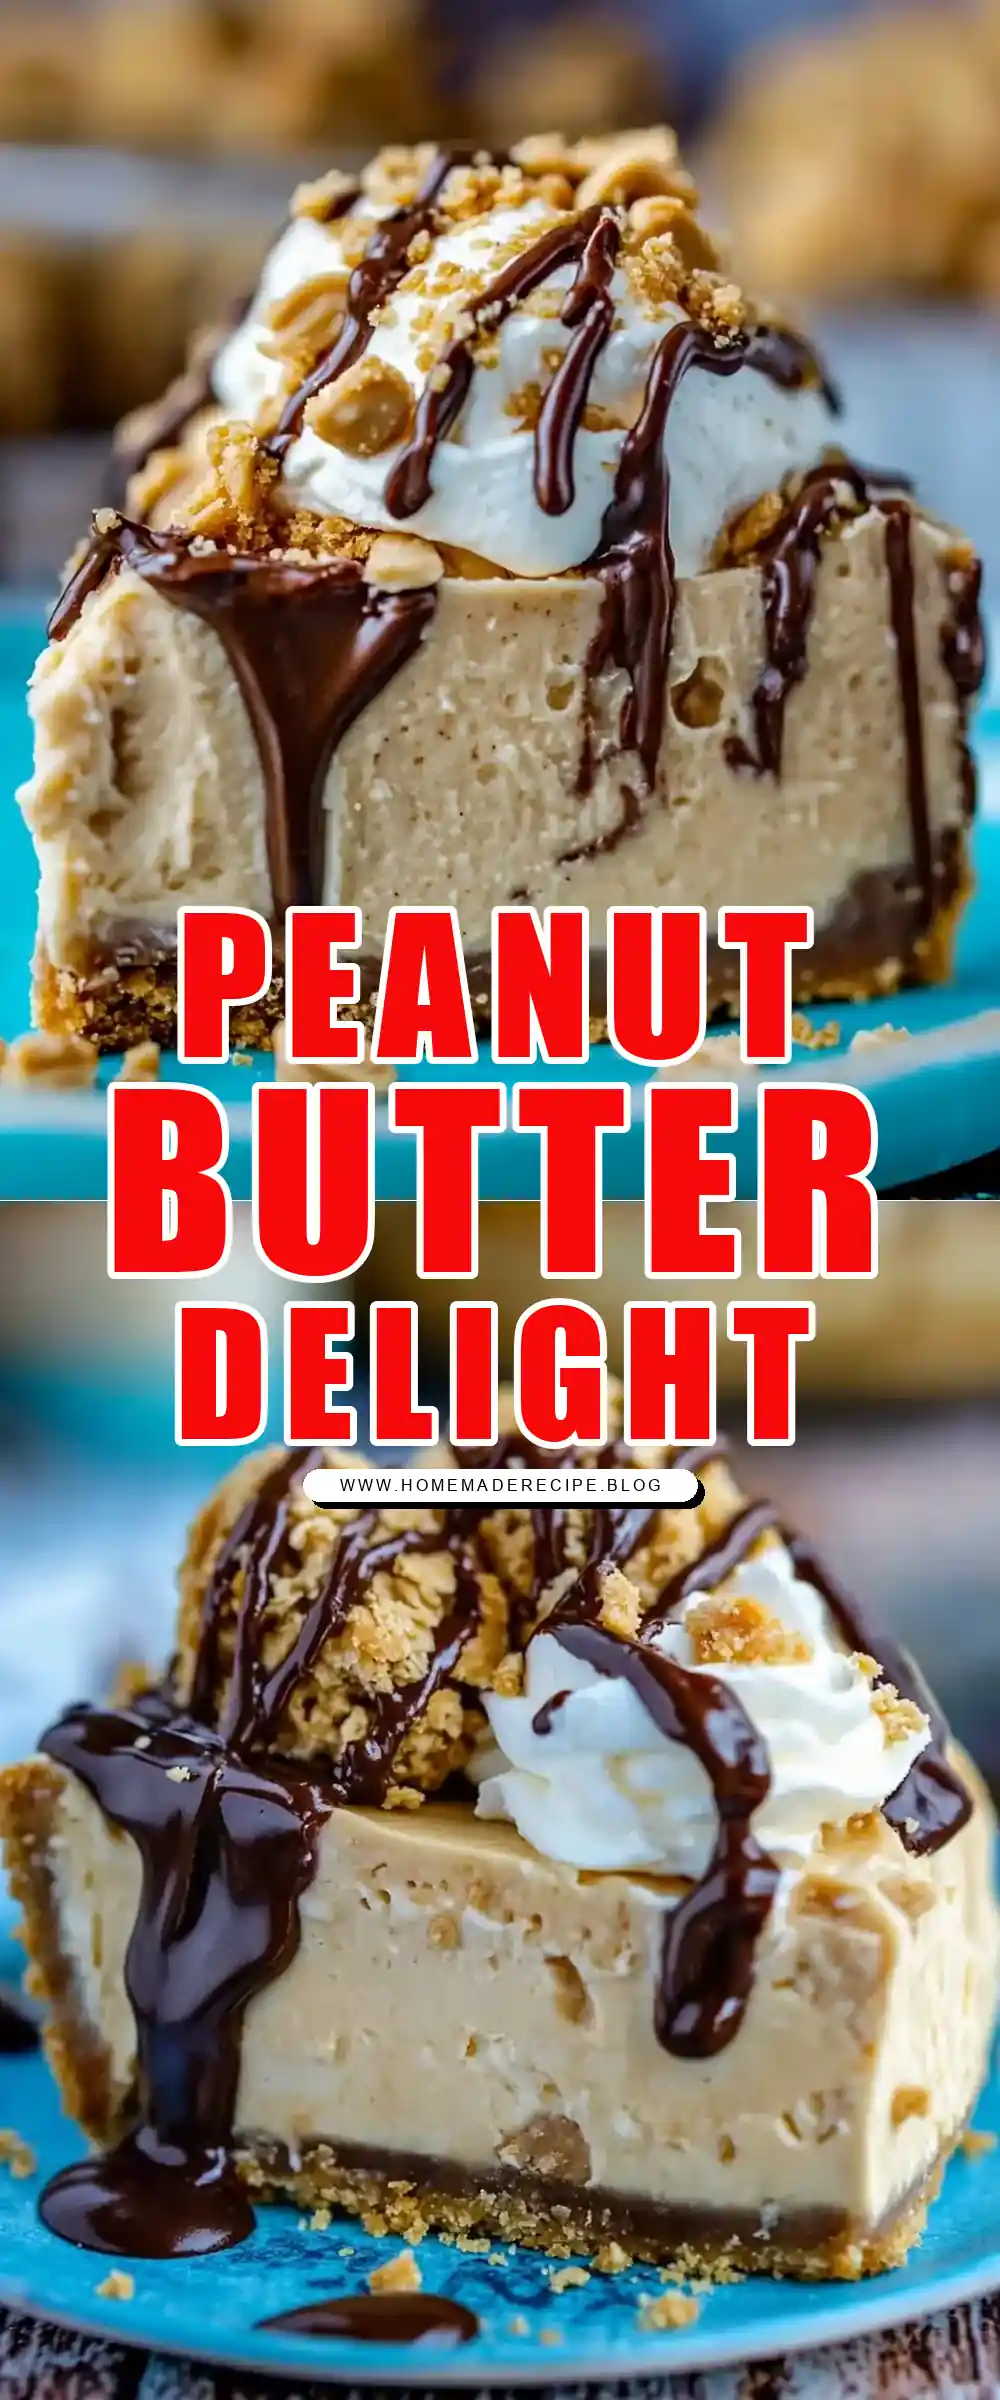
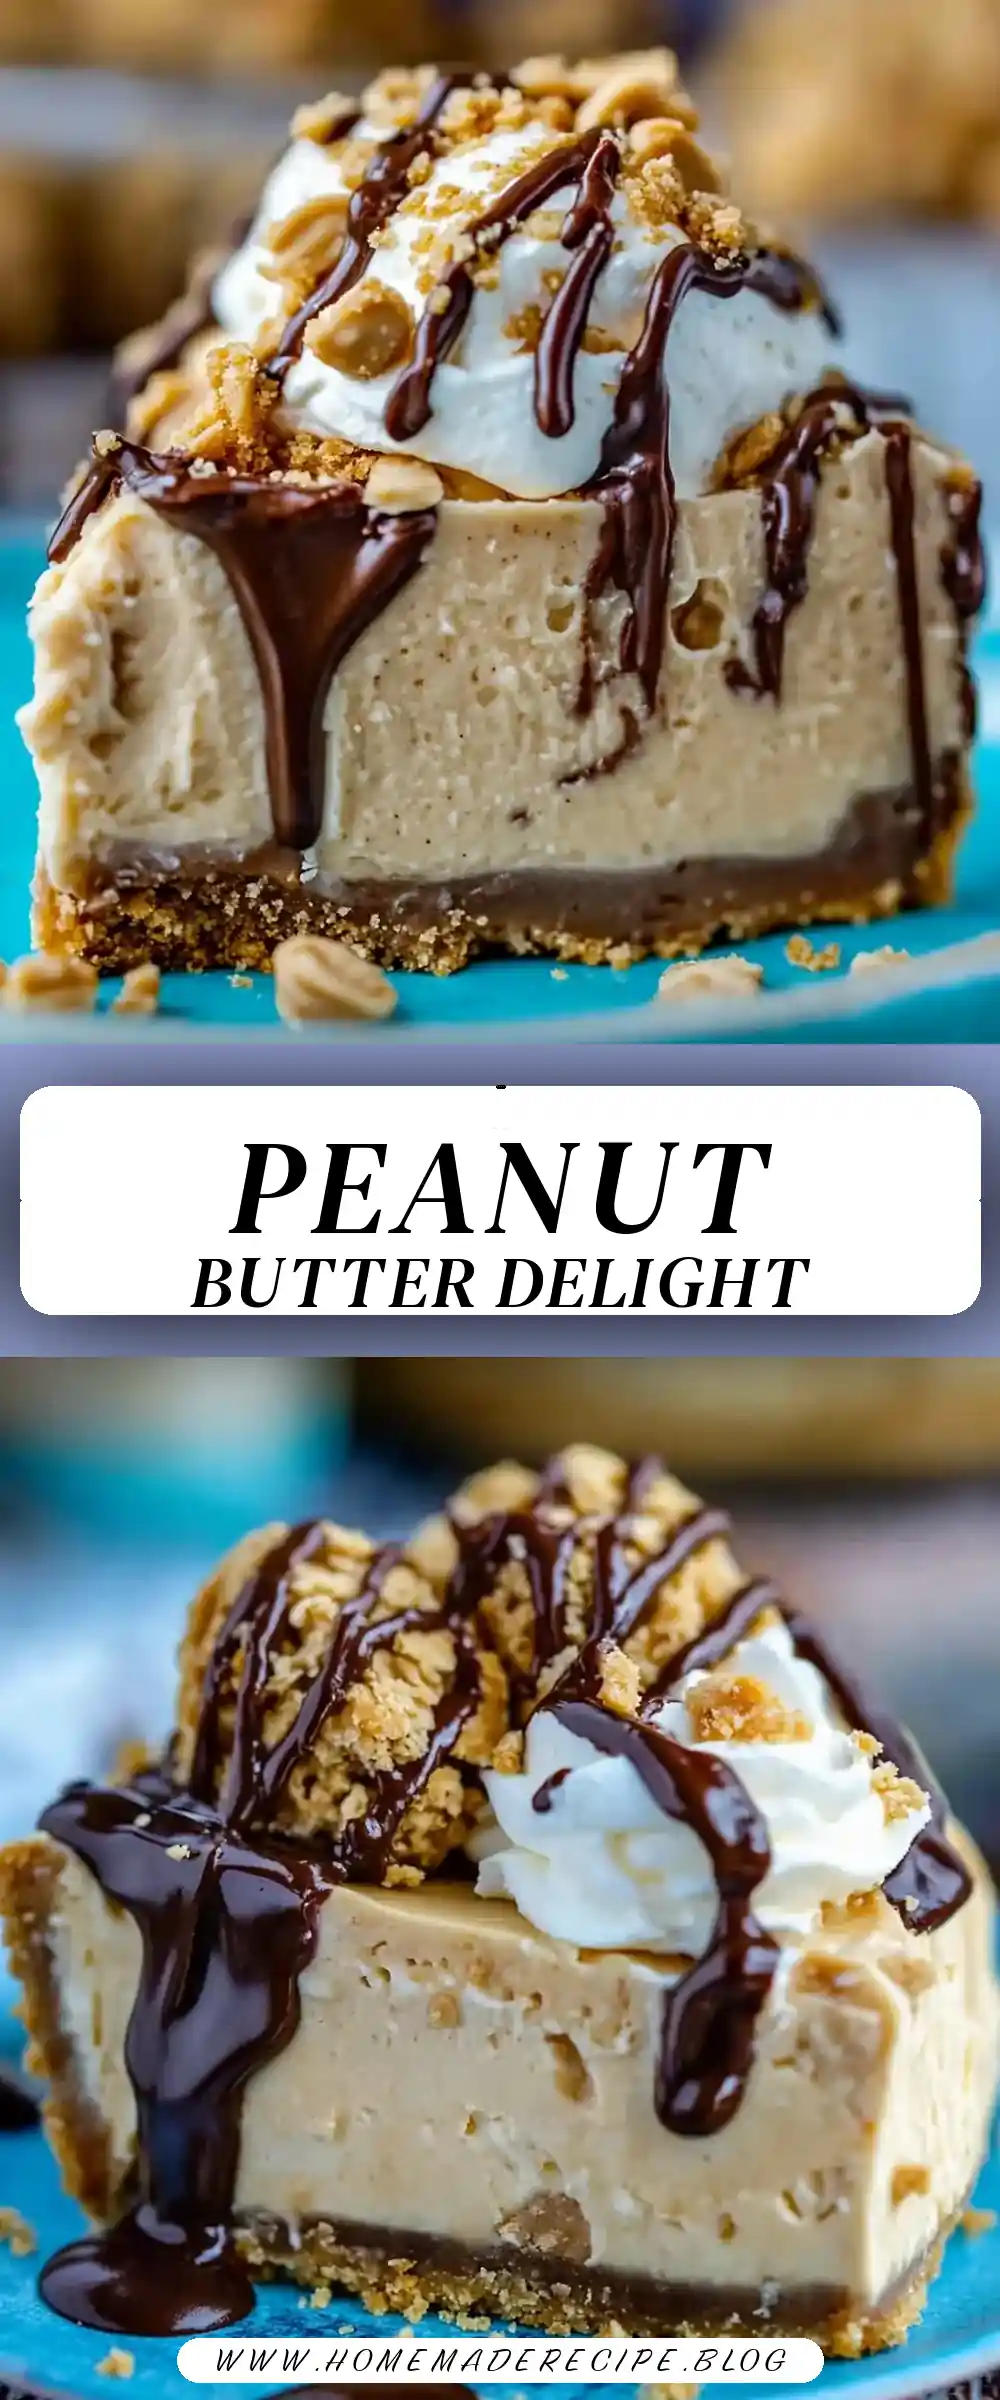
Peanut Butter Pie with Cool Whip: A Slice of Nostalgia
There’s something undeniably comforting about a slice of Peanut Butter Pie with Cool Whip, isn’t there? Growing up, my family always had a penchant for peanut butter treats, and this pie was a staple at our gatherings. I remember my mom whipping it up for every occasion, and the kitchen would fill with the rich aroma of peanut butter as we eagerly awaited the first slice. It’s a dessert that feels like a warm hug, offering a blend of creamy, nutty, and chocolatey goodness that’s hard to resist. Today, I’m thrilled to share this beloved recipe with you, hoping it brings as much joy to your table as it has to mine.
Why You’ll Love This Peanut Butter Pie
No-Bake Ease
This pie is perfect for those hot summer days when you’d rather keep the oven off. Just a quick bake or chill for the crust, and you’re set! The beauty of a no-bake dessert is its simplicity and convenience. You can focus on other meal preparations or simply relax while the pie sets.
Family Favorite
With its luscious layers of creamy peanut butter and chocolate fudge, even the pickiest eaters will be coming back for seconds. I remember watching as each family member took their first bite, eyes widening in delight. It’s a universally appealing dessert that bridges generations and tastes.
Simple Ingredients
You probably have most of these ingredients in your pantry already. Plus, using Cool Whip makes the filling light and fluffy with minimal effort. The simplicity of the ingredients also means that this pie is budget-friendly—ideal for feeding a crowd without breaking the bank.
Make-Ahead Magic
Prepare it the day before your event, and let it chill overnight. It’s a great time-saver for busy hosts. This pie actually tastes better after it sits for a while, allowing the flavors to meld beautifully.
Versatile Serving Options
Serve it chilled or frozen, with various garnishes to suit your mood and occasion. Whether it’s a casual family dinner or a festive celebration, this pie can be dressed up or down effortlessly.
The Recipe
Ingredients:
- 23 Nutter Butter cookies
- 4 tablespoons salted butter
- 1/2 cup hot fudge (or to taste)
- 8 ounces cream cheese, softened
- 3/4 cup powdered sugar
- 1 cup peanut butter
- 3 tablespoons milk
- 1 tablespoon vanilla extract
- 8 ounces Cool Whip
- Extra hot fudge for garnish
- Melted peanut butter for drizzling
- Mini chocolate chips for garnish
Directions
For the Crust:
- Prepare the crust: If baking, preheat your oven to 350°F. Leave your cream cheese out to soften. This step is crucial for achieving a smooth, even filling later on.
- Crush the cookies: Blend Nutter Butters into fine crumbs using a food processor, or crush them in a ziplock bag with a rolling pin. The goal is to achieve a sandy texture that will hold together when pressed.
- Mix the crust: Melt the butter and combine with cookie crumbs. Press the mixture into a 9-inch pie pan. This forms the delicious base that supports the creamy filling.
- Chill or bake: Refrigerate for an hour or bake for 10 minutes at 350°F for a crunchier texture. Let it cool completely if baked. The choice between chilling or baking depends on your texture preference—chilled for softer and baked for crispier.
For the Filling:
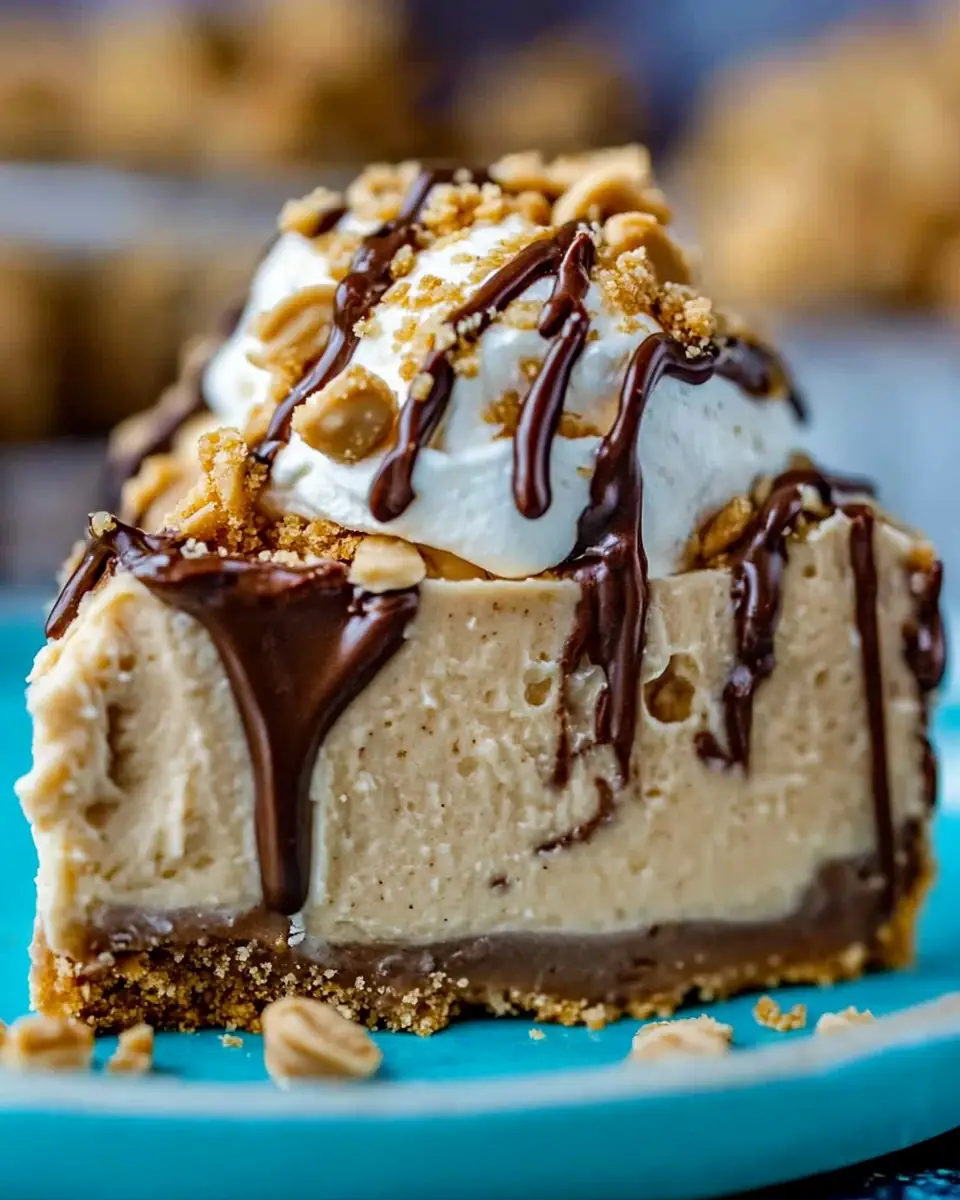
- Layer the fudge: Microwave hot fudge until spreadable and layer about 1/2 cup over the crust. This adds a decadent layer of chocolatey goodness.
- Mix the filling: Beat cream cheese until smooth. Add powdered sugar and peanut butter, mixing until well combined. Stir in milk and vanilla. Each ingredient adds to the creamy, rich texture of the filling.
- Fold in Cool Whip: Gently fold in Cool Whip until the mixture is smooth. This step lightens up the filling, giving it an airy texture.
- Assemble: Spread the filling over the fudge layer. Cover and freeze for 2-3 hours, or refrigerate until firm. The chilling time allows the pie to set properly, ensuring clean slices.
- Garnish: Drizzle with additional hot fudge and melted peanut butter. Sprinkle mini chocolate chips on top. These garnishes add visual appeal and extra layers of flavor and texture.
Kitchen Tools You’ll Need
- Food Processor or rolling pin and ziplock bag: For crushing cookies.
- Mixing Bowl and electric mixer: To achieve a smooth filling.
- 9-inch Pie Pan or springform pan: Essential for shaping the pie.
- Microwave-safe Bowl: For warming the fudge.
- Measuring Cups and Spoons: Precision is key in baking, even in no-bake recipes.
The Benefits of Each Ingredient
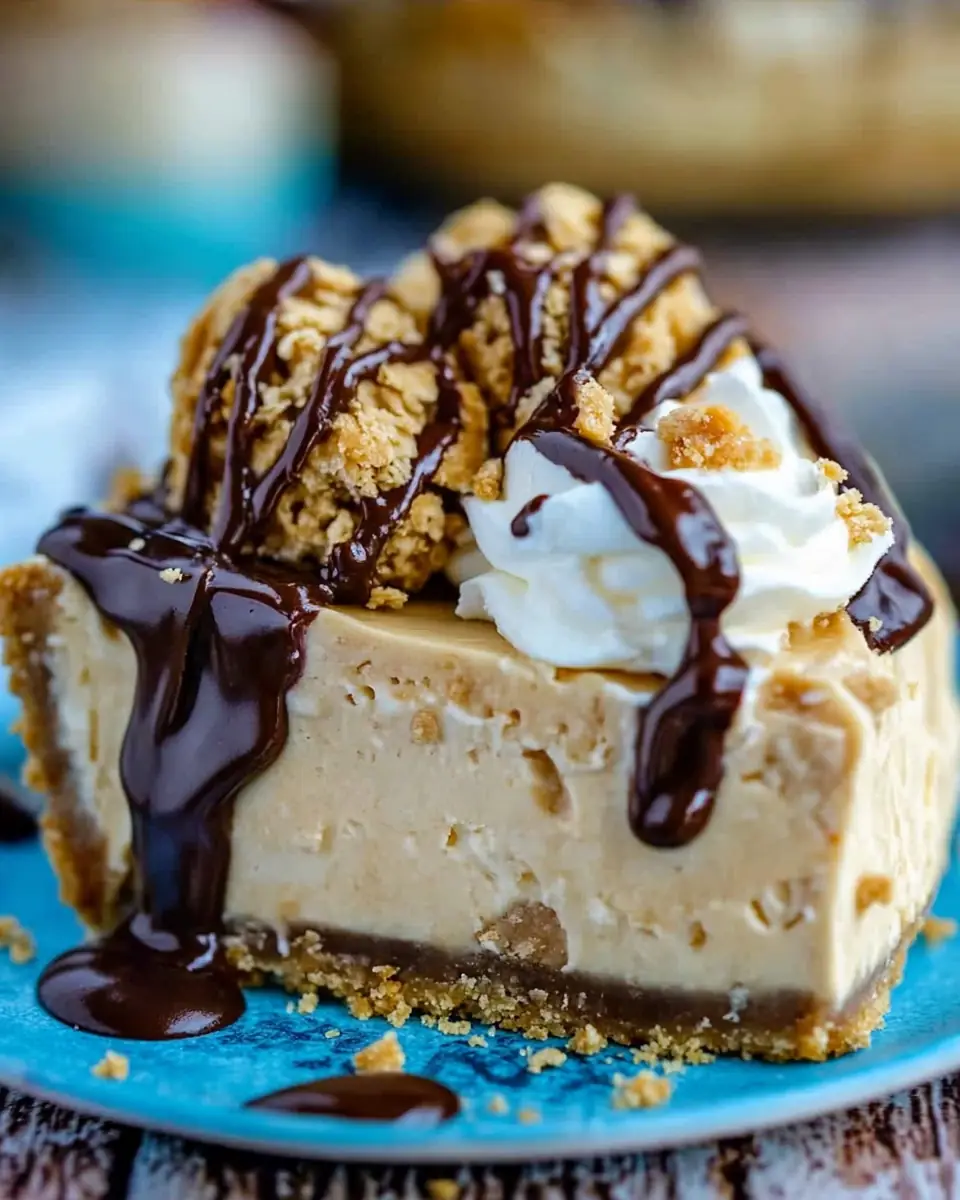
- Nutter Butter Cookies: These cookies add a unique peanut butter flavor to the crust that complements the filling perfectly. They are the foundation of the pie, providing both flavor and structure.
- Cream Cheese: Provides a rich, tangy base that balances the sweetness of the pie. It’s an essential component that adds depth to the filling.
- Peanut Butter: The star of the show, it offers a creamy texture and nutty taste that’s simply irresistible. Its natural richness is what makes this pie so indulgent.
- Cool Whip: Keeps the filling light and airy, making the pie delightfully fluffy. It’s a convenient alternative to homemade whipped cream, saving time without sacrificing texture.
- Hot Fudge: Adds a chocolatey richness that pairs beautifully with peanut butter, elevating the dessert to new heights. It’s the perfect complement to the nutty flavors.
What to Serve With This Peanut Butter Pie
This Peanut Butter Pie with Cool Whip pairs wonderfully with a dollop of homemade whipped cream or a scoop of vanilla ice cream. The creaminess of the ice cream enhances the pie’s texture, creating a harmonious blend of flavors. For a delightful contrast, try serving it alongside a fruit salad for a refreshing finish. The acidity and freshness of the fruit balance the pie’s richness. If you’re planning a larger gathering, consider pairing it with our Classic Lemon Bars or Decadent Chocolate Mousse for a dessert trio that will wow your guests. Each dessert offers a different flavor profile, ensuring there’s something for everyone.
Storage & Leftover Tips
Store any leftover Peanut Butter Pie in the refrigerator for up to 5 days, covered tightly with plastic wrap. This keeps it fresh, preventing it from drying out or absorbing other fridge odors. If you prefer a firmer texture, keep it in the freezer, but allow it to thaw slightly before serving. This method also extends its shelf life, making it a perfect treat to have on hand for unexpected guests. This pie is also a great make-ahead dessert—just prepare and freeze, then drizzle with garnishes right before serving.
A Journey Through Peanut Butter’s History
Did you know that peanut butter has been delighting taste buds for centuries? While our modern version was invented in the late 19th century, its origins can be traced back to the ancient Aztecs and Incas, who ground peanuts into a paste. Fast forward to today, and peanut butter is a beloved staple in households worldwide, celebrated for its versatility and nutritional benefits. Rich in protein, healthy fats, and essential vitamins, it’s no wonder peanut butter is a key ingredient in this pie, bringing both flavor and nostalgia to the table.
Tips for Personalizing Your Peanut Butter Pie
- Nut Butter Variations: While peanut butter is classic, you could experiment with almond or cashew butter for a different flavor profile.
- Chocolate Lovers: Add a layer of chocolate ganache on top of the Cool Whip layer for an even more decadent treat.
- Nut Crunch: Sprinkle chopped peanuts or candied nuts on top for added texture and crunch.
- Flavored Extracts: Swap vanilla extract with almond or coconut extract for a unique twist.
- Healthier Options: Substitute regular cream cheese and Cool Whip with their lower-fat or sugar-free counterparts for a lighter version.
I hope this Peanut Butter Pie with Cool Whip becomes a cherished recipe in your home, just as it is in mine. It’s the perfect blend of comfort and indulgence, sure to bring smiles to your dining table. As you enjoy this delightful dessert, take a moment to savor each bite, remembering the warmth of family gatherings and the joy of shared meals. Happy baking, and enjoy every bite!
Peanut Butter Pie with Cool Whip
Ingredients
Equipment
Method
- Prepare the crust. If baking your crust, preheat your oven to 350 degrees F. (Now is also a good time to get out your cream cheese to soften).
- Add Nutter Butters to a food processor and blend until they are fine crumbs. (If you don’t have a food processor, add them to a ziplock and crush with the edge of a rolling pin).
- Melt the butter in a small bowl. Pour the butter into the food processor and blend well. (Mix together crumbs and butter in a bowl if you don’t have a food processor).
- Dump the mixture into a 9 inch pie pan or springform pan. No need to grease the pan.
- Use the bottom of a glass or the bottom of a measuring cup to press the crumbs into the bottom and up the sides of the pan.
- At this point you can either refrigerate/freeze the crust for 1 hour (do this if you don’t have air conditioning!) or you can bake the crust for 10 minutes at 350. Refrigerating results in a more crumbly crust, baking will get a sturdier crust that is a little more crunchy. But both methods work great.
- Cool the crust completely if you baked it. I put it in the freezer for a bit.
- Put your jar of hot fudge in the microwave for 30 seconds or so, until it is easy to spread. Spread about 1/2 cup fudge on the bottom of the crust. You can add as much as you like.
- In a large bowl or stand mixer, beat the softened cream cheese until it is smooth, making sure to scrape sides and bottom. Add the powdered sugar and peanut butter and beat until incorporated.
- Mix in milk and vanilla.
- Add half of the cool whip and fold it into the mixture. When it is mostly incorporated, fold in the remaining cool whip.
- Spread the peanut butter filling on top of the hot fudge.
- Cover with plastic wrap and freeze for 2-3 hours, until firm. You can also refrigerate until firm if you aren’t into frozen pies.
- Heat up any remaining hot fudge. Add a little peanut butter to a bowl and melt it in the microwave. Use a spoon to drizzle peanut butter and fudge over the whole pie, or each slice as you serve it.
- Garnish with extra Nutter Butters, if you haven’t already eaten them all!