

As the leaves turn a golden hue and there’s a crispness in the air, I find myself yearning for the comforting embrace of a warm beverage. Nothing quite encapsulates the essence of fall like a steaming mug of homemade apple cider. One of my cherished memories is gathering around the kitchen with my family, the aroma of apples and cinnamon filling the air, and sipping on the rich, spiced nectar that is apple cider. It’s a tradition that has been passed down through generations in my family, and now, with the magic of a pressure cooker, you can experience this delightful tradition in a fraction of the time.
Why You’ll Love This Comforting Beverage
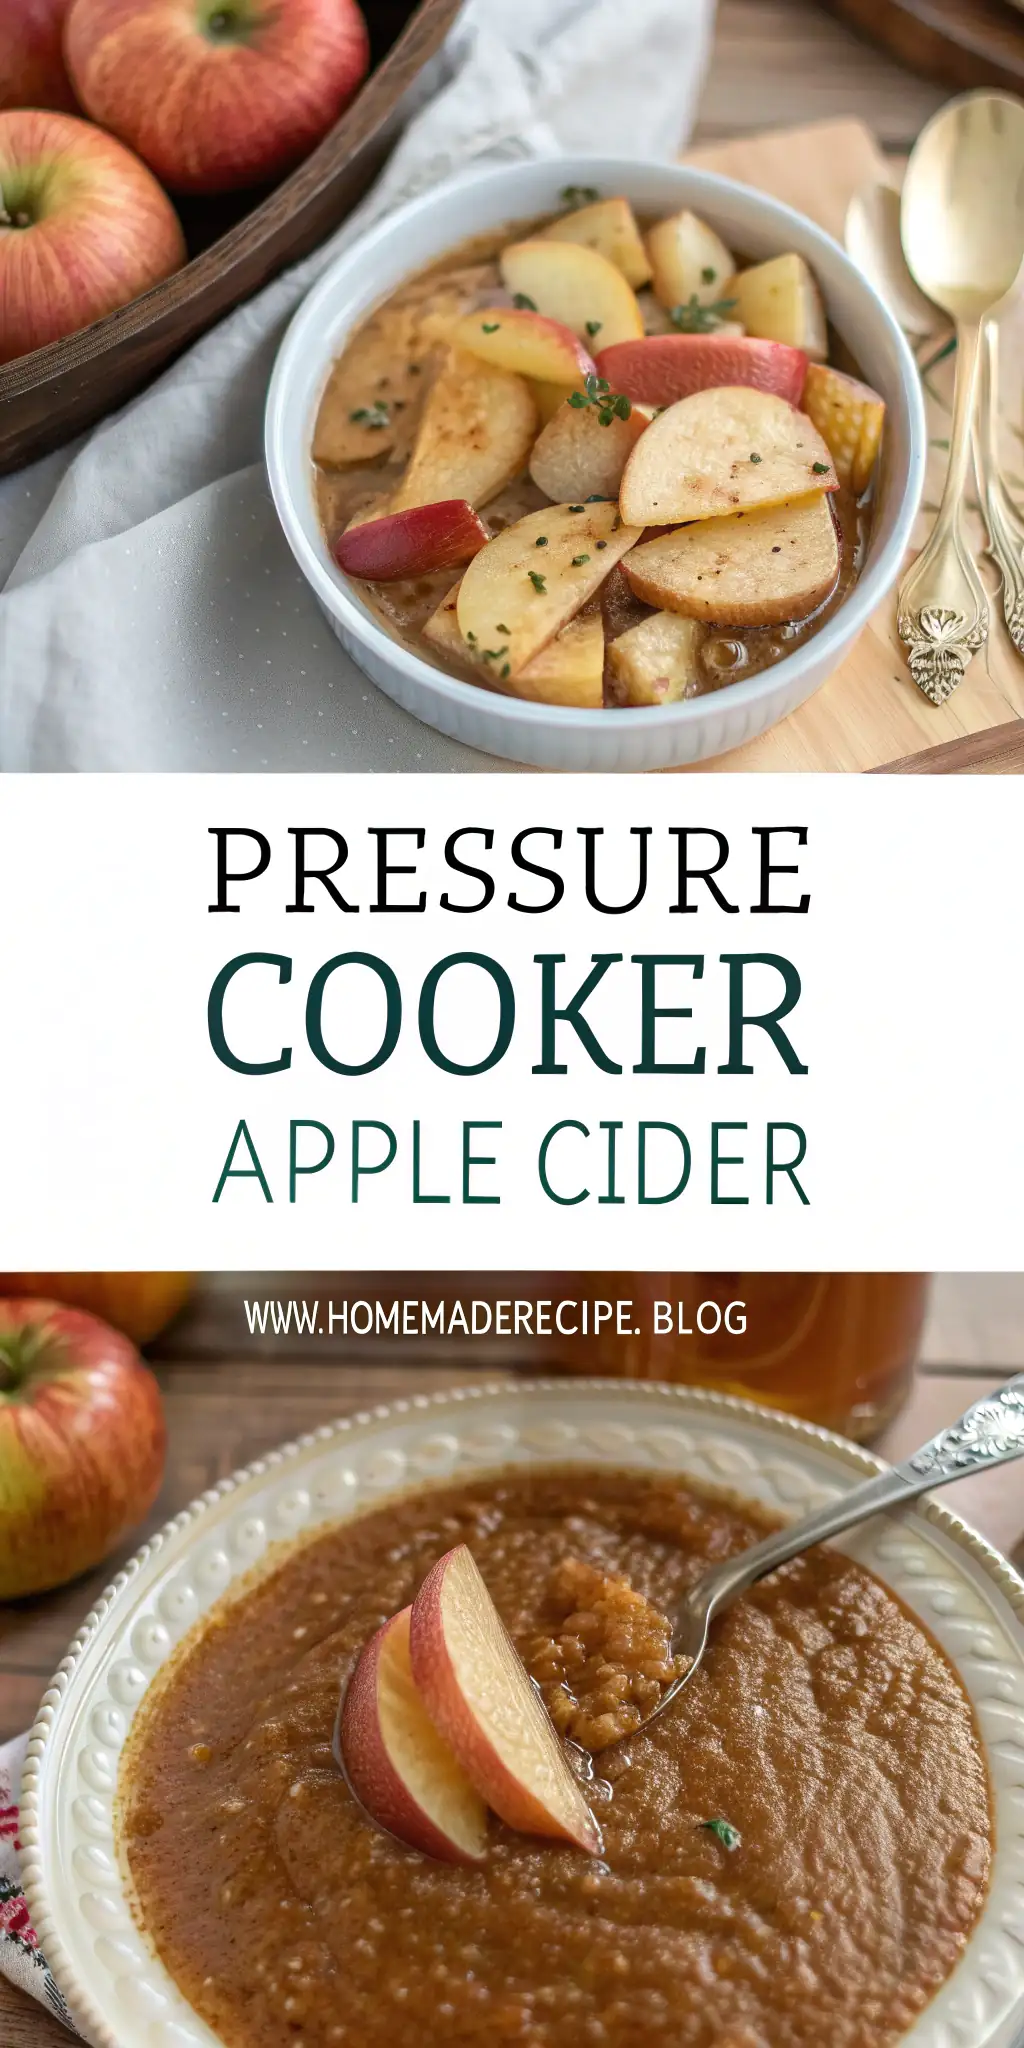
There are so many reasons why this Pressure Cooker Apple Cider will quickly become a staple in your home:
- Quick and Easy: Thanks to the pressure cooker, what traditionally takes hours of simmering can now be achieved in under three hours, freeing up your time for other fall activities. Imagine coming home from a brisk autumn walk and having this cozy drink ready to warm you up. The convenience of this method means you can enjoy the full day outside with family or friends, knowing a soothing drink awaits you.
- Flavorful and Aromatic: The combination of fresh apples, brown sugar, and warming spices like cinnamon, nutmeg, and cloves creates an aromatic symphony that will fill your home with the scents of the season. It’s like having a little piece of autumn right in your kitchen. The aroma alone is enough to draw everyone to the kitchen, eager for a taste.
- Crowd-Pleaser: Whether you’re hosting a holiday gathering or a cozy family evening, this cider is sure to impress with its rich flavor and inviting warmth. Guests will appreciate the homemade touch and the robust flavors that speak of tradition and care. The beauty of this cider is how it brings people together, fostering warmth and connection.
- Versatile: This cider can be enjoyed hot on a chilly evening or chilled for a refreshing twist. It’s a perfect beverage for any time of day. You can even spike it with a splash of whiskey or rum for an adult version that warms from the inside out. Whether you’re looking for a morning pick-me-up or a relaxing evening drink, this cider fits the bill.
- Nutritious and Natural: Made with natural ingredients, this cider provides the comforting taste of apples without any artificial additives. It’s a guilt-free indulgence that can be enjoyed by all ages. The natural sweetness from the apples means you can adjust the sugar to your liking, keeping it as healthy as you desire.
The Recipe
Let’s dive into the heart of this recipe. Here’s everything you need to create your own batch of Pressure Cooker Apple Cider:
Ingredients: – 8 apples, quartered – 1 cup brown sugar – 3 cinnamon sticks – 1 teaspoon ground nutmeg – 1 teaspoon ground cloves
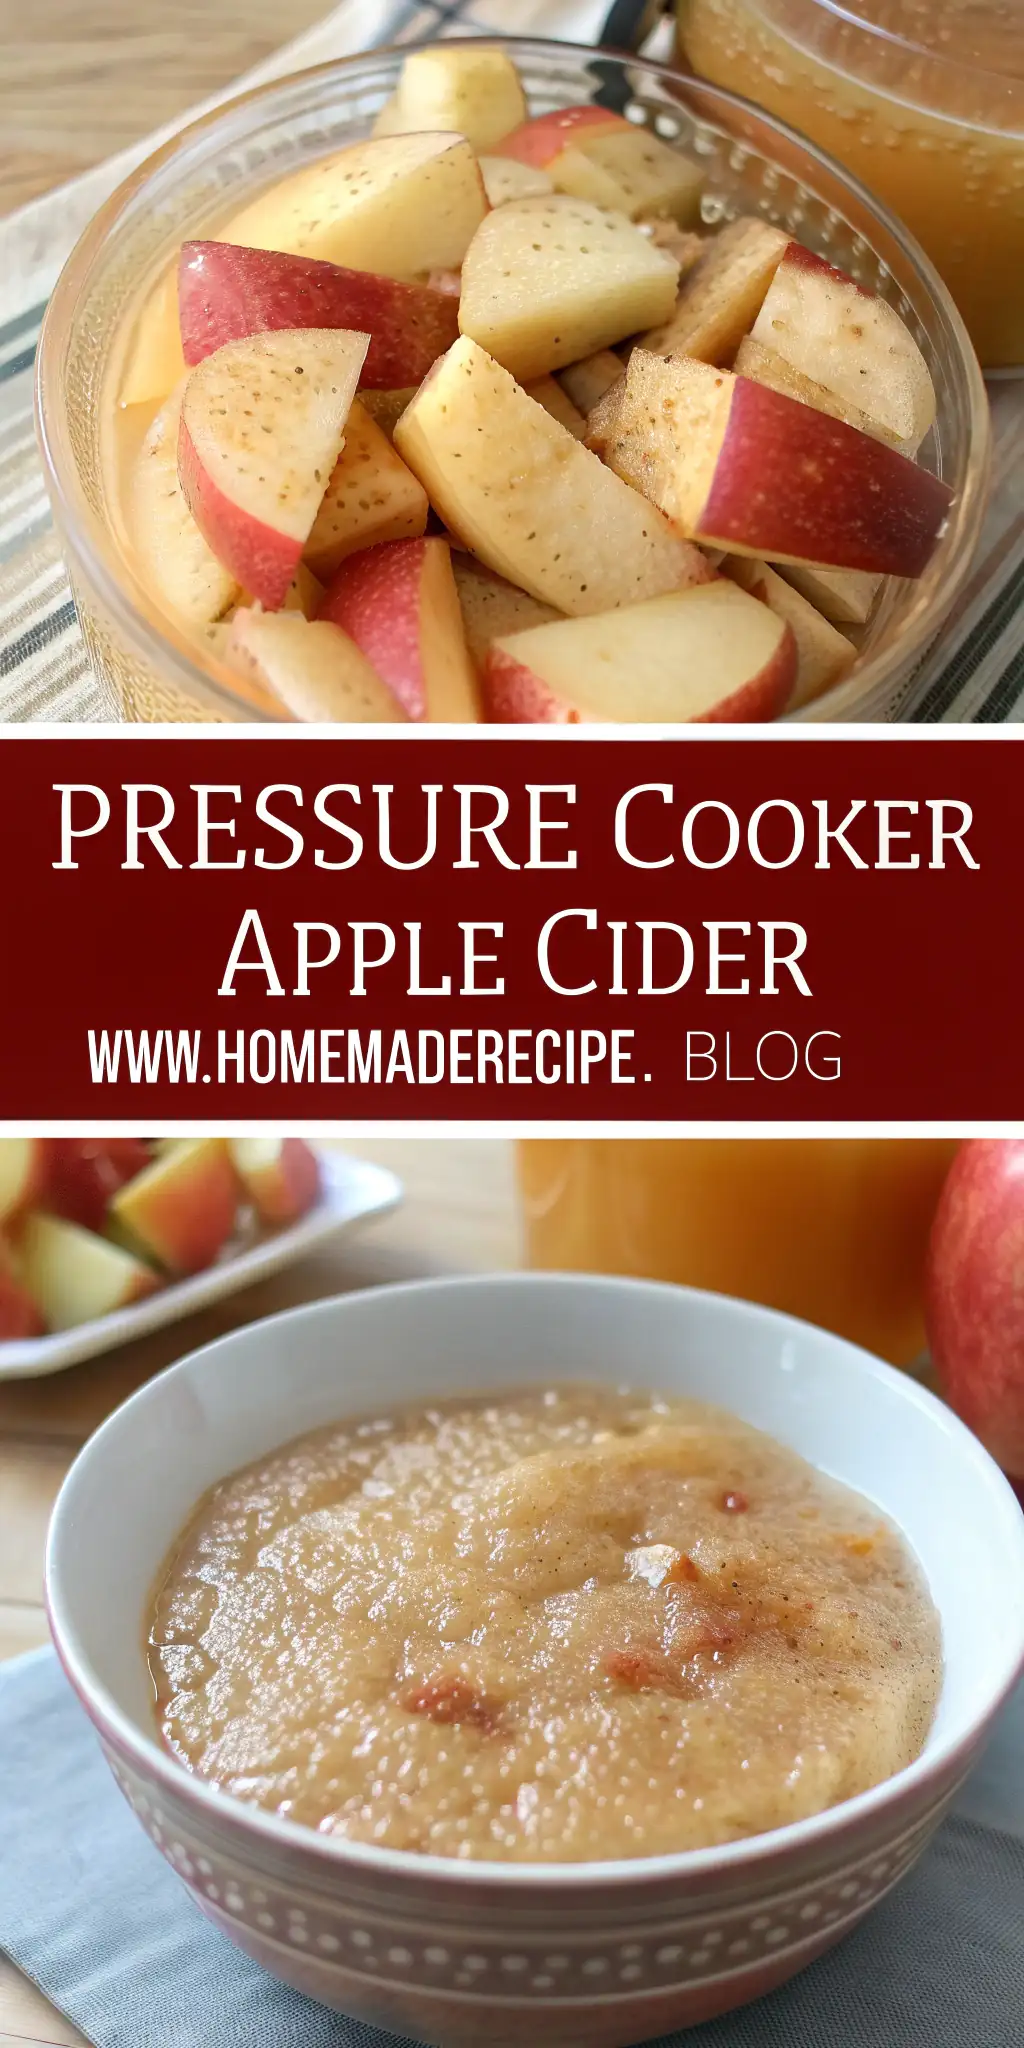
Instructions: 1. Prepare the Ingredients: Start by quartering the apples. No need to peel or core them – the pressure cooker will extract all the flavors beautifully. Choosing a mix of apple varieties, such as tart Granny Smiths and sweet Fujis, can add depth to your cider. This combination enhances the balance between tartness and sweetness. 2. Combine in Pressure Cooker: Place the quartered apples into your multi-functional pressure cooker. Sprinkle the brown sugar, cinnamon sticks, ground nutmeg, and ground cloves over the apples. The order of layering helps the spices coat the apples evenly, ensuring a uniform flavor. 3. Add Water: Fill the pot with water up to the maximum line. This ensures that the apples are fully submerged and will infuse the water with their flavors. Remember, the amount of water you add can slightly alter the intensity of the cider’s flavor. Less water results in a more concentrated taste, so adjust according to your preference. 4. Cook Under Pressure: Close and lock the lid. Set the pressure cooker to high pressure for 60 minutes. Allow the pressure to build for about 10 to 15 minutes. This step is crucial as it allows the apples to break down and release their juices fully, creating a rich base for your cider. 5. Quick Release: After the cooking time is up, carefully release the pressure using the quick-release method after letting it sit for 5 minutes. The aroma released during this step is heavenly! It’s a sensory experience that can instantly make any day feel cozier. 6. Mash the Apples: Remove the lid and take out the cinnamon sticks temporarily. Mash the apples using a potato masher or a large spoon to release even more of their juices. The more you mash, the richer the cider will be. Aim for a smooth mush to maximize juice extraction. 7. Second Round of Cooking: Return the cinnamon sticks to the pot. Cook on high pressure for another 60 minutes, again allowing the pressure to build for 10 to 15 minutes. This step further intensifies the flavors, allowing the spices to meld more deeply with the apple juices. 8. Final Release and Strain: Perform a quick-release after 5 minutes. Strain the cider through a fine strainer or cheesecloth to remove the solids. Press down on the solids to extract as much liquid as possible. This ensures a smooth, clear cider. Don’t rush this step; patience here pays off in clarity and purity of flavor. 9. Serve and Enjoy: Serve the cider hot or cold, depending on your preference. It’s a versatile treat that suits any mood or occasion. For a festive touch, garnish with a cinnamon stick or a slice of fresh apple.
For more delicious beverage ideas, check out our Homemade Hot Chocolate and Spiced Chai Latte recipes on our blog.
Kitchen Tools You’ll Need
Having the right tools on hand can make all the difference in the kitchen. Here’s what you’ll need to whip up this cozy cider:
- Multi-Functional Pressure Cooker: The star of the show, this appliance allows for quick and efficient cooking, saving you time and effort. Consider investing in one with a sauté function for more versatility in your cooking. Not only does it make cider, but it can also be used for soups, stews, and even desserts.
- Potato Masher or Large Spoon: Essential for mashing the apples and extracting their juices. A sturdy masher can make this task much easier. If you don’t have a masher, a large fork can also do the trick in a pinch.
- Fine Strainer or Cheesecloth: Necessary for straining the solids and achieving a smooth cider. A cheesecloth can also impart a slightly different texture if you prefer a more rustic cider. For an extra clear cider, you can double strain the liquid.
- Measuring Cups and Spoons: To ensure your ingredients are just the right amount. Accurate measurements can make a significant difference in the balance of flavors. A small kitchen scale can also be handy for precise measurement of spices.
The Benefits of Each Ingredient

Each ingredient in this cider plays a crucial role in creating its delightful flavor profile:
- Apples: The foundation of the cider, apples are rich in pectin and antioxidants, providing natural sweetness and a complex depth of flavor. They’re also a great source of vitamin C and dietary fiber. Different varieties can offer unique flavor profiles, so feel free to experiment. Try adding a few crab apples for an intriguing tart note.
- Brown Sugar: Adds a rich, caramel-like sweetness that complements the tartness of the apples. You can adjust the amount to suit your taste or try substituting with honey or maple syrup for a different flavor. Each sweetener will alter the taste subtly, allowing for customization.
- Cinnamon Sticks: These aromatic sticks are not only warming but also have anti-inflammatory properties and can help regulate blood sugar levels. The slow release of flavor from whole sticks is unmatched by ground cinnamon. For a stronger flavor, break the sticks before adding them to the pot.
- Nutmeg and Cloves: These spices add warmth and depth, enhancing the cider’s overall aroma and taste. Nutmeg is known for its calming effects, while cloves have antiseptic properties. A little goes a long way, so be careful not to overdo it. Ground spices can be substituted, but use a quarter of the amount called for in whole form.
For more insights into the nutritional benefits of these ingredients, check out this helpful guide on spices from WebMD.
What to Serve With This Beverage
This Pressure Cooker Apple Cider pairs beautifully with a variety of seasonal treats, making it a versatile addition to any gathering:
- Warm Apple Pie: The classic combination of apple cider and apple pie is unbeatable. The spiced cider enhances the pie’s flavors, creating a truly comforting experience. Serve with a dollop of whipped cream for extra indulgence. The contrast between the hot cider and cold cream is a sensory delight.
- Cheese Platter: A selection of cheeses, nuts, and dried fruits pairs wonderfully with the cider’s sweetness and spices. Consider including sharp cheddar, blue cheese, and a creamy brie for a well-rounded platter. The tang of blue cheese in particular is a delightful counterpoint to the cider’s sweetness.
- Savory Snacks: Consider serving this cider alongside savory options like spiced nuts or a charcuterie board to balance the sweetness with savory flavors. The saltiness of cured meats like prosciutto or salami complements the sweetness of the cider beautifully.
Storage & Leftover Tips
Proper storage ensures you can enjoy your cider for days to come:
- Refrigeration: Store leftover cider in an airtight container in the refrigerator for up to 5 days. Simply reheat on the stove or in the microwave before serving. Adding a cinnamon stick during reheating can refresh the flavors and give a slight boost to the aroma.
- Freezing: If you’d like to keep it longer, consider freezing the cider in ice cube trays. Once frozen, transfer the cubes to a freezer-safe bag or container. Thaw in the fridge and reheat as needed. This method is fantastic for preserving the cider’s flavor over time. You can even add these cubes to iced tea for a subtle spiced flavor.
- Repurposing: Use leftover cider as a base for cocktails or mocktails, or incorporate it into baking for an added depth of flavor. Try using it in a marinade for pork or as a syrup over pancakes for a morning treat. Cider can also be used in savory dishes like braised chicken or pork, adding a sweet and tangy dimension.
I hope this recipe brings warmth and joy to your home, just as it has in mine. There’s something truly special about sharing a homemade beverage with loved ones, and this cider is sure to become a beloved tradition. Enjoy every sip and the memories that come with it.
Pressure Cooker Apple Cider
Ingredients
Equipment
Method
- Place quartered apples in a multi-functional pressure cooker.
- Sprinkle brown sugar, cinnamon sticks, nutmeg, and cloves over the apples.
- Fill the pot with water up to the maximum line.
- Close and lock the lid, then set the pressure cooker to high pressure for 60 minutes.
- Allow the pressure to build for 10 to 15 minutes.
- Carefully release the pressure using the quick-release method after 5 minutes.
- Remove the lid and take out the cinnamon sticks.
- Mash the apples with a potato masher or spoon, then return the cinnamon sticks to the pot.
- Cook on high pressure for another 60 minutes, allowing the pressure to build for 10 to 15 minutes.
- Perform a quick-release after 5 minutes.
- Strain the cider using a strainer or cheesecloth to remove solids.
- Serve the apple cider hot or cold, according to your preference.