
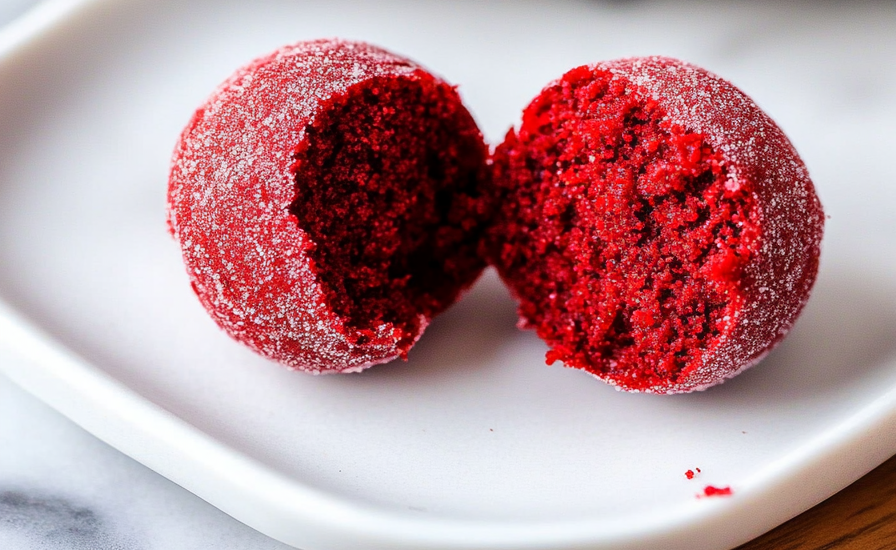
Ah, Red Velvet Truffles! Just the sound of these delightful treats takes me back to a cozy winter evening, with the warm scent of vanilla and cocoa wafting through my kitchen. I still remember the first time I made these little bites of joy—my kids helped me roll them into perfect rounds, sneaking bites of the dough when they thought I wasn’t looking. These truffles have become a family favorite, especially during the holiday season. They’re rich, creamy, and oh-so-satisfying, offering a burst of deliciousness in every bite. Whether you’re sharing them with family or treating yourself, these truffles are the epitome of comfort food.
Why You’ll Love This Sweet Treat
Easy to Make
With just a handful of ingredients, these Red Velvet Truffles come together effortlessly, making them perfect for busy days or last-minute guests. The simplicity of the recipe means you can whip them up in no time, yet they look and taste like a gourmet dessert. It’s the kind of recipe that makes you look like a culinary wizard without all the fuss.
Rich and Creamy Flavor
The combination of red velvet cake mix and cream cheese creates a luscious, melt-in-your-mouth texture that’s hard to resist. The cream cheese adds a tangy richness that perfectly complements the sweet, slightly cocoa-flavored cake mix. It’s this balance of flavors that makes these truffles so addictive.
Versatile Coatings
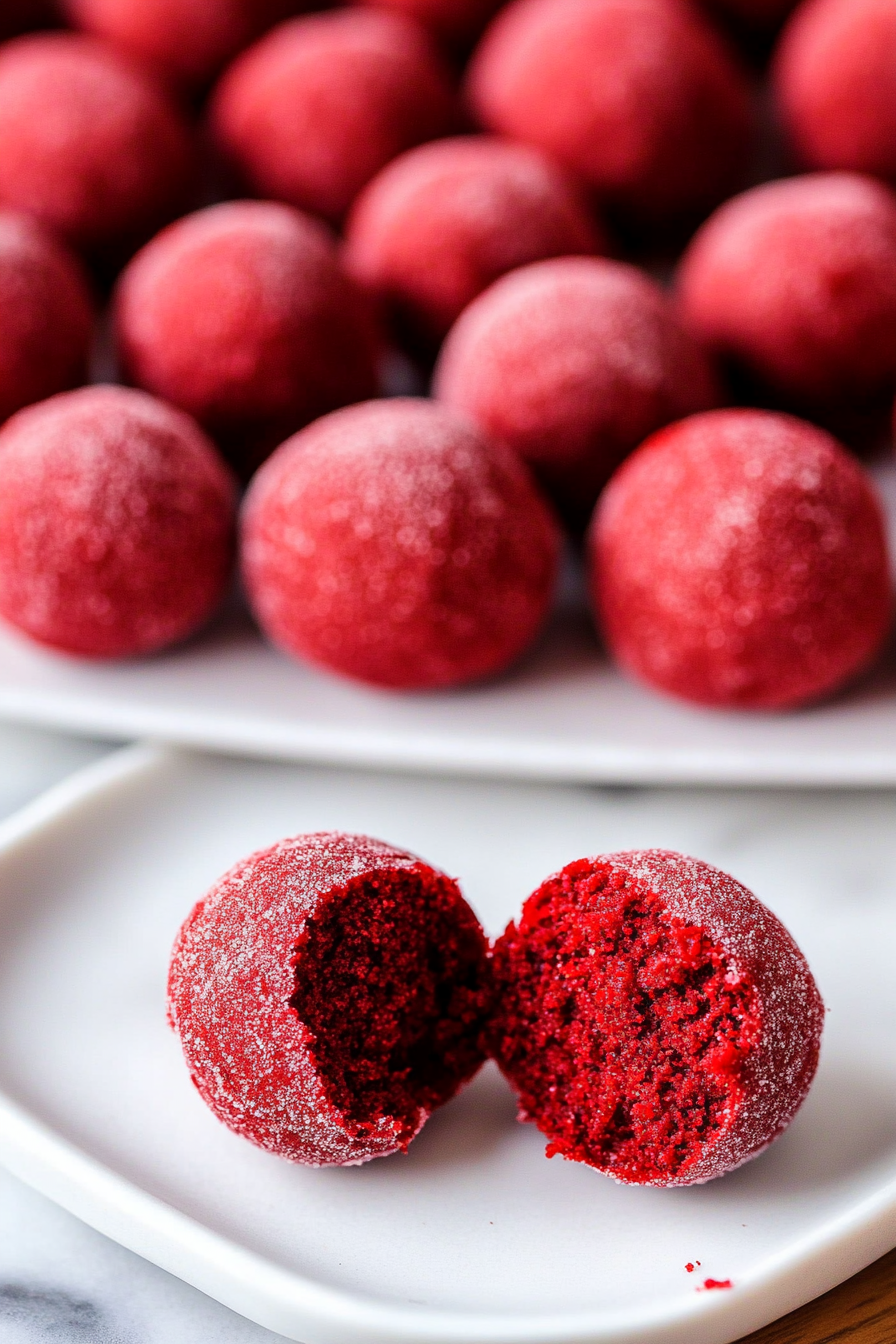
One of the joys of making these truffles is the ability to customize them with different coatings. Whether you prefer the classic dusting of confectioner’s sugar, the subtle crunch of granulated sugar, or the nutty texture of chopped nuts, there’s a coating for every palate. You can even dip them in melted chocolate for an extra layer of indulgence.
Perfect for Any Occasion
Whether it’s a family dinner, a holiday party, or a simple dessert just because, these truffles fit every event beautifully. They make an elegant addition to holiday dessert tables and are a delightful surprise for guests. Their festive red hue adds a touch of color that is perfect for Christmas, Valentine’s Day, or any occasion that calls for something special.
Kid-Friendly
A fun and tasty project for little hands, making them an excellent way to get the kids involved in cooking. Rolling the truffles can be a playful activity that encourages creativity and allows children to take pride in their culinary creations. Plus, it’s a great way to spend quality time together in the kitchen.
The Recipe
Prep Time: 20 minutes
Cook Time: 0 minutes
Servings: 20 truffles
Calories: 102 kcal per truffle
Ingredients:
– 15.25 ounces red velvet cake mix
– 1 cup confectioner’s sugar
– 8 ounces full-fat cream cheese
– 3 tablespoons heavy cream (adjust as needed for consistency)
– Granulated sugar for rolling (optional)
Instructions:
1. In the bowl of a stand mixer, combine the cake mix powder, confectioner’s sugar, and cream cheese.
2. Mix on low speed until the ingredients start to come together. If the mixture appears dry, incorporate the heavy cream, one tablespoon at a time, until you achieve a dough-like consistency.
3. Scoop the mixture into tablespoon-sized portions and roll between your hands to form smooth rounds.
4. Place the truffles on a lined baking sheet or roll them in your choice of coating—confectioner’s sugar, granulated sugar, or chopped nuts.
5. For a chocolate coating, chill the truffles in the refrigerator or freezer before dipping to ensure they hold their shape.
6. Store in the refrigerator for up to 10 days.
Kitchen Tools You’ll Need
- Stand Mixer or Hand Mixer: Essential for blending the ingredients smoothly and achieving the perfect consistency.
- Measuring Cups and Spoons: Precision is key in baking, and these tools ensure you get the right balance of flavors and textures.
- Baking Sheet: Ideal for placing the truffles as they set, ensuring they maintain their shape.
- Parchment Paper: Prevents sticking and makes for easy cleanup.
- Mixing Bowls: Useful for organizing ingredients and mixing coatings.
The Benefits of Each Ingredient
Red Velvet Cake Mix
Provides a rich, chocolatey base with a hint of vanilla, capturing the classic red velvet flavor. Its vibrant color and unique taste profile create a visually stunning and delicious dessert.
Cream Cheese
Adds a creamy tanginess that balances the sweetness and enhances the texture. Its smooth consistency helps bind the ingredients together, resulting in a truffle that melts in your mouth.
Confectioner’s Sugar
Helps bind the mixture while adding sweetness. Its fine texture ensures a smooth finish, and it acts as a stabilizer to keep the truffles from becoming overly sticky.
Heavy Cream
Adjusts the texture, ensuring the truffles are smooth and easy to roll. It adds a richness that elevates the overall flavor, making each bite decadent.
Granulated Sugar (optional)
Adds a delightful crunch when used as a coating. It provides a textural contrast to the creamy interior, enhancing the sensory experience.
What to Serve With This Sweet Treat
Red Velvet Truffles are incredibly versatile and pair well with a variety of beverages. Serve them with a cup of hot coffee or tea for a delightful afternoon snack. If you’re hosting a party, they make a lovely addition to a dessert platter alongside our Classic Chocolate Chip Cookies or Mini Cheesecake Bites. Their rich flavor also pairs beautifully with a glass of red wine or a sweet dessert wine, making them a sophisticated choice for an evening gathering.
Storage & Leftover Tips
To keep your Red Velvet Truffles fresh, store them in an airtight container in the refrigerator for up to 10 days. If you want to enjoy them over a longer period, consider freezing them. Simply place the truffles on a baking sheet to freeze, then transfer them to a freezer-safe container. They can be stored in the freezer for up to two months. Just be sure to thaw them in the refrigerator before serving.
When serving from frozen, allow the truffles to sit at room temperature for a few minutes to soften slightly. This will enhance their creamy texture and make them even more irresistible.
Creative Variations
Add a Surprise Center
For an extra special touch, try adding a surprise filling to your truffles. Consider inserting a small piece of chocolate, a nut, or a dollop of Nutella into the center before rolling them into balls. This addition can create exciting flavor and texture contrasts that will delight anyone who bites into them.
Play with Flavors
While the classic red velvet flavor is delightful, don’t be afraid to experiment with additional flavors. Adding a splash of vanilla extract or a hint of almond essence can transform the truffles into something new and exciting. You might also try incorporating finely grated orange zest for a fresh, citrusy twist.
Explore Coating Options
Instead of the traditional coatings mentioned earlier, consider rolling your truffles in crushed cookies, sprinkles, or even coconut flakes. Each coating will bring a unique taste and texture to your truffles, making them even more versatile and fun to prepare.
The Joy of Sharing
One of the most rewarding aspects of making Red Velvet Truffles is sharing them with others. Whether you’re gifting them to friends, bringing them to a potluck, or simply enjoying them with family, these truffles are a symbol of love and warmth. Their rich color and luxurious taste make them a perfect gift for any occasion, and they’re sure to be appreciated by anyone lucky enough to receive them.
Conclusion
In conclusion, these Red Velvet Truffles are more than just a sweet treat—they’re an experience, a moment of indulgence. With their rich flavors, creamy texture, and endless possibilities for customization, they are sure to become a beloved addition to your dessert repertoire. I hope you enjoy making and savoring them as much as my family and I do. Happy cooking, and remember, the kitchen is a place for creativity and joy. Enjoy every minute of it! Whether you’re a seasoned baker or a novice in the kitchen, these truffles offer a delightful project that promises to bring smiles and sweet satisfaction to all who taste them.
Red Velvet Truffles
Ingredients
Equipment
Method
- In the bowl of a stand mixer, combine the cake mix powder, confectioner’s sugar, and cream cheese.
- Mix on low until the ingredients start to pull together. If the mixture is dry, add the heavy cream 1 tbsp at a time until the mixture pulls together into a dough-like consistency.
- Scoop the mixture into tablespoon-sized portions and roll between your hands to smooth into rounds.
- You can either place them on a lined baking sheet or roll them in confectioner’s sugar, granulated sugar, chopped nuts or any other additional coating you like.
- If you decide to coat them in chocolate, be sure to chill them in the refrigerator or freezer before dipping so that they hold their shape.