
There’s something incredibly comforting about the aroma of a chicken pot pie baking in the oven. It takes me back to cozy evenings spent in my grandmother’s kitchen, where the air was always warm and inviting, and the promise of a hearty meal was just around the corner. This classic dish has been a staple in my family for generations, and I’m thrilled to share it with you today. It’s not just a recipe; it’s a slice of home and love.
Why You’ll Love This Comforting Dinner
-
Hearty and Nourishing: Packed with tender chicken, vibrant vegetables, and a creamy sauce, this dish is a meal in itself that satisfies both hunger and the soul. The combination of protein-rich chicken and nutrient-dense vegetables makes it wholesome and filling. Every bite is a symphony of flavors and textures, from the juicy chicken pieces to the slightly crunchy vegetables enveloped in a silky, savory sauce. The dish is not only filling but also balanced, offering a complete meal that nourishes the body and delights the senses.
-
Perfect for All Seasons: Whether it’s a chilly winter night or a breezy summer evening, chicken pot pie offers a timeless comfort that fits any season. In winter, it warms the soul, and in summer, it provides a satisfying meal without being too heavy. The versatility of this dish lies in its ability to adapt to seasonal ingredients. You can use fresh, seasonal vegetables from your local farmers’ market to add a unique twist to the traditional recipe. In spring, consider incorporating asparagus or leeks, while in fall, root vegetables like parsnips can add an earthy richness.
-
Customizable: You can easily adjust the ingredients to suit dietary needs or preferences. Swap the chicken for turkey or add different vegetables to make it your own. Consider adding mushrooms for an earthy depth, or bell peppers for a pop of color and sweetness. You can even try a gluten-free crust if needed. For a vegetarian version, omit the chicken and add more vegetables such as cauliflower or broccoli. To enhance the flavor profile, experiment with herbs like rosemary or thyme.
-
Family-Friendly: This dish is a hit with kids and adults alike and is perfect for bringing everyone to the table. The familiar flavors are universally appealing, and it’s a great way to introduce children to a variety of vegetables. The pie’s colorful presentation and inviting aroma make it irresistible. Engage kids in the kitchen by letting them help with cutting the vegetables or mixing the sauce, turning cooking into a fun family activity.
-
Make-Ahead Friendly: Prepare it in advance and simply bake when you’re ready, making it ideal for busy weeknights or entertaining guests. It’s an excellent choice for meal prep, allowing you more time to relax after a long day. You can assemble the pot pie a day in advance, cover it with plastic wrap, and store it in the refrigerator until you’re ready to bake. This advance preparation also allows flavors to meld, resulting in an even more delicious dish.
The Recipe
Prep Time: 30 minutes
Cook Time: 45 minutes
Servings: 6
Calories: 450 per serving
Ingredients:
- 2 cups cooked chicken, diced: You can use leftover roasted chicken, grilled chicken, or even a rotisserie chicken for convenience. Rotisserie chicken adds a wonderful depth of flavor and saves time on busy days.
- 1 cup carrots, sliced: Fresh carrots add a slight sweetness and are full of beta-carotene. Opt for organic carrots if possible, for their robust flavor.
- 1 cup peas: Frozen peas work perfectly here and add a vibrant green color. They require no preparation, which makes them a quick and easy choice.
- 1 cup potatoes, diced: Russet or Yukon Gold potatoes hold up well and add heartiness. They contribute a creamy texture once cooked.
- 1/3 cup butter: Essential for creating the roux that thickens the sauce. Use unsalted butter to better control the seasoning.
- 1/3 cup flour: Helps to thicken the sauce to the perfect consistency. For a gluten-free option, substitute with cornstarch or a gluten-free flour blend.
- 1/2 teaspoon salt: Seasoning is key, and you can adjust to taste. Sea salt or kosher salt can be used for a more refined flavor.
- 1/4 teaspoon pepper: Adds a mild kick to balance the flavors. Freshly cracked black pepper brings a more intense aroma.
- 1/4 teaspoon celery seed: Provides a subtle depth of flavor, reminiscent of traditional comfort foods. Celery seed adds a hint of earthiness.
- 1/4 teaspoon poultry seasoning: A blend that typically includes sage, thyme, and marjoram, enhancing the savory profile. You can make your own mix for a personal touch.
- 1 3/4 cups chicken broth: Use low-sodium broth to control the salt content. Homemade broth, if available, adds a rich, complex flavor.
- 2/3 cup milk: Whole or 2% milk adds creaminess to the sauce. For a richer sauce, consider using half-and-half or heavy cream.
- 2 unbaked pie crusts: Whether store-bought or homemade, crusts should be flaky and buttery. For homemade, ensure the dough is chilled for easy handling.
Instructions:
- Preheat your oven to 425°F (220°C). Ensuring your oven is properly preheated helps achieve a golden, crispy crust. A well-preheated oven is crucial for baking success, ensuring even cooking and a flaky, delicious crust.
- In a saucepan, combine carrots, peas, and potatoes. Cover with water and boil for 15 minutes. Drain and set aside. Boiling the vegetables ensures they are tender but not overly soft. This step also allows the vegetables to retain their vibrant color and nutrients.
- In another saucepan, melt the butter over medium heat. Stir in the flour, salt, pepper, celery seed, and poultry seasoning. Slowly whisk in chicken broth and milk. Simmer over medium-low heat until thickened. Remove from heat and set aside. The sauce should be thick enough to coat the back of a spoon. Patience is key here; allow the sauce to reach the right consistency for the best results.
- Place the chicken and cooked vegetables in the bottom pie crust. Pour the hot liquid mixture over them. Ensure the filling is evenly distributed to avoid spillage. Gently shake the pie dish to settle the filling and remove any air pockets.
- Cover with the top crust, seal edges, and make several small slits in the top to allow steam to escape. This prevents the crust from becoming soggy. Crimp the edges decoratively for an attractive presentation.
- Bake in the preheated oven for 30 to 35 minutes, or until the pastry is golden brown and the filling is bubbly. Cool for 10 minutes before serving. Allowing it to cool helps the filling set, making it easier to slice. A cooling rack is ideal for this step, ensuring airflow around the pie.
Kitchen Tools You’ll Need
- Saucepan: For cooking the vegetables and preparing the sauce. A heavy-bottomed pan ensures even heat distribution, preventing scorching.
- Whisk: Essential for ensuring a smooth, lump-free sauce. A balloon whisk works best for incorporating air and smoothing out the mixture. It also helps in achieving a velvety sauce texture.
- Rolling Pin: If you’re making the pie crust from scratch. A rolling pin with thickness rings can help achieve an even crust. Chilled dough rolls out more smoothly and prevents sticking.
- Pie Dish: For assembling and baking your pot pie. A deep dish allows for more filling, which is perfect for hearty servings. Ceramic or glass pie dishes offer even heat distribution and a rustic presentation.
The Benefits of Each Ingredient
- Chicken: Provides lean protein, keeping the dish hearty and satisfying. It’s an excellent source of niacin, which is vital for energy production. Chicken also offers a good amount of selenium, which supports immune function.
- Carrots and Peas: Add a pop of color and are packed with vitamins and fiber. Carrots are rich in Vitamin A, while peas provide Vitamin K and manganese. Together, they support eye health and strong bones.
- Potatoes: Offer a comforting texture and are a great source of potassium, which supports heart health. They are also rich in Vitamin C, promoting a healthy immune system.
- Butter and Flour: Create a rich roux that forms the base of the creamy sauce. This classic French technique is key to a velvety texture. The roux acts as a thickening agent, giving the sauce body and flavor.
- Chicken Broth and Milk: Combine to make a luscious, flavorful sauce. The broth adds depth of flavor, while milk provides creaminess. This combination results in a sauce that is both rich and savory.
- Celery Seed and Poultry Seasoning: Enhance the dish with classic savory flavors. These spices evoke the essence of traditional home-cooked meals. They add complexity and warmth to the overall taste.
What to Serve With This Comforting Dinner
Pair your chicken pot pie with a simple green salad or steamed green beans for a well-rounded meal. The freshness of the greens complements the richness of the pot pie. For a touch of sweetness, serve with a side of cranberry sauce, similar to a Thanksgiving dinner. Alternatively, a warm apple compote could add a delightful contrast. A glass of crisp white wine or sparkling cider can also enhance the dining experience, bringing out the flavors of the pot pie.
Storage & Leftover Tips
Store any leftovers in an airtight container in the refrigerator for up to 3 days. Reheat in the oven at 350°F (175°C) to maintain the pie’s crispy crust. Microwaving is faster but can make the crust soggy, so use the oven whenever possible. You can also freeze the unbaked pie for up to 2 months; just add an additional 15 minutes to the baking time when you’re ready to cook it. Label the pie with the date and baking instructions for convenience. For reheating, cover the edges of the crust with foil to prevent over-browning while ensuring the filling heats through thoroughly.
Creating this chicken pot pie is like offering a warm hug to your family and friends. It’s a dish that brings us together, filling our hearts and bellies with joy. I hope it becomes a beloved tradition in your home, just as it is in mine. Enjoy every bite!
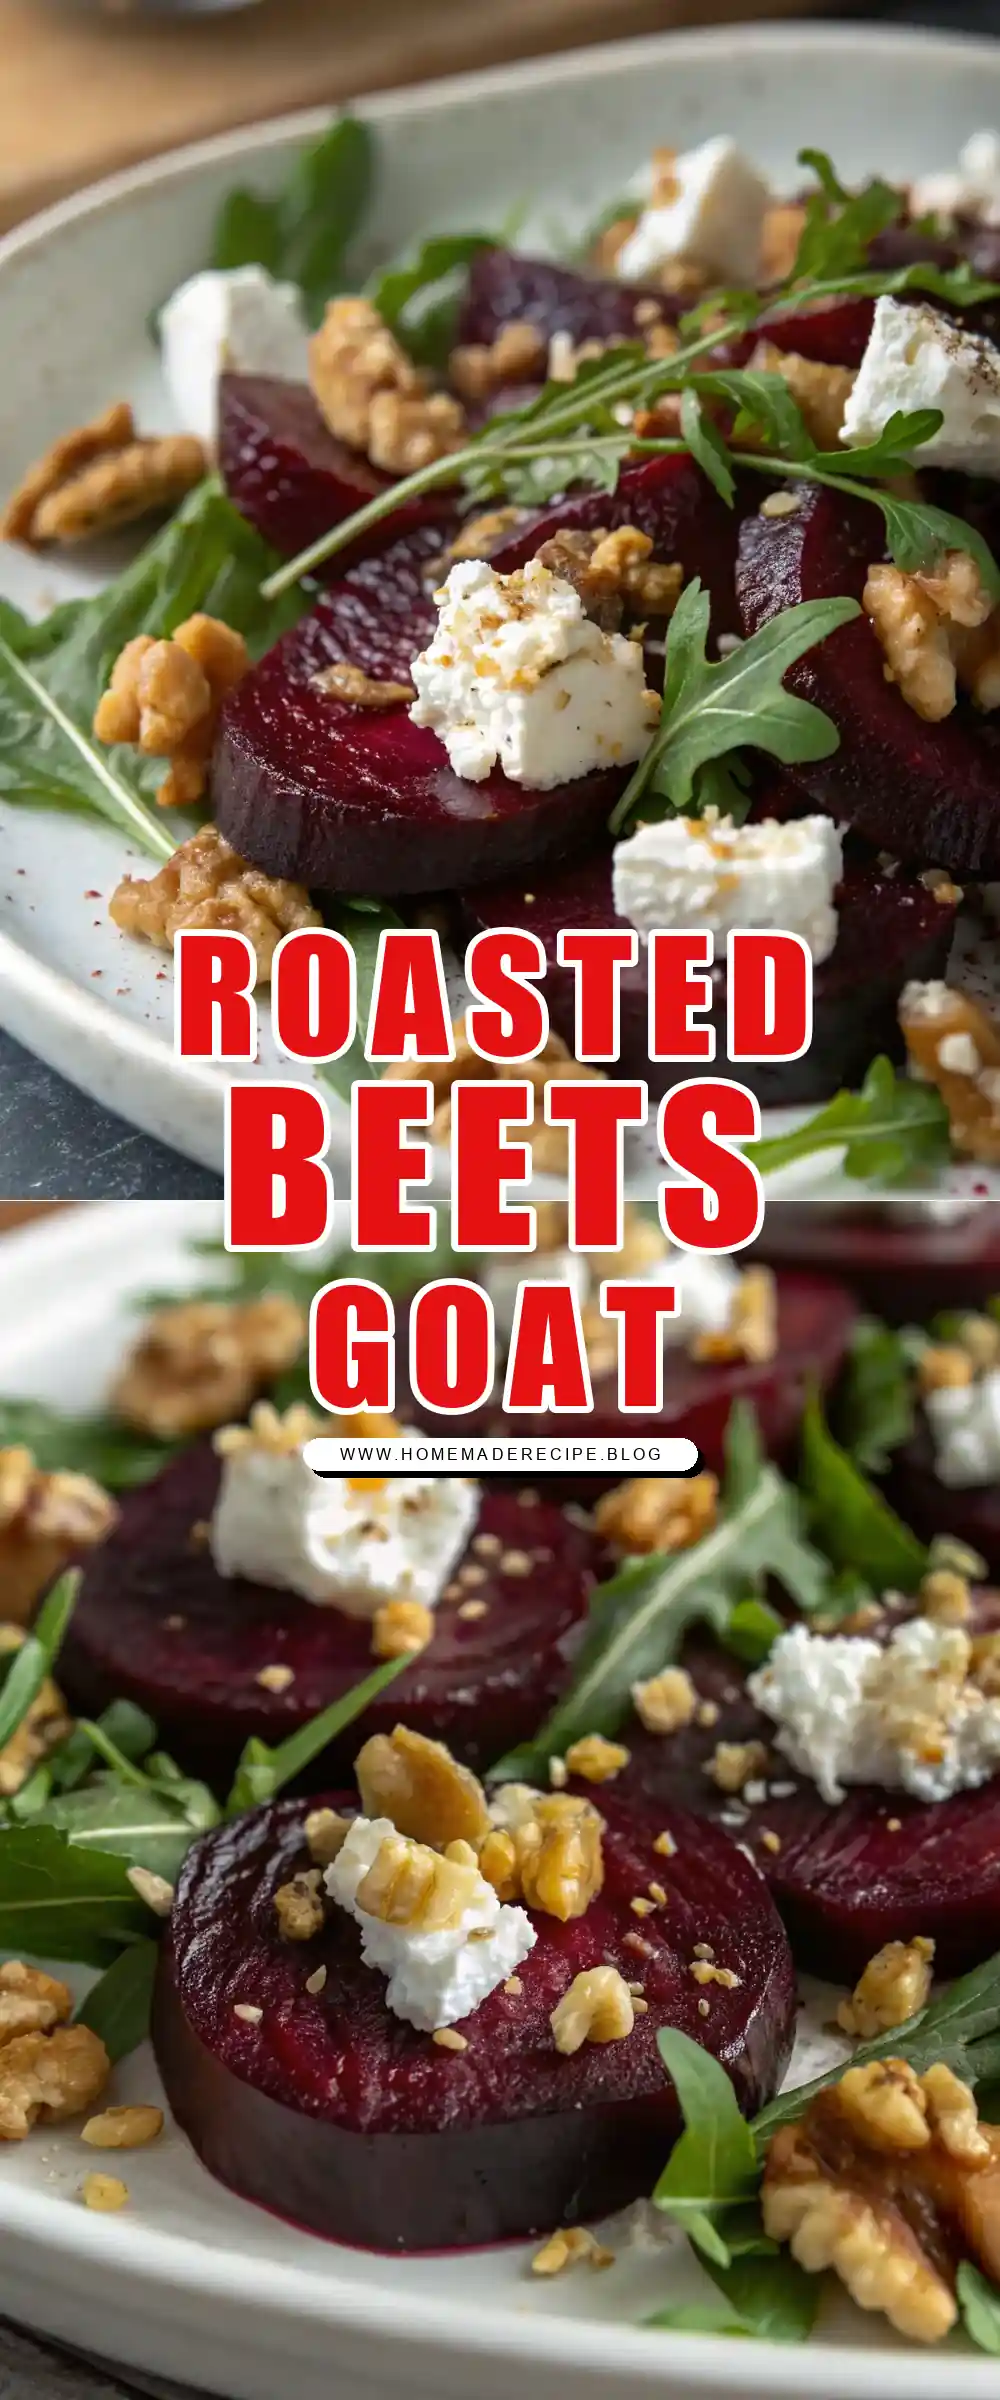
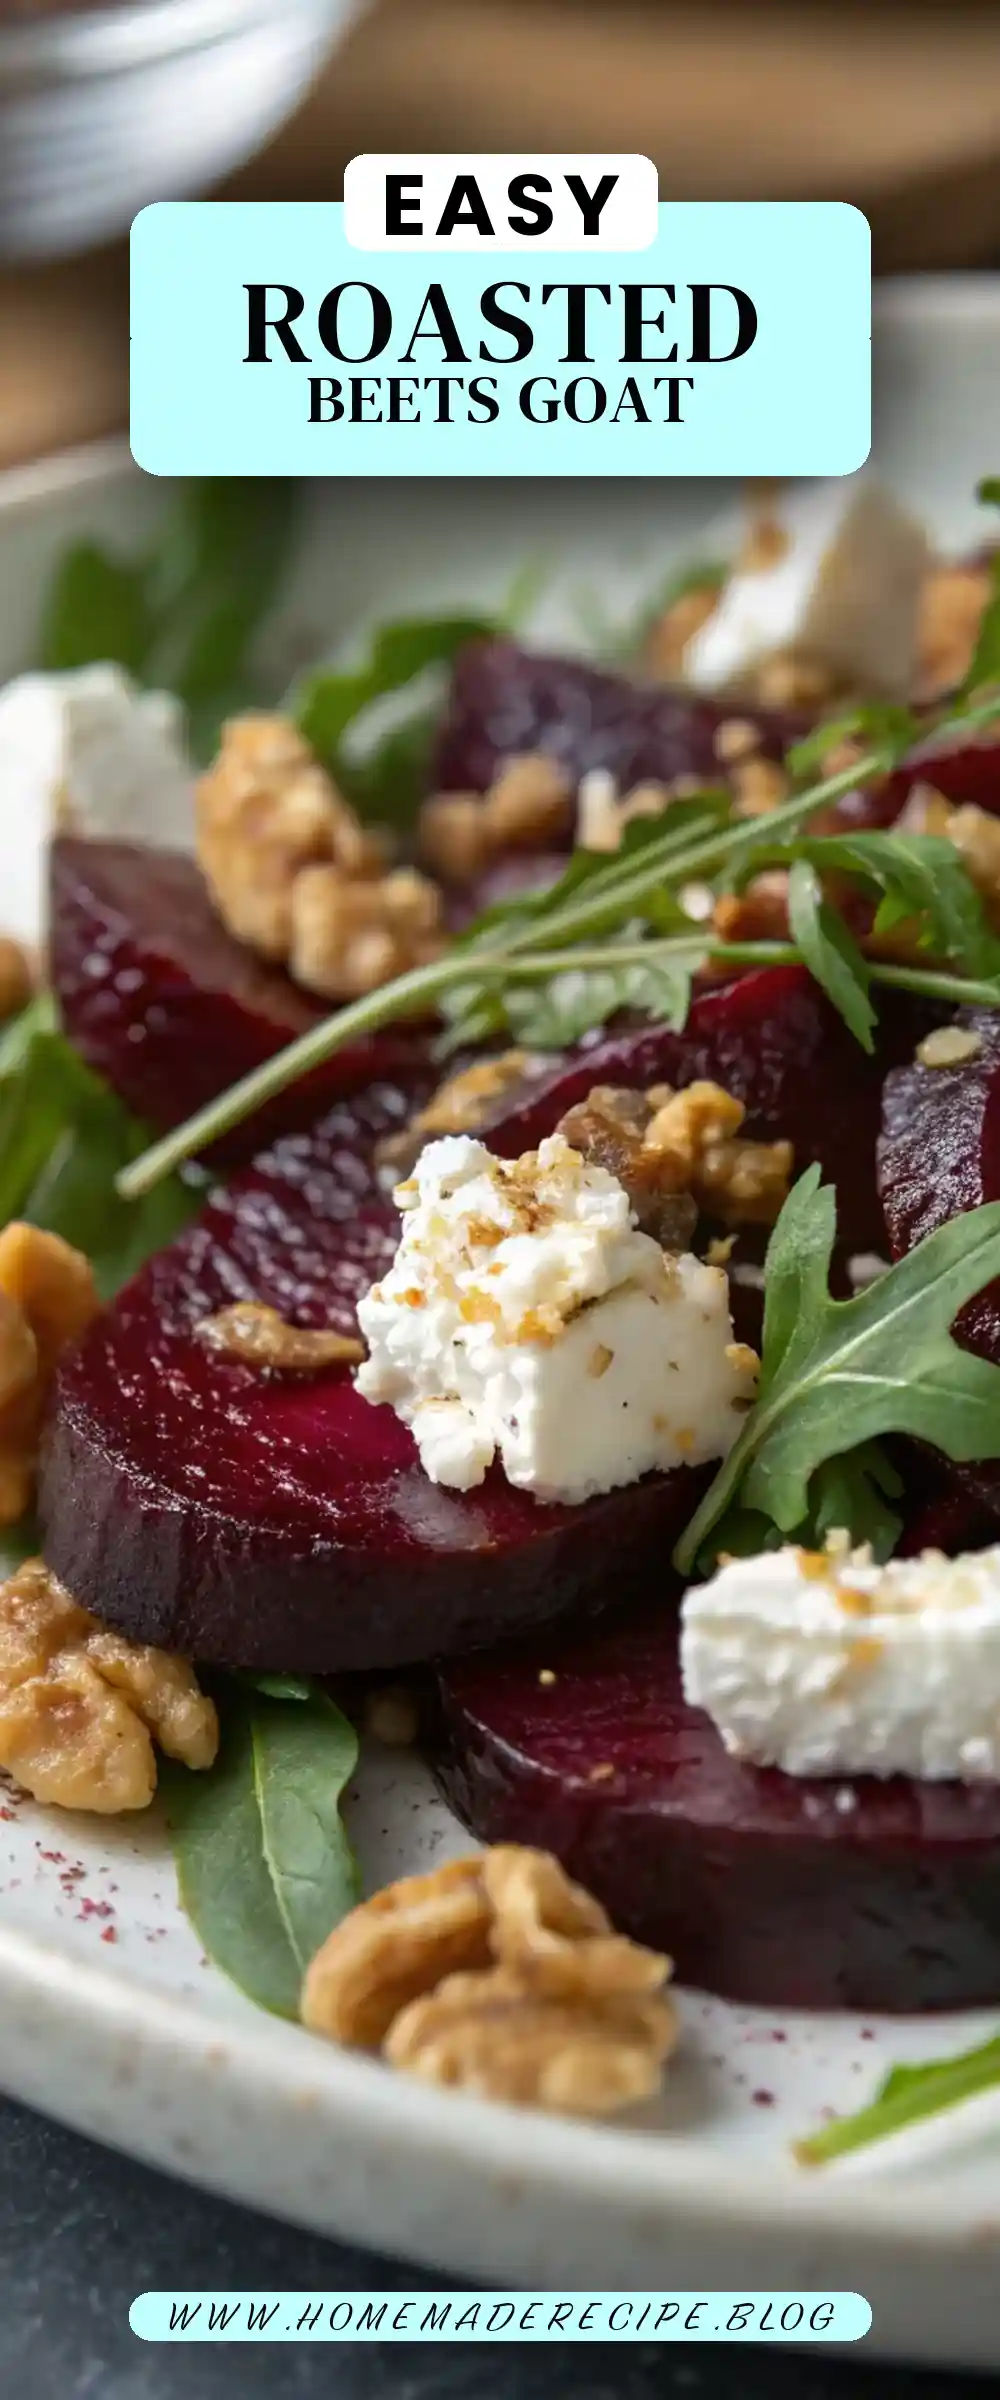
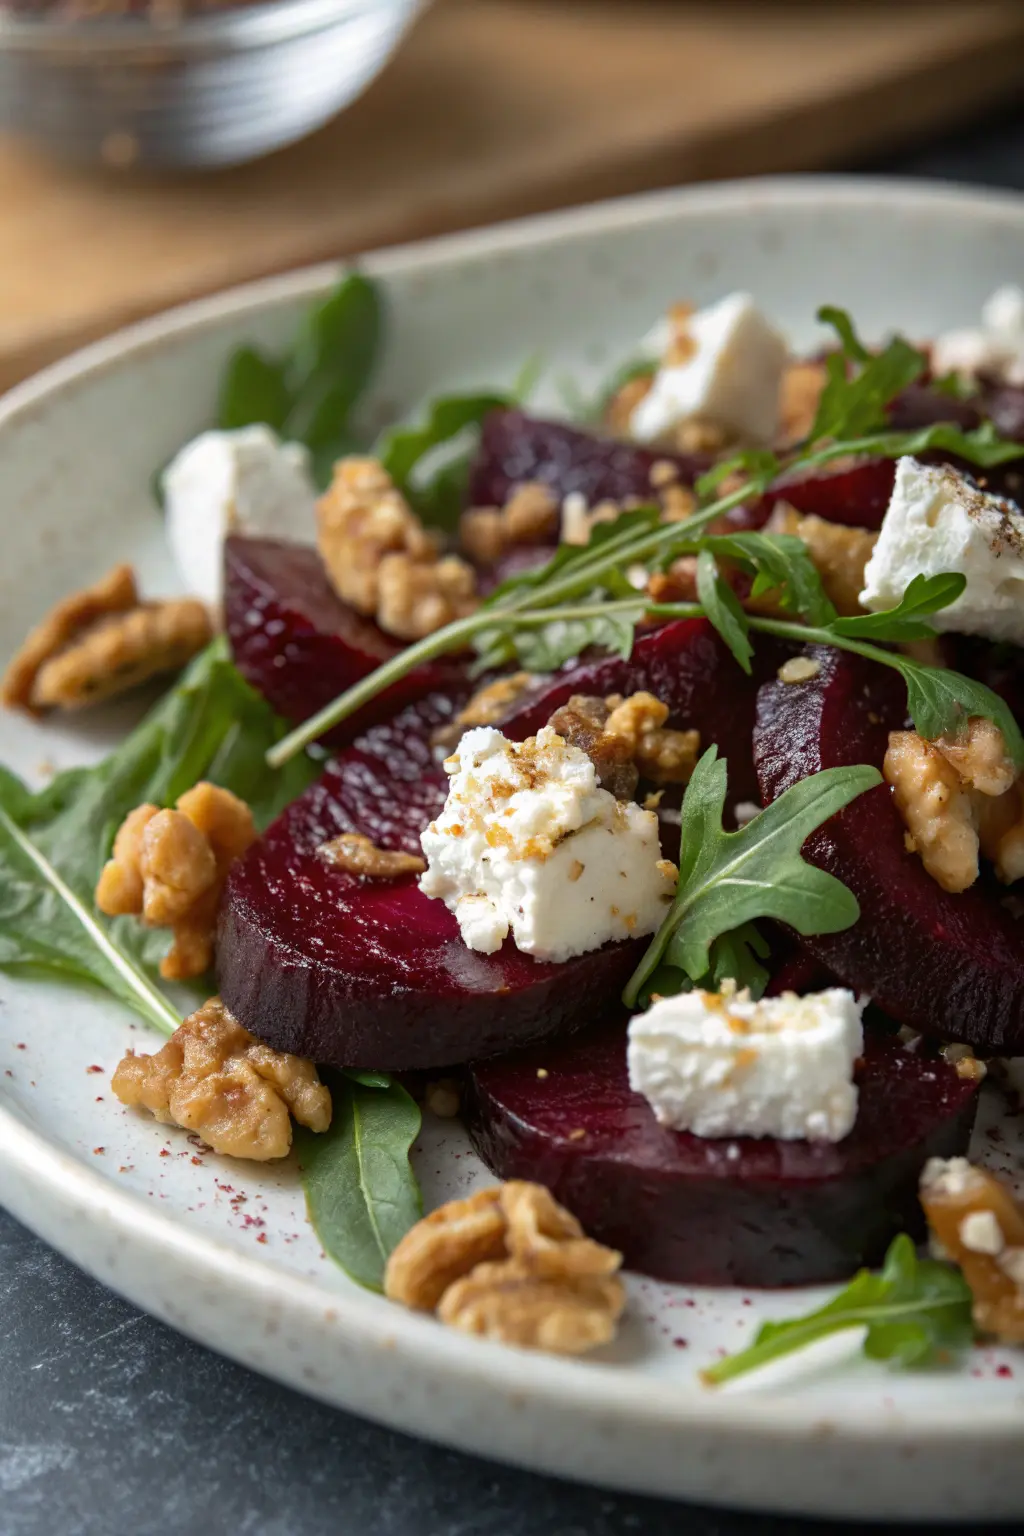
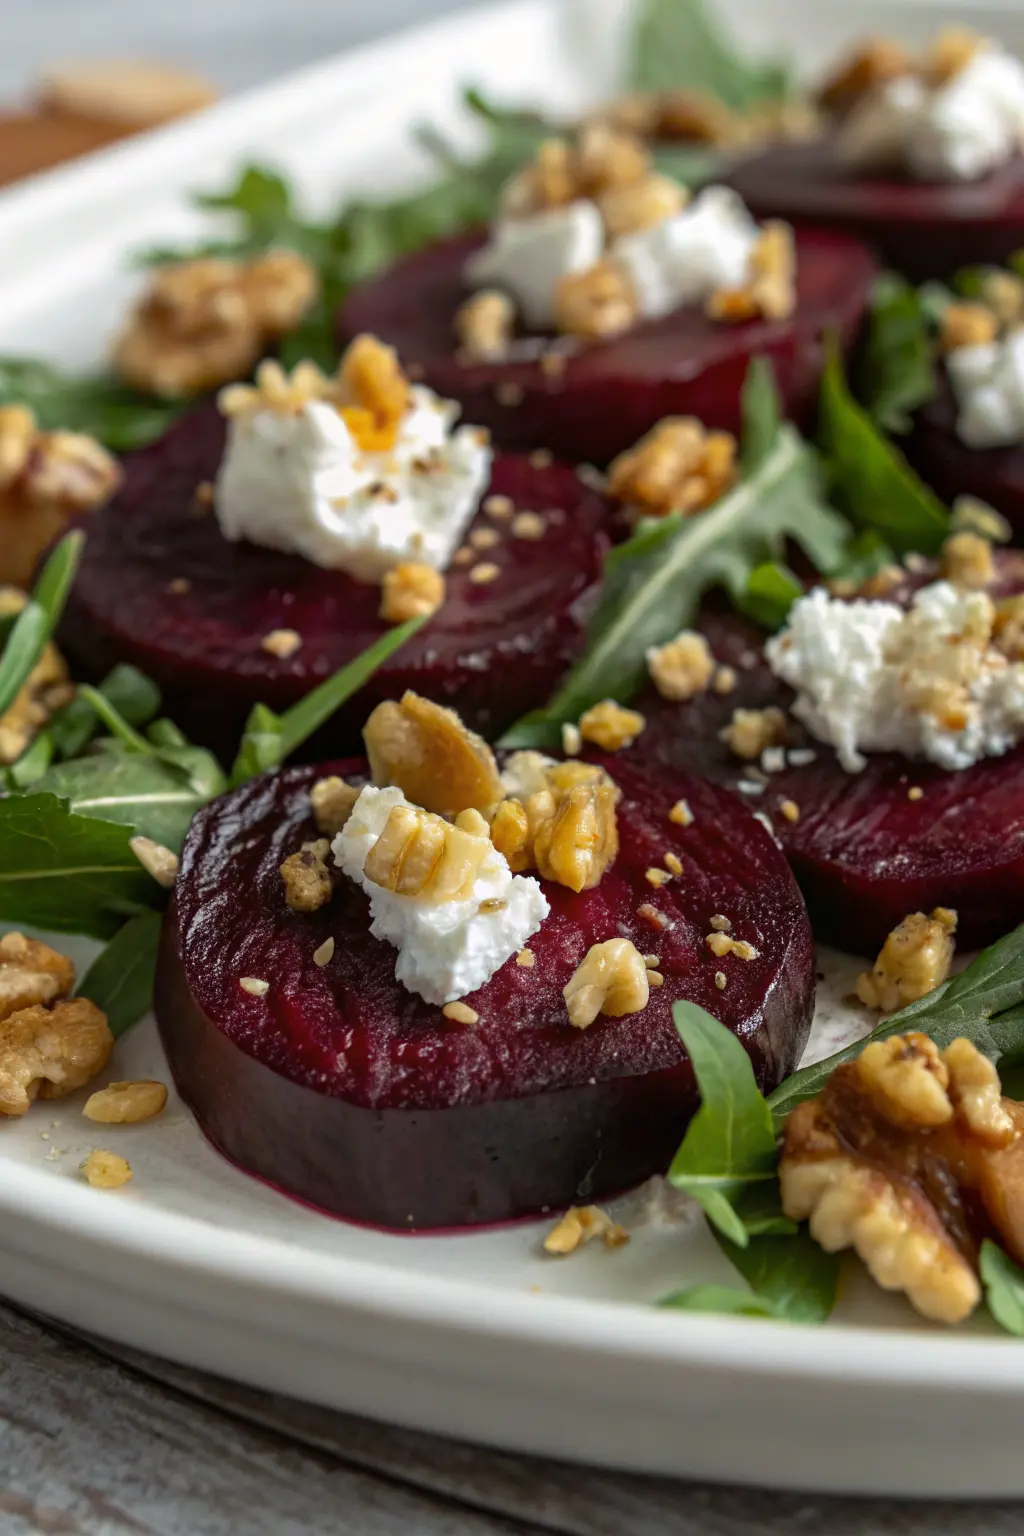
Roasted Beets with Goat Cheese and Walnuts
Ingredients
Equipment
Method
- Preheat the oven to 275 degrees F (135 degrees C) and spread walnuts onto a baking sheet. Toast in the preheated oven until golden brown and fragrant, about 45 minutes. Be careful not to burn them. Set aside once done.
- Increase the oven temperature to 375 degrees F (190 degrees C) and crinkle up a piece of aluminum foil to place in an oven-safe dish. This will act as a rack. Place the beet on the foil and bake until just turning tender, about 45 minutes.
- Remove the beet from the oven and increase the temperature to 400 degrees F (205 degrees C). Wrap the beet in aluminum foil and let it cool for 15 to 30 minutes before unwrapping and peeling it with a sharp knife. Cut the beet into half-moons.
- Brush walnut oil on the bottom and sides of a baking dish, then arrange the beet slices in a single layer. Crumble goat cheese over the beets, season with salt and pepper, and bake for about 15 minutes until the beets are sizzling and the cheese is slightly browned.
- Once done, let the dish cool for 10 minutes before drizzling vinegar on top. Garnish with beet greens, chives, and the toasted walnuts. Serve warm.