
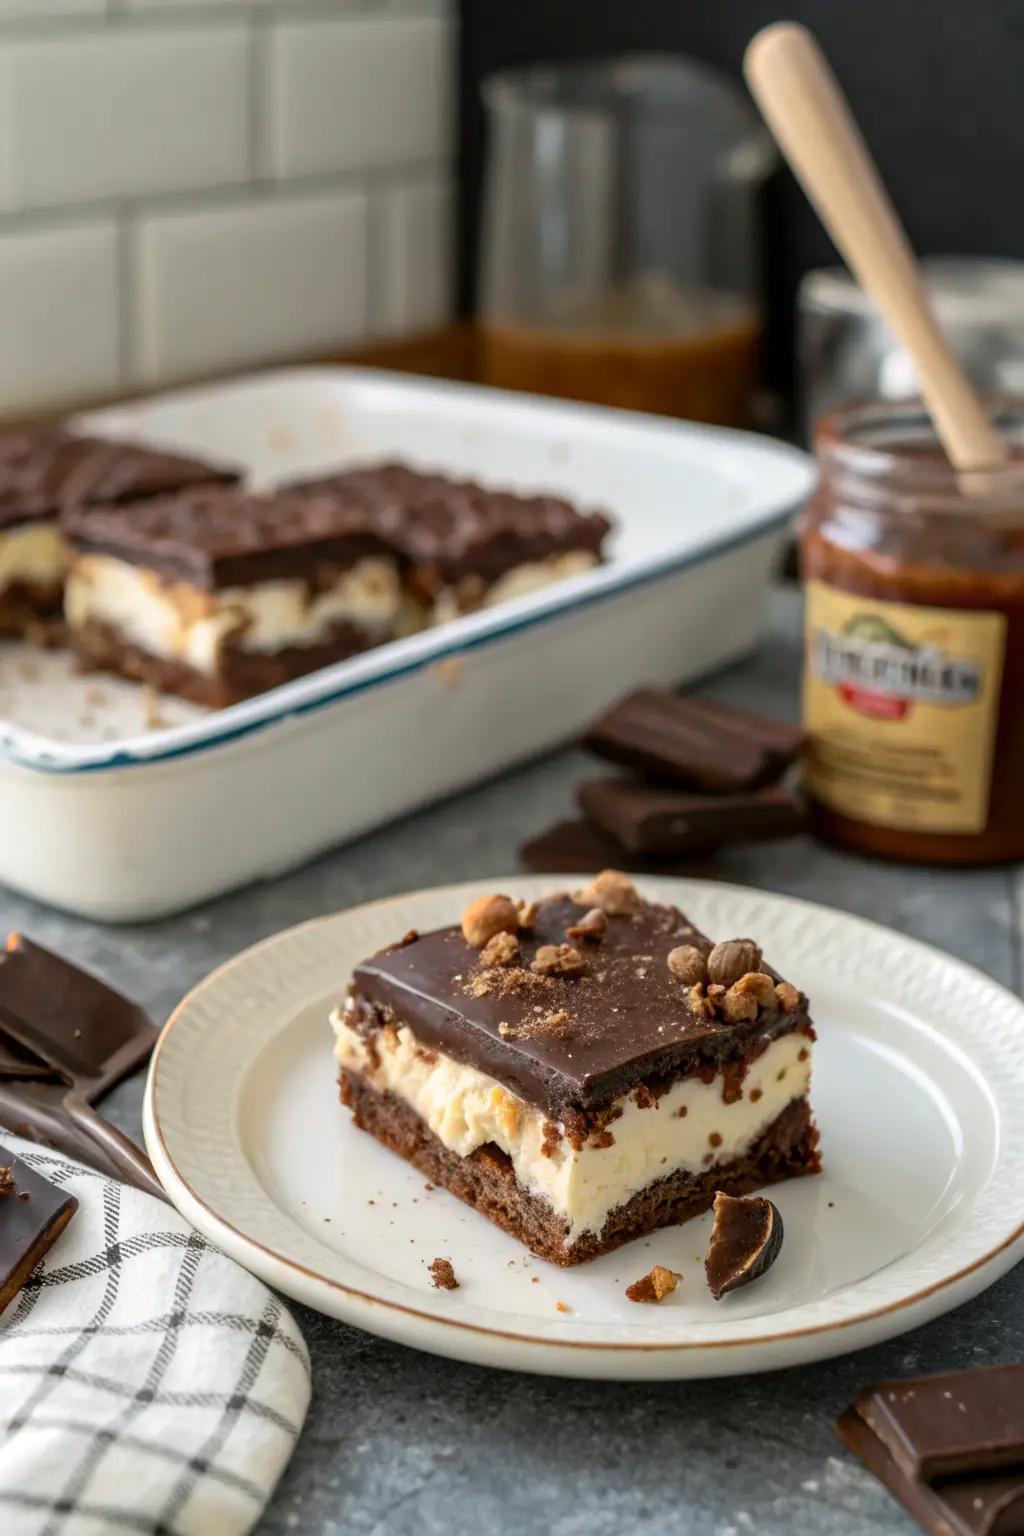
There’s something undeniably nostalgic about enjoying a frozen treat on a warm summer’s day, isn’t there? This Hot Fudge Ice Cream Bar Dessert takes me back to those delightful childhood moments when a sweet indulgence was the highlight of the day. I remember the excitement of hearing the ice cream truck’s jingle, rushing out with my siblings, and savoring every bite of those creamy, delicious ice cream sandwiches. Now, I get to share a dessert that combines that classic joy with a touch of homemade flair, perfect for delighting family and friends.
Table of Contents
- Why You’ll Love This Dessert
- The Recipe
- Kitchen Tools You’ll Need
- The Benefits of Each Ingredient
- What to Serve With This Dessert
- Storage & Leftover Tips
Why You’ll Love This Dessert
Here are four reasons why this Hot Fudge Ice Cream Bar Dessert will become a family favorite in your home:
- Easy to Assemble: With no baking required, this dessert is perfect for busy days or when you want to whip up something impressive without the hassle. Whether you’re preparing for a family reunion or a casual summer barbecue, this dessert is a breeze to put together. Even the kids can get involved in assembling the layers, making it a fun family activity.
- Crowd-Pleaser: With layers of ice cream sandwiches, rich fudge sauce, and crunchy peanuts, it’s a hit for both kids and adults alike. The combination of textures and flavors makes every bite a delightful experience. The nostalgic taste of ice cream sandwiches mixed with the decadent fudge sauce appeals to all ages.
- Make-Ahead Convenience: Prepare it in advance and keep it in the freezer. It’s ready whenever you need a sweet treat! This is particularly handy for unexpected guests or when you’re hosting a party and want to reduce last-minute stress. The ability to make it ahead of time also allows the flavors to meld together for an even more delicious outcome.
- Customizable: Swap in your favorite nuts or add a drizzle of caramel for a personal twist. You can even experiment with different flavored ice cream sandwiches or toppings to suit your mood or dietary preferences. Consider adding sliced bananas or strawberries between layers for a fruity twist.
The Recipe
Ingredients:
- 1 (16 ounce) can chocolate syrup
- ¾ cup peanut butter
- 19 ice cream sandwiches
- 1 (12 ounce) container frozen whipped topping, thawed
- 1 cup salted peanuts
Instructions:
- Prepare the Fudge Sauce: In a medium microwave-safe bowl, heat the chocolate syrup in the microwave for about 2 minutes on high, stirring every 30 seconds until hot (but do not let it boil). This ensures a smooth consistency that’s easy to mix with peanut butter. The even heating helps to avoid scorching, which can affect the flavor and texture. If you don’t have a microwave, you can gently heat the syrup on the stove in a small saucepan over low heat.
- Combine with Peanut Butter: Stir peanut butter into the hot chocolate syrup until the mixture is smooth. Allow it to cool to room temperature. This step gives the sauce a rich, nutty flavor that complements the ice cream. The cooling time is crucial to prevent the sauce from melting the ice cream sandwiches during assembly. If you prefer a slightly less sweet sauce, consider using a natural peanut butter with no added sugar.
- Layer the Ice Cream Sandwiches: Line the bottom of a 9×13-inch dish with a layer of ice cream sandwiches. This forms the base of your dessert, providing a delightful contrast to the creamy layers above. If your dish is slightly smaller, you can trim the sandwiches to fit. Alternatively, try using mini ice cream sandwiches to create more layers and enhance the texture variety.
- Add the Whipped Topping: Spread half of the thawed whipped topping over the sandwiches. It adds a light, fluffy texture that balances the dense ice cream layer. Use a spatula to ensure an even layer, which will help when it comes time to slice and serve. For an extra touch of flavor, you can fold in a teaspoon of vanilla extract into the whipped topping before spreading.
- Drizzle the Sauce: Spoon half of the chocolate and peanut butter mixture over the whipped topping. This layer adds an indulgent, fudgy richness. The sauce should be thick but pourable, so adjust by reheating gently if necessary. If you’re a fan of contrasts, consider adding a pinch of sea salt to the sauce to enhance the chocolate flavor.
- Sprinkle with Peanuts: Sprinkle half of the peanuts on top. The crunch of the peanuts adds a pleasant texture to each bite. If you prefer, you can substitute with chopped almonds or walnuts for a different nutty flavor. Toasting the nuts lightly before adding them will bring out their natural oils and enhance their flavor.
- Repeat the Layers: Repeat the layers with the remaining ingredients, finishing with a generous sprinkle of peanuts on top. The layering creates a beautiful presentation and ensures every bite is filled with deliciousness. For a decorative touch, you can also drizzle some additional chocolate syrup over the top layer.
- Freeze Until Firm: Freeze the dessert until firm, for at least 1 hour to ensure it sets well. For best results, you can leave it overnight; this helps all the flavors meld beautifully. Consider covering the dish with foil to prevent any freezer odors from affecting your dessert.
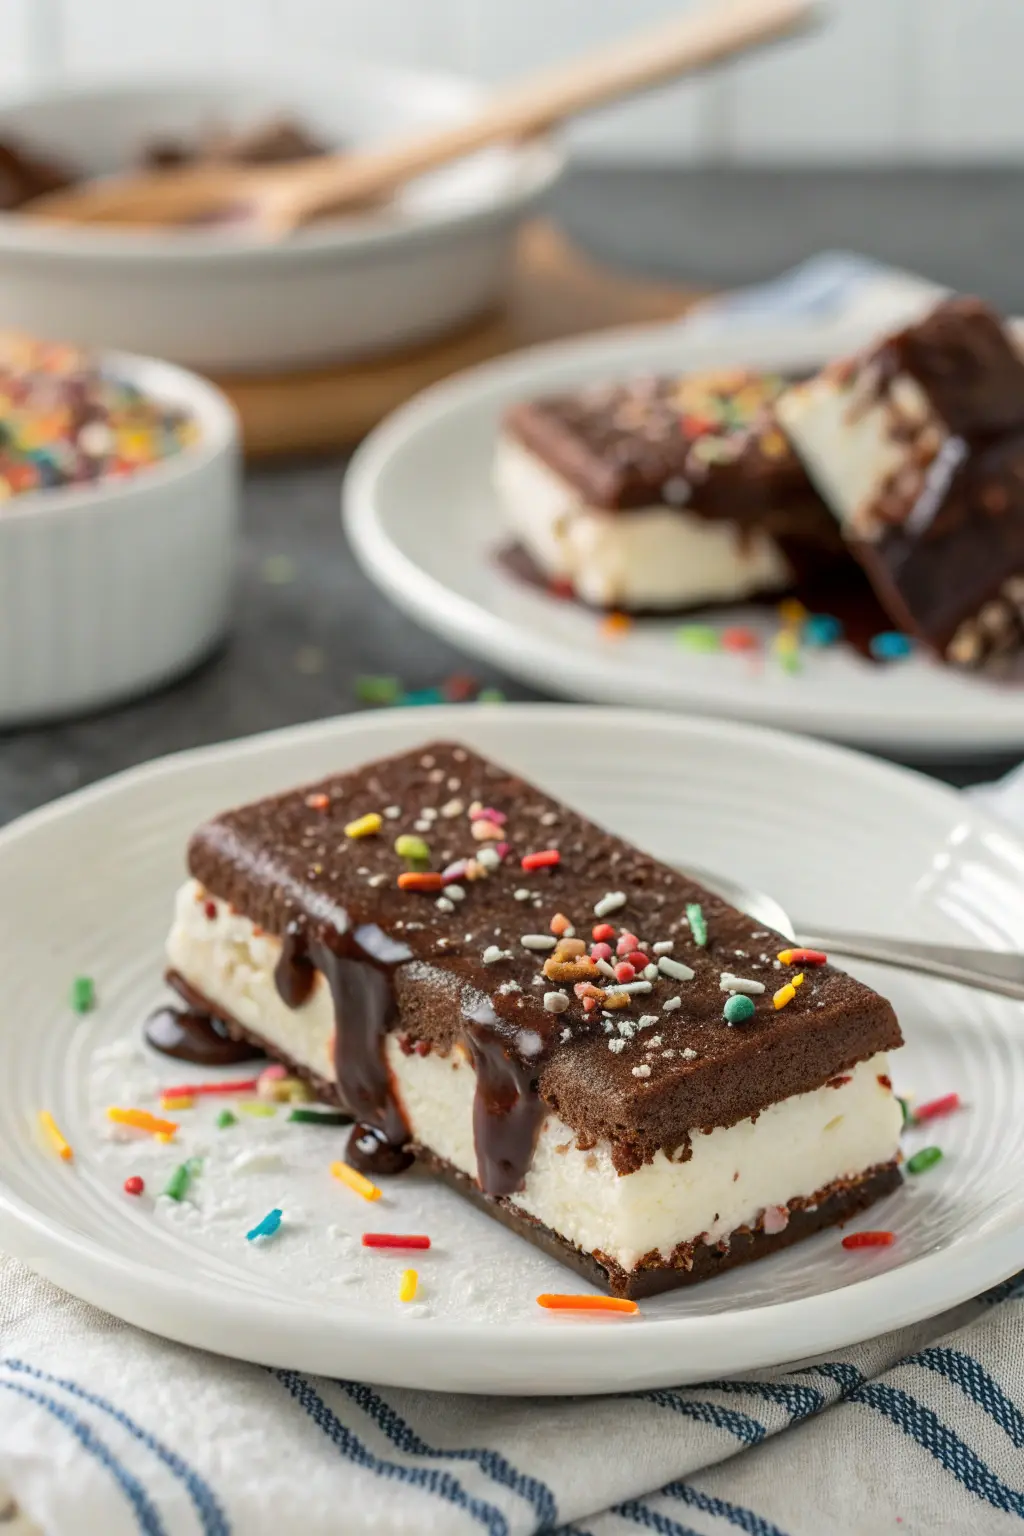
- Serve: Cut into squares and serve chilled. Enjoy the layers of creamy, crunchy, and chocolatey goodness! Use a sharp, serrated knife for clean edges, and run it under hot water between cuts to make slicing easier. If serving for a special occasion, garnish each slice with a sprig of mint or a dollop of whipped cream for an elegant touch.
Nutrition Facts per Serving:
– Calories: 575
– Total Fat: 28g
– Saturated Fat: 13g
– Cholesterol: 31mg
– Sodium: 257mg
– Total Carbohydrate: 71g
– Dietary Fiber: 4g
– Total Sugars: 47g
– Protein: 12g
– Vitamin C: 1mg
– Calcium: 114mg
– Iron: 2mg
– Potassium: 462mg
Kitchen Tools You’ll Need
To make this delightful dessert, you’ll need just a few basic kitchen tools:
- 9×13-inch Baking Dish: Perfect size for layering and serving. A glass dish works well because you can see the beautiful layers through the side. If you want to make individual servings, consider using small ramekins or a muffin tin.
- Microwave-Safe Bowl: For heating the chocolate syrup. Ensure it’s deep enough to prevent spills during stirring. If you’re using the stovetop method, a small saucepan will be necessary.
- Spatula: To spread the whipped topping evenly. A silicone spatula works best as it provides flexibility and is easy to clean. A small offset spatula can also be useful for spreading and smoothing the layers.
- Sharp Knife: For cutting the dessert into neat squares. A serrated knife can help cut through the layers without squishing them. A long slicing knife is also beneficial for making clean cuts in larger portions.
The Benefits of Each Ingredient
Understanding why each ingredient is included can help make cooking more intuitive:
- Chocolate Syrup: Provides the essential chocolatey base for the fudge sauce. Its sweetness and smooth texture are key to balancing the dessert. Opt for a high-quality syrup for the best flavor. Dark chocolate syrup can also be used for an intense chocolate experience.
- Peanut Butter: Adds a nutty richness and a creamy texture to the fudge sauce, enhancing its flavor profile. Creamy peanut butter works best, but crunchy can add extra texture if desired. If you have a peanut allergy, consider using almond butter or sunflower seed butter as a substitute.
- Ice Cream Sandwiches: These form the base of the dessert, creating a soft, creamy layer that contrasts with the crunchy toppings. You can choose from a variety of flavors like vanilla, chocolate, or even mint to customize the dessert. For a unique twist, try using cookies and cream or caramel ice cream sandwiches.
- Whipped Topping: Lightens the dessert with its fluffy texture, making each bite feel like a cloud. Ensure it’s fully thawed for easy spreading. Homemade whipped cream can be used as a substitute for a richer flavor.
- Salted Peanuts: Offer a salty crunch that complements the sweet, creamy layers, adding flavor and texture. They also provide a nice contrast that highlights the sweetness of the chocolate and peanut butter. If salt is a concern, unsalted peanuts can be used, and a sprinkle of sea salt can be added to taste.
What to Serve With This Dessert
While this Hot Fudge Ice Cream Bar Dessert is delightful on its own, you might consider pairing it with:
- Fresh Berries: Strawberries or raspberries add a refreshing tartness. They also add a pop of color and a healthy touch to your dessert spread. You can serve them on the side or sprinkle them over the top for a bright, fruity accent.
- A Cup of Coffee: The bitterness of coffee perfectly balances the dessert’s sweetness. Consider serving it as an affogato by pouring a shot of espresso over a serving of the dessert. This Italian twist adds sophistication and enhances the chocolate flavors.
- Homemade Lemonade: A zesty drink that refreshes and cleanses the palate. Its acidity can cut through the richness of the dessert, making it a perfect companion. For an adult version, add a splash of vodka or gin for a refreshing cocktail.
For more delicious homemade desserts, you might want to check out our Classic Chocolate Chip Cookies or Easy No-Bake Cheesecake.
Storage & Leftover Tips
If you have any leftovers (though it rarely happens in my home!), here’s how you can store them:
- Freezer Storage: Cover the dish tightly with aluminum foil or plastic wrap and store in the freezer for up to two weeks. This keeps it fresh and ready for your next dessert craving. You can also portion it into individual servings before freezing for easier handling. Freezing in airtight containers will prevent freezer burn and maintain the dessert’s quality.
- Serving from Frozen: Allow the dessert to sit at room temperature for about 5-10 minutes before serving to make slicing easier. This short waiting time helps soften the dessert just enough to enhance its creamy texture. If you find it too hard to cut, let it rest for a few more minutes for smoother slicing.
This Hot Fudge Ice Cream Bar Dessert is not just a treat for your taste buds but also a wonderful trip down memory lane. It’s perfect for gatherings, celebrations, or simply indulging your sweet tooth. I hope this recipe brings as much joy to your home as it does to mine. Enjoy every creamy, crunchy bite and make memories with those you love!
Hot Fudge Ice Cream Bar Dessert
Ingredients
Equipment
Method
- In a medium microwave-safe bowl, heat the chocolate syrup in the microwave for about 2 minutes on high, stirring every 30 seconds until hot (do not let it boil).
- Stir peanut butter into the hot chocolate until smooth and allow the mixture to cool to room temperature.
- Line the bottom of a 9×13-inch dish with a layer of ice cream sandwiches.
- Spread half of the whipped topping over the sandwiches.
- Spoon half of the chocolate and peanut butter mixture over the whipped topping.
- Sprinkle half of the peanuts on top.
- Repeat the layers with the remaining ingredients.
- Freeze the dessert until firm, for at least 1 hour.
- Cut into squares and serve chilled.