
There’s something undeniably comforting about the smell of freshly baked chocolate chip cookies wafting through the house. It takes me back to my childhood when my grandmother would whip up a batch on Sunday afternoons. These cookies are more than just a treat; they’re a way to connect with loved ones and create lasting memories. Today, I’m sharing my all-time favorite recipe for Classic Chocolate Chip Cookies with a Twist, a delightful spin on the timeless classic that includes a secret ingredient I can’t wait for you to discover!
Why You’ll Love This Cookie Recipe
- Nostalgic Comfort: These cookies are the perfect blend of crispy edges and gooey centers, just like the ones grandma used to make. The aroma alone evokes a sense of warmth and coziness, making your kitchen the heart of your home. Each bite takes you on a trip down memory lane, where the worries of the day fade away with the first taste of sweet, chocolatey goodness.
- Quick & Easy: With a prep time of just 15 minutes and a bake time of 10, you’ll have fresh cookies ready to enjoy in no time. This recipe is perfect for those sudden sweet cravings or when unexpected company arrives. It’s efficient without compromising on flavor, ensuring you always have a delicious batch of cookies in a flash.
- Customizable: Add your favorite nuts or a sprinkle of sea salt to make these cookies uniquely yours. You can even experiment with different types of chocolate—dark, milk, or even white—for a personalized touch. Consider adding a dash of cinnamon or a hint of espresso powder for added depth and complexity in flavor.
- Family-Friendly: This recipe is simple enough for little helpers to join in, making it a great family activity. Kids love measuring ingredients and mixing the dough, fostering a love for baking and creating cherished memories. It’s an excellent way to teach them about the joys of cooking and the satisfaction of creating something delicious from scratch.
- Crowd-Pleaser: Perfect for any occasion, these cookies are sure to be a hit at parties, bake sales, or as a sweet gift. Wrap them up in a decorative tin or box for a thoughtful homemade present. Their universal appeal ensures that they’ll be appreciated by everyone, from kids to adults, making them a staple in any baker’s repertoire.
The Recipe
Prep Time: 15 minutes
Cook Time: 10 minutes
Servings: 24 cookies
Calories: 150 per cookie
Ingredients:
- 1 cup unsalted butter, softened
- 1 cup granulated sugar
- 1 cup packed brown sugar
- 2 large eggs
- 2 teaspoons vanilla extract
- 3 cups all-purpose flour
- 1 teaspoon baking soda
- 2 teaspoons hot water
- 1/2 teaspoon salt
- 2 cups semisweet chocolate chips
- 1/2 cup chopped walnuts (optional)
Instructions:
- Preheat your oven to 350°F (175°C) and line your baking sheets with parchment paper. This prevents sticking and ensures even baking. A well-prepared baking sheet is the first step to perfectly baked cookies every time.
- In a large bowl, cream together the butter, granulated sugar, and brown sugar until smooth. This step is crucial for incorporating air, which results in a light and fluffy texture. The creaming process is essential for achieving that perfect cookie structure.
- Beat in the eggs one at a time, then stir in the vanilla extract. Adding eggs one at a time ensures they are fully incorporated, and the vanilla adds a rich depth of flavor. The gradual addition of eggs helps maintain the emulsion, preventing the batter from curdling.
- Dissolve the baking soda in hot water and add to the batter along with the salt. Dissolving the baking soda prevents clumps and ensures even distribution throughout the dough. This step is often overlooked but is key to achieving an even rise in your cookies.
- Gradually stir in the flour until just combined. Mix in the chocolate chips and walnuts if using. Be careful not to overmix, as this can lead to tough cookies. The key to a tender crumb is knowing when to stop mixing—less is more here.
- Drop spoonfuls of dough onto the prepared baking sheets. For uniform cookies, use a cookie scoop or tablespoon to portion the dough. Consistent sizing ensures even baking and a professional-looking final product.
- Bake for 10 minutes or until the edges are nicely browned. Baking just until the edges are golden ensures a chewy center. Keep an eye on the cookies as they bake, as ovens can vary, and you want to avoid overbaking.
- Allow cookies to cool on the baking sheet for a few minutes before transferring them to a wire rack. This helps them set and prevents breakage. Cooling on the sheet allows the cookies to firm up and develop their full flavor and texture.
Kitchen Tools You’ll Need
- Large Mixing Bowl: Essential for combining all your ingredients with ease. A sturdy bowl helps manage the volume of dough and makes mixing a breeze.
- Electric Mixer: Speeds up the process of creaming the butter and sugars, although a sturdy wooden spoon can also do the job. An electric mixer is a time-saver and ensures a smoother, more consistent dough.
- Measuring Cups and Spoons: Accurate measurements are key to consistent results. Baking is a science, and precision is crucial for success.
- Baking Sheets: Opt for heavy-duty sheets that distribute heat evenly. Quality baking sheets prevent uneven cooking and burnt cookie bottoms.
- Parchment Paper: Prevents sticking and makes cleanup a breeze. It’s reusable and eco-friendly, and a must-have for any baker.
- Wire Rack: Allows cookies to cool evenly and prevents them from becoming soggy. Proper airflow during cooling is essential for maintaining the perfect texture.
The Benefits of Each Ingredient
- Unsalted Butter: Provides the rich, creamy flavor and texture that makes cookies irresistible. Using unsalted butter allows you to control the salt content in your recipe. It’s the backbone of flavor and texture, creating a melt-in-your-mouth experience.
- Granulated & Brown Sugar: A combination of these sugars creates the perfect balance of sweetness and chewiness. Brown sugar adds moisture and a hint of molasses flavor, while granulated sugar contributes to the crisp texture. This duo is the secret to the ultimate cookie texture—crispy and chewy in all the right places.
- Vanilla Extract: Enhances the flavor, adding depth and warmth to the cookies. Use pure vanilla extract for the best flavor. It’s the subtle undertone that elevates the overall taste, making each bite more enjoyable.
- All-Purpose Flour: The foundation of the cookie, giving it structure and substance. It provides the necessary gluten to hold everything together. This versatile flour is essential for creating the perfect balance of chewiness and crispness in the cookies.
- Semisweet Chocolate Chips: The heart of the cookies, offering bursts of chocolatey goodness in every bite. Opt for high-quality chips for the richest taste. They are the stars of the show, providing that irresistible chocolate melt with every bite.
What to Serve With This Cookie Recipe
Pair these cookies with a tall glass of cold milk for the ultimate classic treat. For a grown-up twist, enjoy them with a cup of freshly brewed coffee or a scoop of vanilla ice cream for a delightful dessert. You might also consider serving them with a warm mug of hot chocolate on a chilly day or alongside a fresh fruit salad for a balanced snack. For a festive flair, consider a spiced apple cider or a rich port wine to complement the cookies’ sweetness.
Storage & Leftover Tips
These cookies can be stored in an airtight container at room temperature for up to a week. If you want to keep them longer, they freeze beautifully. Simply place them in a freezer-safe bag, and they’ll last for up to three months. To enjoy, thaw at room temperature or give them a quick zap in the microwave. For best results, place a slice of bread in the container with the cookies to keep them soft and chewy. The bread trick is a classic method to maintain moisture, ensuring your cookies stay as delicious as the day they were baked.
In every bite of these Classic Chocolate Chip Cookies with a Twist, there’s a touch of nostalgia and a whole lot of love. I hope this recipe brings as much joy to your home as it does to mine. Happy baking, and don’t forget to check out more delicious recipes on {BLOG_DOMAIN}, like our Chewy Oatmeal Raisin Cookies or Decadent Brownie Bites. For more baking tips and inspiration, you can also visit Serious Eats. Enjoy!
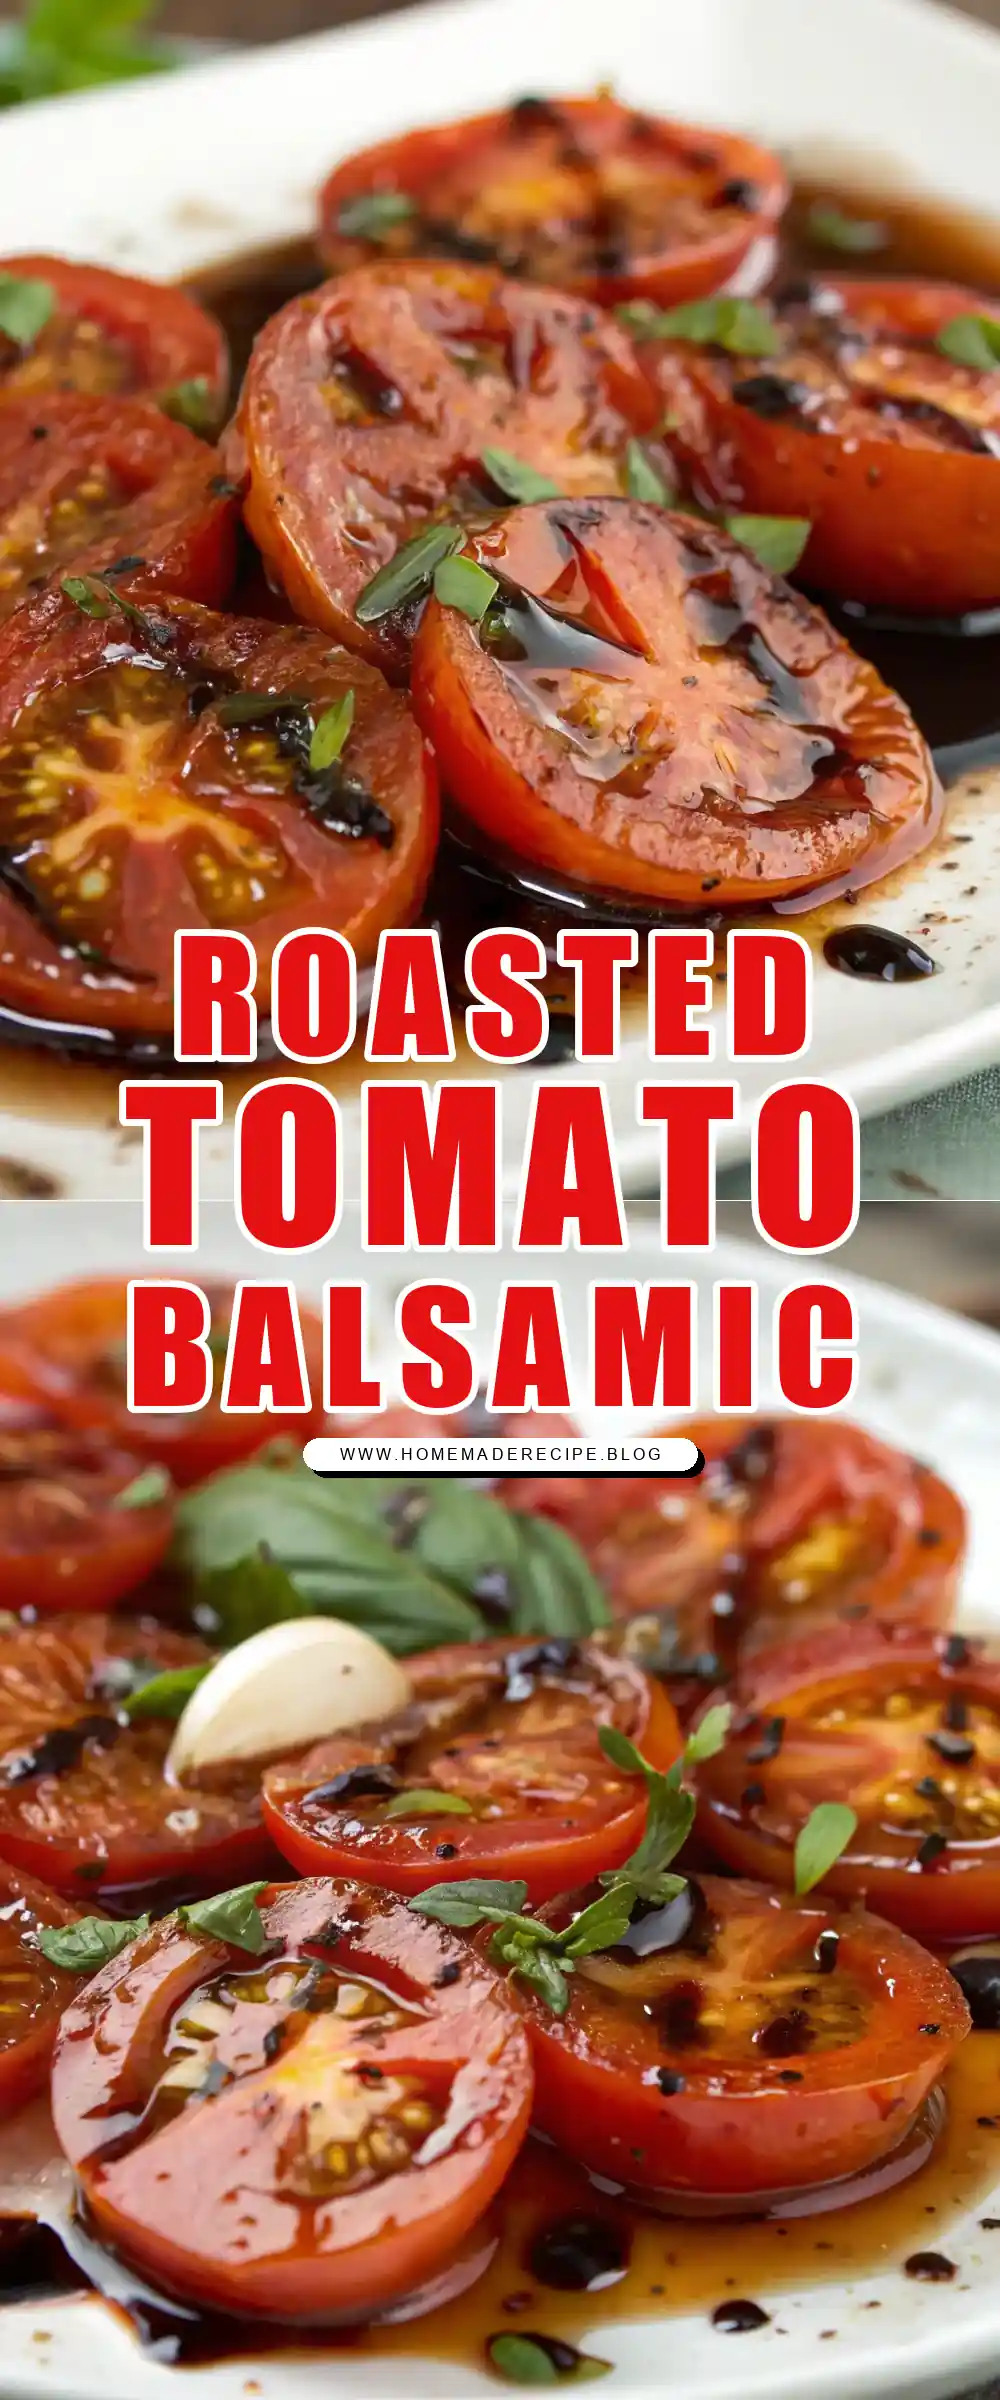

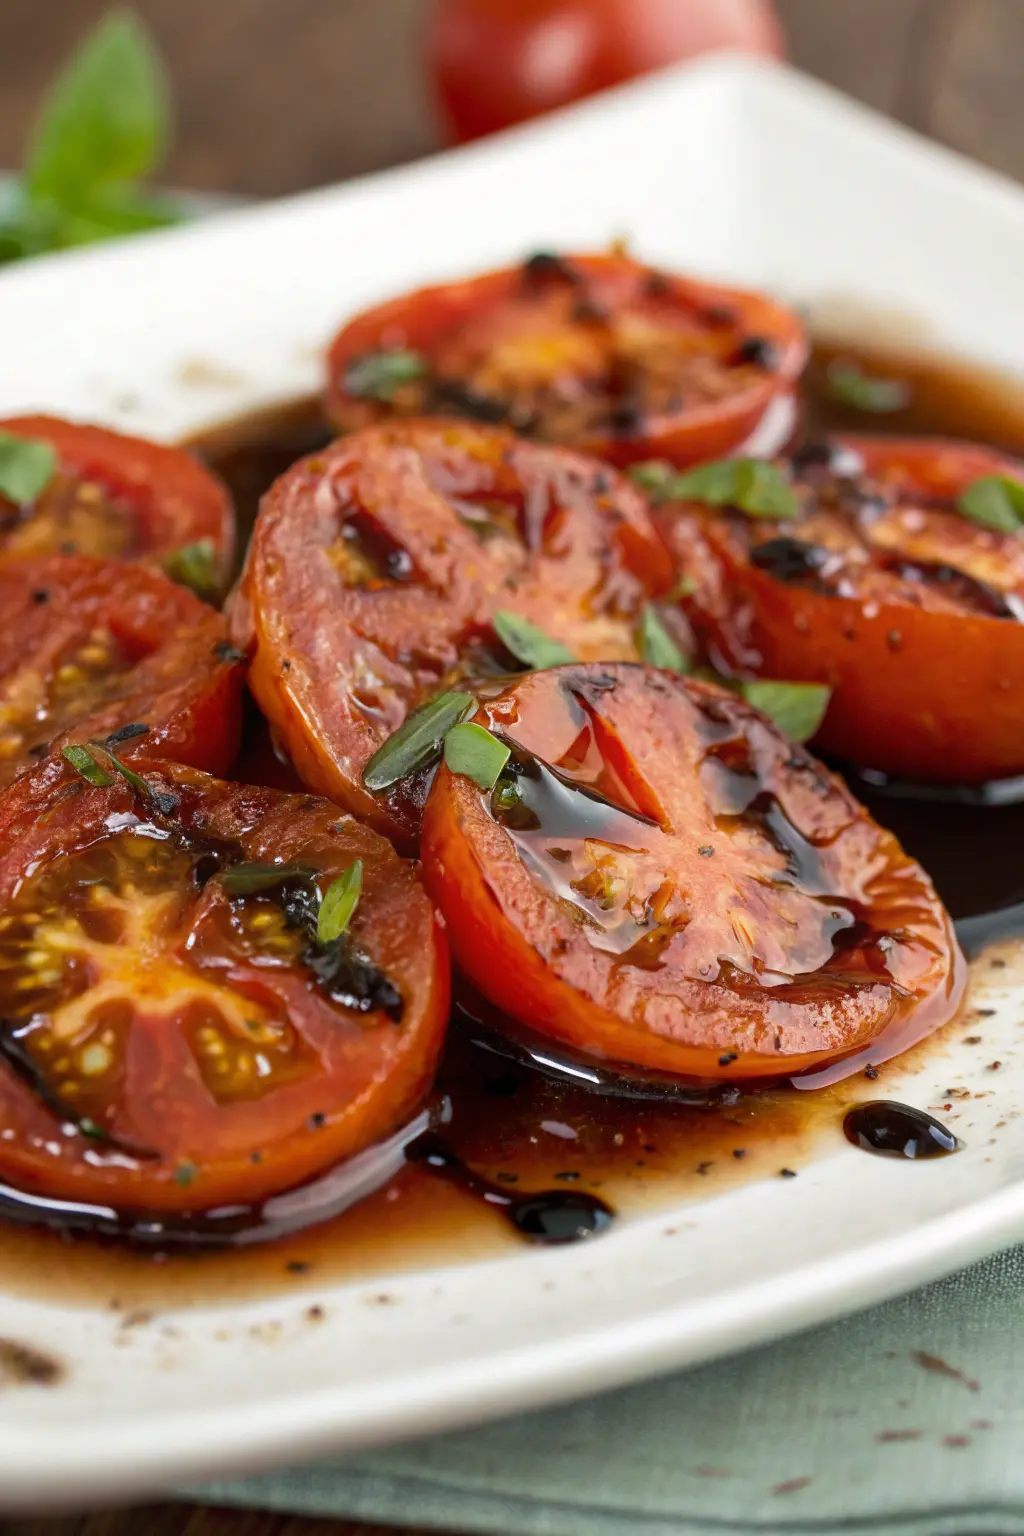
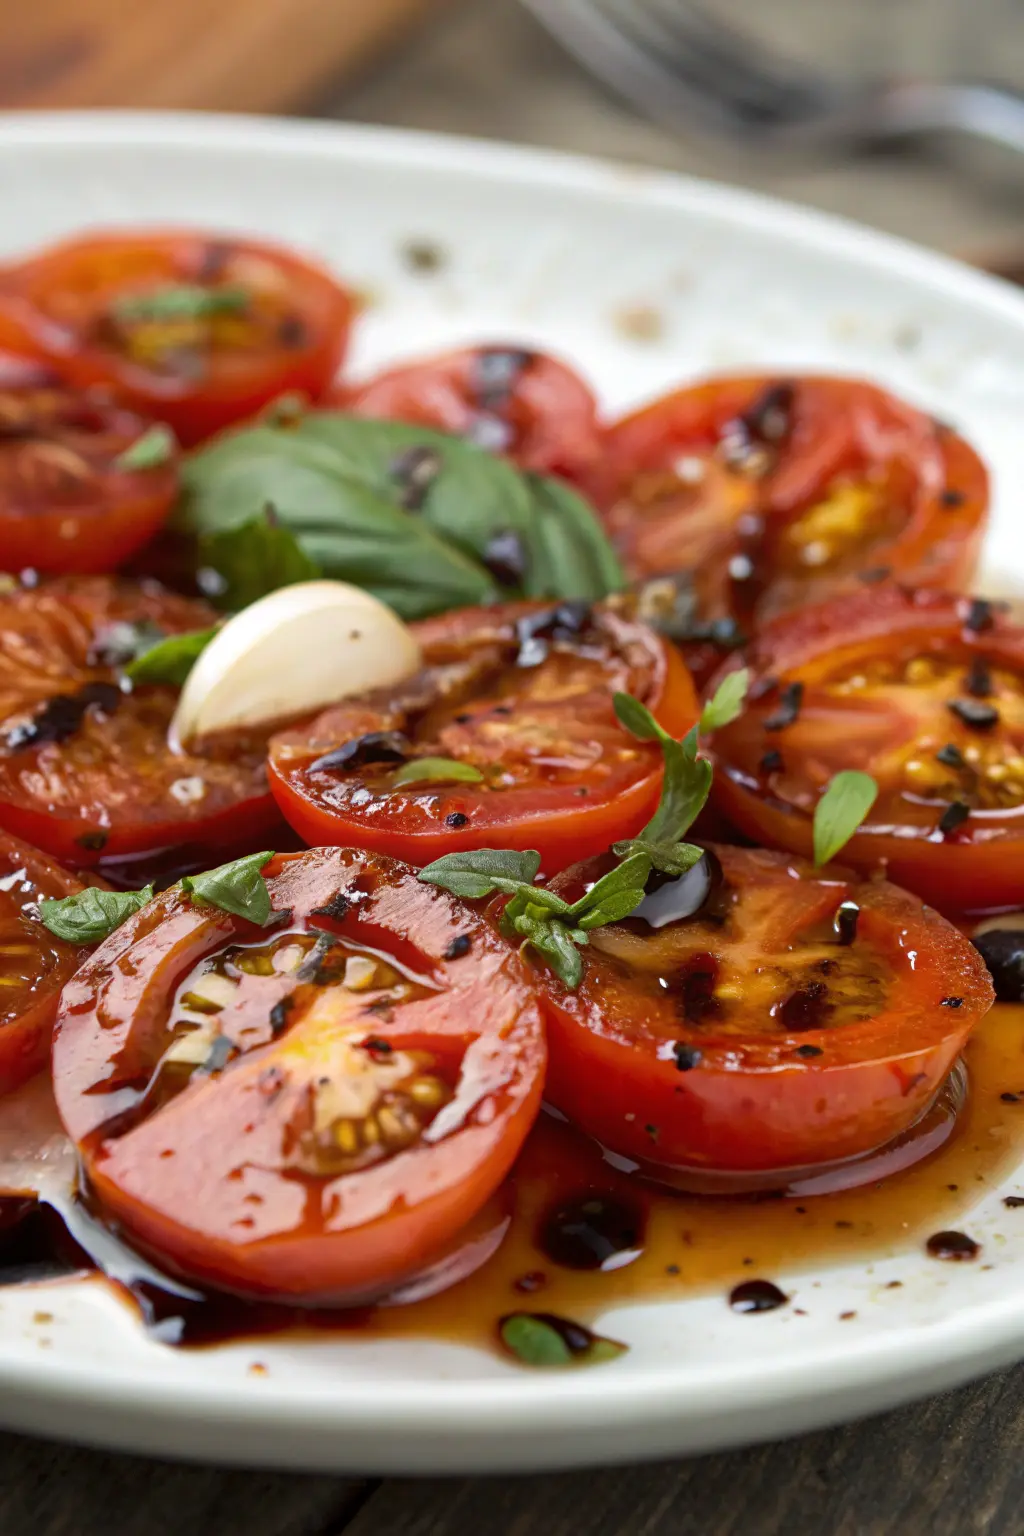
Roasted Tomato Balsamic Vinaigrette
Ingredients
Equipment
Method
- In a bowl, whisk together the tomato paste, balsamic vinegar, rice vinegar, and Dijon mustard until smooth.
- Slowly drizzle the olive oil into the tomato paste mixture while whisking rapidly until the dressing is thick and creamy.
- Season with salt and black pepper to taste.