
There’s something about the aroma of a chicken pot pie baking in the oven that transports me back to my grandmother’s cozy kitchen. It was her way of bringing the family together, turning simple ingredients into a meal filled with love and warmth. This classic chicken pot pie recipe is a nod to those heartwarming family dinners, perfect for creating new memories with your loved ones. With its golden crust and savory filling, it’s a dish that never fails to deliver comfort and satisfaction, no matter the occasion.
Why You’ll Love This Comforting Dish
-
Family-Friendly: A dish that pleases even the pickiest eaters with its creamy filling and buttery crust. Whether you have a family of adventurous eaters or those who prefer more traditional tastes, this pie is sure to satisfy. The comforting texture and familiar flavors create a sense of home and nostalgia that everyone can appreciate. The beauty of this dish lies in its ability to bring everyone to the table, with smiles all around as they dig into this delightful meal.
-
Comforting and Hearty: Ideal for cold nights when you need a warm, satisfying meal. The combination of tender chicken, soft vegetables, and a rich, creamy sauce enveloped in a flaky crust makes it the perfect go-to for chilly evenings or when you need a little extra comfort. It’s like a warm embrace on a wintry day, providing not just nourishment but also a sense of well-being.
-
Simple Ingredients: Uses pantry staples and fresh ingredients that are easy to find. There’s no need for a last-minute grocery run when you have most of what you need already at home. This accessibility makes it a practical choice for weeknight dinners. Plus, using ingredients you’re familiar with ensures that you’ll be confident in the kitchen, turning out a dish that’s as delicious as it is straightforward.
-
Make-Ahead Friendly: Prepare ahead of time and bake when ready for a stress-free dinner. Make the filling and assemble the pie when you have time, then bake it fresh for dinner. It’s a great option for busy schedules. By planning ahead, you can enjoy a homemade meal without the rush, allowing you to spend more time with your family or guests.
-
Versatile: Easily adjust the vegetables and seasoning to suit your family’s taste. Customize the filling with seasonal vegetables or use what you have on hand. The recipe is forgiving, so feel free to experiment with different herbs or spices to make it your own. This flexibility means you can adapt the pie to whatever you have in your fridge, reducing waste and encouraging creativity in your cooking.
The Recipe
Prep Time: 30 minutes
Cook Time: 45 minutes
Servings: 6
Calories: Approximately 450 per serving
Ingredients
- 2 cups cooked chicken, shredded
- 1 cup carrots, diced
- 1 cup peas
- 1 cup potatoes, diced
- 1/2 cup onion, chopped
- 1/3 cup butter
- 1/3 cup all-purpose flour
- 1 3/4 cups chicken broth
- 2/3 cup milk
- Salt and pepper to taste
- 2 unbaked pie crusts (store-bought or homemade)
Instructions
-
Preheat the oven: Heat your oven to 425°F (220°C). This high temperature ensures a crispy, golden crust that seals in all the delicious flavors of the filling.
-
Cook the vegetables: In a large skillet over medium heat, melt the butter. Add the onion, carrots, peas, and potatoes. Cook until the vegetables are tender, about 8-10 minutes. Stir occasionally to prevent sticking and to ensure even cooking. You want the vegetables to be soft but not mushy, as they will continue to cook in the oven. Consider adding a pinch of thyme or rosemary for an aromatic touch that enhances the vegetable blend.
-
Make the filling: Stir in the flour, salt, and pepper until well blended. Gradually stir in the chicken broth and milk. Cook and stir until the mixture boils and thickens, about 3-5 minutes. Add the chicken and mix well. Be patient during this step; achieving the right consistency is key to a luscious filling. If it seems too thick, add a bit more broth until you reach your desired texture. This is where the magic happens, as the ingredients meld into a cohesive, savory mixture.
-
Assemble the pie: Place one pie crust in a 9-inch pie plate. Pour the chicken mixture into the crust. Cover with the second crust, seal edges, and cut away excess dough. Make several small slits in the top to allow steam to escape. This step is crucial to prevent the pie from becoming too soggy inside while baking. The slits also add a decorative touch, giving your pie a homemade look that’s hard to resist.
-
Bake the pie: Bake in the preheated oven until the crust is golden brown, about 30-35 minutes. Let it cool for about 10 minutes before serving. This rest period allows the filling to set slightly, making it easier to slice and serve. The wait is worth it, as the pie’s rich aroma fills the room, inviting everyone to gather around the table.
Kitchen Tools You’ll Need
-
Large Skillet: Essential for sautéing the vegetables and creating the creamy filling. A non-stick or cast-iron skillet works best to prevent any sticking. Investing in a quality skillet can make a significant difference in the ease of cooking and the final product’s taste.
-
9-Inch Pie Plate: The standard size for a pot pie, ensuring the perfect ratio of crust to filling. A glass or ceramic pie plate is often preferred for even baking and an attractive presentation.
-
Rolling Pin (if making homemade crust): Ensures an even thickness for your dough, contributing to a flaky, tender crust. A well-rolled crust is key to achieving that perfect texture that crumbles delicately with each bite.
-
Sharp Knife for Chopping: A good quality knife makes prep work quicker and safer, especially when dealing with firm vegetables like potatoes and carrots. Keeping your knives sharpened can save time and improve safety.
The Benefits of Each Ingredient
-
Chicken: Provides a lean source of protein, essential for muscle repair and growth. It’s a versatile protein that absorbs the flavors of the dish beautifully. Consider using leftover roast chicken for an added layer of flavor, or season your chicken with herbs before cooking for an infused taste.
-
Carrots and Peas: Packed with vitamins and minerals, they add a natural sweetness and vibrant color to the dish. Carrots are rich in beta-carotene, while peas offer a good amount of fiber and protein. These vegetables not only enhance the dish nutritionally but also visually, making it as appealing to the eyes as it is to the palate.
-
Potatoes: Offer a comforting, starchy base that absorbs the savory flavors of the filling. They add heartiness and help to thicken the filling naturally. For a twist, consider using sweet potatoes for a subtly different flavor profile.
-
Onion: Enhances the depth of flavor with its aromatic qualities. Onions become sweet and mellow when cooked, adding a subtle background flavor. For a more robust flavor, try using shallots or leeks as a variation.
-
Butter and Flour: Form the roux, a crucial step for achieving a rich and creamy filling. This classic thickening technique ensures the sauce is smooth and velvety. The butter also adds a richness that complements the other ingredients perfectly.
-
Chicken Broth: Infuses the pie with a savory depth that ties all the flavors together. Using homemade broth can elevate the taste, but store-bought works well too. Consider low-sodium options to better control the saltiness of your dish.
What to Serve With This Delightful Dish
Pair this classic chicken pot pie with a fresh green salad or some roasted vegetables for a balanced meal. A crisp salad with a light vinaigrette complements the richness of the pie, while roasted vegetables like Brussels sprouts or asparagus add an earthy contrast. If you’re feeling indulgent, serve it alongside some buttery garlic bread to soak up every last bit of the creamy filling. For a touch of brightness, a side of cranberry sauce or a dollop of apple chutney can add a sweet-tart note. These sides not only enhance the meal but also provide a variety of textures and flavors.
Storage & Leftover Tips
Store any leftover chicken pot pie in an airtight container in the refrigerator for up to 3 days. To reheat, cover with foil and warm in a 350°F oven until heated through, about 15-20 minutes. This method helps retain the crust’s flakiness. For longer storage, you can freeze the pie before baking. Wrap it tightly in plastic wrap and foil, and it will keep for up to 3 months. Bake directly from frozen, adding an additional 10-15 minutes to the cooking time. This makes it an excellent option for meal prepping or having a ready-made dinner on hand for busy nights. The ability to freeze and reheat the pie without losing quality makes it a convenient choice for future meals.
Concluding a meal with this classic chicken pot pie is like wrapping yourself in a warm blanket of flavors. It’s a dish that brings comfort and joy, made even better when shared with family and friends. Enjoy making and savoring this timeless recipe, and may it become a beloved tradition in your home, just as it has in mine. Whether it’s a special occasion or a simple weeknight dinner, this dish is sure to bring smiles and satisfy cravings with each delicious bite. The process of creating and sharing this meal is as rewarding as the flavors themselves, fostering connections and creating cherished memories around the table.
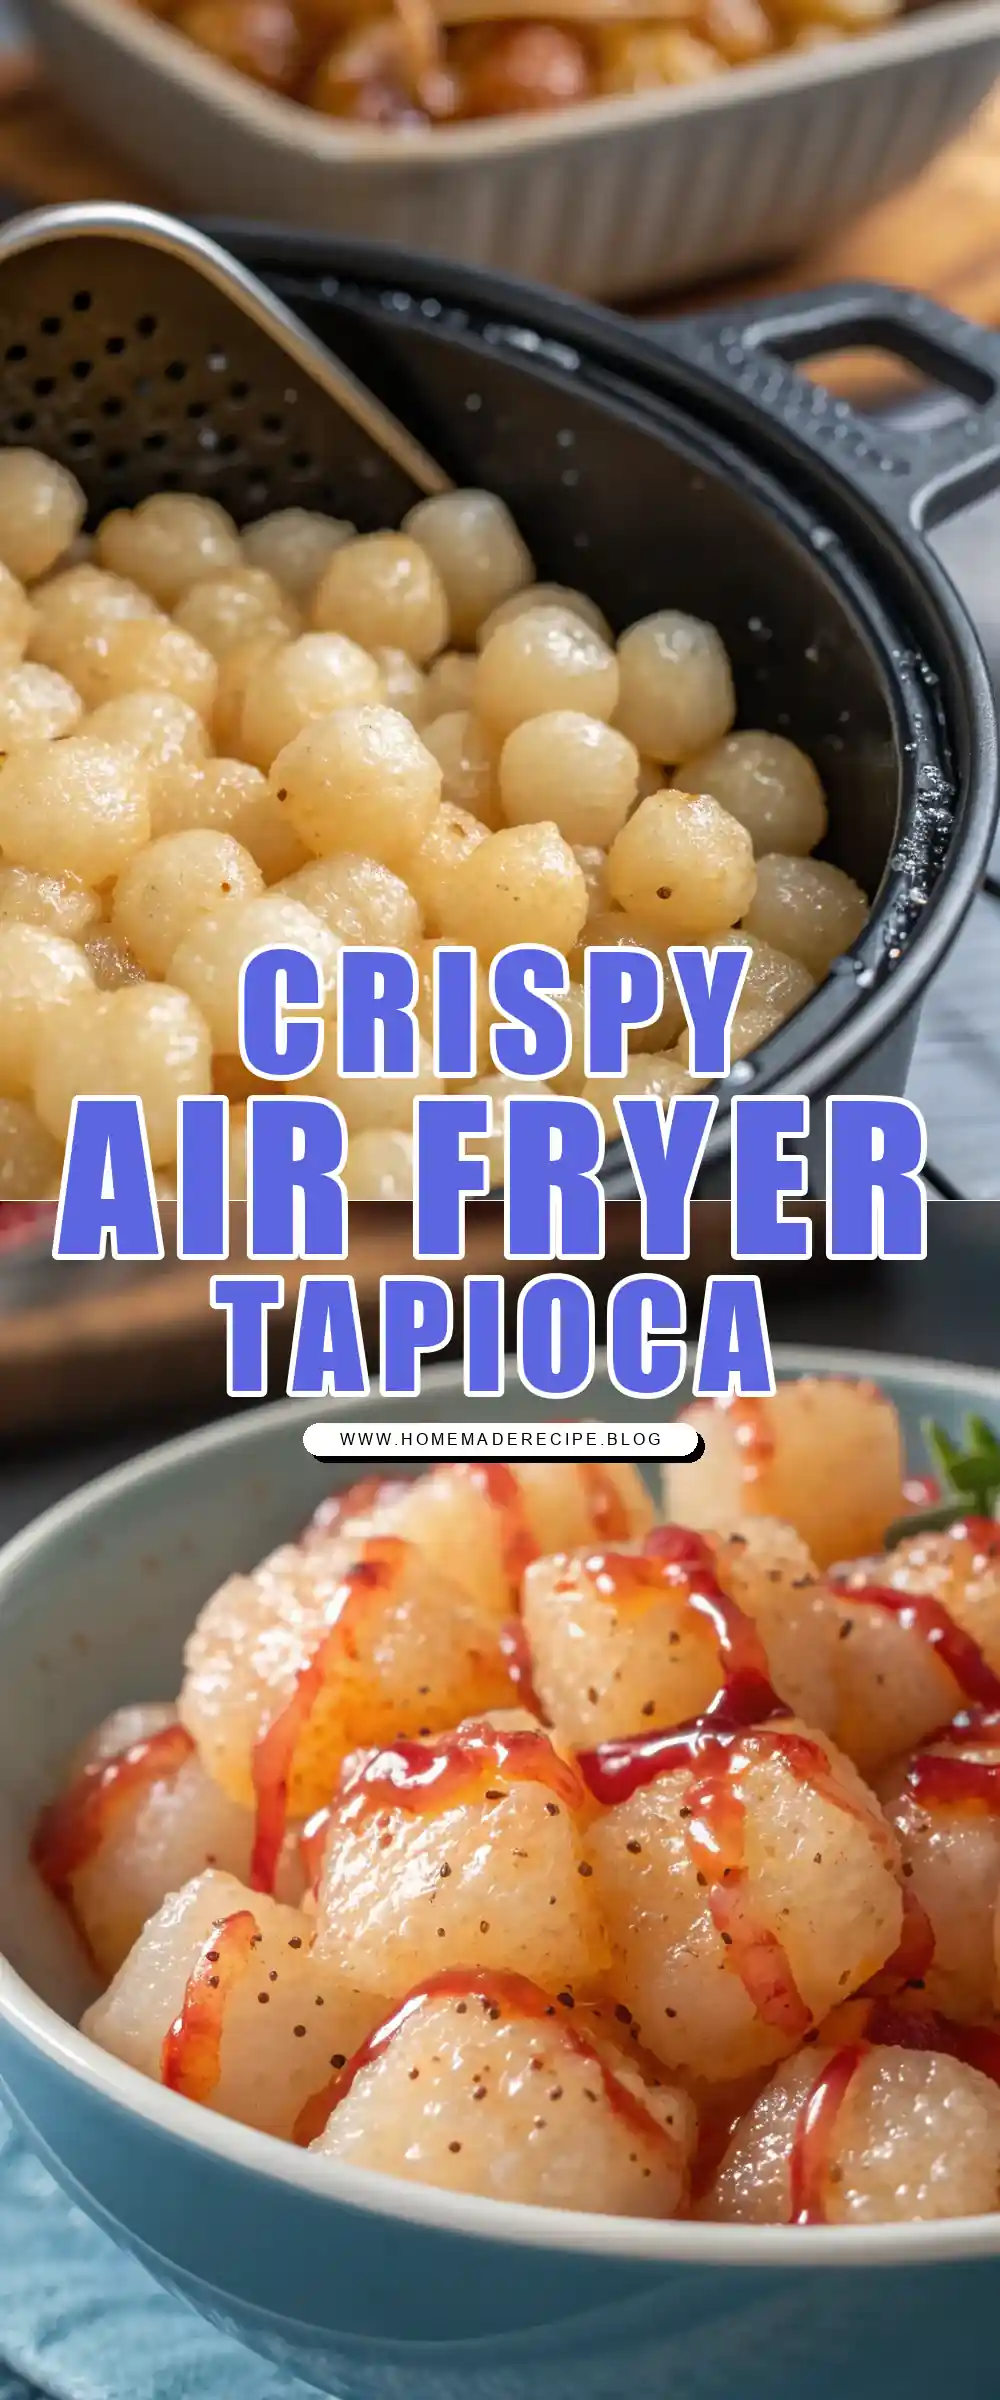
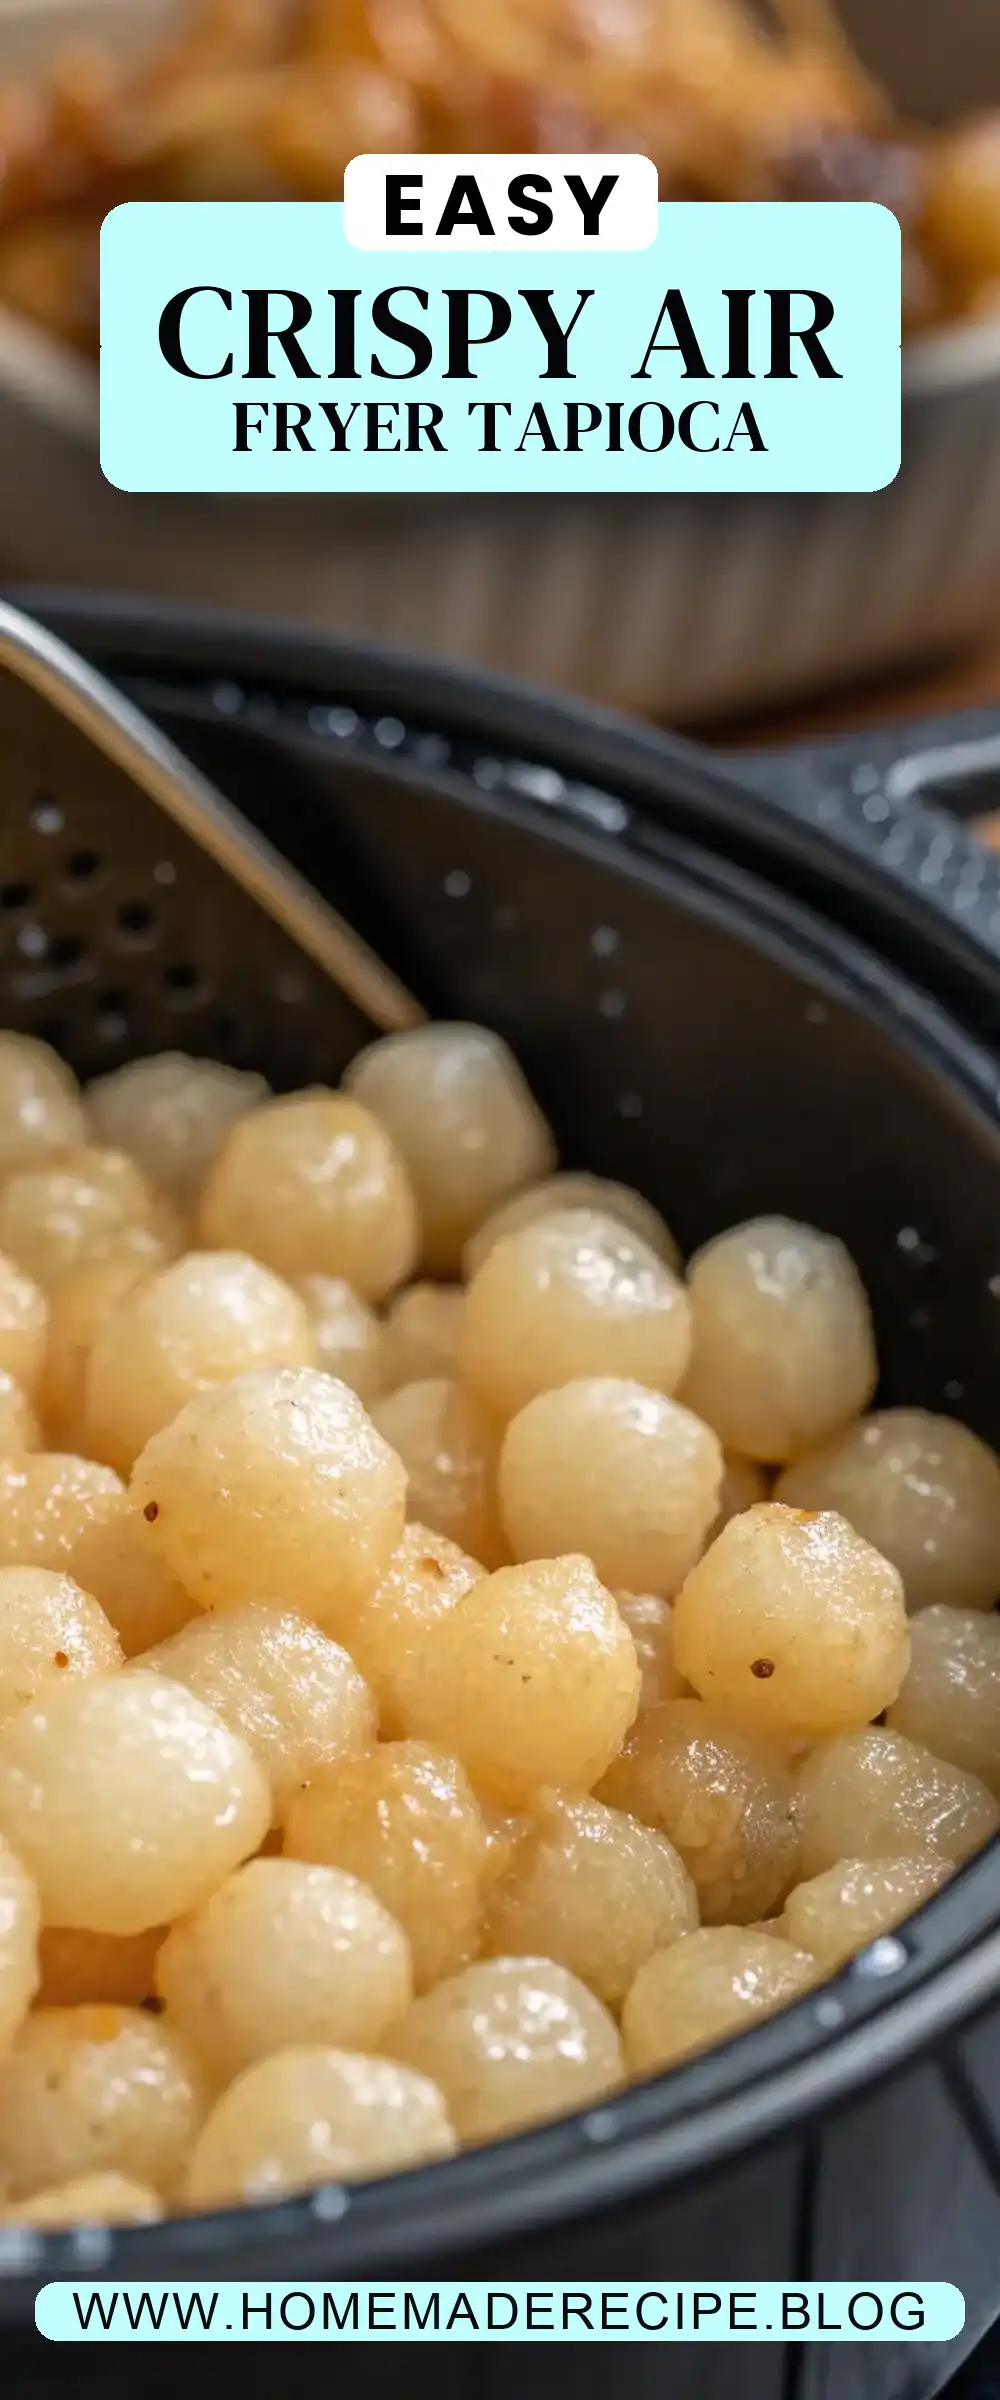
Air Fryer Tapioca
Ingredients
Equipment
Method
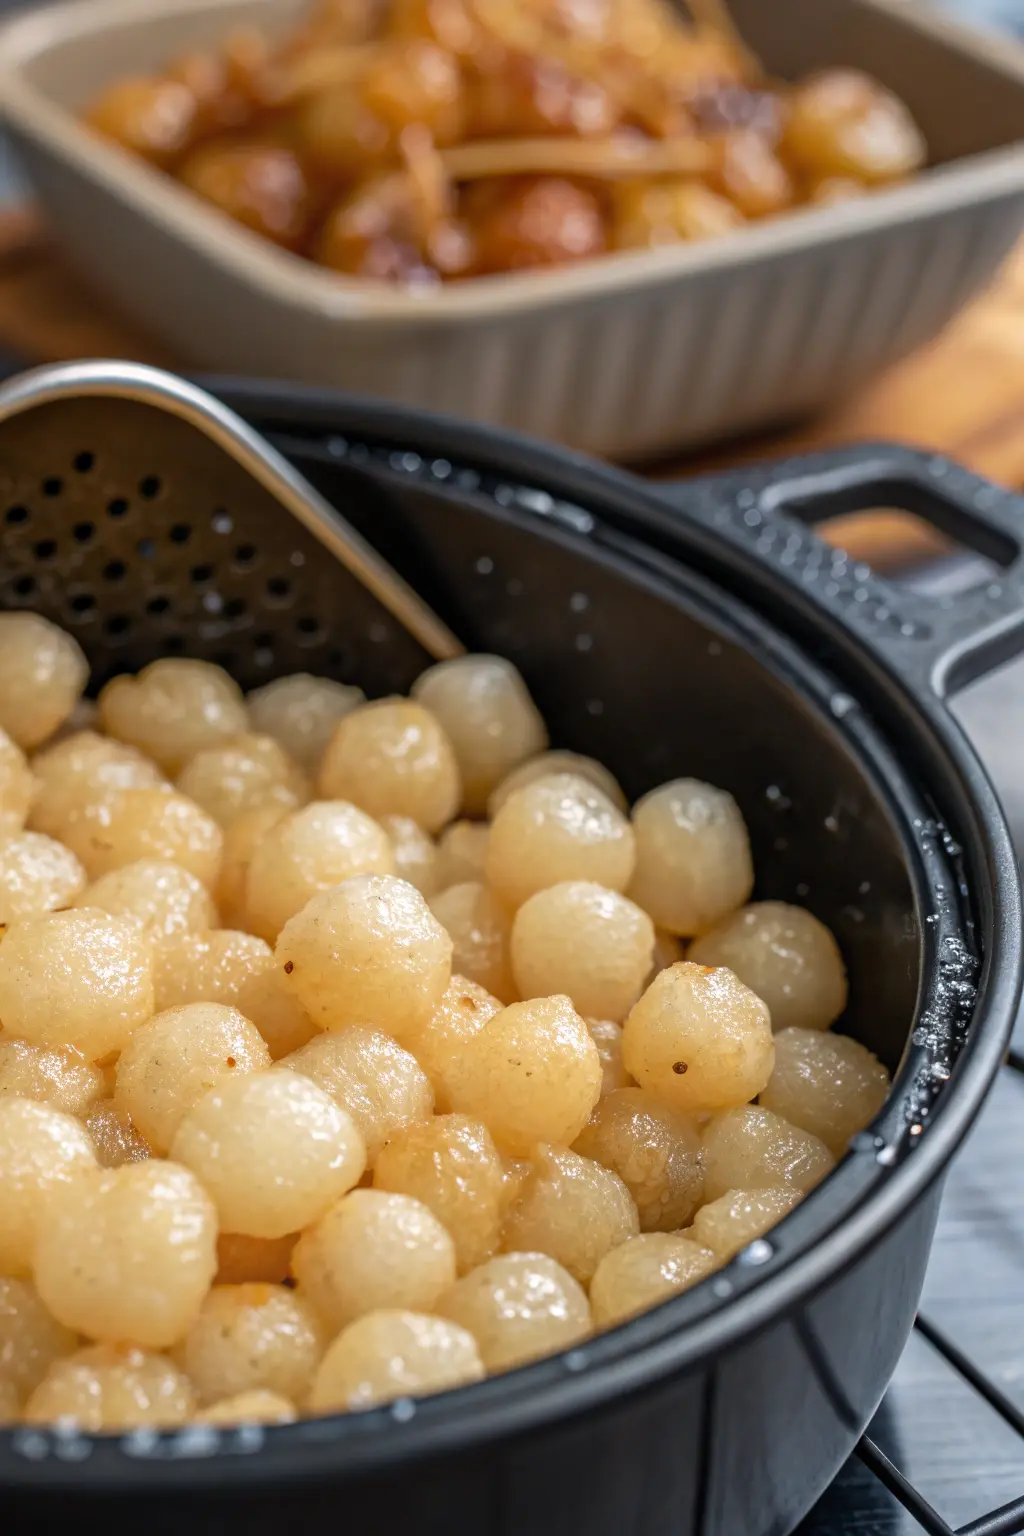
- Rinse the tapioca pearls in cold water to remove excess starch.
- In a pot, bring 4 cups of water to a boil. Add the rinsed tapioca pearls and a pinch of salt.
- Cook the tapioca pearls for about 10-12 minutes, stirring occasionally until they become translucent. Drain and rinse under cold water.
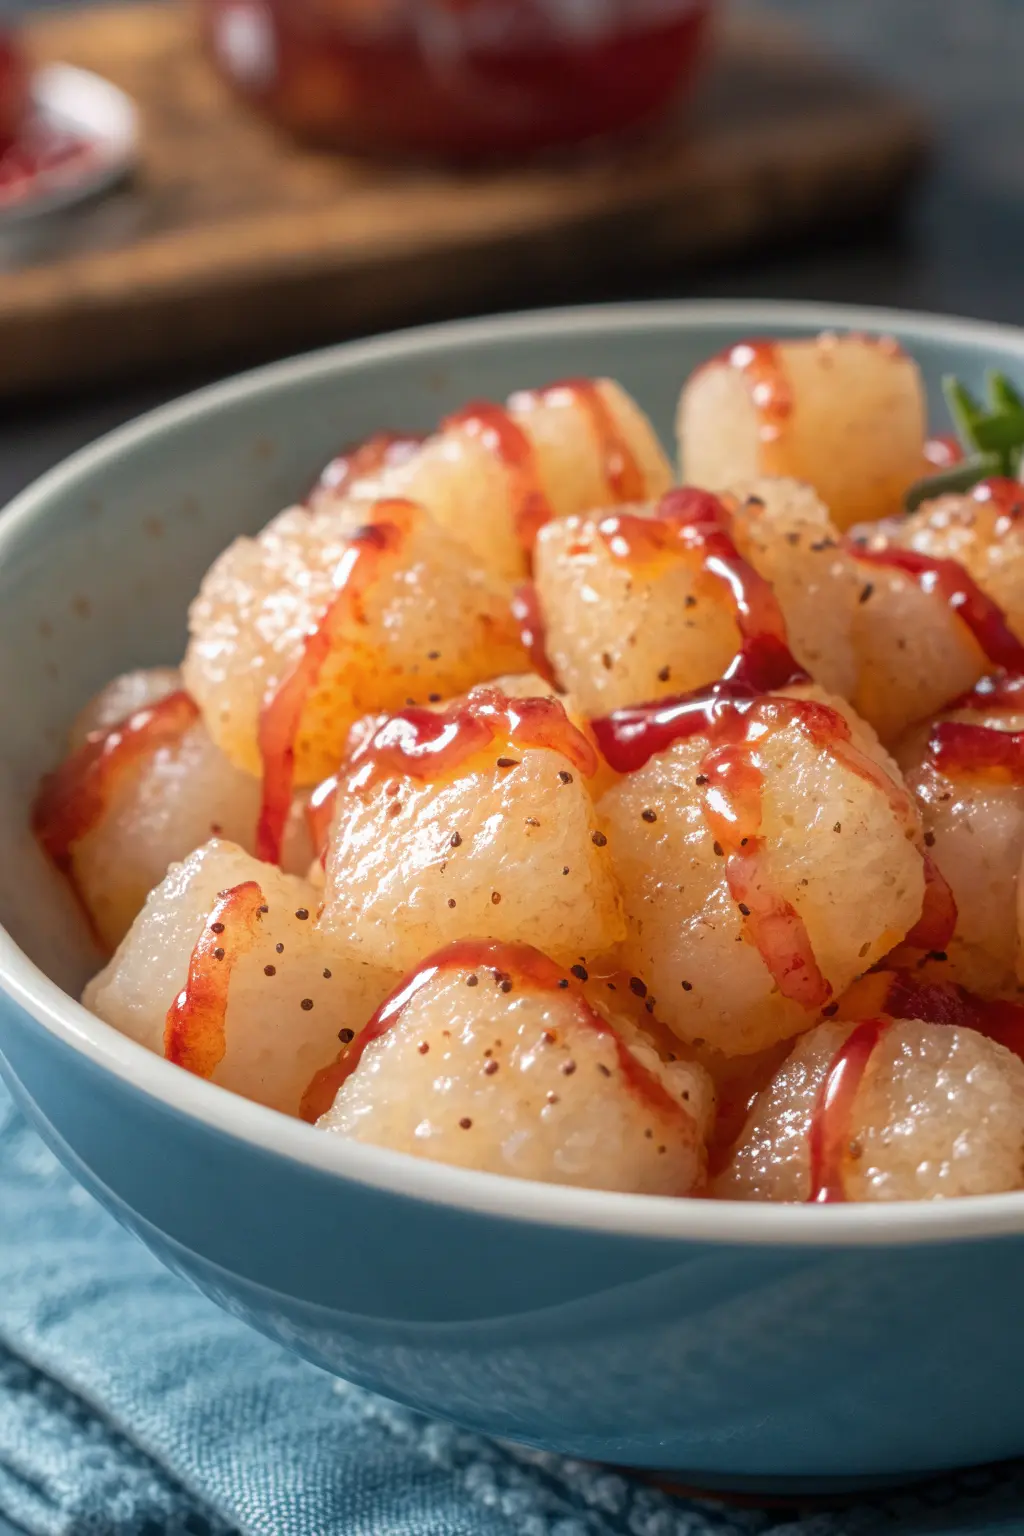
- In a bowl, mix the cooked tapioca with sugar and coconut milk (if using).
- Preheat the air fryer to 180°C (356°F).
- Place the tapioca mixture into a greased air fryer-safe dish or tray, spreading it evenly.
- Air fry for 10 minutes, shaking the dish halfway through for even cooking.
- Remove from the air fryer and let it cool slightly before serving.