
Ah, the classic chicken pot pie — just saying the words brings a wave of nostalgia. I remember the first time I made this dish for my family. We gathered around the table on a chilly evening, the comforting aroma of the pie filling the kitchen, and the golden crust gleaming invitingly. Each bite was a warm hug, a reminder of the joys of home-cooked meals. This recipe has become a beloved tradition in our household, and I’m thrilled to share it with you today.
Why You’ll Love This Comforting Dish
Chicken pot pie is a dish that effortlessly combines the warmth of comfort food with the satisfaction of a hearty meal. It is this balance that makes it a favorite in many households, including mine. Let’s delve into what makes this dish so special:
-
Hearty and Satisfying: This chicken pot pie is packed with tender chicken and wholesome vegetables, making it a meal that fills you up and warms your heart. The combination of protein, veggies, and a flaky crust ensures that everyone leaves the table satisfied. The richness of the sauce envelops each bite, creating a symphony of flavors that captivates the senses. The savory filling, bursting with chicken and vegetables, is enveloped in a golden, buttery crust that provides just the right amount of crunch and contrast.
-
Family-Friendly: It’s a dish that even the pickiest eaters can’t resist. Plus, it’s a great way to sneak in some veggies! The colorful array of carrots, peas, and celery not only adds nutritional value but also makes the pie visually appealing to children. Sometimes, presenting vegetables in a fun and delicious format is all it takes to win them over. The familiar flavors and textures make it a comforting choice for all ages, and the pie’s inviting appearance often has kids eager to dig in.
-
Easy to Make: With simple, straightforward instructions, even beginner cooks can succeed at making this pie. The recipe is designed to be approachable, using pantry staples and clear steps to ensure a stress-free cooking experience. Even if it’s your first time, you’ll find that with a little patience, you’ll have a beautiful pie to serve. The methodical process of creating the sauce, assembling the pie, and baking it to perfection is both rewarding and fulfilling.
-
Perfect for Leftovers: If you happen to have any leftovers, this dish tastes just as good the next day, making it an ideal meal for meal prep lovers. The flavors meld beautifully overnight, making each reheated slice as delightful as the first. It’s a time-saver for busy weekdays when you need a quick, delicious meal. Simply reheat a slice and pair it with a crisp salad for a balanced, satisfying lunch or dinner.
-
Customizable: You can easily swap or add ingredients to suit your family’s tastes, making it a versatile favorite. Whether you want to add mushrooms for an earthy twist or substitute turkey for chicken during the holidays, this recipe adapts beautifully to your preferences. You can even experiment with different herbs and spices to create a unique flavor profile that suits your palate.
The Recipe
Prep Time: 20 minutes
Cook Time: 45 minutes
Servings: 6
Calories: 450 per serving
Ingredients
- 2 cups cooked chicken, diced
- 1 cup carrots, diced
- 1 cup peas
- 1/2 cup celery, diced
- 1/3 cup butter
- 1/3 cup onion, chopped
- 1/3 cup all-purpose flour
- 1/2 teaspoon salt
- 1/4 teaspoon black pepper
- 1/4 teaspoon celery seed
- 1 3/4 cups chicken broth
- 2/3 cup milk
- 2 unbaked pie crusts
Instructions
-
Preheat your oven to 425°F (220°C). This high temperature ensures that the crust becomes golden and crisp. It’s important to allow your oven to fully preheat to achieve the best results. A well-preheated oven helps cook the pie evenly, ensuring that the crust is perfectly flaky.
-
In a large saucepan, melt the butter over medium heat. Add the onion and cook until soft and translucent. The butter not only acts as a base for the roux but also imparts a rich flavor that enhances the overall dish. Sautéing the onions in butter releases their sweetness and adds depth to the flavor of the filling.
-
Stir in the flour, salt, pepper, and celery seed. Gradually whisk in the chicken broth and milk, cooking until the mixture thickens. This step is crucial for creating a smooth, velvety sauce. Whisking constantly helps prevent lumps, ensuring a creamy consistency. The sauce serves as the backbone of the pot pie, binding the ingredients together and infusing them with flavor.
-
Add the chicken, carrots, peas, and celery to the sauce. Stir well to combine. This is where the magic happens — the sauce envelops the chicken and vegetables, infusing them with flavor. Ensure that the vegetables are evenly distributed for a balanced bite in every slice.
-
Line a pie pan with one of the pie crusts. Pour the chicken mixture into the crust. Cover with the second crust, sealing the edges and cutting away any excess dough. A well-sealed crust prevents the filling from bubbling out, keeping your pie neat and tidy. Crimping the edges of the crust not only seals in the filling but also adds a decorative touch to your pie.
-
Make small slits in the top crust to allow steam to escape. This is a vital step that prevents the top crust from becoming soggy and ensures even cooking. The slits act as vents, releasing steam and preventing the pie from becoming overly moist.
-
Bake in the preheated oven for 30-35 minutes or until the crust is golden brown. Keep an eye on your pie during the last 10 minutes to prevent over-browning. If the edges begin to brown too quickly, you can cover them with strips of foil to prevent burning.
-
Allow to cool for 10 minutes before serving. This cooling time lets the filling set slightly, making it easier to slice and serve without the filling spilling out. The rest period also enhances the flavors, allowing them to meld harmoniously.
Kitchen Tools You’ll Need
To make this chicken pot pie, you’ll need a few essential kitchen tools that will help streamline the process:
-
Pie pan: A standard 9-inch pie pan works well for this recipe. If you have a deep-dish pie pan, it can accommodate a bit more filling, which is great if you like a thicker pie. The pie pan’s size and depth can affect the baking time, so adjust accordingly if needed.
-
Saucepan: A medium-sized saucepan is perfect for preparing the sauce. Ensure it’s large enough to hold all the ingredients comfortably. A heavy-bottomed saucepan is ideal for even heat distribution, preventing the sauce from scorching.
-
Whisk: A good whisk is key for making a smooth sauce. It helps incorporate the flour into the liquid without leaving lumps. A balloon whisk is particularly effective for creating a light, airy sauce.
-
Knife: A sharp knife for chopping vegetables and dicing chicken is essential. A well-prepared mise en place makes the cooking process much smoother. A sharp knife ensures clean cuts and reduces the risk of accidents in the kitchen.
-
Cutting board: Opt for a sturdy cutting board to provide a stable surface for all your chopping needs. A non-slip cutting board is ideal for safety and efficiency.
The Benefits of Each Ingredient
Understanding the role of each ingredient not only enhances your appreciation for the dish but also allows you to make informed substitutions if needed:
-
Chicken: A great source of lean protein, keeping you full and energized. Chicken is versatile and absorbs the flavors of the sauce beautifully. You can use leftover roasted chicken or poach fresh chicken breasts for this recipe.
-
Carrots and Peas: These veggies add a touch of sweetness and are rich in vitamins. Carrots provide beta-carotene, while peas are a good source of plant-based protein and fiber. Their vibrant colors brighten up the dish and appeal to the eye, making the pie as appetizing to look at as it is to eat.
-
Celery: Provides crunch and a slight savory note that balances the flavors. Celery is low in calories and high in water content, adding texture without heaviness. Its subtle flavor complements the other ingredients, creating a harmonious blend.
-
Butter: Adds richness and depth, creating a luscious sauce. Butter is essential for a classic roux, which thickens the sauce while imparting a glossy finish. High-quality butter can enhance the overall flavor, making the sauce irresistibly creamy.
-
Onion: Essential for adding a savory base to the dish. Onions contribute umami and aroma, foundational to the flavor profile of the pot pie. They also add a hint of sweetness that balances the savory elements.
What to Serve With This Comforting Dish
This chicken pot pie is a meal in itself, but pairing it with complementary sides can elevate your dining experience:
-
Simple Green Salad: A refreshing salad with mixed greens, cherry tomatoes, and a light vinaigrette balances the richness of the pie. The crispness of the salad contrasts beautifully with the creamy filling.
-
Roasted Vegetables: Roasting enhances the natural sweetness of vegetables like broccoli, Brussels sprouts, or asparagus, making them a delightful side. The caramelization from roasting adds depth and complexity to the meal.
-
Creamy Mashed Potatoes: For the ultimate comfort food experience, serve with creamy mashed potatoes. Their softness contrasts beautifully with the flaky pie crust. Add a touch of garlic or herbs to your mashed potatoes for an extra burst of flavor.
-
Warm Bowl of Soup: A light soup, such as a clear broth or a simple tomato soup, can serve as a warm-up to the main dish or a palate cleanser between bites. The warmth of the soup complements the cozy nature of the pot pie.
Storage & Leftover Tips
Proper storage ensures your chicken pot pie remains delicious for future meals:
-
Refrigeration: Store any leftovers in an airtight container in the refrigerator for up to 3 days. This preserves the flavors and texture of the pie. Make sure to cover the pie tightly to prevent it from absorbing other odors in the fridge.
-
Reheating: To reheat, cover the pie with foil and warm it in a 350°F (175°C) oven until heated through. This method helps maintain the crust’s crispness. Avoid microwaving, as it can make the crust soggy.
-
Freezing: You can also freeze the baked pie for up to 2 months; just be sure to wrap it tightly to prevent freezer burn. Consider slicing the pie before freezing for easy portioning. When ready to enjoy, thaw it overnight in the refrigerator before reheating.
I hope you and your family enjoy this classic chicken pot pie as much as mine does. It’s a recipe that brings warmth, joy, and a little bit of magic to the dinner table. Whether you’re sharing it with loved ones or savoring it on a quiet evening, this dish is a testament to the simple pleasures of home cooking. Happy cooking, and remember, the best meals are made with love!
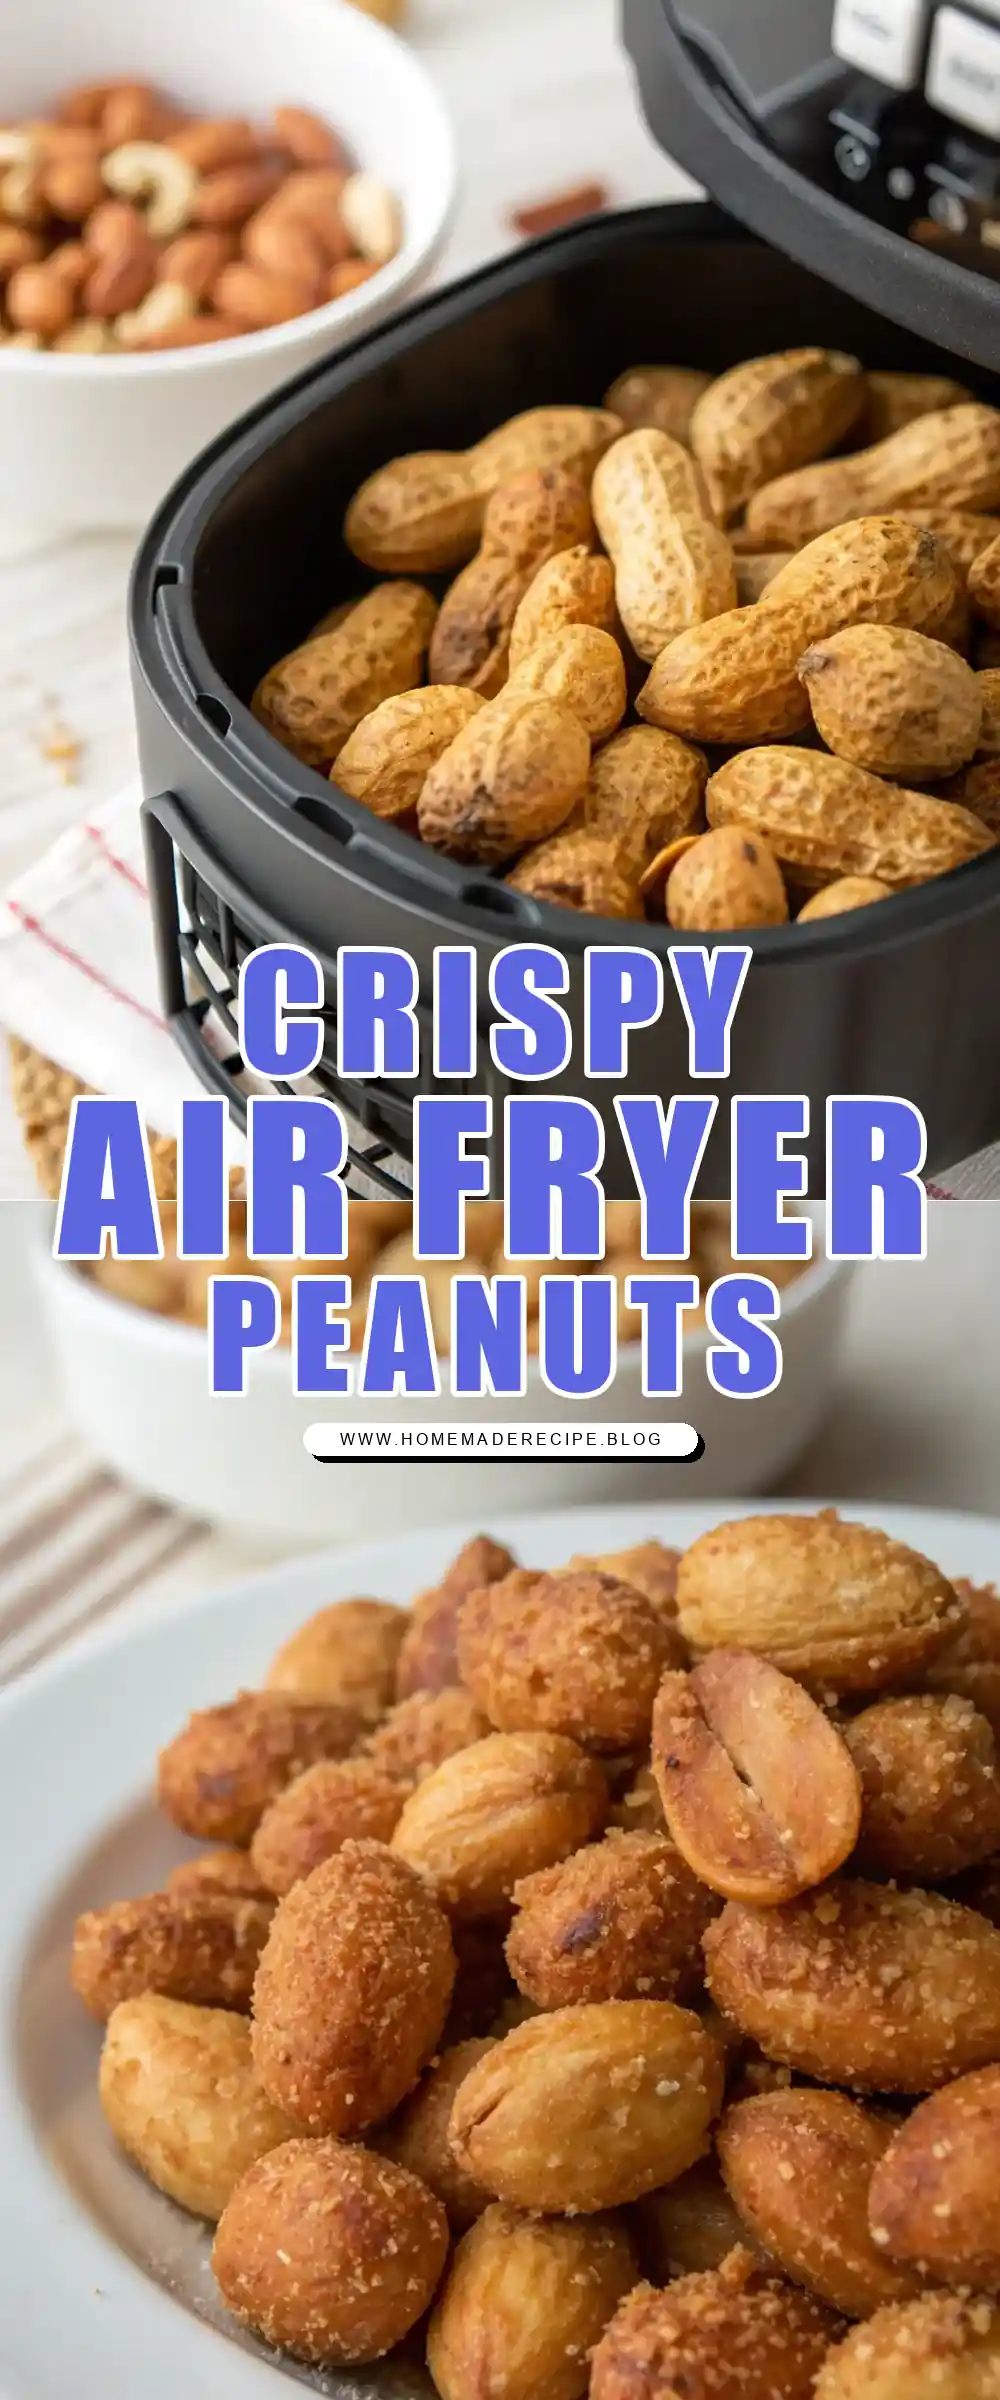

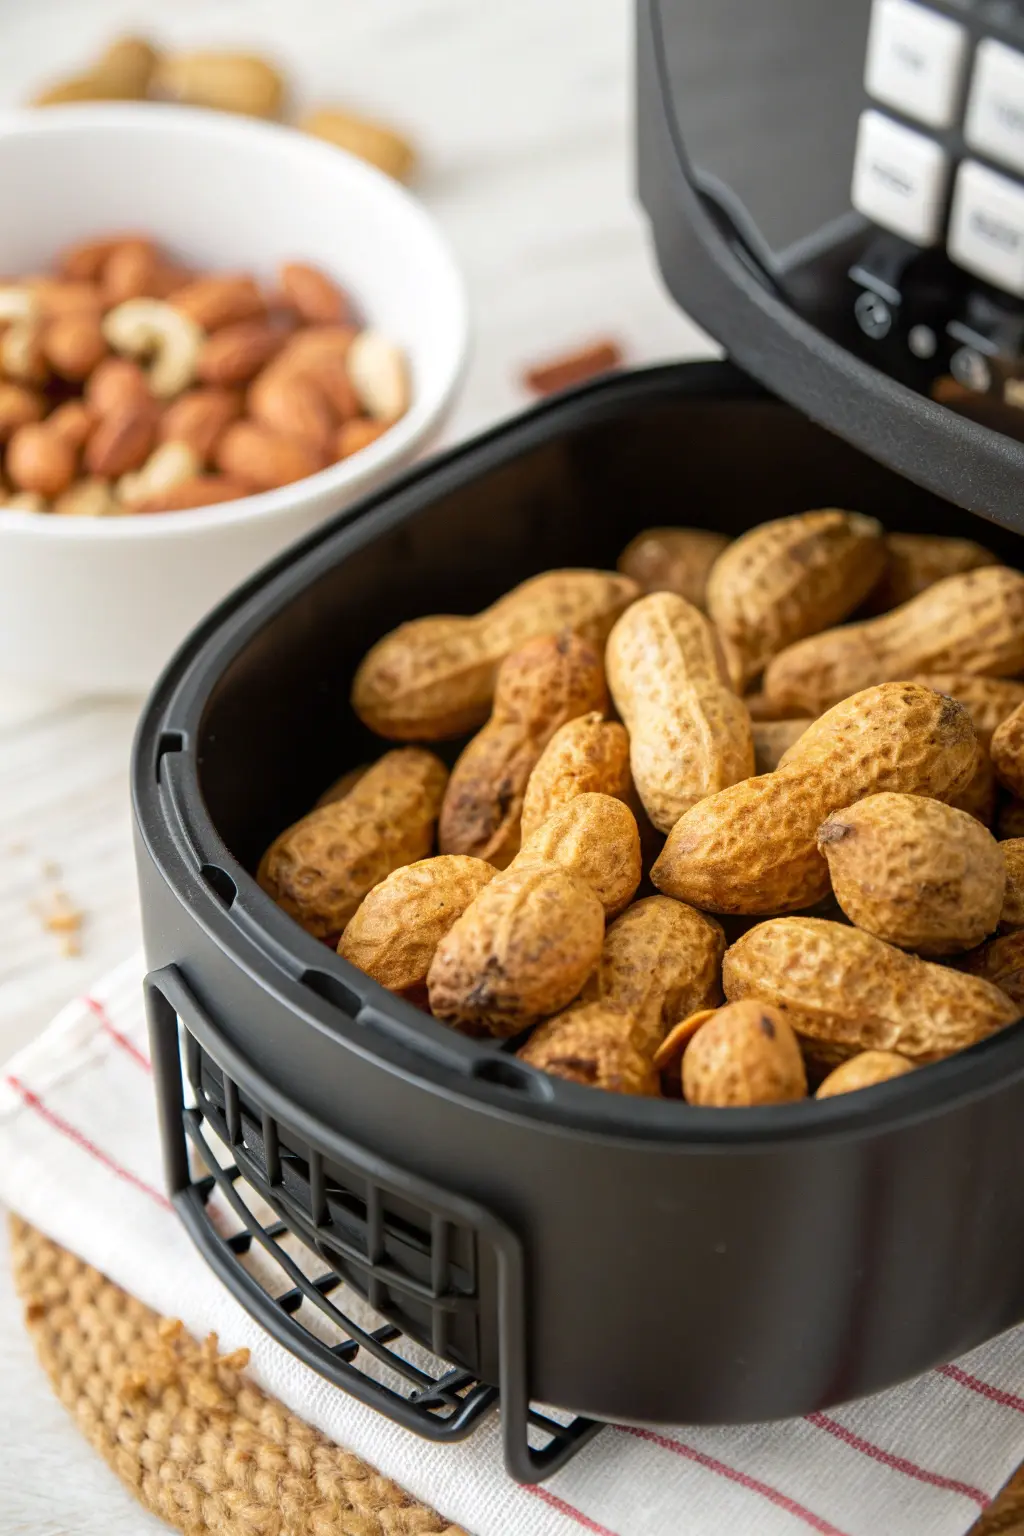
Air Fryer Groundnut
Ingredients
Equipment
Method
- Preheat the air fryer to 320°F (160°C).
- In a mixing bowl, combine the raw peanuts, oil, salt, paprika, and garlic powder. Toss until the peanuts are evenly coated.
- Place the seasoned peanuts in the air fryer basket in a single layer, making sure they are not overcrowded.
- Air fry the peanuts for 15 minutes, shaking the basket halfway through to ensure even cooking.
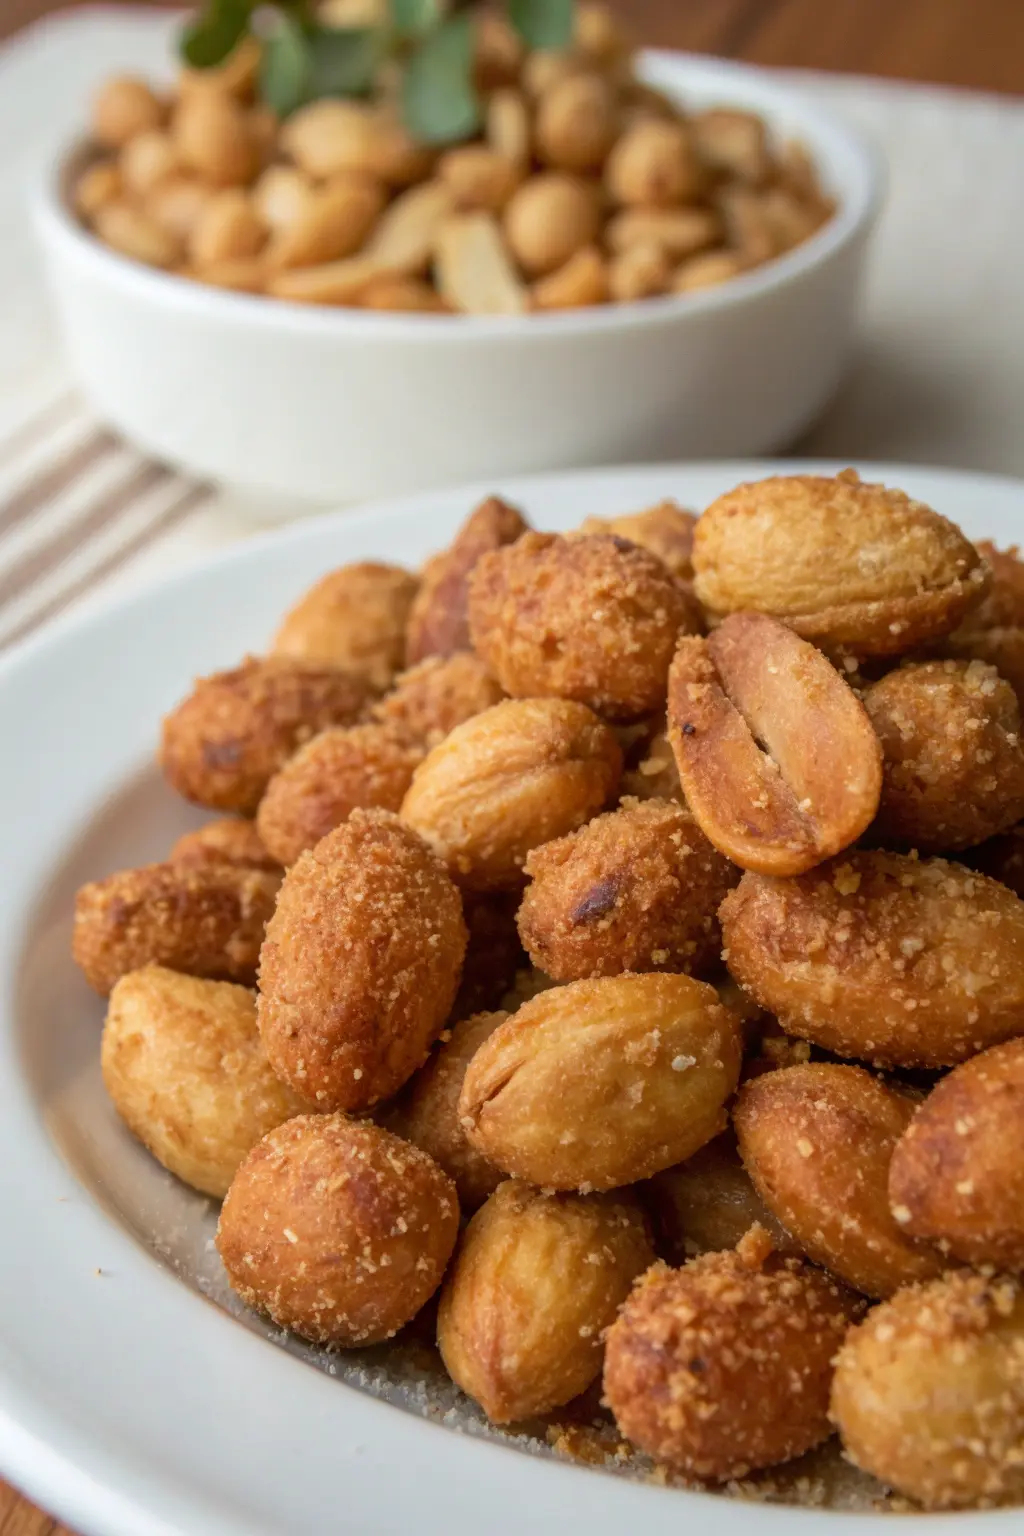
- Check for desired crispness; if needed, air fry for an additional 2-5 minutes.
- Remove from the air fryer and let cool before serving.