
There’s something truly magical about a homemade chicken pot pie. It takes me back to my childhood, watching my grandma roll out her perfectly flaky crust and filling the kitchen with the comforting aroma of tender chicken and bubbling gravy. It was a staple of family gatherings, a dish that brought everyone together around the table, sharing stories and laughter. Today, I’m excited to share my take on Grandma’s classic recipe with you, so you can create your own cherished memories with your loved ones.
Why You’ll Love This Comforting Dish
-
Ultimate Comfort Food: There’s nothing quite as satisfying as the creamy, savory filling and buttery crust of a chicken pot pie. It’s the perfect dish to warm you up on a chilly evening. The combination of warm, tender chicken and rich, flavorful vegetables enveloped in a perfectly baked crust is like a warm hug on a plate. Each bite blends the soothing textures of the filling with the crisp, flaky layers of the crust, creating an experience that feels both luxurious and homey.
-
Family-Friendly: This recipe is a hit with both kids and adults. It’s a crowd-pleaser that brings everyone together. The familiar flavors are comforting for children, while the hearty ingredients make it fulfilling for adults. It’s a great way to introduce kids to a variety of vegetables too, as the creamy sauce masks some of the stronger flavors that might be off-putting to young palates. Plus, involving children in the pie-making process, like rolling out the dough or cutting veggies, can be a fun family activity.
-
Make-Ahead Option: You can prepare the filling and crust ahead of time, making it a convenient option for busy weeknights or weekend gatherings. Preparing ahead not only saves time but also enhances the flavors as they meld together, ensuring a richer taste. You can store the components separately or assemble the pie and refrigerate it until you’re ready to bake. This flexibility allows you to enjoy a homemade meal with minimal fuss after a long day.
-
Nutritious and Wholesome: Packed with lean protein and a variety of vegetables, this dish is as nourishing as it is delicious. The balance of protein and fiber helps maintain energy levels and keeps you satisfied long after your meal. With the right balance of nutrients, this pot pie can serve as a complete meal, offering a spectrum of vitamins from the vegetables and essential amino acids from the chicken.
-
Customizable: Feel free to swap in your favorite vegetables or add herbs for a personal touch. Try adding mushrooms for an earthy flavor or swap peas for green beans if you prefer. You can even spice it up with a pinch of cayenne for a little heat. If you’re a cheese lover, consider sprinkling some shredded cheddar into the filling for an extra layer of richness. Customizing the pie allows you to cater to your family’s tastes and make the dish uniquely yours.
The Recipe
Prep Time: 30 minutes
Cook Time: 45 minutes
Servings: 6
Calories: 450 per serving
Ingredients
- For the Crust:
- 2 1/2 cups all-purpose flour
- 1 tsp salt
- 1 cup unsalted butter, chilled and diced
-
1/4 to 1/2 cup ice water
-
For the Filling:
- 1 lb chicken breast, diced
- 1 cup carrots, diced
- 1 cup peas
- 1 cup potatoes, diced
- 1/2 cup celery, diced
- 1 onion, finely chopped
- 1/3 cup all-purpose flour
- 2 cups chicken broth
- 1 cup milk
- Salt and pepper to taste
- 1 tsp dried thyme
- 1/4 cup fresh parsley, chopped
Instructions
-
Prepare the Crust: – In a large bowl, combine flour and salt. Cut in the butter until the mixture resembles coarse crumbs. The key to a flaky crust is keeping the butter cold and working quickly to avoid melting it with your hands. You might want to use a pastry cutter or two knives to cut the butter in, or if you prefer, a food processor for quicker results. – Stir in ice water, a tablespoon at a time, until the dough forms a ball. The amount of water needed can vary based on humidity. Use just enough to bring the dough together without it being sticky. Wrap in plastic wrap and refrigerate for at least 30 minutes. This resting period allows the gluten to relax, making it easier to roll out later. If you have time, chilling it for an hour or more will further enhance the texture.
-
Cook the Filling: – Preheat your oven to 425°F (220°C). – In a large skillet, cook chicken over medium heat until no longer pink. Remove and set aside. Cooking the chicken first ensures it retains its juices and remains tender. You can add a bit of olive oil to the skillet if necessary to prevent sticking. – In the same skillet, add onion, carrots, celery, and potatoes. Cook until vegetables are tender. This step helps develop deeper flavors as the vegetables caramelize slightly. Consider adding a pinch of salt to draw out their natural sweetness. – Stir in flour, salt, pepper, and thyme. Gradually whisk in chicken broth and milk. Bring to a boil, stirring constantly until thickened. The flour acts as a thickening agent, creating a luscious sauce that binds the filling. Ensure you stir well to avoid lumps, achieving a smooth consistency. – Add chicken, peas, and parsley. Mix well and remove from heat. The parsley adds a fresh, vibrant note, enhancing the overall flavor profile. If you like a bit of zest, a squeeze of lemon juice at this point can brighten the flavors further.
-
Assemble the Pie: – Roll out half of the dough on a floured surface to fit your pie dish. Place in the dish and add the filling. Ensure the filling is evenly distributed for consistent bites. You can slightly press down the filling to pack it tightly. – Roll out the remaining dough to cover the pie. Seal edges and cut slits to allow steam to escape. The slits prevent the crust from becoming soggy by allowing steam to vent during baking. For a decorative touch, consider cutting the slits in a pattern or using cookie cutters to make shapes. – Bake for 30-35 minutes or until the crust is golden brown. Let it cool slightly before serving. This cooling period allows the filling to set, making it easier to slice. A pie shield or foil can protect the edges of the crust from over-browning if needed.
Kitchen Tools You’ll Need
- Rolling pin: Essential for rolling out the dough evenly, ensuring a uniform crust thickness. A marble or wooden rolling pin can help maintain the dough’s chill while rolling.
- Large skillet: Provides ample space for cooking the filling ingredients without overcrowding, which helps achieve even cooking. A non-stick skillet can make the process smoother and reduce the need for additional fats.
- Pie dish: Choose a deep dish to accommodate the generous filling. Ceramic or glass pie dishes conduct heat evenly, helping to achieve that perfect crust.
- Mixing bowls: Useful for preparing and combining ingredients separately before assembly. Having multiple sizes on hand can streamline the process.
- Whisk: Ideal for incorporating flour into liquids smoothly, preventing lumps in your sauce. A flat whisk can be particularly effective for this task.
The Benefits of Each Ingredient
-
Chicken: A lean protein that keeps you full and satisfied. It’s a versatile meat that adapts well to the flavors of the dish, absorbing the savory notes of thyme and parsley. Opting for organic or free-range chicken can enhance the dish’s quality and taste.
-
Vegetables (Carrots, Peas, Potatoes, Celery, Onion): Provide fiber, vitamins, and minerals, making the pie more nutritious. Each vegetable contributes a unique texture and flavor, from the sweet crunch of carrots to the creamy bite of potatoes. Using fresh, seasonal vegetables can make a noticeable difference in flavor and nutritional content.
-
Butter: Adds richness to the crust, ensuring it’s flaky and delicious. The butter’s fat content is crucial for creating the desired texture and flavor in the pastry. Consider using European-style butter for an extra buttery taste.
-
Flour and Milk: Create a creamy, thick filling that holds everything together. The combination of flour and milk results in a smooth, velvety sauce that enhances the dish’s overall creaminess. Whole milk provides a richer sauce, but you can use lower-fat versions if preferred.
What to Serve With This Classic Dish
Pair this pot pie with a simple green salad or some roasted vegetables for a well-rounded meal. A crisp salad with a light vinaigrette complements the richness of the pie without overpowering it. Alternatively, roasted Brussels sprouts or asparagus add a delightful crunch and contrast. A glass of crisp white wine, such as Chardonnay, or a refreshing iced tea would complement the flavors beautifully, balancing the savory notes with refreshing acidity. If you’re looking for a heartier side, garlic mashed potatoes or buttery dinner rolls could also be excellent companions.
Storage & Leftover Tips
Store any leftovers in an airtight container in the refrigerator for up to 3 days. Reheat in the oven at 350°F (175°C) until warmed through to maintain the crust’s flakiness. Microwaving can make the crust soggy, so using the oven is recommended. You can also freeze the unbaked pie for up to 3 months; just bake directly from frozen, adding a few extra minutes to the cooking time. This makes it a convenient option for future meals, allowing you to enjoy a homemade pot pie with minimal effort. Be sure to label and date your frozen pie to keep track of its freshness.
I hope this chicken pot pie recipe brings as much joy to your family as it has to mine. It’s more than just a meal; it’s an opportunity to gather around the table and create lasting memories. Whether you’re making it for a special occasion or a comforting weeknight dinner, this dish is sure to become a family favorite. Enjoy every bite!
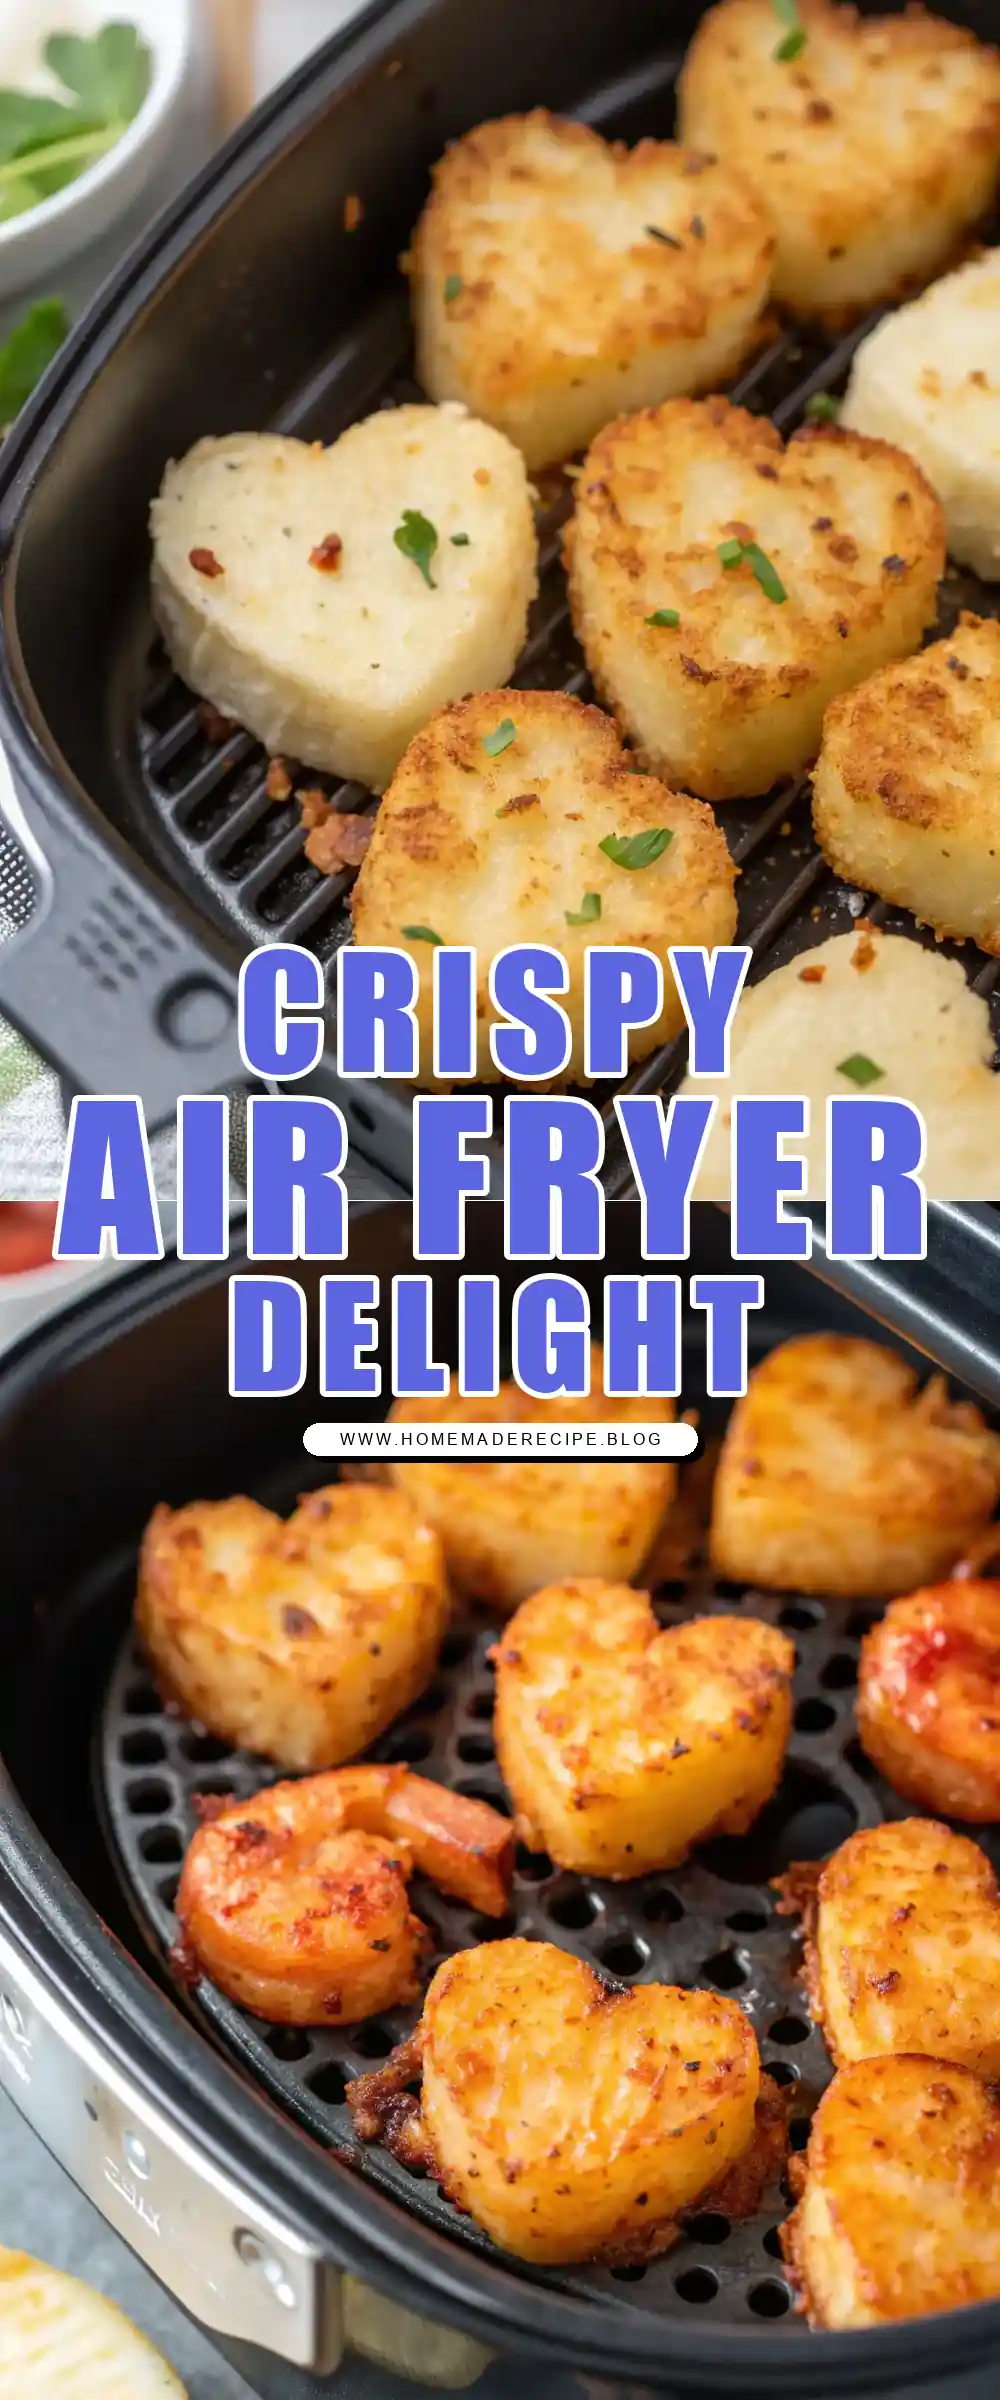

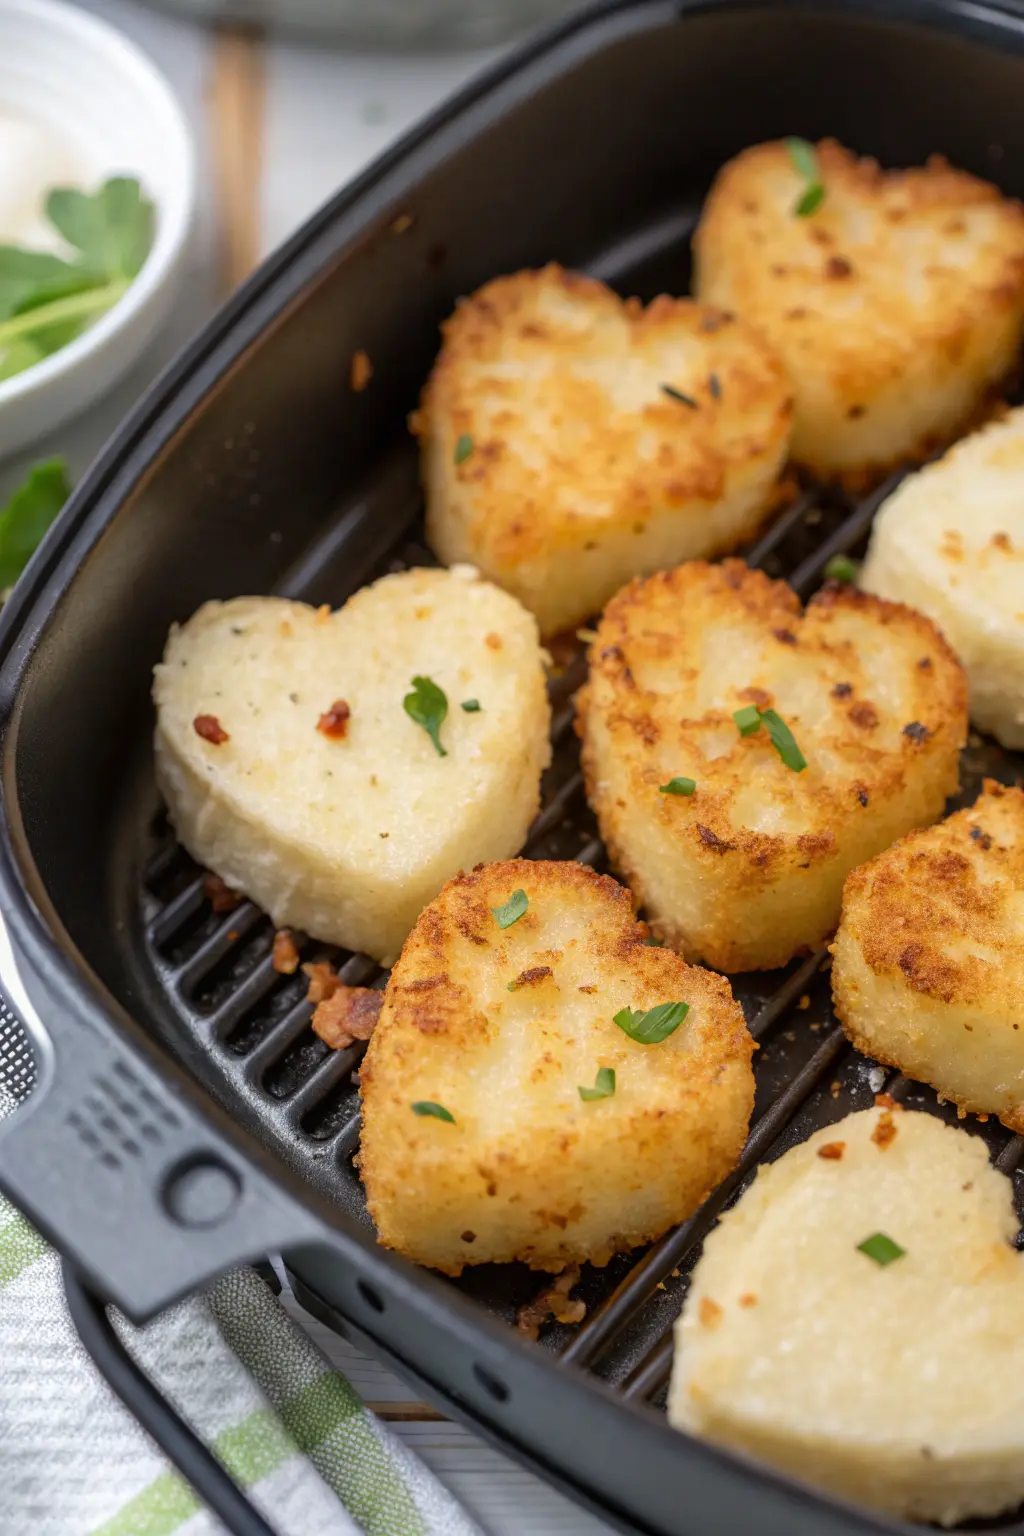
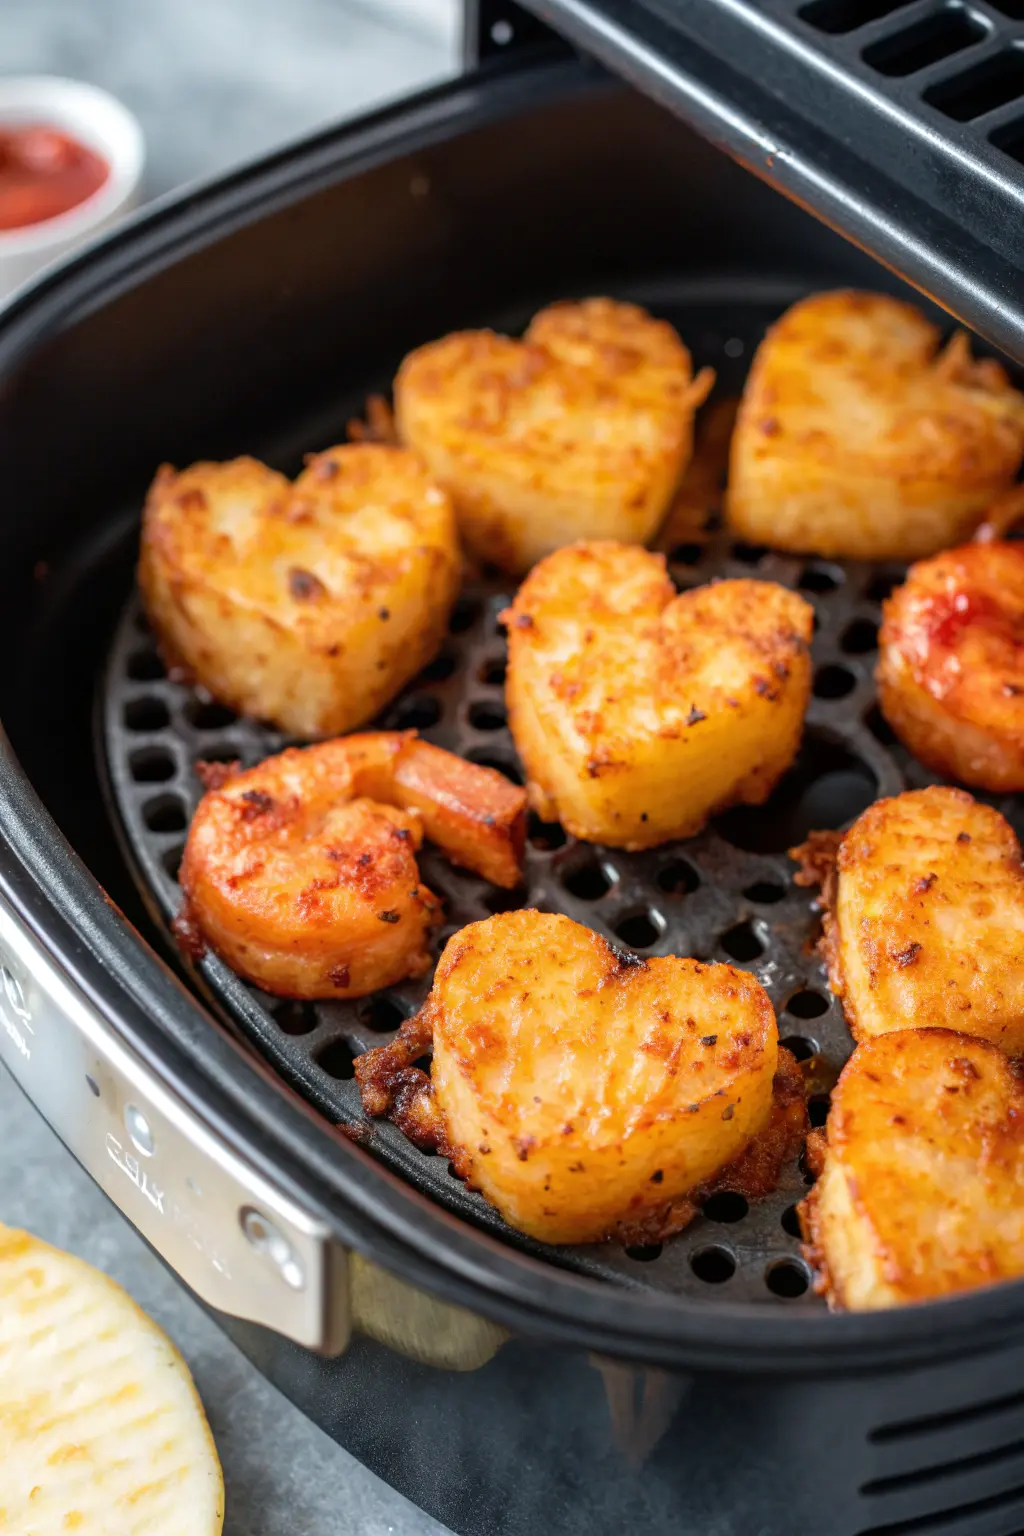
Air Fryer Hearts of Palm
Ingredients
Equipment
Method
- Preheat the air fryer to 400°F (200°C) for 3-5 minutes.
- Cut the hearts of palm into 1-inch pieces and place them in a mixing bowl.
- Drizzle the olive oil over the hearts of palm and sprinkle with garlic powder, paprika, salt, and black pepper. Toss until evenly coated.
- Place the seasoned hearts of palm in a single layer in the air fryer basket.
- Air fry for 10-12 minutes, shaking the basket halfway through for even cooking, until they are golden brown and slightly crispy.
- Remove from the air fryer and garnish with fresh parsley if desired. Serve warm.