
There’s something about the aroma of a chicken pot pie baking in the oven that takes me right back to my grandmother’s kitchen. The comforting scent of savory chicken, tender vegetables, and buttery pastry wraps around you like a warm hug. I remember sitting at her kitchen table, my feet barely touching the floor, as I eagerly awaited a slice of her famous pot pie. It’s a dish that embodies the essence of home-cooked goodness, and I’m thrilled to share my version of this classic recipe with you.
Why You’ll Love This Comforting Classic
-
Hearty and Filling: Packed with tender chicken and vibrant vegetables, this pie is a meal in itself, leaving you satisfied and cozy. The combination of protein, fiber, and carbohydrates ensures that it fills you up and keeps you full, making it perfect for those chilly evenings when you need something to warm you from the inside out. Plus, the balance of macronutrients in this dish provides sustained energy, preventing those mid-evening cravings.
-
Family-Friendly: Even picky eaters will be asking for seconds with its familiar flavors and creamy texture. The rich, savory taste appeals to both young and old, and it’s a great way to sneak in some vegetables for kids who might usually shy away from them. You might even find that converting them into pot pie fans will open their palates to other dishes featuring these healthy ingredients.
-
Make-Ahead Magic: You can prepare the filling a day in advance, making it perfect for busy weeknights or lazy weekends. Simply assemble the pie and pop it in the oven when you’re ready to enjoy it. This make-ahead feature also makes it an excellent choice for entertaining, so you can spend more time with your guests and less time in the kitchen. It’s also a lifesaver for those surprise visits from friends and family—just pull it out, bake, and enjoy!
-
Customizable: Swap out vegetables or add your favorite herbs to make it your own. Consider adding mushrooms for an earthy flavor, or corn for a touch of sweetness. Fresh herbs like thyme or rosemary can elevate the dish with their aromatic qualities. For a bit of spice, a pinch of cayenne or a dash of hot sauce can add a pleasant kick without overwhelming the other flavors.
-
Leftover Friendly: The flavors only get better, making it a great dish to enjoy over a couple of days. In fact, many say that the flavors deepen overnight, offering an even more delicious experience the next day. This makes it ideal for meal prepping, ensuring you have a delicious, home-cooked meal ready to go. You might find that reheating a slice for a quick lunch the following day is just as satisfying as the night before.
The Recipe
Prep Time: 30 minutes
Cook Time: 1 hour
Servings: 6
Calories: 450 per serving
Ingredients
- 3 cups cooked chicken, shredded – You can use a store-bought rotisserie chicken for convenience or roast your own for a more personalized flavor profile. Roasting your own chicken with herbs and spices can add a unique twist to the dish.
- 1 cup carrots, diced – Fresh or frozen carrots work well here. They add not only sweetness but also a vibrant hue to the dish. The natural sugars in carrots also caramelize slightly during cooking, enhancing the pie’s overall flavor.
- 1 cup peas – Frozen peas are perfect, as they maintain their texture and color. If you’re using fresh peas, make sure they’re tender and sweet. Peas add not just flavor but also a pop of green that makes the pie look as good as it tastes.
- 1 cup potatoes, diced – Russet or Yukon Gold potatoes are recommended for their creamy texture and ability to hold their shape. Their mild flavor complements the other ingredients perfectly.
- 1/2 cup onions, chopped – Yellow onions are a classic choice, but sweet onions can offer a milder taste if preferred. Onions provide both depth and sweetness as they cook down and caramelize.
- 1/4 cup butter – Unsalted butter allows you to control the saltiness of the dish, but salted butter works in a pinch. The butter adds a rich, luxurious mouthfeel to the sauce.
- 1/4 cup all-purpose flour – This is essential for thickening the sauce. Make sure to cook the flour long enough to remove any raw taste. A well-cooked roux is the key to a creamy, lump-free filling.
- 2 cups chicken broth – Use a low-sodium variety if you’re watching your salt intake. Homemade broth will provide an even richer flavor. A good broth infuses the pie with a depth of flavor that complements the chicken perfectly.
- 1 cup milk – Whole milk offers the creamiest result, but you can substitute with 2% or a non-dairy option like almond milk for dietary needs. The milk adds a velvety texture to the sauce, making every bite smooth and delightful.
- Salt and pepper to taste – Freshly ground black pepper can add a subtle heat, while sea salt will enhance all the flavors. Adjust seasoning to taste, remembering that the saltiness can amplify as the pie bakes.
- 2 pie crusts (store-bought or homemade) – A homemade crust can add an extra layer of comfort, but a good-quality store-bought crust keeps things simple and quick. A flaky, golden crust is the hallmark of a great pie, providing texture contrast to the creamy filling.
Instructions
-
Preheat your oven to 375°F (190°C).
This ensures that your oven is ready to go once your pie is assembled, helping to achieve a golden, flaky crust. Preheating is crucial for even baking, ensuring that the crust cooks properly and doesn’t become soggy. -
Prepare the Filling: In a large saucepan, melt the butter over medium heat. Add onions and cook until translucent. Stir in flour, creating a roux, and gradually whisk in chicken broth and milk. Cook until thickened.
This step is crucial for building the flavor base of your pie. The roux should be cooked until it’s a light golden color, which will give your sauce a rich, nutty taste. Take care not to rush this step; a properly cooked roux eliminates any raw flour taste and ensures a silky sauce. -
Combine Ingredients: Add the shredded chicken, carrots, peas, and potatoes to the sauce. Season with salt and pepper, and let the filling simmer for about 10 minutes.
Simmering allows the flavors to meld together beautifully. If your filling seems too thick, you can add a splash more broth or milk to achieve the desired consistency. Make sure all the vegetables are evenly coated with the sauce for a uniform flavor throughout the pie. -
Assemble the Pie: Roll out one pie crust and place it into a 9-inch pie pan. Pour the filling into the crust. Top with the second pie crust, crimping the edges to seal. Cut slits in the top crust to allow steam to escape.
Be creative with the top crust—use small cookie cutters to make decorative shapes or simply create a traditional lattice pattern. These features not only look appealing but also help with the even cooking of the crust. The escape slits are essential to prevent the pie from becoming too soggy by allowing steam to vent. -
Bake: Place the pie on a baking sheet and bake for 45-50 minutes, or until the crust is golden brown. Let it cool for a few minutes before serving.
The baking sheet will catch any potential drips, saving you from a smoky oven. Allowing the pie to cool slightly helps the filling set, making it easier to serve. Cooling also prevents burning your mouth on the hot filling, ensuring each bite is enjoyed.
Kitchen Tools You’ll Need
- Large saucepan: Essential for preparing your filling, ensuring even cooking and mixing of ingredients. A heavy-bottomed saucepan works best as it distributes heat evenly, preventing the sauce from scorching.
- Whisk: Important for creating a smooth, lump-free sauce when mixing your roux with liquids. A silicone or non-stick whisk can be helpful to avoid scratching your saucepan.
- 9-inch pie pan: The right size to evenly distribute the filling and support the crust. Make sure it’s deep enough to hold all the delicious filling without overflow.
- Rolling pin (if using homemade crust): A handy tool for rolling out your dough to the perfect thickness, ensuring even baking. Chilled dough rolls out more smoothly, so consider refrigerating your dough before rolling.
- Baking sheet: Catches any overflow from the pie, making cleanup a breeze and preventing any mess in your oven. It’s also useful for transferring the pie in and out of the oven more safely.
The Benefits of Each Ingredient
- Chicken: Provides protein and that comforting, hearty flavor. It’s the star of the dish, offering a satisfying, meaty texture. Chicken is also a versatile protein that carries and complements the flavors of the vegetables and sauce beautifully.
- Carrots and Peas: Add sweetness and a pop of color, along with essential vitamins. They are packed with vitamins A and C, contributing to your daily intake of nutrients. These vegetables not only enhance the visual appeal but also boost the nutritional profile of the dish.
- Potatoes: Make the filling extra satisfying with their creamy texture. They are also a good source of potassium and vitamin B6. Potatoes act as a natural thickener, absorbing some of the sauce and ensuring each forkful is perfectly balanced.
- Onions: Enhance the savory depth of the dish. They also contain antioxidants and compounds that fight inflammation. Onions are fundamental in building the flavor base, turning soft and sweet as they cook.
- Butter and Flour: Create the roux for a luxuriously creamy sauce. The butter adds richness, while the flour thickens the sauce without overpowering the other flavors. This combination is the foundation of many classic sauces and is essential for the pot pie’s creamy consistency.
- Chicken Broth: Infuses the dish with rich, savory flavor. It’s a low-calorie way to add depth and complexity to the dish. Opting for a homemade or high-quality broth can make a significant difference in the overall taste.
- Milk: Adds creaminess to the filling. It balances the flavors and enhances the overall texture of the pie. Whether you choose dairy or a suitable substitute, milk contributes to the pie’s comforting creaminess.
What to Serve With This Classic Dish
Pair your chicken pot pie with a simple green salad or some steamed green beans for a balanced meal. The freshness of the greens provides a crisp contrast to the creamy pie. A side of crusty bread is also perfect for soaking up any leftover sauce, ensuring none of the delicious filling goes to waste. For a more decadent pairing, consider a glass of chilled Chardonnay or a light Pinot Noir, which complements the richness of the dish without overpowering it. Alternatively, a sparkling water with a twist of lemon can offer a refreshing palate cleanser after each bite.
Storage & Leftover Tips
To store leftovers, cover the pie tightly with plastic wrap or aluminum foil and refrigerate for up to 3 days. When reheating, it’s best to use the oven at 350°F (175°C) for about 20 minutes, or until warm throughout, to maintain the crust’s flakiness. You can also freeze portions of the pie for up to 3 months—just be sure to wrap them well to prevent freezer burn. When reheating from frozen, allow the pie to thaw overnight in the refrigerator before warming in the oven. If you’re short on time, microwave individual slices on a microwave-safe plate, though this may slightly soften the crust.
In conclusion, this classic chicken pot pie is not just a dish; it’s a cherished memory and a testament to the warmth of home cooking. I hope it brings as much joy to your table as it has to mine. Remember, the best meals are the ones shared with loved ones, so gather your family and enjoy the comforting goodness of this timeless recipe. As you savor each bite, may it remind you of the joys of home and the love that goes into every family recipe.
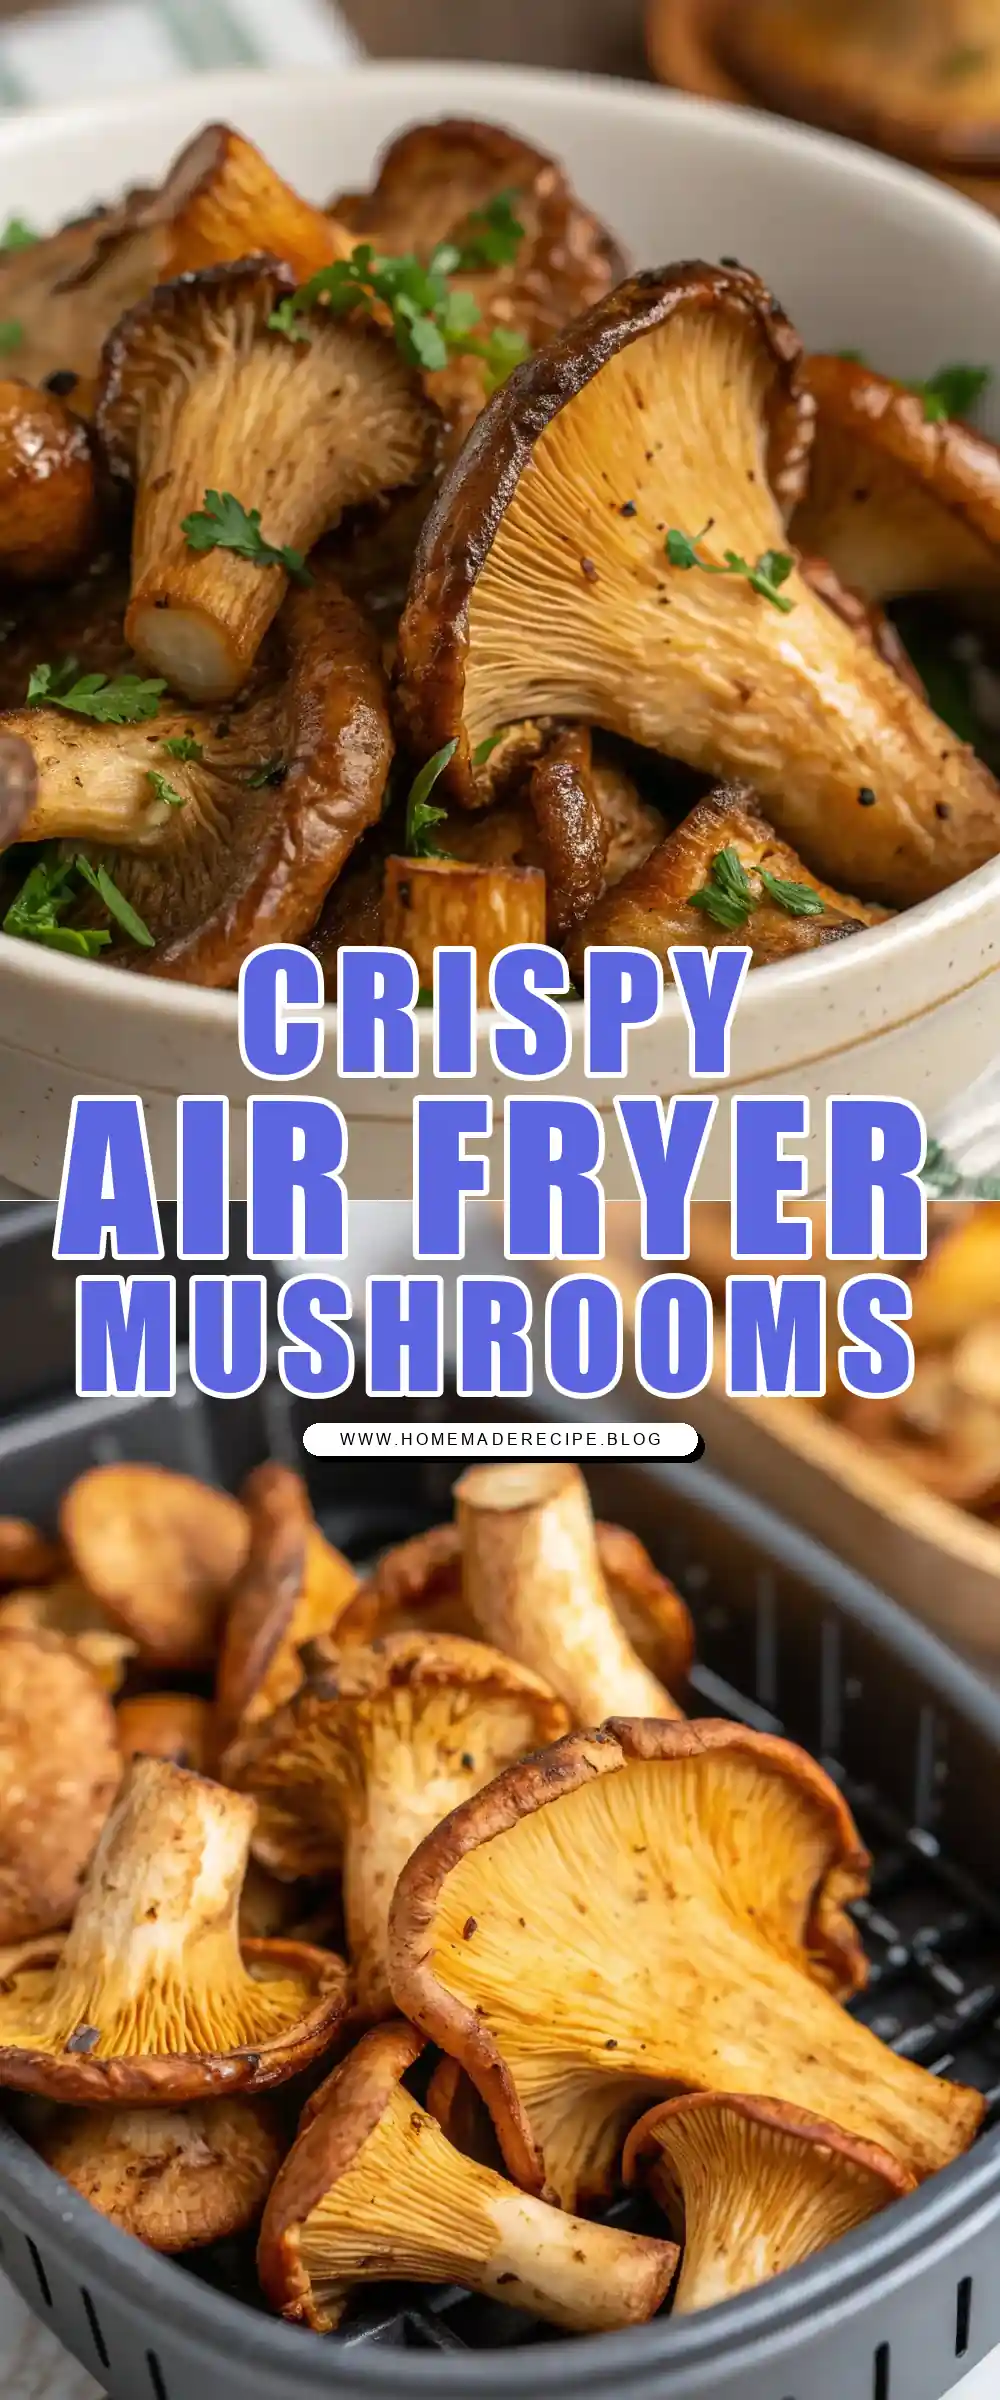

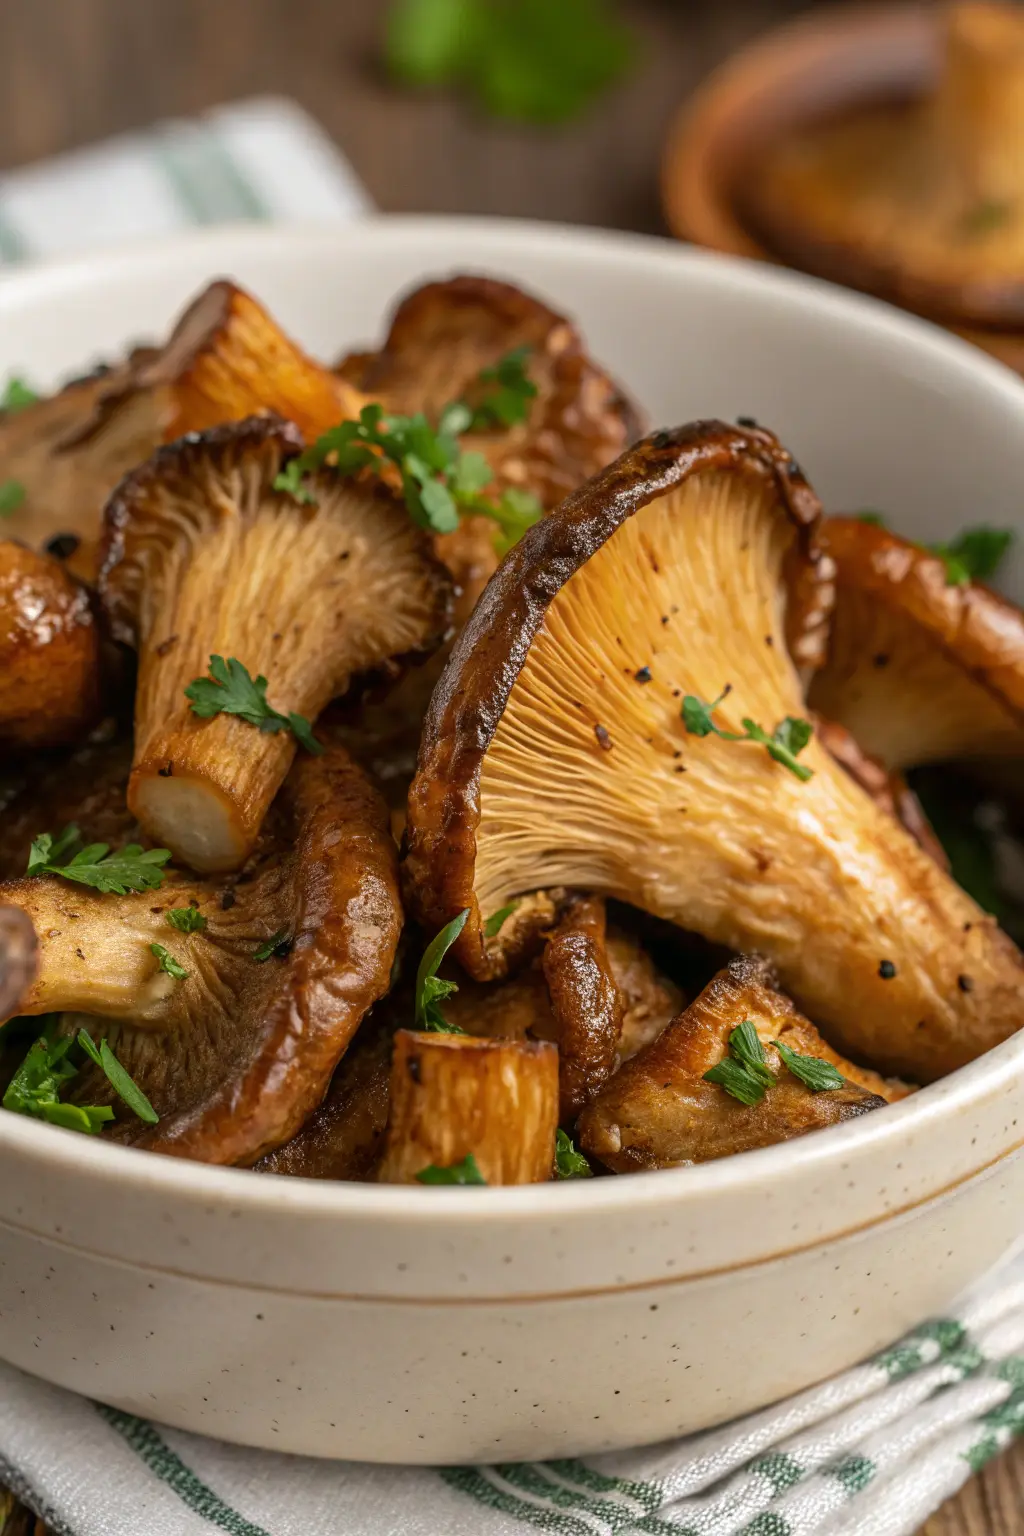
Air Fryer Oyster Mushrooms
Ingredients
Equipment
Method
- In a large bowl, combine the cleaned oyster mushrooms, olive oil, garlic powder, smoked paprika, salt, and black pepper. Toss until the mushrooms are evenly coated.
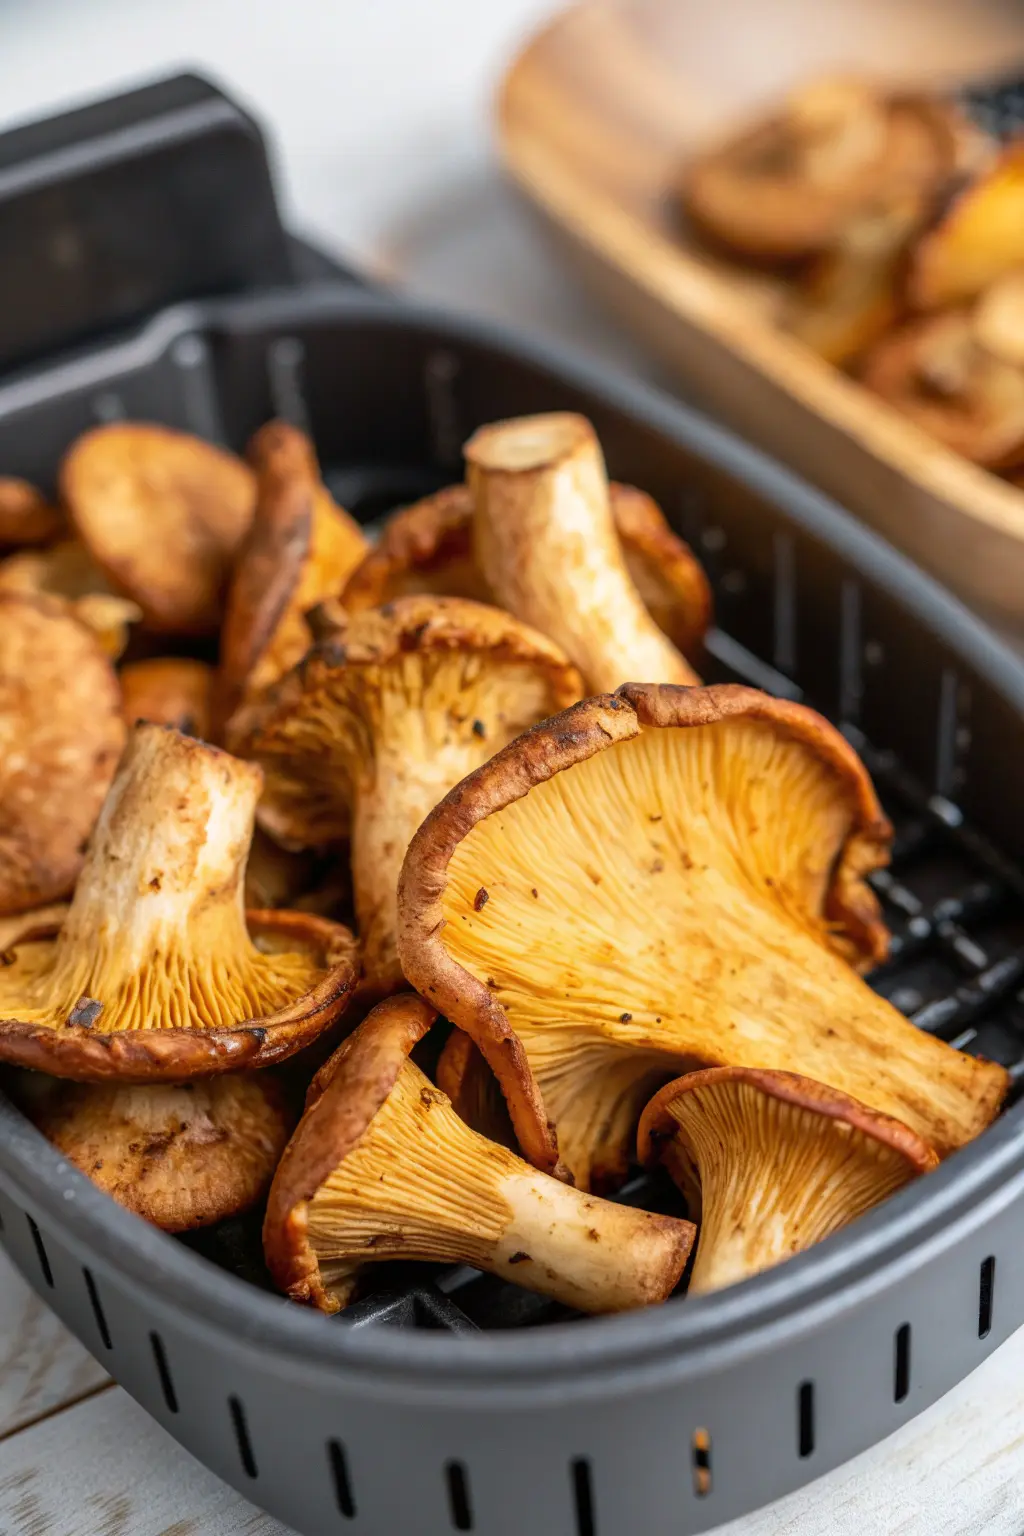
- Preheat the air fryer to 400°F for 5 minutes.
- Place the seasoned mushrooms in a single layer in the air fryer basket. Avoid overcrowding for even cooking.
- Cook the mushrooms at 400°F for 10 minutes, shaking the basket halfway through to ensure even cooking.
- After 10 minutes, check for doneness. If you prefer them crispier, cook for an additional 2-5 minutes.
- Remove the mushrooms from the air fryer and garnish with chopped parsley before serving.