

There’s something about slow cooker meals that feels like a warm hug on a chilly day. I remember my grandmother’s kitchen, always filled with the comforting aroma of something delicious simmering away. This Slow Cooker Chicken Chili with Fresh Vegetables takes me right back to those cozy afternoons. It’s the perfect dish to whip up when you want to fill your home with warmth and your belly with goodness. Plus, the slow cooker does most of the work, allowing you more time to spend with family. Let me share this hearty, family-favorite recipe with you!
Why You’ll Love This Chili
- Effortless Preparation: Just a bit of chopping and your slow cooker does the rest, making it the perfect set-it-and-forget-it meal. The convenience factor cannot be overstated; simply toss everything in, set the timer, and let the magic happen. This makes it ideal for busy weekdays or lazy weekends when you want to enjoy something homemade with minimal effort. There’s nothing quite like returning home after a long day to the delightful aroma of a meal that’s ready to be enjoyed.
- Nutritious and Delicious: Packed with lean protein and a rainbow of vegetables, this chili is as healthy as it is satisfying. The combination of beans and chicken provides a well-rounded, nutrient-rich meal without a lot of fuss. Each ingredient is thoughtfully included to deliver a balance of flavors and nutritional benefits, ensuring you get a wholesome meal in every bite. Eating healthy doesn’t have to be bland or boring—this chili proves you can have flavor and nutrition in one hearty dish.
- Versatile: You can customize it with your favorite veggies or add more spice if you like a little kick. Consider adding jalapeños for heat or zucchini for extra nutrition. You can also experiment with different types of beans or spices to tailor it to your taste preferences. This flexibility makes it a great option for families with varying tastes or for when you want to mix things up a bit.
- Budget-Friendly: Using staple ingredients that are easy on the wallet, this dish is perfect for feeding a crowd without breaking the bank. Bulk ingredients like beans and canned tomatoes are both affordable and filling. This makes it a great option for those who want to eat well without overspending. Additionally, buying ingredients in bulk or on sale can further enhance the cost-effectiveness of this dish.
- Perfect for Meal Prep: Make a big batch and enjoy leftovers throughout the week, or freeze portions for later. This chili tastes even better the next day as the flavors continue to meld. It’s an excellent choice for those who like to plan their meals ahead of time and enjoy delicious, home-cooked food throughout the week. Having ready-to-eat meals on hand can be a lifesaver during hectic days.
The Recipe
Prep Time: 15 minutes
Cook Time: 6-8 hours (low) or 4-5 hours (high)
Servings: 8
Calories per Serving: Approximately 300
Ingredients
- 2 pounds boneless, skinless chicken breasts
- 1 can (15 oz) black beans, drained and rinsed
- 1 can (15 oz) kidney beans, drained and rinsed
- 1 can (15 oz) corn, drained
- 1 large onion, chopped
- 3 cloves garlic, minced
- 2 bell peppers, chopped (any color)
- 1 can (28 oz) diced tomatoes
- 2 tablespoons chili powder
- 1 teaspoon cumin
- 1 teaspoon paprika
- Salt and pepper to taste
- Optional toppings: shredded cheese, sour cream, chopped cilantro
Instructions
- Prepare the Ingredients: Begin by chopping the onion, garlic, and bell peppers. Drain and rinse the beans and corn. This step ensures that all your ingredients are ready to go, saving you time and stress during assembly. It’s a great opportunity to get your kitchen organized and ready for a hassle-free cooking experience.
- Layer in the Slow Cooker: Place the chicken breasts at the bottom of the slow cooker. Add the beans, corn, onion, garlic, and bell peppers on top. Layering helps distribute flavors evenly as the ingredients cook. The chicken at the bottom will soak up all the juices, making it tender and flavorful. This method ensures that every ingredient contributes to the overall taste of the dish.
- Add the Tomatoes and Spices: Pour the diced tomatoes over the top, then sprinkle with chili powder, cumin, paprika, salt, and pepper. These spices are the backbone of the chili, providing depth and warmth. Feel free to adjust the spice levels to suit your palate—more chili powder for heat or additional cumin for an earthier flavor. Experimenting with spices can lead to discovering a new favorite combination.
- Cook: Cover and cook on low for 6-8 hours or on high for 4-5 hours. The chicken should be tender and easy to shred. The slow cooking allows the flavors to develop fully, creating a rich and hearty dish that fills your home with a delightful aroma. This slow-cooked method enhances the texture and taste, making each bite a savory experience.
- Shred the Chicken: Use two forks to shred the chicken directly in the slow cooker. Stir everything to combine. This step ensures every bite is infused with the rich flavors of the chili. The shredded chicken mixes seamlessly with the beans and vegetables, making each spoonful deliciously satisfying. This technique ensures that the chicken is well-integrated with the rest of the ingredients.
- Serve: Ladle into bowls and add your favorite toppings. Enjoy with {BLOG_DOMAIN}’s fresh cornbread or a simple green salad for a complete meal! The toppings provide a nice contrast in texture and flavor. A sprinkle of cheese melts beautifully, while a dollop of sour cream adds creaminess. Fresh chopped cilantro or green onions can add a burst of freshness. Adding a touch of lime juice can enhance the flavors even further.
Kitchen Tools You’ll Need
- Slow cooker: The star of this recipe, it does all the heavy lifting. Choose a slow cooker with a timer for added convenience, allowing you to set it and forget it with peace of mind.
- Cutting board and knife: Essential for prepping your vegetables. A sharp knife can make all the difference in reducing prep time and ensuring clean, precise cuts. Investing in quality kitchen tools can streamline your cooking process.
- Can opener: Makes opening canned goods a breeze. Opt for an ergonomic design that fits comfortably in your hand and operates smoothly. A reliable can opener is a staple in any kitchen.
- Forks for shredding: Perfect for pulling apart the tender chicken. A pair of sturdy forks can make quick work of shredding, ensuring the chicken blends well with the rest of the chili. This simple tool can greatly enhance your efficiency in the kitchen.
The Benefits of Each Ingredient
- Chicken Breasts: A lean source of protein that keeps you full and satisfied. They’re also low in fat and versatile in many recipes, making them a healthy choice for those looking to maintain or lose weight. Chicken is a widely loved ingredient for its adaptability in various cuisines.
- Black and Kidney Beans: Packed with fiber and protein, they add heartiness to the dish. Beans are a great way to stretch meals and add nutritional value. They also aid digestion and help regulate blood sugar levels. Incorporating beans into your diet can have significant health benefits.
- Corn: Adds a touch of sweetness and color. It’s a good source of vitamins and minerals, enhancing the overall nutritional profile of the chili. Corn also provides dietary fiber, which is beneficial for digestive health. Its natural sweetness balances the spicy and savory elements of the chili.
- Bell Peppers: Provide vitamin C and a delightful crunch. They also add vibrancy and freshness, making the chili as visually appealing as it is tasty. Bell peppers are a flavorful way to add nutrients to your meals.
- Tomatoes: Rich in antioxidants, they form the flavorful base of the chili. They’re also known for their cancer-fighting properties. Tomatoes contribute to heart health and are an excellent source of vitamin C and potassium. They impart a rich, savory depth to the dish.
What to Serve With This Chili
This chili is a meal in itself, but pairing it with some fluffy cornbread or a crisp {BLOG_DOMAIN} garden salad can elevate your dining experience. If you’re feeling indulgent, a dollop of sour cream or a sprinkle of shredded cheese on top adds a creamy richness. For an extra twist, try serving it with tortilla chips or a side of guacamole. The combination of creamy and crunchy textures alongside the chili adds a delightful contrast that makes each bite more enjoyable. Additionally, pairing with a cold, refreshing drink can complement the warm, hearty flavors of the chili beautifully.
Storage & Leftover Tips
Store any leftover chili in an airtight container in the refrigerator for up to 4 days. This dish also freezes beautifully—just portion it out into freezer-safe bags or containers for up to 3 months. When you’re ready to enjoy it again, simply thaw overnight in the fridge and reheat on the stove or in the microwave. Freezing in individual portions can make future meals quick and convenient. This makes it perfect for busy days when you need a homemade meal in a hurry. Having these leftovers on hand ensures you always have a delicious option ready to go.
In the end, cooking isn’t just about the meals we make—it’s about the love and warmth we share with those around us. This Slow Cooker Chicken Chili with Fresh Vegetables is not just a recipe; it’s an invitation to create cherished memories around the dinner table. I hope this dish brings as much joy to your family as it has to mine


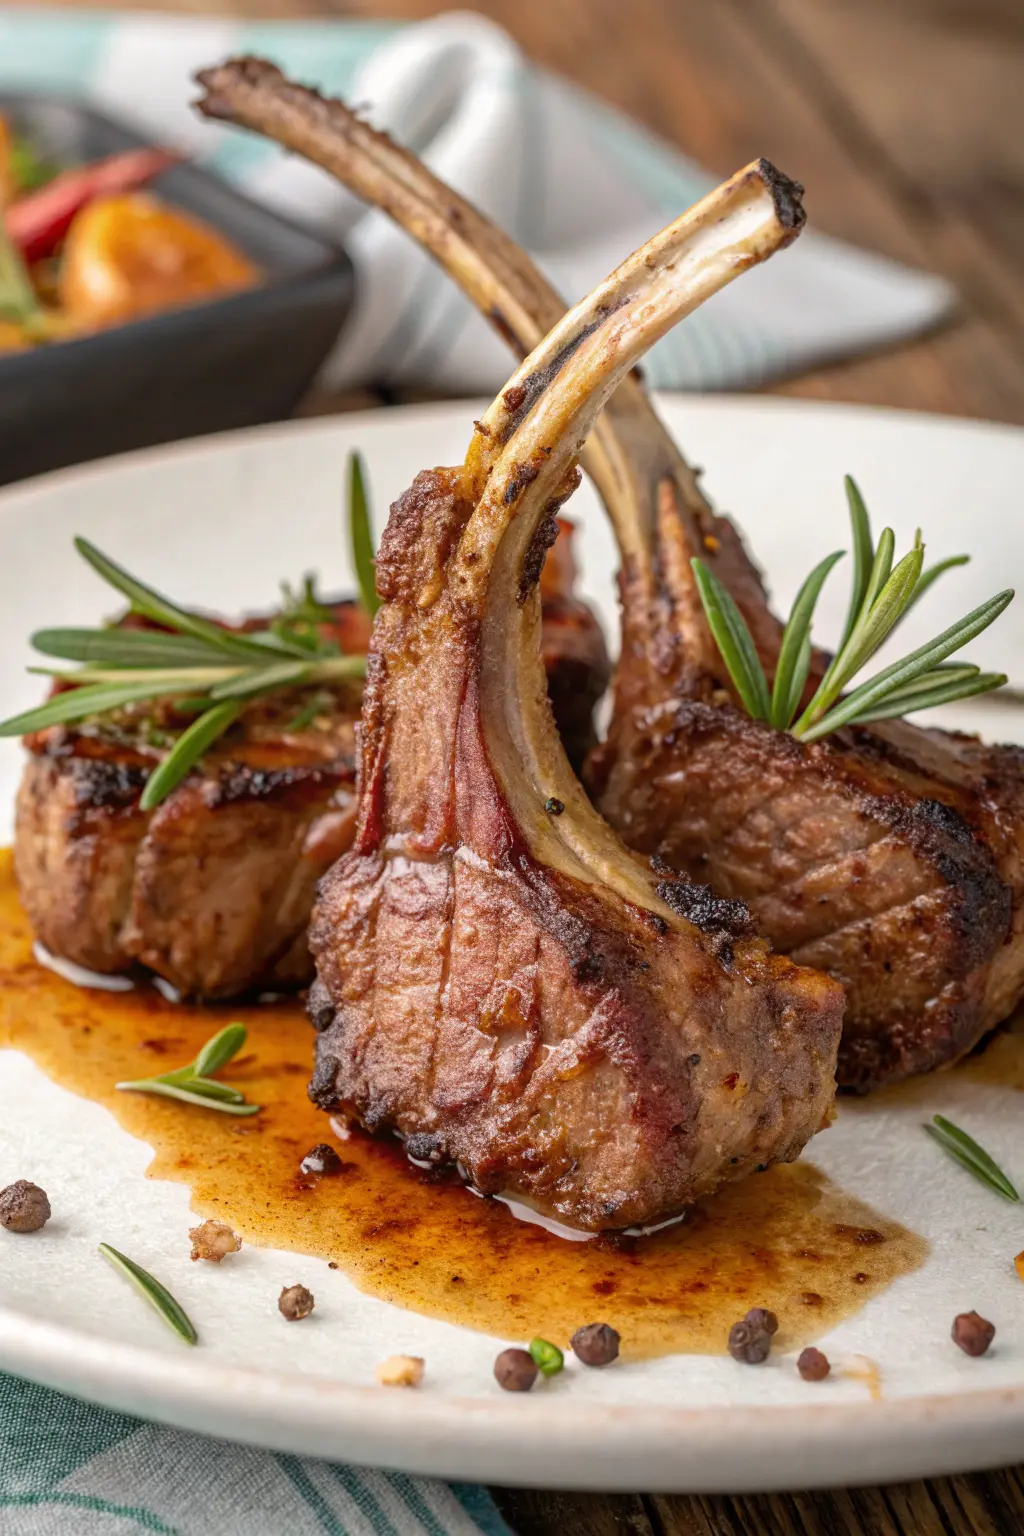
Air Fryer Venison Chops
Ingredients
Equipment
Method
- Preheat the air fryer to 400°F (200°C).
- In a small bowl, mix together olive oil, garlic powder, onion powder, smoked paprika, salt, black pepper, and fresh herbs if using.
- Rub the seasoning mixture evenly over both sides of the venison chops.
- Place the seasoned venison chops in the air fryer basket in a single layer, ensuring they are not overlapping.
- Cook the chops in the air fryer for 12 minutes, flipping halfway through the cooking time for even browning.
- Check for doneness; the internal temperature should reach 145°F (63°C) for medium-rare. If needed, cook for an additional 1-2 minutes.
- Remove the chops from the air fryer and let them rest for 5 minutes before serving.