
There’s something inherently comforting about coming home to the smell of a classic chicken pot pie baking in the oven. I remember as a child, watching my grandmother prepare this beloved dish in her cozy kitchen. The warmth from the oven, the aroma of herbs and chicken filling the air, and the anticipation of that first bite are memories I’ll cherish forever. Today, I’m thrilled to share this recipe with you, just like a friendly neighbor passing on their favorite comfort food secret. Cooking this dish evokes a sense of nostalgia and connection to family traditions, making it more than just a meal, but a cherished ritual.
Why You’ll Love This Comforting Dish
Chicken pot pie is more than just a meal; it’s an experience that engages all the senses. Here’s why this dish is a standout:
- Easy to Prepare: This chicken pot pie recipe is straightforward and perfect for both seasoned cooks and kitchen novices. With clear steps and common ingredients, you’ll find it simple to whip up this hearty dish. The ease of preparation means you can spend more time enjoying the meal rather than laboring over it. Even if you’re new to cooking, this recipe guides you smoothly through each step, ensuring success.
- Family-Friendly: It’s a dish that brings everyone to the table, from picky eaters to those with hearty appetites. Its universal appeal lies in its comforting flavors and familiar ingredients. Children especially love the creamy filling and flaky crust, while adults can appreciate its nostalgic charm. The shared enjoyment of such a meal fosters a sense of togetherness and warmth.
- Nutritious and Filling: Packed with vegetables, protein, and a hearty crust, it’s a complete meal in itself. Each serving offers a balanced profile of carbohydrates, proteins, and fats to keep you satisfied. The inclusion of a variety of vegetables also means you’re getting a good dose of vitamins and minerals. This balance makes it an excellent choice for a wholesome family dinner.
- Perfect for Any Occasion: Whether it’s a casual weeknight dinner or a special family gathering, this dish fits any setting. Its versatility means you can dress it up for a holiday meal or keep it simple for a cozy night in. You can even make mini versions for potlucks or parties. Its adaptability ensures it will quickly become a staple in your culinary repertoire.
- Make-Ahead Friendly: You can prepare parts of this dish in advance, making it a convenient option for busy schedules. The filling can be made a day ahead, and the pie can be assembled just before baking. This flexibility allows you to enjoy the process without the rush. Knowing that you can prepare in stages reduces stress and allows for more relaxed meal planning.
The Recipe
Prep Time: 20 minutes
Cook Time: 45 minutes
Servings: 6
Calories: Approximately 450 per serving
Ingredients:
- 2 cups cooked chicken, diced
- 1 cup carrots, sliced
- 1 cup peas
- 1 cup potatoes, cubed
- 1/2 cup celery, chopped
- 1/3 cup butter
- 1/3 cup all-purpose flour
- 1/2 teaspoon salt
- 1/4 teaspoon pepper
- 1/4 teaspoon celery seed
- 1 3/4 cups chicken broth
- 2/3 cup milk
- 2 unbaked pie crusts
Instructions:
-
Preheat Your Oven: Start by preheating your oven to 425°F (220°C). This ensures your pie will bake evenly and the crust will achieve a beautiful golden-brown color. Preheating is crucial as it sets the stage for consistent cooking and the perfect crust texture, allowing you to achieve professional-level results in your home kitchen.
-
Prepare the Filling: In a saucepan over medium heat, melt the butter. Stir in flour, salt, pepper, and celery seed until well blended. Slowly whisk in the chicken broth and milk. Simmer over medium-low heat until thickened, stirring frequently. Set aside. This step forms the base of your creamy filling, so take care to whisk out any lumps for a smooth texture. The slow simmer allows the flavors to meld beautifully, creating a rich and savory sauce that enhances the dish.
-
Combine Ingredients: In a large bowl, combine the chicken, carrots, peas, potatoes, and celery. Pour the hot liquid mixture over the chicken and vegetables; mix well. Ensure that the ingredients are evenly coated with the creamy sauce for consistent flavor in every bite. Mixing the filling thoroughly ensures each serving is packed with flavor, making every forkful a satisfying experience.
-
Assemble the Pie: Line a 9-inch pie plate with one of the pie crusts. Pour the filling into the crust, then cover with the second crust. Seal the edges, trimming any excess, and cut small slits in the top to allow steam to escape. The slits are crucial for releasing steam, which helps prevent the pie from becoming soggy. A well-sealed crust ensures the filling remains luscious and prevents leaks during baking, maintaining the pie’s aesthetic appeal and structural integrity.
-
Bake to Perfection: Place in the oven and bake for about 30 to 35 minutes, or until the crust is golden brown. Let it cool for 10 minutes before serving. This resting time allows the filling to set slightly, making it easier to serve. The cooling period is essential for achieving the perfect slice without the filling spilling out, ensuring a delightful presentation at the table.
Kitchen Tools You’ll Need
To ensure a smooth cooking process, gather these essential kitchen tools:
- Large Saucepan: Essential for making the creamy filling. A heavy-bottomed pan works best to prevent scorching. Opt for a non-stick version to make the cleaning process easier. The right saucepan helps you achieve the ideal consistency for your sauce, ensuring it coats the ingredients perfectly.
- Whisk: Helps achieve a smooth sauce without lumps. A silicone-coated whisk is ideal for use in non-stick pans. It provides a gentle touch that prevents scratching the pan’s surface, prolonging the life of your cookware.
- 9-inch Pie Plate: Ensures the perfect shape and size for your pie. A glass or ceramic pie plate allows for even cooking and easy monitoring of the crust’s doneness. The transparency of glass lets you see how the crust is browning, enabling precise control over the baking process.
- Rolling Pin: Useful if you decide to make your own pie crust. A heavy, well-balanced rolling pin can help achieve an even thickness. For those making crusts from scratch, a rolling pin with adjustable rings can ensure uniformity, making your homemade crusts look professional.
The Benefits of Each Ingredient
Let’s explore the benefits and roles of the key ingredients in this comforting dish:
- Chicken: A lean protein that adds substance and flavor. It’s versatile and absorbs the herbs and seasonings beautifully. Chicken is not only delicious but also provides essential amino acids necessary for muscle growth and repair. Its mild flavor acts as a canvas for the rich sauce and vibrant vegetables.
- Carrots and Peas: Provide sweetness and a pop of color, along with vitamins and fiber. These vegetables complement the savory elements and add nutritional value. Carrots are high in beta-carotene, which is beneficial for eye health, while peas are a good source of plant-based protein, contributing to the dish’s overall nutritional profile.
- Potatoes: Offer heartiness and texture, making the dish more filling. They absorb the creamy sauce well, becoming tender and flavorful. Potatoes are rich in potassium, which is vital for maintaining healthy blood pressure. Their starchy nature also helps thicken the filling, adding to the pie’s satisfying texture.
- Butter and Flour: Create a roux that thickens the sauce, adding richness. This classic technique ensures a velvety consistency that coats the ingredients. Butter adds a depth of flavor, while flour provides the necessary structure to the sauce, making it the perfect binder for the filling.
- Celery Seed: Adds a subtle aromatic flavor that complements the chicken. Its earthiness enhances the overall taste profile. Celery seed also contains compounds that may aid in digestion and reduce inflammation, subtly enriching the dish’s complexity.
What to Serve With This Comforting Dish
Pair your chicken pot pie with a simple green salad or steamed green beans for a balanced meal. The freshness of the greens cuts through the richness of the pie beautifully. Consider a salad with a light vinaigrette to add a zesty contrast to the creamy pie. For a cozy dinner, serve it alongside a warm bowl of soup, like this Hearty Vegetable Soup. The combination of soup and pie creates a heartwarming experience, perfect for chilly days. Serving it with a glass of crisp white wine or a light-bodied red can also elevate the meal. A well-chosen wine can enhance the flavors and make the meal feel special, turning a simple dinner into a memorable occasion.
Storage & Leftover Tips
Proper storage ensures that you can enjoy your chicken pot pie at its best even after the initial meal:
- Refrigeration: Store leftovers in an airtight container in the refrigerator for up to 3 days. This keeps the pie fresh and flavorful. Ensure the pie is completely cooled before refrigerating to prevent condensation from making the crust soggy. Keeping the pie at the right temperature maintains its integrity and taste.
- Freezing: To freeze, wrap the pie tightly in aluminum foil and place it in a freezer-safe bag. It can be stored for up to 3 months. When ready to enjoy, thaw in the refrigerator overnight and reheat in the oven at 350°F (175°C) until warmed through. This method preserves the
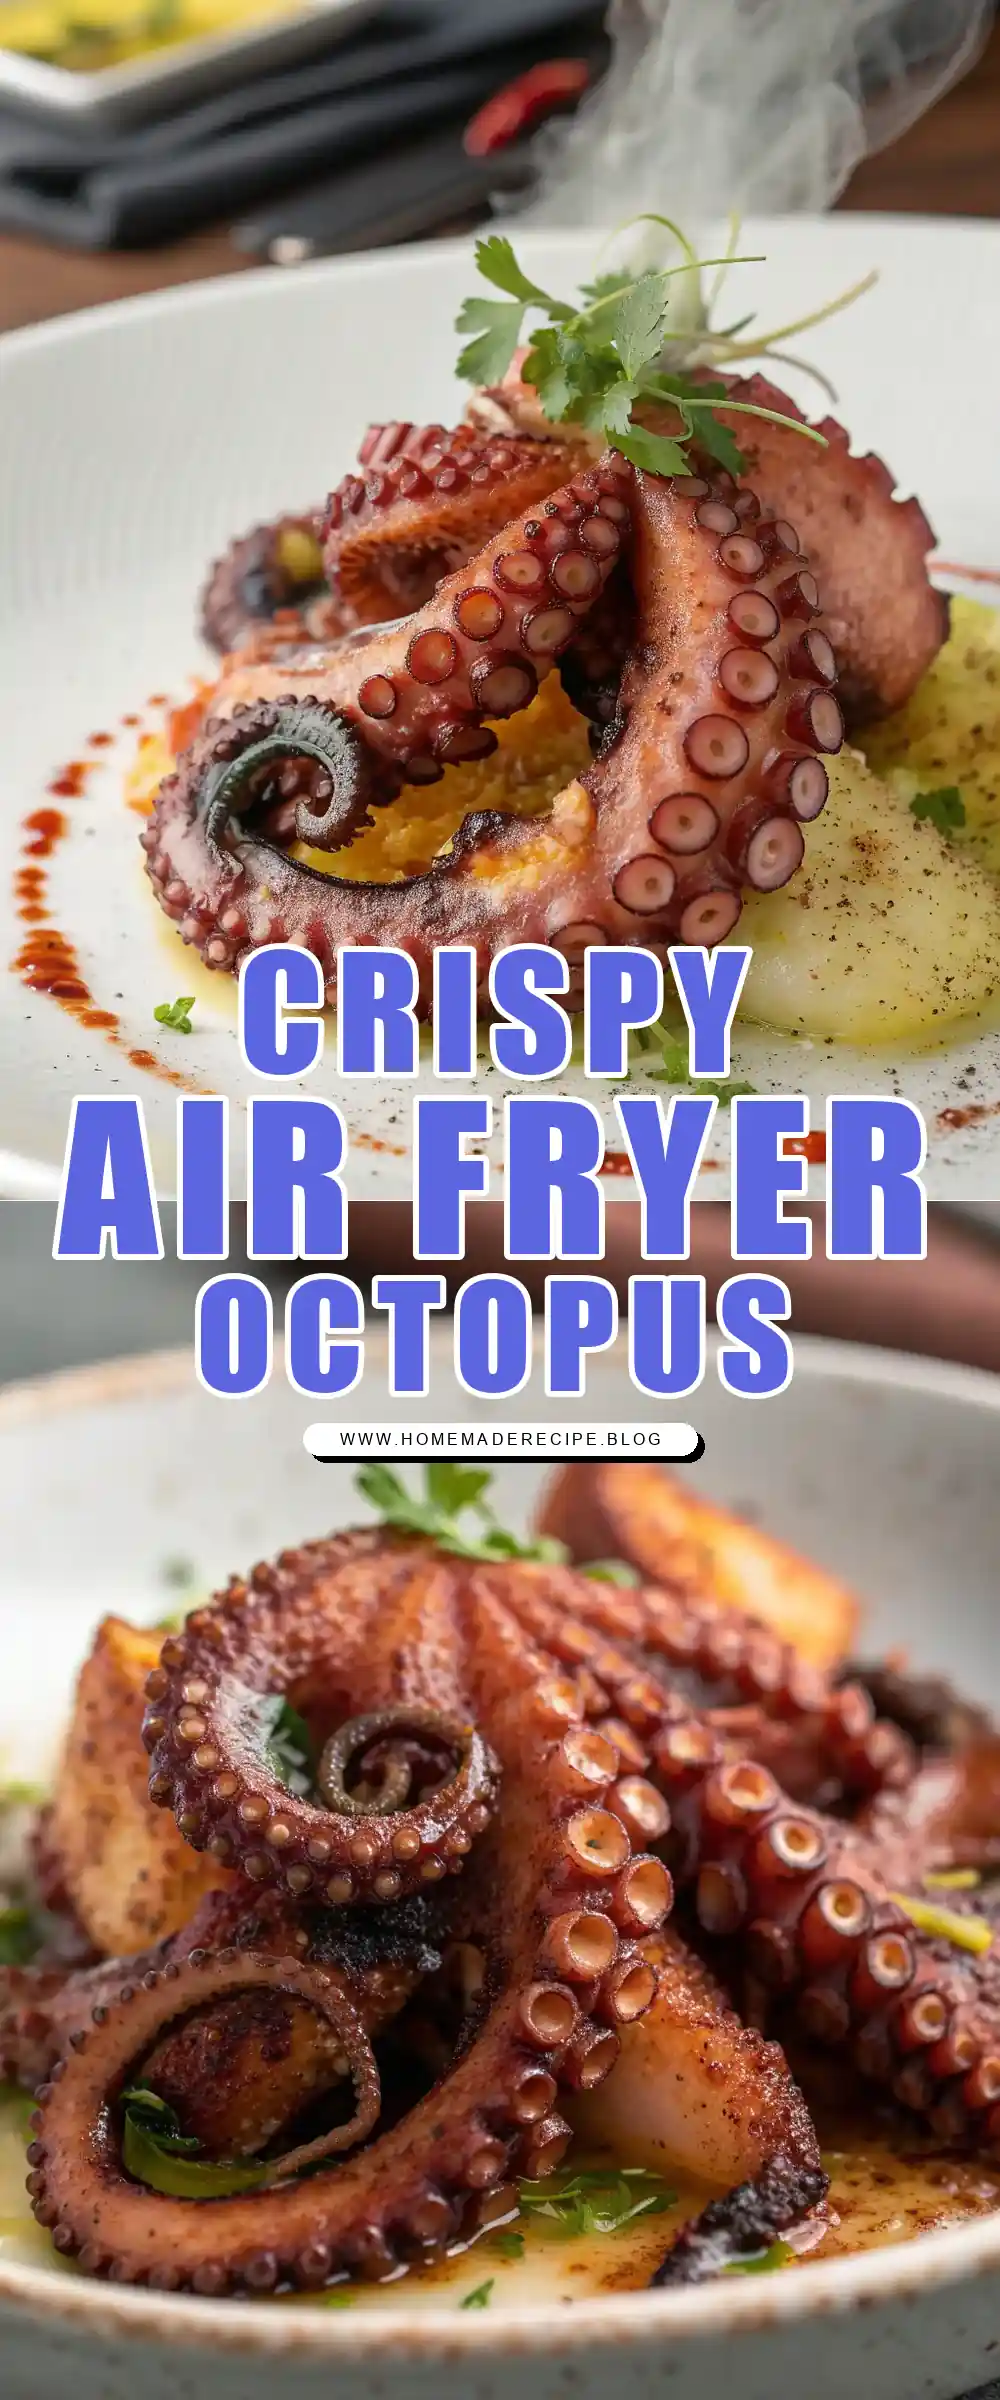
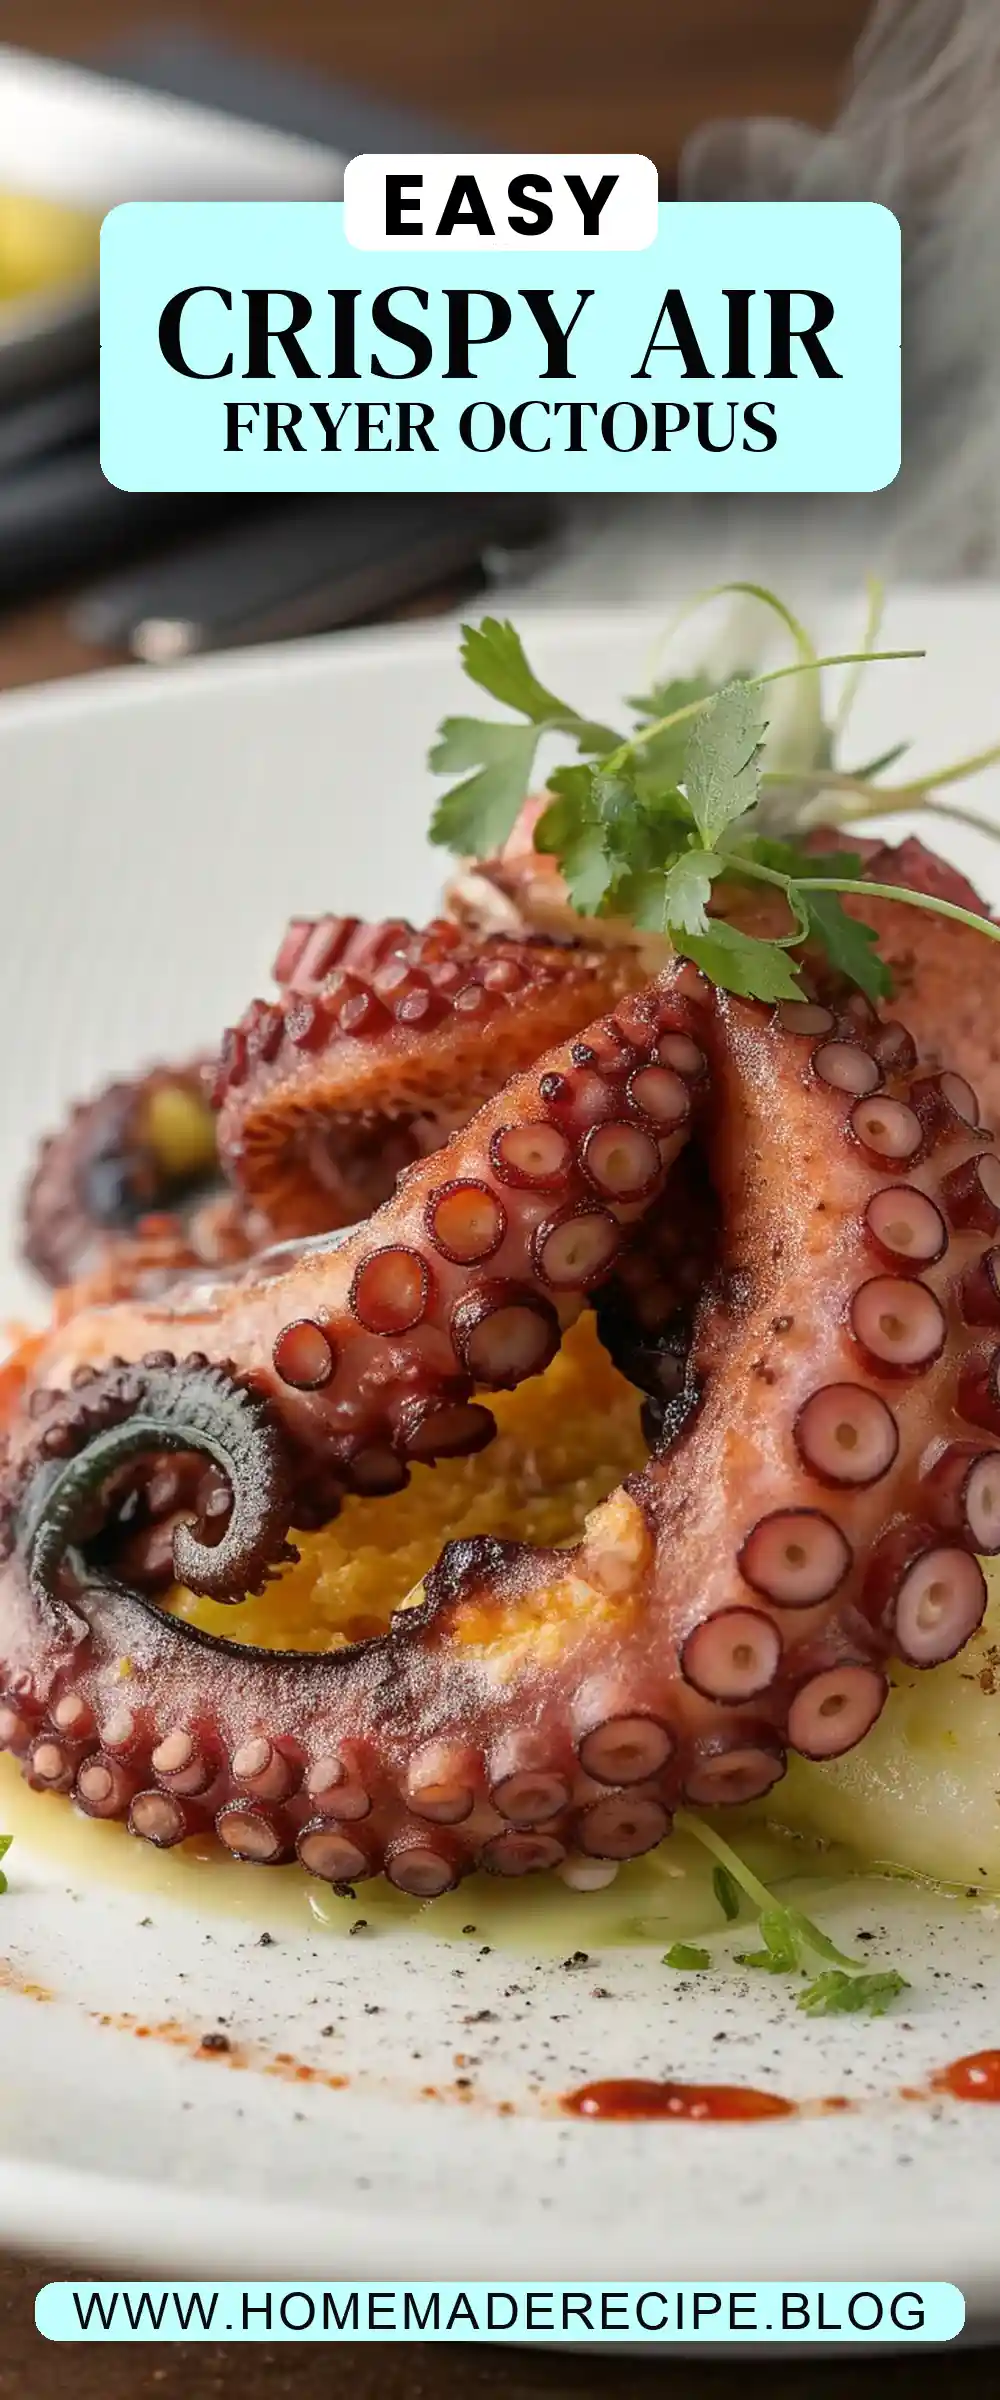
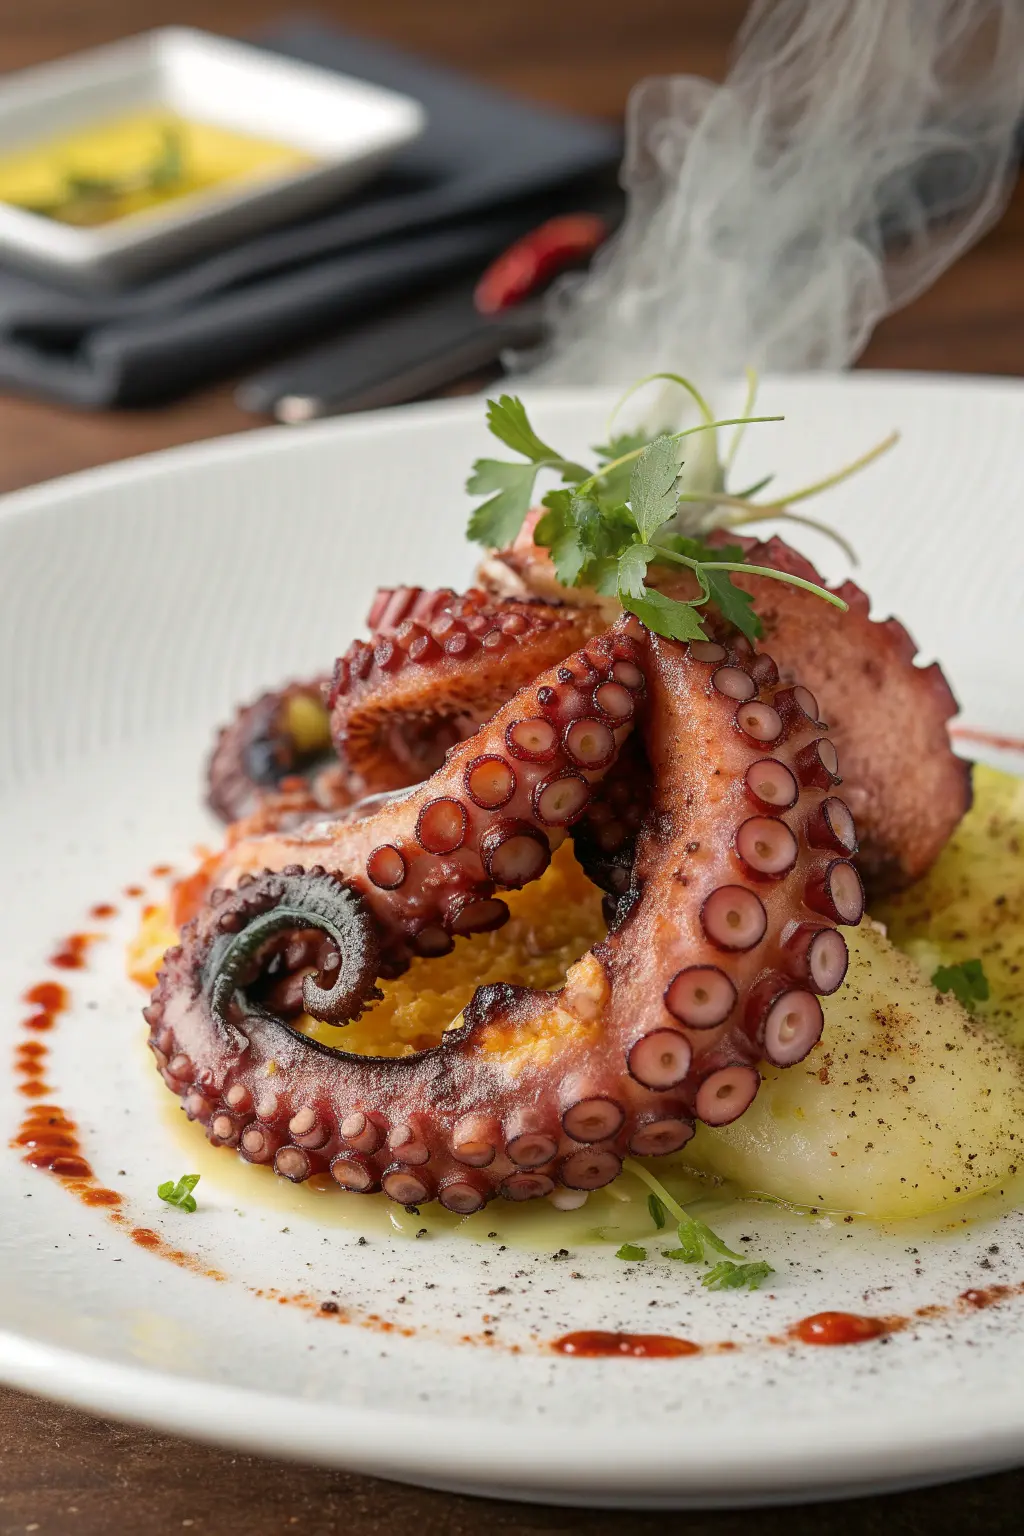
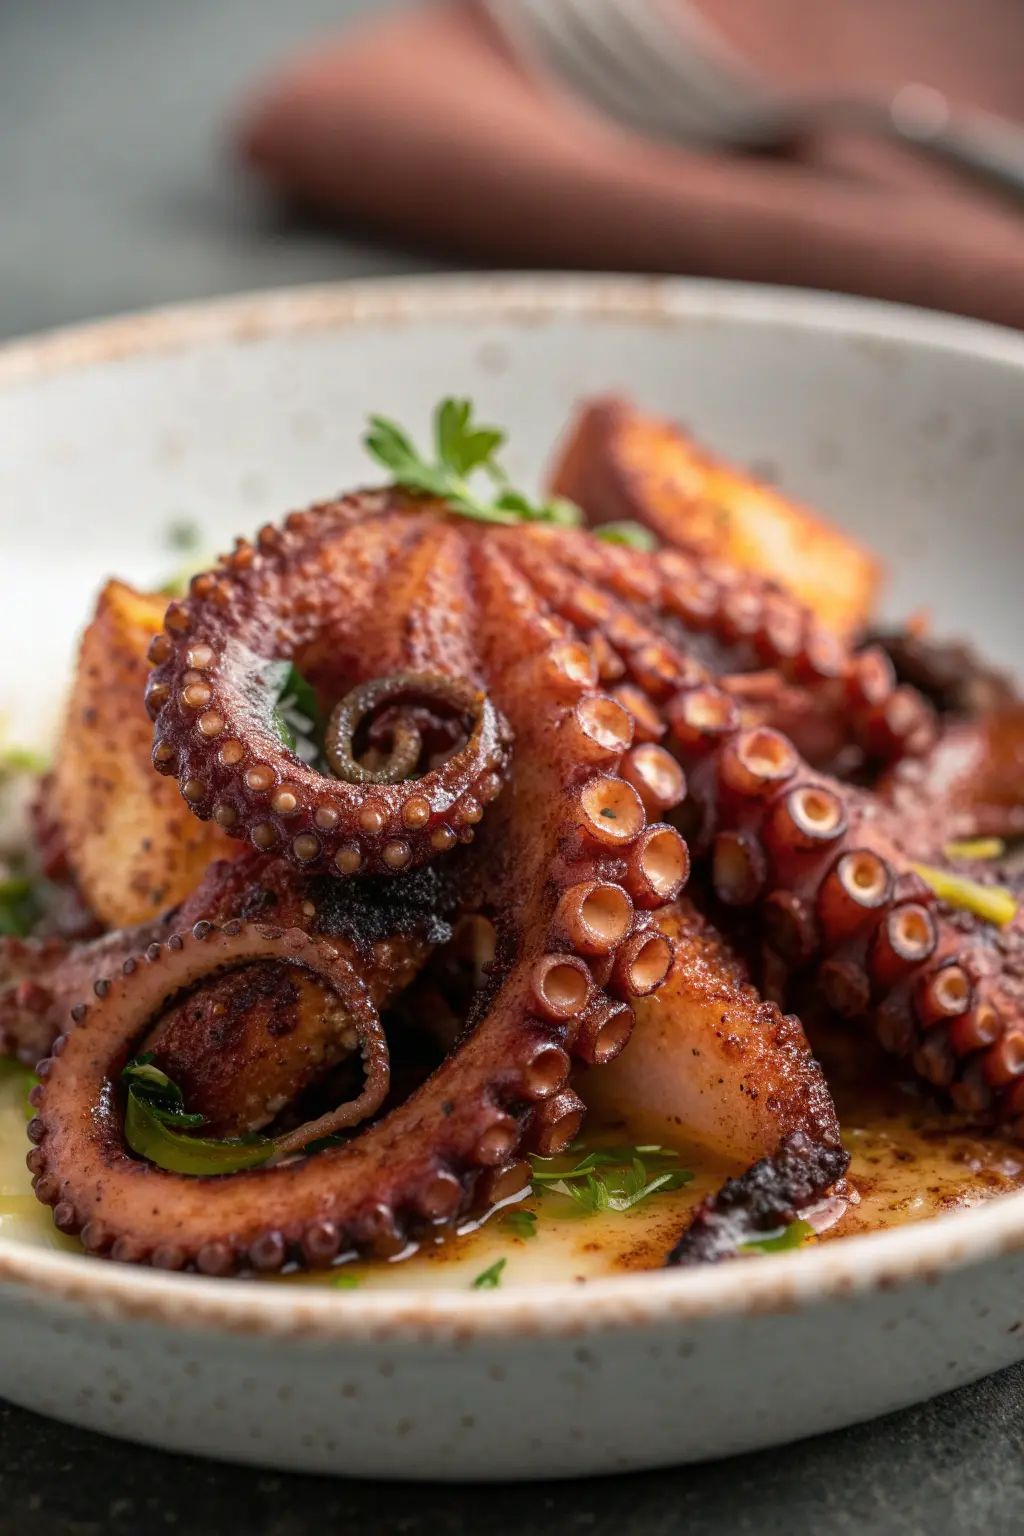
Air Fryer Octopus
Ingredients
Equipment
Method
- In a mixing bowl, combine olive oil, smoked paprika, garlic powder, salt, and black pepper.
- Add the octopus tentacles to the bowl and toss to coat evenly with the marinade.
- Preheat the air fryer to 400°F (200°C) for 5 minutes.
- Place the marinated octopus tentacles in the air fryer basket in a single layer.
- Cook at 400°F (200°C) for 10 minutes, shaking the basket halfway through.
- Check for tenderness; if necessary, cook for an additional 2-5 minutes until done.
- Remove from the air fryer and serve immediately with lemon wedges.