
Ah, Chicken Alfredo—just saying the name makes me feel all warm and cozy inside. I remember the first time I made it for my family on a chilly Sunday evening. The rich aroma of garlic and butter filled the kitchen while the pasta simmered away, and I knew I had found a dish that would become a staple in our home. There’s something magical about sharing a creamy, comforting meal with loved ones, and Chicken Alfredo is the perfect recipe for those moments. Not only does it offer a symphony of flavors, but it also brings everyone together, creating memories that last a lifetime.
Why You’ll Love This Pasta Dish
-
Comforting and Satisfying: There’s nothing like a creamy sauce paired with tender chicken and pasta to make you feel enveloped in warmth. The combination of smooth, rich sauce and perfectly cooked chicken is like a warm hug in a bowl, perfect for those days when you need a little extra comfort. The luscious texture of the Alfredo sauce clings to each strand of pasta, creating a dining experience that is both indulgent and heartwarming.
-
Quick and Easy: With just 30 minutes from start to finish, this recipe is perfect for busy weeknights. You can whip it up in no time, making it ideal for when you’re short on time but still want a home-cooked meal. Plus, using everyday ingredients means you probably already have most of them in your pantry! The straightforward steps ensure that even novice cooks can create a restaurant-quality dish without the stress.
-
Family-Friendly: Kids and adults alike will adore the rich, cheesy sauce—it’s a crowd-pleaser! The mild flavors appeal to even the pickiest eaters, and it’s a great way to introduce kids to more sophisticated flavors without straying too far from their comfort zone. The creamy texture is inviting, and the familiar taste of Parmesan cheese is a universal favorite that resonates with all ages.
-
Versatile: You can easily customize it with vegetables like broccoli or peas for a nutritious twist. Add a pop of color with bell peppers, or incorporate some spinach for an extra dose of vitamins. This flexibility allows you to cater to different dietary preferences and needs. For a spicy kick, consider adding a pinch of red pepper flakes or a sprinkle of nutmeg for a subtle depth of flavor.
-
Restaurant-Quality at Home: Skip the takeout and create a dish that’s just as delicious in your own kitchen. Impress your guests with your culinary skills without the hefty restaurant bill. Plus, you have the advantage of controlling the quality and quantity of ingredients you use. Tailoring the seasoning to your taste ensures that every bite is perfect, and the freshness of homemade ingredients shines through.
The Recipe
Prep Time: 10 minutes
Cook Time: 20 minutes
Servings: 4
Calories: 650 per serving
Ingredients: – 8 oz fettuccine or your favorite pasta – 2 tablespoons olive oil – 1 pound chicken breast, sliced into strips – Salt and pepper to taste – 3 cloves garlic, minced – 1 cup heavy cream – 1 cup grated Parmesan cheese – 1 tablespoon butter – Fresh parsley, chopped (optional, for garnish)
Instructions: 1. Cook the pasta according to package instructions until al dente. Drain and set aside. For perfectly cooked pasta, remember to use a large pot with plenty of water and add a generous pinch of salt—it should taste like the sea. This not only seasons the pasta but also enhances the overall flavor of the dish.
-
In a large skillet, heat the olive oil over medium heat. Season the chicken strips with salt and pepper, then add them to the skillet. Cook until golden brown and fully cooked, about 6-7 minutes. Remove the chicken and set aside. Ensure the chicken pieces are evenly sized for uniform cooking. This step is crucial for achieving that perfect sear, which locks in the juices and keeps the chicken tender.
-
In the same skillet, add the minced garlic and sauté for 1 minute until fragrant. Be careful not to burn the garlic, as it can turn bitter. Garlic’s aromatic flavor is best released with gentle heat, ensuring it permeates the dish without overpowering it.
-
Pour in the heavy cream, stirring to combine with the garlic. Bring to a gentle simmer, then reduce the heat to low. This gradual heat adjustment ensures the cream doesn’t curdle, maintaining the sauce’s smooth consistency. A gentle simmer allows the cream to thicken slowly, marrying the flavors beautifully.
-
Stir in the Parmesan cheese and butter, allowing the sauce to thicken while stirring occasionally. If the sauce is too thick, add a splash of reserved pasta water to achieve your desired consistency. The starchy water helps bind the sauce to the pasta, enhancing the creaminess without diluting the flavor.
-
Return the cooked chicken to the skillet and add the pasta, tossing everything together until well-coated with the creamy sauce. Use tongs to ensure every strand of pasta is generously covered. Mixing the pasta with the sauce off the heat allows the flavors to meld without risking separation.
-
Sprinkle with fresh parsley before serving for a touch of color and flavor. The parsley not only adds visual appeal but also a hint of freshness that balances the richness of the dish. It acts as a palate cleanser, making each bite as delightful as the first.
Kitchen Tools You’ll Need
- Large skillet: Essential for cooking the chicken and sauce evenly. A non-stick or stainless steel skillet ensures even heat distribution, preventing hot spots and sticking.
- Pot for boiling pasta: A large pot ensures the pasta has room to cook properly without sticking together. Using a pot with a built-in strainer can make draining a breeze.
- Wooden spoon: Ideal for stirring sauces and preventing scratches on your cookware. A wooden spoon is gentle on your pans and retains heat more effectively than metal utensils.
- Tongs: Helpful for tossing pasta and chicken in the sauce, ensuring every piece is coated. Tongs provide precision and control, making the mixing process effortless.
- Measuring cups and spoons: Accurate measurements are key to achieving the perfect balance of flavors. Using these ensures consistency in every batch, especially when dealing with potent ingredients like garlic and cheese.
The Benefits of Each Ingredient
-
Chicken Breast: A lean source of protein that makes this dish hearty and filling. It’s low in fat but rich in essential nutrients, perfect for maintaining a balanced diet. Chicken breast is versatile and absorbs flavors well, making it ideal for this dish.
-
Garlic: Adds an aromatic depth that enhances the overall flavor. Garlic is known for its health benefits, including boosting the immune system and reducing blood pressure. Its savory, slightly sweet profile complements the creamy sauce perfectly.
-
Heavy Cream: Creates that luscious, velvety sauce that defines Alfredo. It’s the cornerstone of the dish, providing a rich and creamy texture that clings to the pasta. The fat content in cream helps carry the flavors, making each bite richly satisfying.
-
Parmesan Cheese: The star of the show, offering a nutty, savory richness. Parmesan adds a depth of flavor and complexity to the sauce, making it truly indulgent. Its umami properties elevate the dish, turning simple ingredients into a gourmet experience.
-
Olive Oil: A healthy fat that aids in cooking the chicken to perfection. It contributes a subtle fruitiness and smoothness to the dish, enhancing the overall taste. Olive oil’s monounsaturated fats are heart-healthy, making it a nutritious choice for cooking.
What to Serve With This Pasta Dish
While Chicken Alfredo is delicious on its own, you can elevate your meal with a few simple sides:
-
Garlic Bread: Perfect for sopping up every last drop of that creamy sauce. The crispy, buttery bread complements the creamy Alfredo beautifully. Try making a homemade version with a fresh baguette and a mix of butter, garlic, and herbs for an extra touch of flavor.
-
Caesar Salad: A crisp, refreshing salad pairs beautifully with the richness of the pasta. The tangy dressing and crunchy croutons provide a nice contrast in textures. Add some shaved Parmesan and a squeeze of lemon to enhance the freshness.
-
Steamed Vegetables: Broccoli or green beans add color and nutrition. Their natural sweetness and slight bitterness can balance the richness of the Alfredo sauce, making the meal more rounded. Lightly seasoning them with lemon juice and a sprinkle of salt can elevate their flavors without overpowering them.
For more pasta inspirations, check out our Easy Spaghetti Carbonara and Classic Lasagna recipes on {BLOG_DOMAIN}. These dishes offer different flavor profiles and cooking techniques, providing variety to your pasta repertoire. Each recipe is crafted to bring a taste of Italy to your table, ensuring a delightful culinary journey with every bite.
Storage & Leftover Tips
Leftovers are a gift when it comes to Chicken Alfredo! Here’s how to store them:
-
Refrigerate: Place leftovers in an airtight container and keep them in the refrigerator for up to 3 days. Proper storage prevents the pasta from drying out and maintains the freshness of the dish. Make sure the pasta is completely cooled before sealing to avoid condensation, which can lead to sogginess.
-
Reheat: Gently warm on the stovetop over low heat, adding a splash of cream or milk to revive the sauce’s creamy consistency. Avoid microwaving as it can cause the sauce to separate. If reheating in the microwave is necessary, use medium power and stir frequently to maintain the sauce’s texture.
-
Freeze: Although Alfredo sauce can change texture, you can freeze leftovers for up to a month. Thaw in the fridge and reheat gently. For best results, consider freezing the components separately—the pasta, chicken, and sauce—so you can refresh the sauce with fresh cream when reheating. This method preserves the dish’s quality and prevents the pasta from becoming mushy.
Chicken Alfredo with Fresh Parmesan is more than just a meal—it’s an experience to share and enjoy with those around you. With its comforting flavors and the ease of preparation, it’s sure to become a beloved favorite in your home. Whether you’re serving it for a special occasion or a simple weeknight dinner, enjoy every delicious bite!
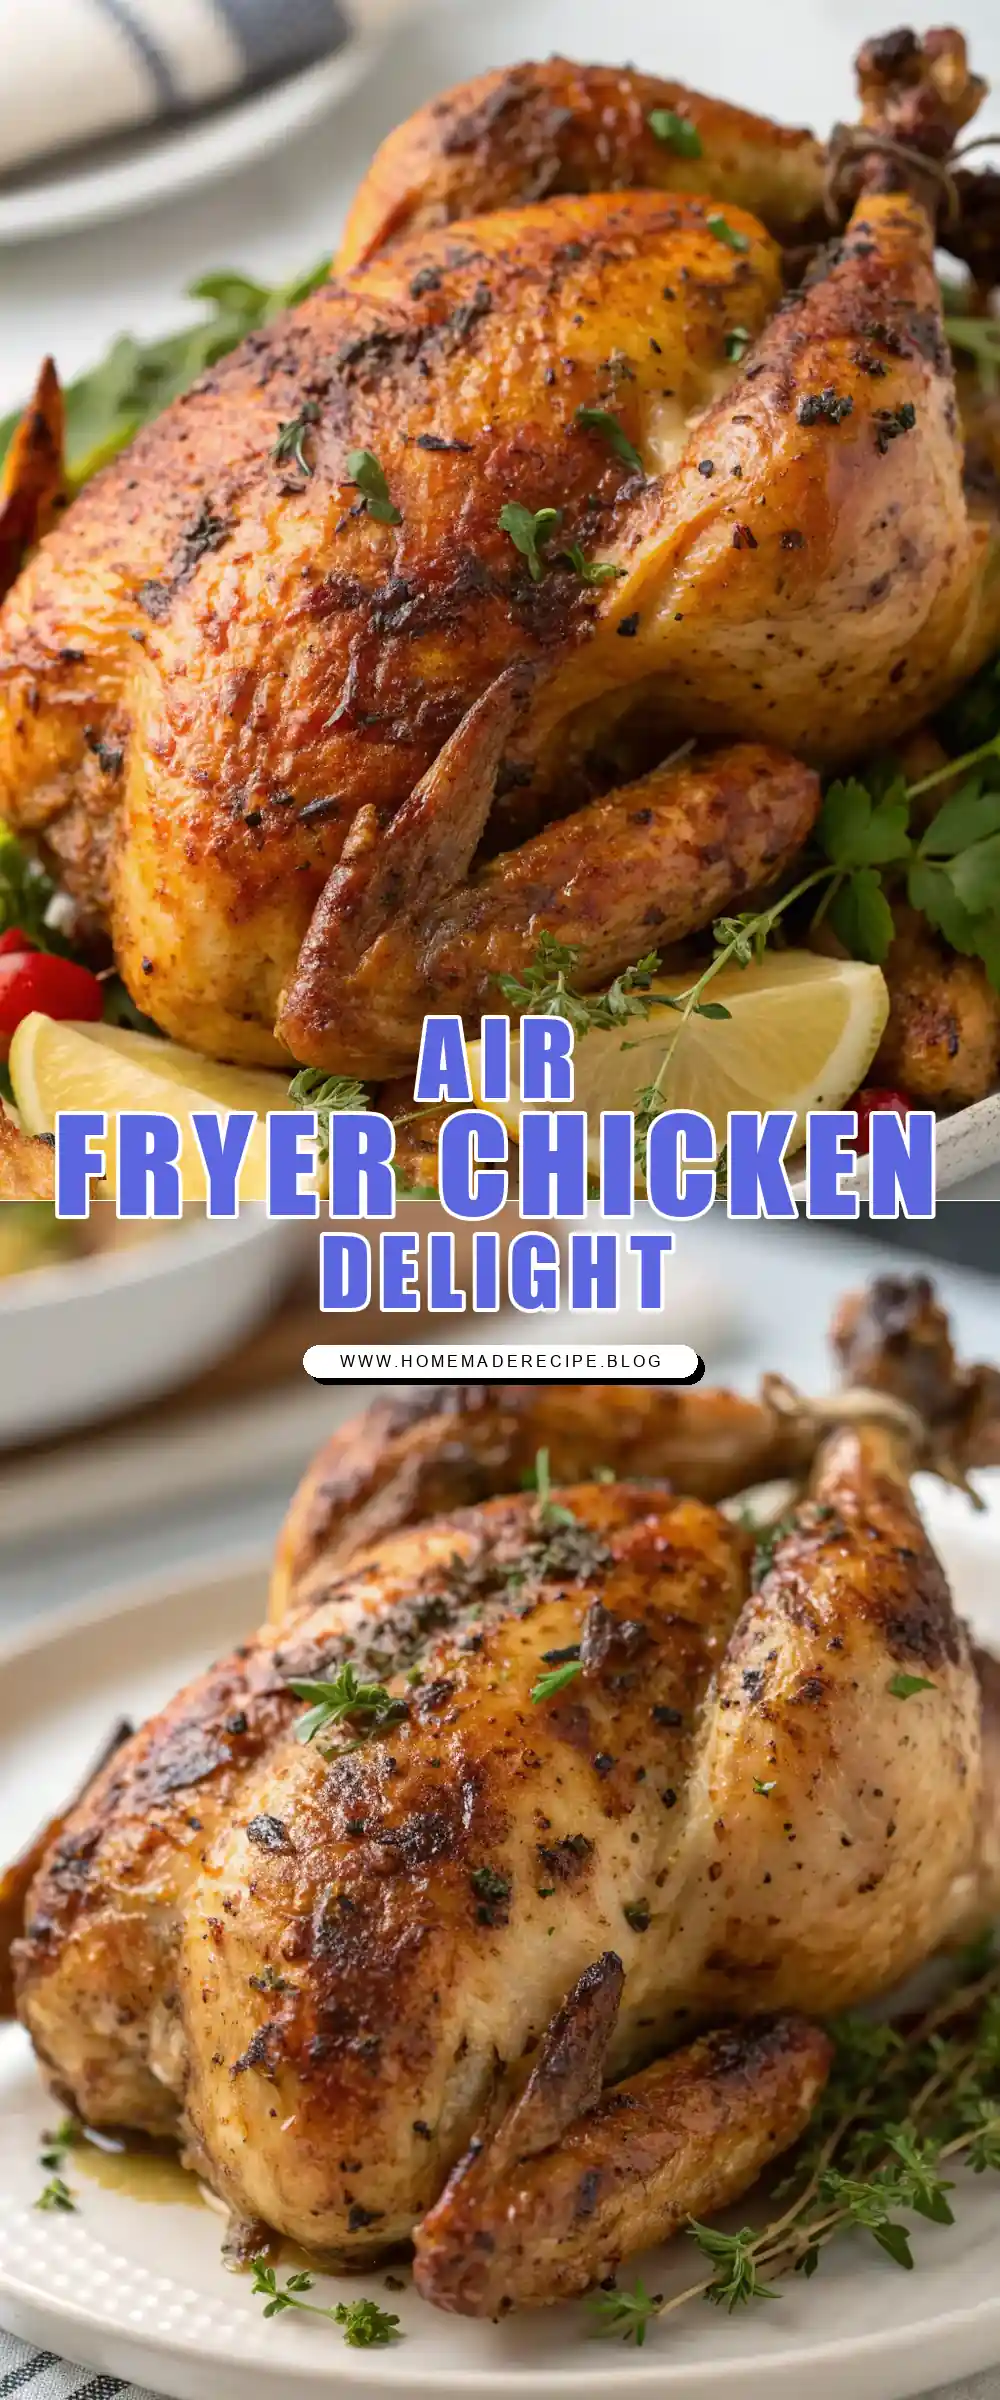
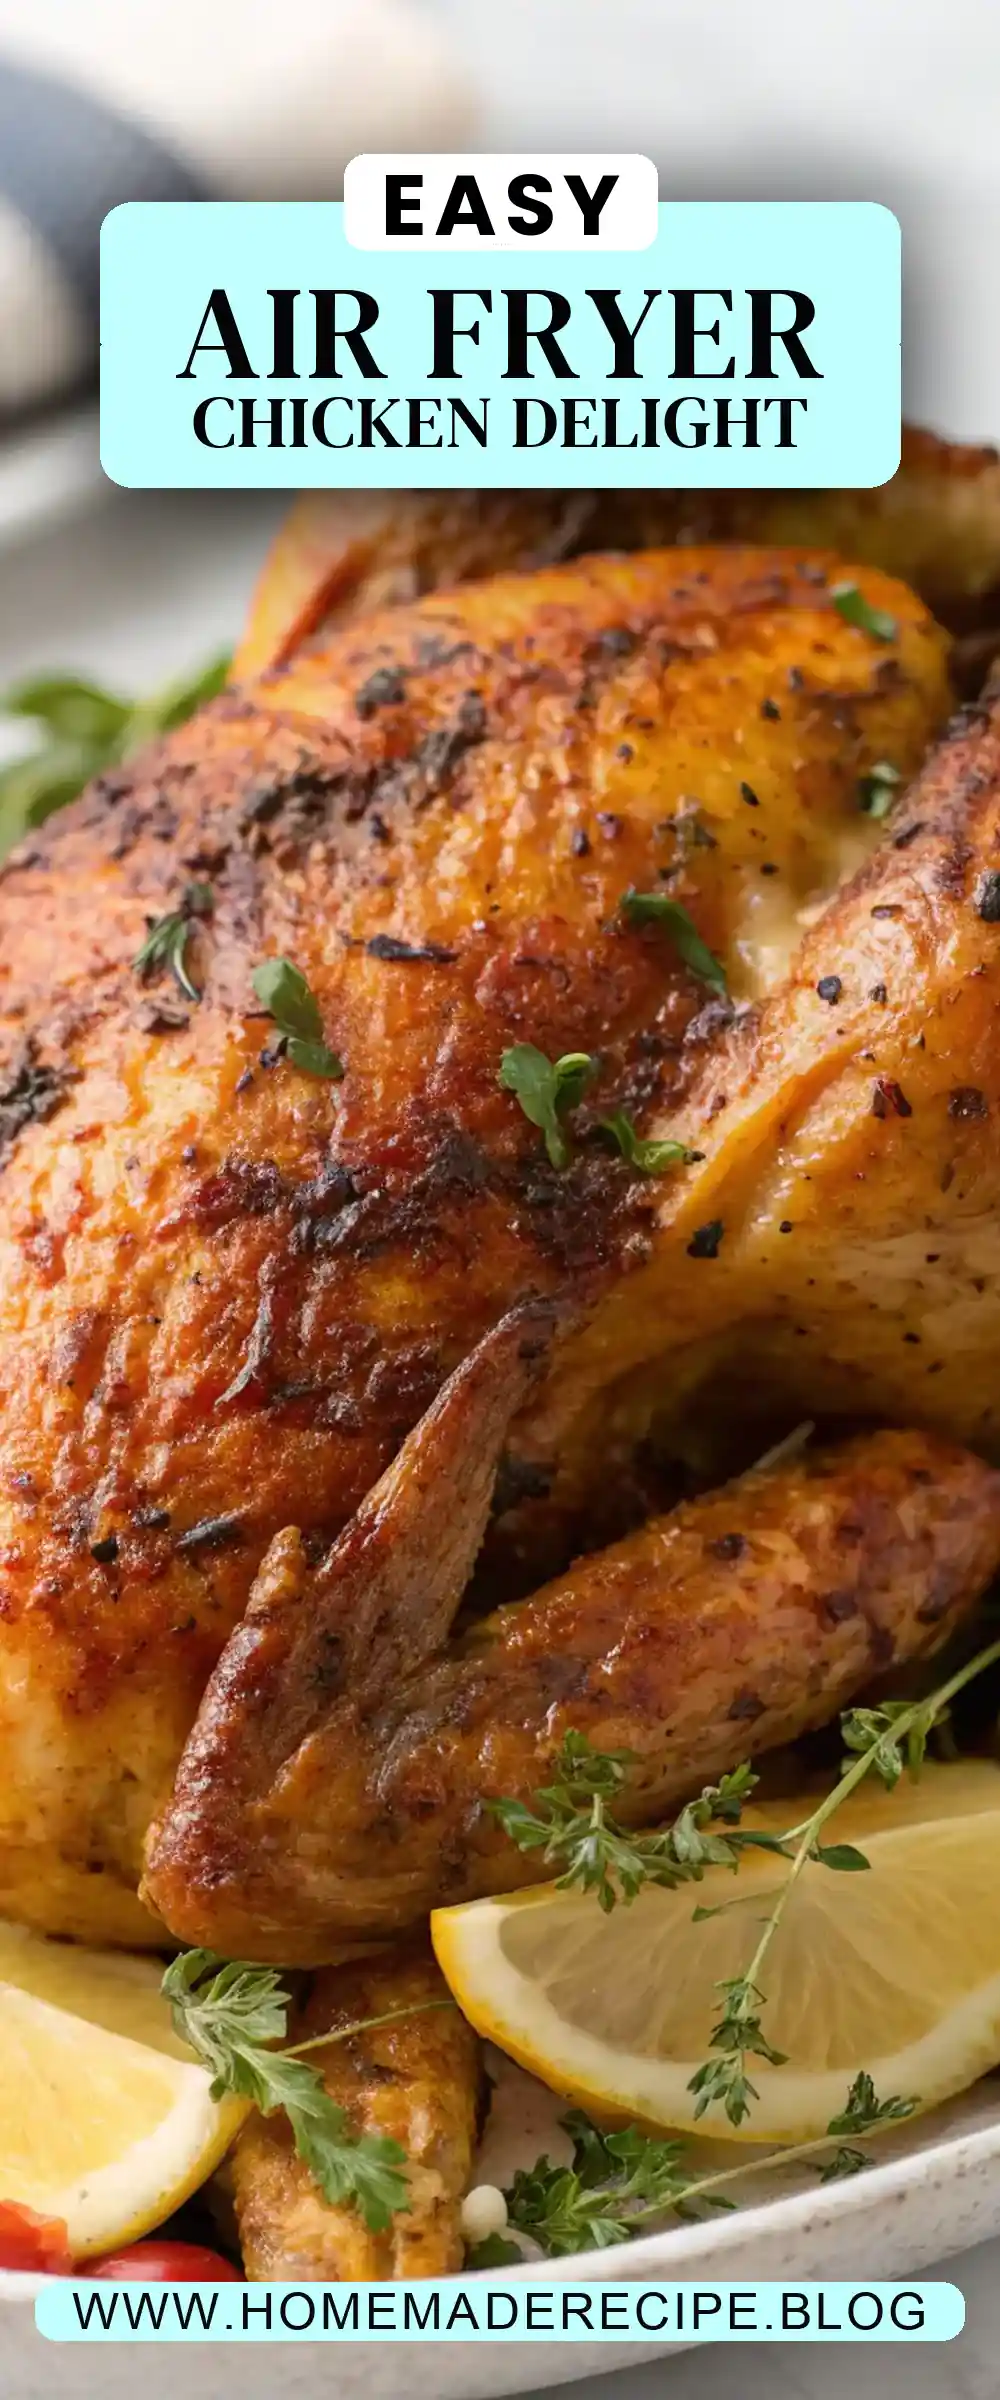
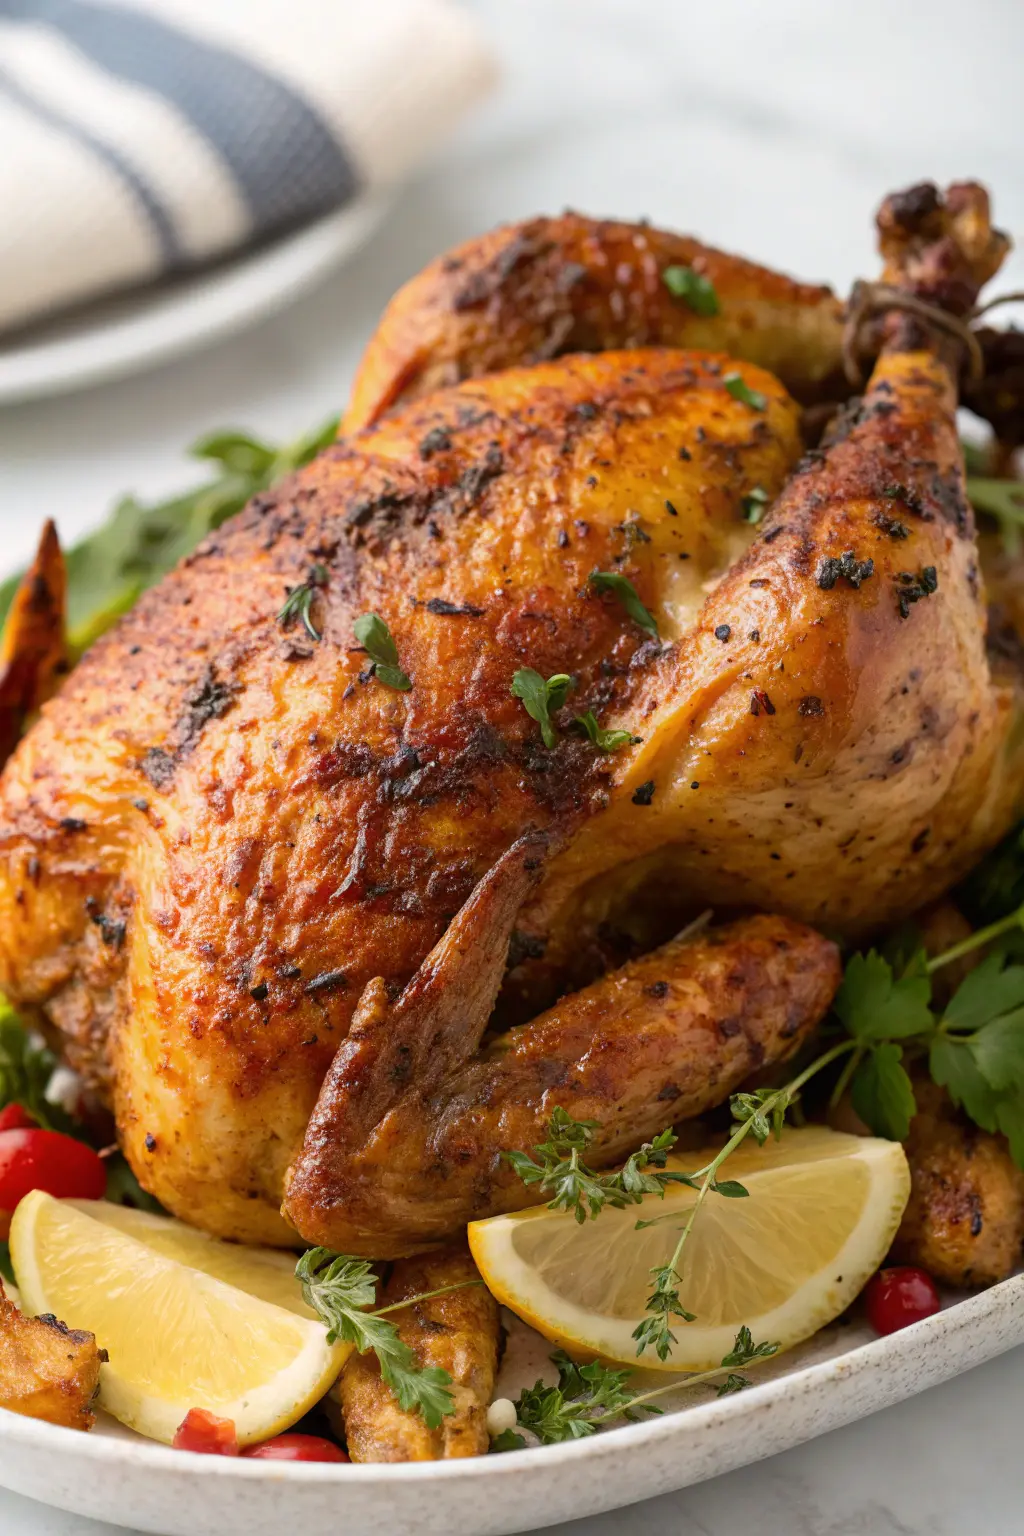
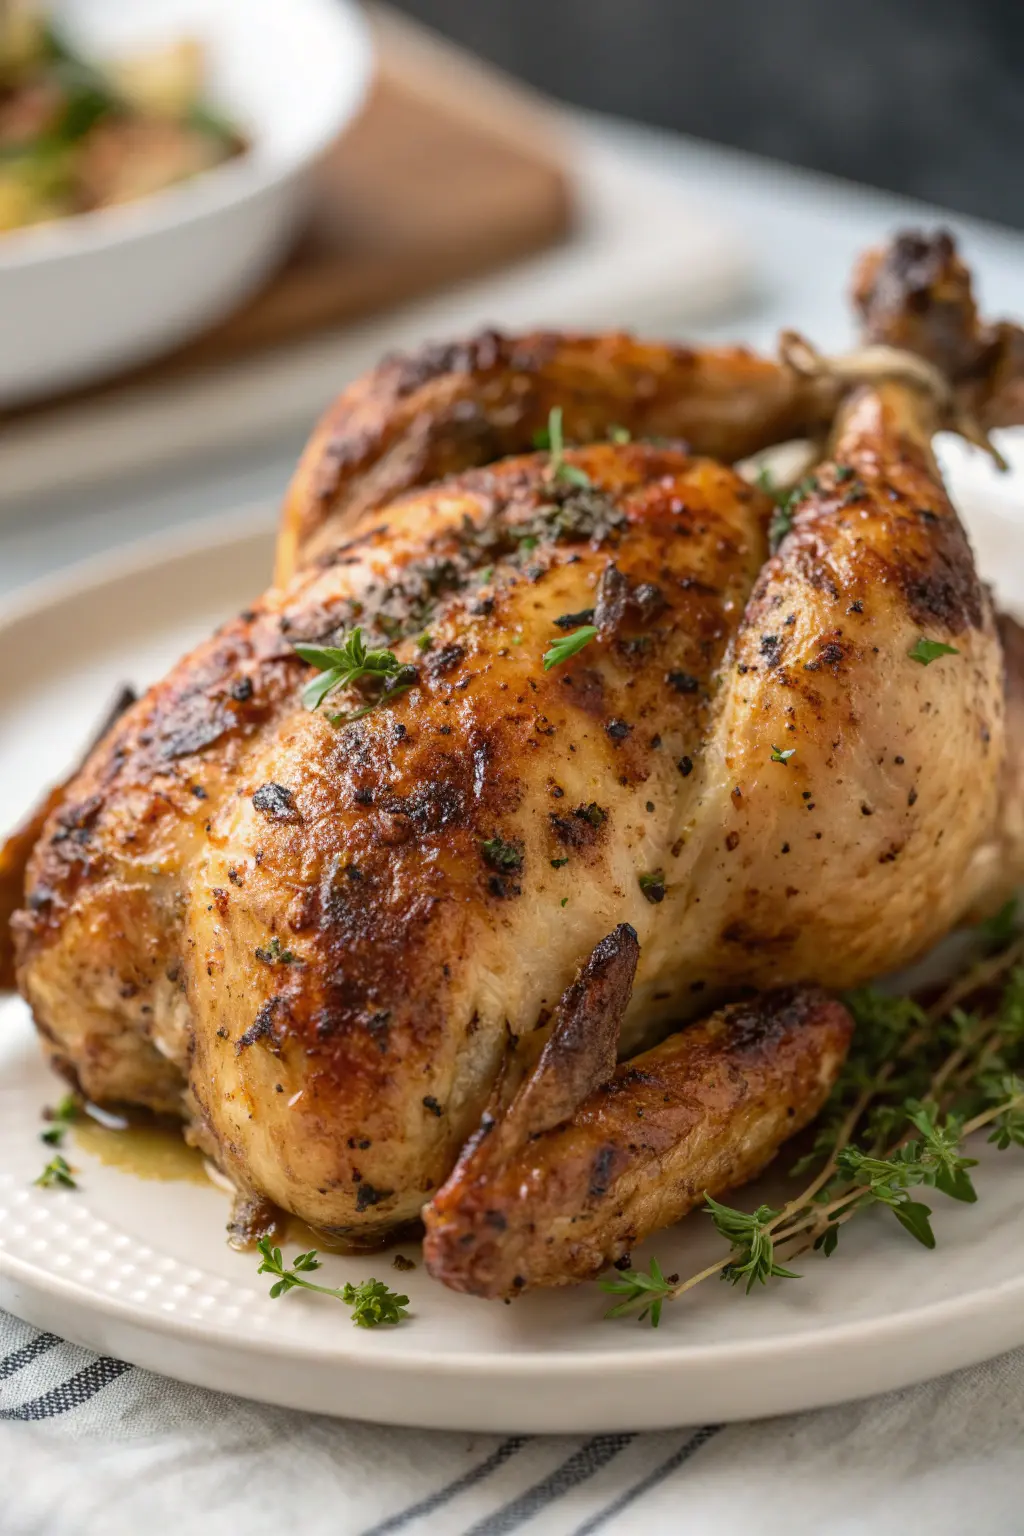
Air Fryer Chicken Emmer
Ingredients
Equipment
Method
- Rinse the emmer wheat under cold water. In a pot, combine the emmer and chicken broth. Bring to a boil, then reduce heat to low, cover, and simmer for 25 minutes until tender. Drain any excess liquid if needed.
- While the emmer cooks, preheat the air fryer to 380°F (190°C).
- Pat the chicken breasts dry with paper towels. In a bowl, mix the olive oil, garlic powder, onion powder, smoked paprika, salt, and pepper. Rub this mixture over the chicken breasts.
- Place the seasoned chicken breasts in the air fryer basket in a single layer. Cook at 380°F for 15 minutes.
- After 15 minutes, flip the chicken breasts and cook for an additional 10 minutes, or until the internal temperature reaches 165°F.
- Remove the chicken from the air fryer and let it rest for 5 minutes. Fluff the cooked emmer with a fork.
- Serve the chicken over a bed of emmer, garnished with fresh parsley if desired.