
There’s something about a homemade chicken pot pie that evokes a sense of warmth and comfort like nothing else. I remember the first time I made this dish for my family. It was a chilly Sunday afternoon, and the smell of buttery crust and creamy filling filled the kitchen, creating a cozy haven from the cold outside. The smiles and satisfied sighs around the table confirmed that this dish was a winner. It’s more than just a meal; it’s a hug in a dish, a true testament to the power of home-cooked food to bring people together and create lasting memories.
Why You’ll Love This Comforting Pot Pie
-
Hearty and Satisfying: This dish is packed with tender chicken, vibrant vegetables, and a rich, creamy sauce, all encased in a flaky, buttery crust. The combination of flavors and textures makes for a meal that is both filling and delightful, perfect for a wholesome family dinner. The hearty nature of the dish means it can stand alone as a complete meal, warming both body and soul with its comforting embrace. Each bite offers a balanced medley of savory elements that are sure to satisfy any craving.
-
Family-Friendly: Kids and adults alike love the comforting flavors of this pot pie. It’s a dish that brings everyone to the table. The familiar ingredients and classic taste ensure that even the pickiest eaters will enjoy it. This dish is perfect for family gatherings or casual weeknight dinners, and its universal appeal makes it a hit with guests of all ages. It’s a meal that not only fills the stomach but also warms the heart, encouraging shared moments and conversations around the table.
-
Versatile: You can easily adapt the ingredients based on what you have in your fridge, making it perfect for using up leftovers. Swap out the vegetables for what you have on hand—mushrooms, corn, or green beans all make excellent additions or substitutions. This flexibility allows you to customize the pot pie to suit your taste or dietary needs, making it as unique as your culinary creativity. It’s a wonderful way to experiment with flavors and textures, ensuring that each pot pie is a reflection of your personal taste.
-
Make-Ahead Friendly: Prepare it in advance and pop it in the oven when you’re ready, making dinner time stress-free. This flexibility is perfect for busy weeknights or when you’re entertaining guests. Having a dish you can prepare ahead of time can be a lifesaver, reducing stress and giving you more time to enjoy with your loved ones. It’s an effective way to ensure that you have a delicious meal ready to go, allowing you to focus on what truly matters—spending quality time with family and friends.
The Recipe
Prep Time: 30 minutes
Cook Time: 1 hour
Servings: 6
Calories: 450 per serving
Ingredients
- 2 cups cooked chicken, shredded
- 1 cup frozen peas
- 1 cup diced carrots
- 1 cup diced potatoes
- 1/2 cup chopped onions
- 1/4 cup butter
- 1/4 cup all-purpose flour
- 2 cups chicken broth
- 1 cup milk
- Salt and pepper, to taste
- Double pie crust (store-bought or homemade)
Instructions
-
Preheat your oven to 375°F (190°C). This ensures your pot pie cooks evenly and the crust becomes beautifully golden. Preheating the oven is a crucial step to ensure that the crust starts cooking immediately, promoting a flaky texture.
-
Prepare the filling: In a large skillet, melt the butter over medium heat. Add the onions, carrots, and potatoes, sautéing until they begin to soften, about 5 minutes. This step creates a flavorful base as the vegetables release their aroma and sweetness. The gentle cooking of the vegetables in butter enhances their natural flavors and creates a harmonious base for the sauce.
-
Make the sauce: Stir in the flour, and cook for an additional 2 minutes, then gradually whisk in the chicken broth and milk. Continue to whisk until the sauce thickens. Keep stirring to avoid lumps and ensure a smooth, velvety sauce. The key to a perfect sauce is patience—allowing it to cook slowly will yield a rich, creamy consistency.
-
Combine ingredients: Add the chicken, peas, salt, and pepper. Mix until everything is well combined. Remove from heat. The filling should be thick and creamy, enveloping each piece of chicken and vegetable. Taste and adjust seasoning as needed, adding more salt or pepper to achieve your desired flavor profile.
-
Assemble the pie: Roll out one pie crust into a pie dish. Pour the filling into the crust, then place the second crust over the top. Crimp the edges to seal and cut a few slits in the top to allow steam to escape. A well-sealed pie will keep the filling moist and prevent it from spilling out in the oven. Ensure the dough is pressed firmly against the rim of the dish to prevent leakage.
-
Bake: Place the pie in the oven and bake for about 45 minutes, or until the crust is golden brown. Let it cool slightly before serving. This cooling time allows the filling to set, making it easier to slice and serve without spilling. The resting period also allows the flavors to meld together, enhancing the overall taste.
Kitchen Tools You’ll Need
-
Large skillet: Essential for cooking the filling evenly. A heavy-bottomed skillet helps distribute heat evenly, preventing hot spots that could burn the sauce.
-
Whisk: Crucial for making a smooth, lump-free sauce. A good whisk is your best friend when it comes to integrating liquid gradually, ensuring a silky finish.
-
Rolling pin: To roll out the pie crust evenly. An even crust ensures consistent cooking and a uniform texture throughout the pie.
-
Pie dish: The vessel that holds your delicious creation. Choose a dish that is deep enough to hold all the filling without spilling over.
-
Oven mitts: Protect your hands when handling hot dishes. Safety in the kitchen is paramount, and a good pair of oven mitts can prevent accidents.
The Benefits of Each Ingredient
-
Chicken: A great source of protein, keeping you full and satisfied. Opt for leftover roast chicken or rotisserie for added flavor. Chicken is lean and versatile, providing the bulk of the dish while absorbing the flavors of the sauce beautifully.
-
Vegetables (peas, carrots, potatoes): Add color, texture, and essential vitamins like Vitamin A and C. They contribute to the dish’s nutritional value while enhancing its taste and appearance. Each vegetable brings its own unique texture and flavor, making every bite a delightful experience.
-
Butter and Flour: Create a rich roux for the sauce, giving the filling its creamy texture. Butter adds richness, while flour thickens the sauce to perfection. The roux is the cornerstone of the sauce, providing the creamy backbone that brings all the other elements together.
-
Chicken Broth: Enhances the flavor, adding depth to the dish. Use low-sodium broth for a healthier option, or homemade broth for an even richer taste. The broth infuses the entire pie with a savory depth that complements the mild flavors of the chicken and vegetables.
-
Pie Crust: The buttery, flaky crust encases the filling, making every bite a delightful experience. Whether store-bought or homemade, the crust is a crucial element that ties the dish together. The texture contrast between the crust and filling is what makes pot pie truly special.
What to Serve With This Pot Pie
This chicken pot pie pairs beautifully with a simple green salad dressed in a light vinaigrette. The freshness of the salad complements the richness of the pie. For a heartier option, serve it alongside roasted Brussels sprouts or steamed green beans. These vegetables add a touch of brightness and crunch. If you’re in the mood for something indulgent, buttery mashed potatoes are a perfect match, providing a soft and creamy texture that enhances the comforting nature of the meal. Consider adding a glass of crisp white wine or a refreshing iced tea to round out the meal, enhancing the dining experience with each sip.
Storage & Leftover Tips
Leftover pot pie can be stored in the fridge for up to three days. Simply cover it with foil or plastic wrap to maintain its freshness. To reheat, cover the pie with foil and bake in a preheated oven at 350°F (175°C) for about 20 minutes, or until heated through. This method helps retain the pie’s moisture and prevents the crust from burning. For longer storage, you can freeze the pot pie before baking. Just assemble it, wrap it tightly, and freeze. When ready to eat, bake straight from the freezer, adding about 15 minutes to the cooking time. This is perfect for planning ahead and having a delicious meal ready at a moment’s notice. Proper storage techniques ensure that you can enjoy the pot pie’s flavors and textures even days after it’s made, minimizing waste and maximizing convenience.
Creating this classic chicken pot pie is like sharing a piece of my heart with you. I hope it brings as much joy to your table as it has to mine. Remember, cooking is all about love and a little bit of patience. Enjoy every step of the process and the delicious reward at the end!
Air Fryer Chufa
Ingredients
Equipment
Method
- Rinse the chufa under cold water to remove any dirt or impurities.
- Soak the chufa in water for 8-12 hours. Drain and pat dry.
- Preheat the air fryer to 380°F (190°C).
- In a bowl, toss the soaked chufa with olive oil, sea salt, and smoked paprika until evenly coated.
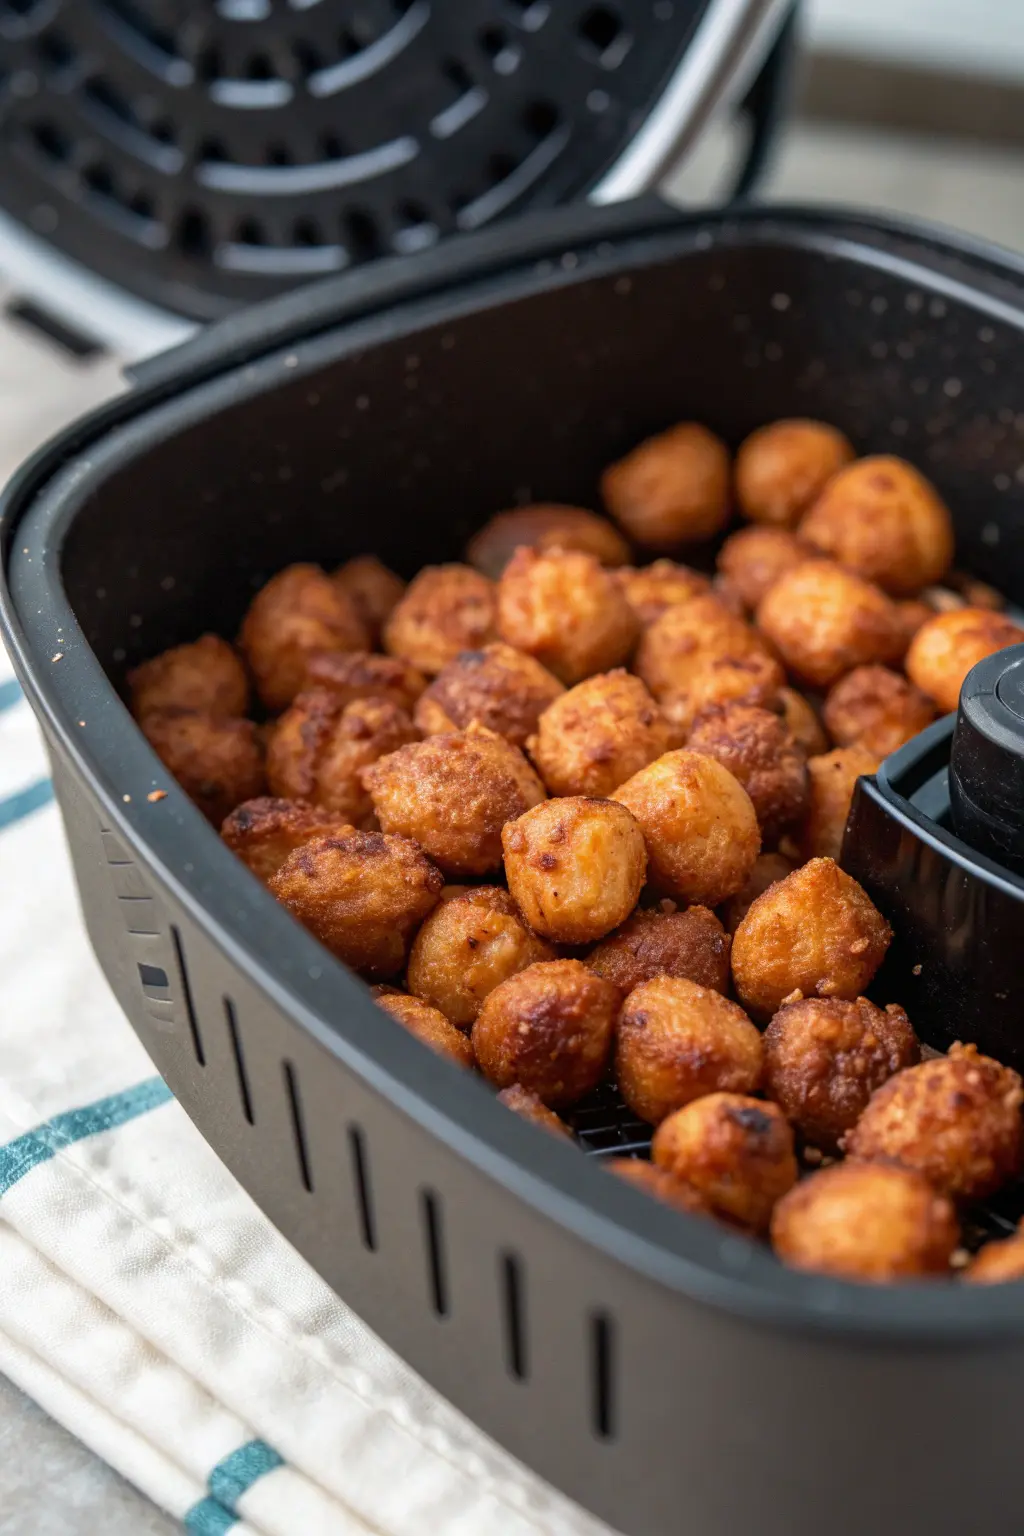
- Place the chufa in a single layer in the air fryer basket.
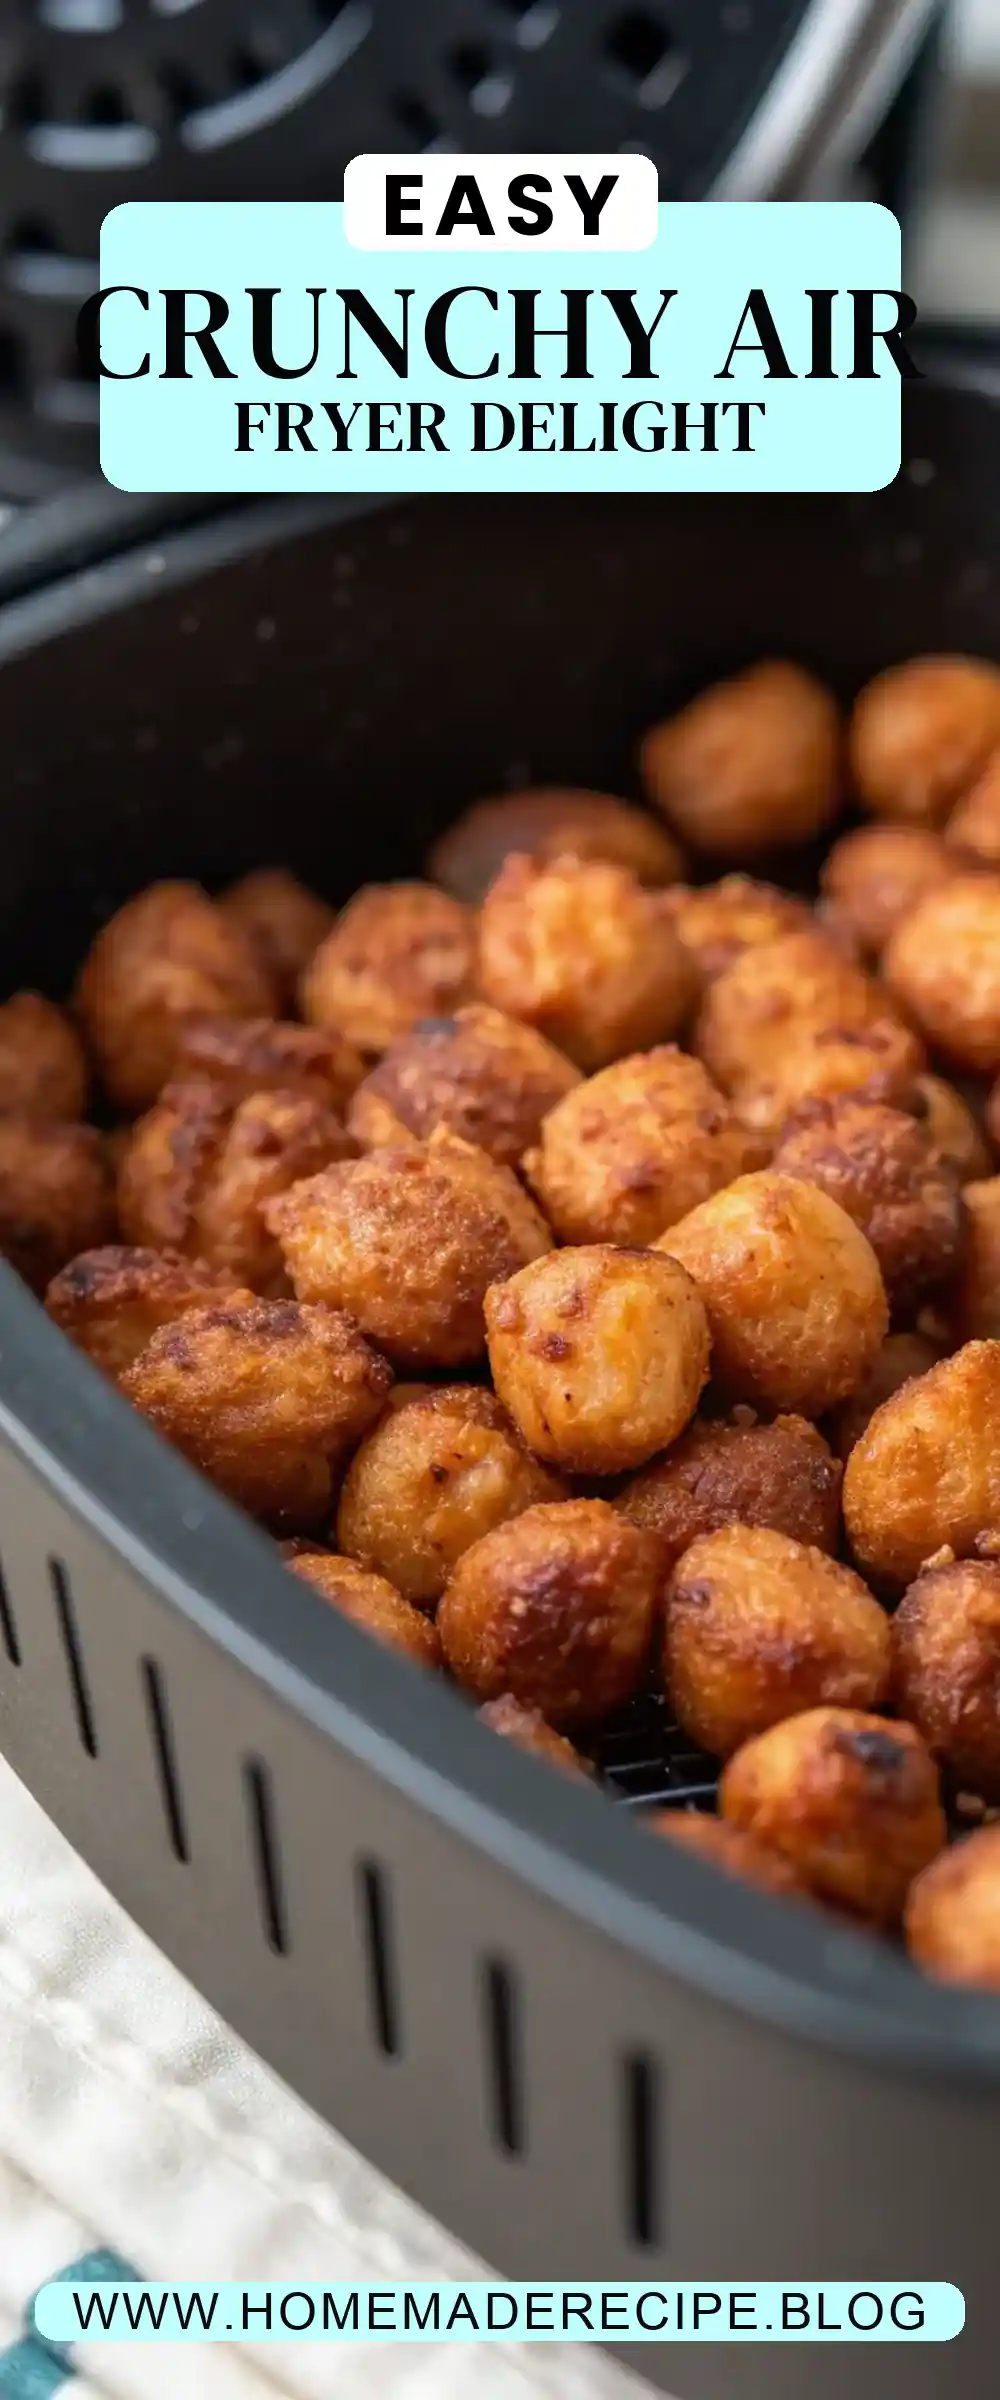
- Air fry for 15-20 minutes, shaking the basket halfway through for even cooking, until they are golden brown and crispy.
- Remove from the air fryer and let cool slightly before serving.