
When the leaves begin to fall and the air turns crisp, there’s nothing quite like the comfort of a warm, homemade Chicken Pot Pie to bring the family together. I remember the first time I made this dish; my kitchen was filled with the aroma of buttery crust and savory filling, and it instantly transported me back to Sunday dinners at my grandmother’s house. She’d always have a pot pie bubbling away in the oven, ready to warm our hearts and bellies. Today, I’m sharing this cherished recipe with you, hoping it becomes a beloved staple in your home too.
Why You’ll Love This Comforting Pie
- Ultimate Comfort Food: This Chicken Pot Pie is the epitome of comfort food, perfect for chilly evenings. The combination of a flaky homemade crust and a creamy, savory filling is sure to satisfy and bring comfort. The warm, inviting aroma that fills your kitchen as it bakes is reason enough to fall in love with this dish.
- Family-Friendly Meal: Kids and adults alike will enjoy the creamy filling and tender chicken. It’s a dish that pleases even the pickiest of eaters, making it a reliable choice for family dinners. The familiar flavors and textures are reminiscent of childhood favorites, ensuring everyone leaves the table satisfied.
- Make-Ahead Friendly: Prepare parts of the dish in advance to save time on busy days. You can make the crust and filling separately and store them until you’re ready to assemble and bake. This flexibility allows you to enjoy a homemade meal without the stress of last-minute preparation.
- Versatile Ingredients: Easily swap out vegetables or add your family’s favorites. This recipe is forgiving, allowing you to customize it with ingredients you have on hand or love. Whether you prefer mushrooms, corn, or green beans, the pot pie adapts beautifully to your tastes.
- Homemade Goodness: There’s nothing like a homemade pie crust to make you feel like a kitchen hero. The effort of making your own dough is rewarded with a crust that’s both tender and crisp. It’s an opportunity to refine your baking skills and take pride in creating something from scratch.
The Recipe
Prep Time: 30 minutes
Cook Time: 45 minutes
Servings: 6
Calories: 450 per serving
Ingredients
- For the Crust:
- 2 1/2 cups all-purpose flour
- 1 cup unsalted butter, chilled and diced
- 1 teaspoon salt
- 1 teaspoon sugar
-
6-8 tablespoons ice water
-
For the Filling:
- 1 pound boneless, skinless chicken breasts, cubed
- 1 cup sliced carrots
- 1 cup frozen peas
- 1/2 cup sliced celery
- 1/3 cup butter
- 1/3 cup chopped onion
- 1/3 cup all-purpose flour
- 1/2 teaspoon salt
- 1/4 teaspoon black pepper
- 1/4 teaspoon celery seed
- 1 3/4 cups chicken broth
- 2/3 cup milk
Instructions
-
Prepare the Crust:
In a large bowl, combine flour, salt, and sugar. Cut in butter until the mixture resembles coarse crumbs. Stir in water, a tablespoon at a time, until the dough forms a ball. Wrap in plastic and refrigerate for at least 4 hours or overnight. This chilling process is crucial as it helps relax the gluten in the flour, making the dough easier to roll out and less likely to shrink during baking. A well-chilled dough is also easier to handle and results in a flakier crust. -
Make the Filling:
Preheat the oven to 425°F (220°C). In a saucepan, combine chicken, carrots, peas, and celery. Add water to cover and boil for 15 minutes. Remove from heat, drain, and set aside. Boiling the chicken with the vegetables ensures that the meat stays juicy and the vegetables are perfectly tender. You can also add a bay leaf or a sprig of thyme to the boiling water for extra flavor. -
Create the Sauce:
In another saucepan, cook onions in butter until soft and translucent. Stir in flour, salt, pepper, and celery seed. Slowly stir in chicken broth and milk. Simmer over medium-low heat until thick. Remove from heat and set aside. This sauce is what ties everything together, providing the creamy base that elevates the flavors of the filling ingredients. To prevent lumps, whisk continuously as you add the liquids to the roux, ensuring a smooth, velvety sauce. -
Assemble the Pie:
Roll out the dough to fit a 9-inch pie plate. Place the chicken mixture in the bottom, then pour the sauce over the mixture. Cover with the top crust, seal edges, and cut away excess dough. Make several small slits in the top to allow steam to escape. The steam vents are crucial to prevent the crust from becoming soggy. For a decorative touch, use cookie cutters to create shapes from the excess dough and place them on top before baking. -
Bake:
Bake in the preheated oven for 30 to 35 minutes, or until pastry is golden brown and filling is bubbly. Cool for 10 minutes before serving. Allowing the pie to cool slightly before serving helps the filling set up properly, making it easier to slice and serve. A perfectly baked pie will have a crust that is golden and crisp, with a filling that is hot and flavorful.
Kitchen Tools You’ll Need
- Pie plate: A 9-inch pie plate is ideal for this recipe, providing the perfect size for the amount of filling and crust. Consider using a glass or ceramic pie plate, which evenly distributes heat and helps achieve a consistently baked crust.
- Rolling pin: Essential for rolling out your homemade dough evenly. A chilled rolling pin can help prevent the dough from sticking, making the process smoother.
- Saucepan: You’ll need one for boiling the chicken and vegetables and another for making the sauce. Having a few saucepans on hand allows you to multitask efficiently.
- Large bowl: Useful for mixing the pie dough and combining ingredients. A wide, shallow bowl gives you plenty of room to work the dough without making a mess.
- Knife and cutting board: For preparing the chicken and vegetables. A sharp knife ensures clean cuts, which help the ingredients cook evenly.
The Benefits of Each Ingredient
- Chicken: Provides lean protein, making this dish hearty and satisfying. It’s a great source of essential amino acids and contributes to the meal’s overall nutritional value. Opt for organic or free-range chicken for the best flavor and ethical considerations.
- Carrots and Peas: Add color, sweetness, and essential vitamins. Carrots are rich in beta-carotene, while peas offer a good source of fiber and protein. These vegetables not only enhance the nutritional profile but also add textural contrast.
- Butter: Gives the crust its flaky texture while adding richness to the filling. The fat content in butter is crucial for achieving that melt-in-your-mouth crust texture. Use high-quality, unsalted butter to control the sodium level and enhance the buttery flavor.
- Onion: Offers a subtle sweetness and depth of flavor. Onions also contain antioxidants and compounds that provide health benefits. The caramelization of onions in butter increases their sweetness and complexity, adding layers of flavor to the pie.
- Celery Seed: Enhances the savory notes, making the dish aromatic and inviting. It adds a unique flavor that complements the other ingredients beautifully. Celery seed is a small but mighty addition, offering a burst of flavor that ties the dish together.
What to Serve With This Hearty Pie
Pair this Chicken Pot Pie with a simple green salad dressed with a light vinaigrette to balance the richness of the pie. The crispness of a fresh salad provides a refreshing contrast to the creamy, warm pie. For a complete meal, add a side of mashed potatoes or roasted vegetables. A crisp, chilled glass of white wine or apple cider complements the flavors beautifully. The acidity of a Sauvignon Blanc or a tart apple cider can cut through the richness of the pie, enhancing the overall dining experience. Consider serving a warm, crusty bread alongside to soak up any leftover sauce.
Storage & Leftover Tips
Store leftover pie in the refrigerator for up to 3 days, covered tightly with foil or plastic wrap. To reheat, place in a preheated oven at 350°F (175°C) until warmed through, about 15-20 minutes. Using the oven to reheat helps maintain the pie’s crispy crust. You can also freeze the pie before baking; just be sure to wrap it well to prevent freezer burn. When ready to enjoy, bake straight from the freezer, adding an extra 20-30 minutes to the cooking time. Freezing the pie is a great way to have a homemade meal ready for those days when time is tight. For best results, allow the pie to cool completely before freezing, and label it with the date to keep track of freshness.
In the hustle and bustle of daily life, it’s comforting to have a recipe like this Chicken Pot Pie in your repertoire—something that’s not only delicious but also evokes a sense of home and togetherness. Whether you’re making it for a special occasion or a simple family dinner, I hope it brings warmth and happiness to your table. Happy cooking!
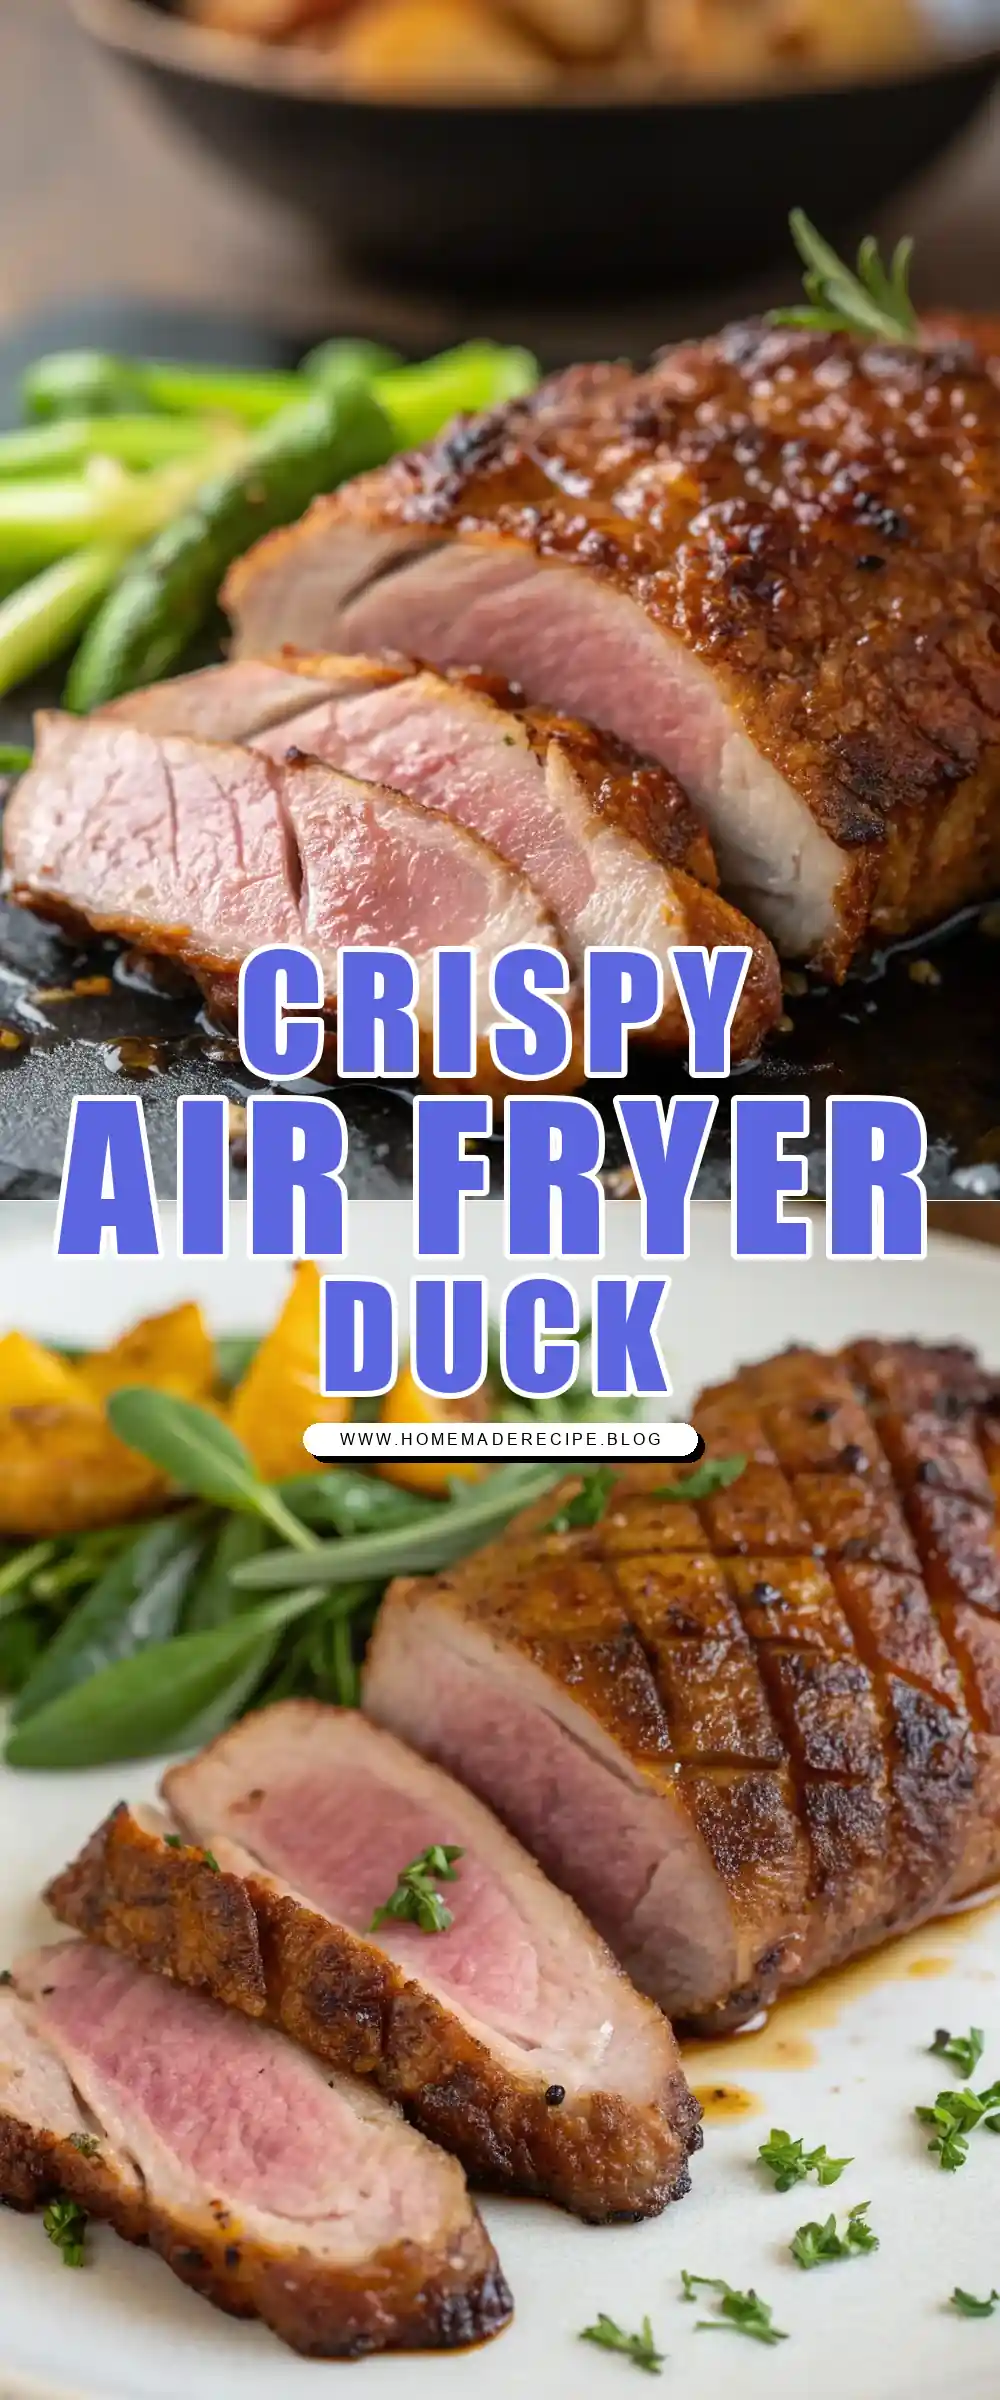

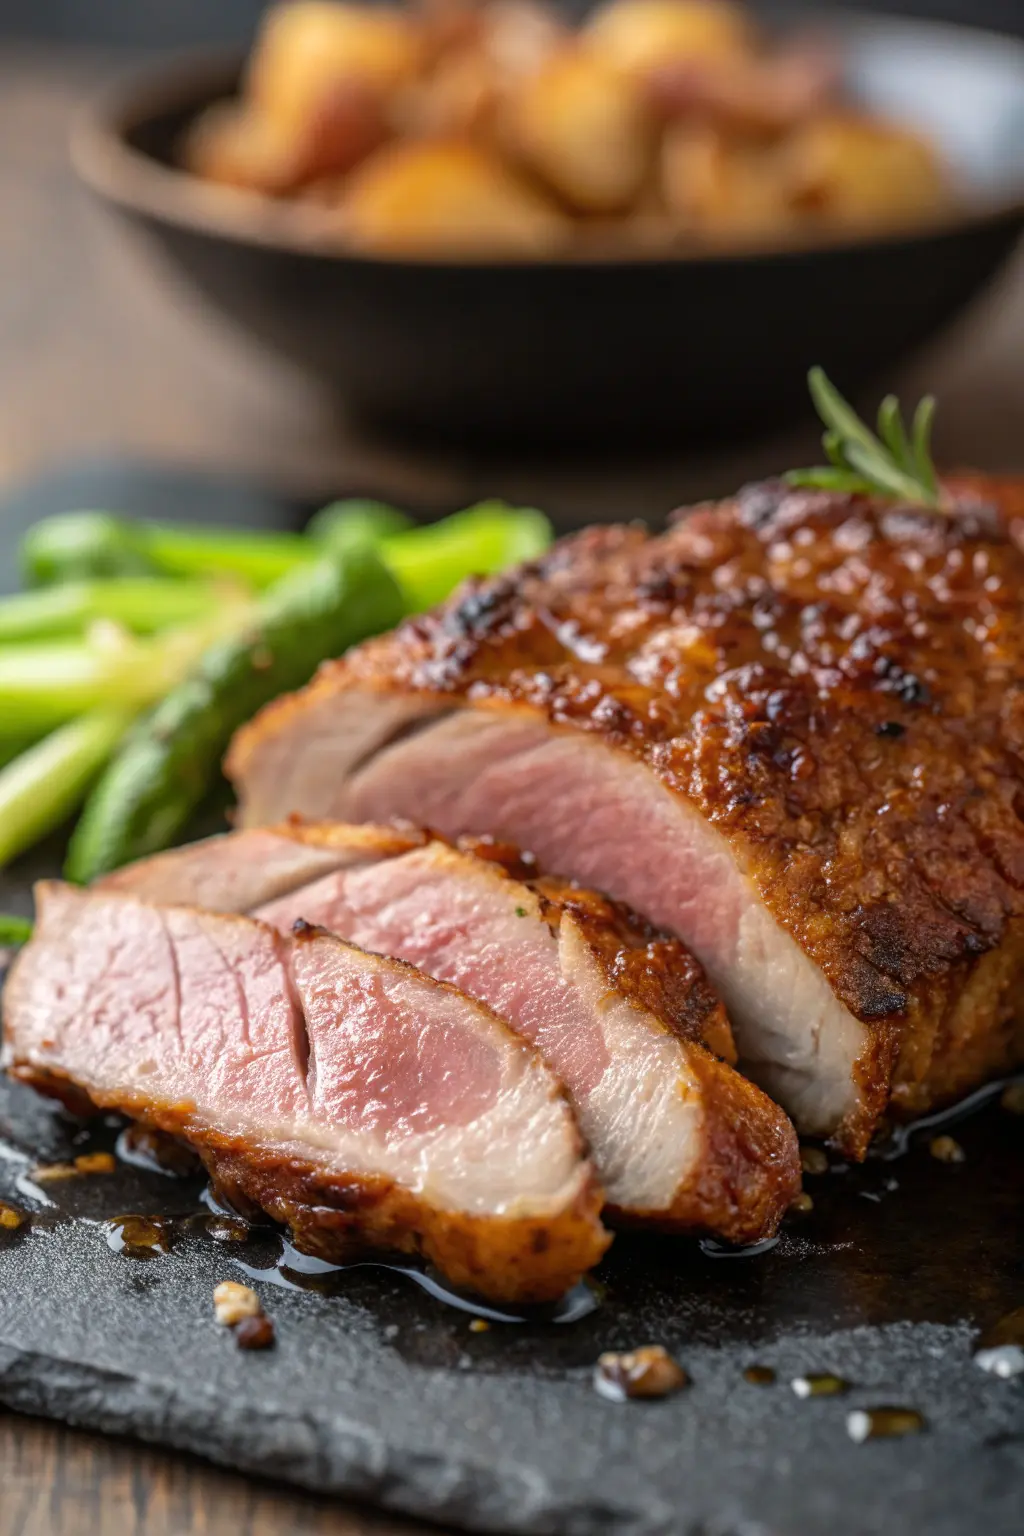
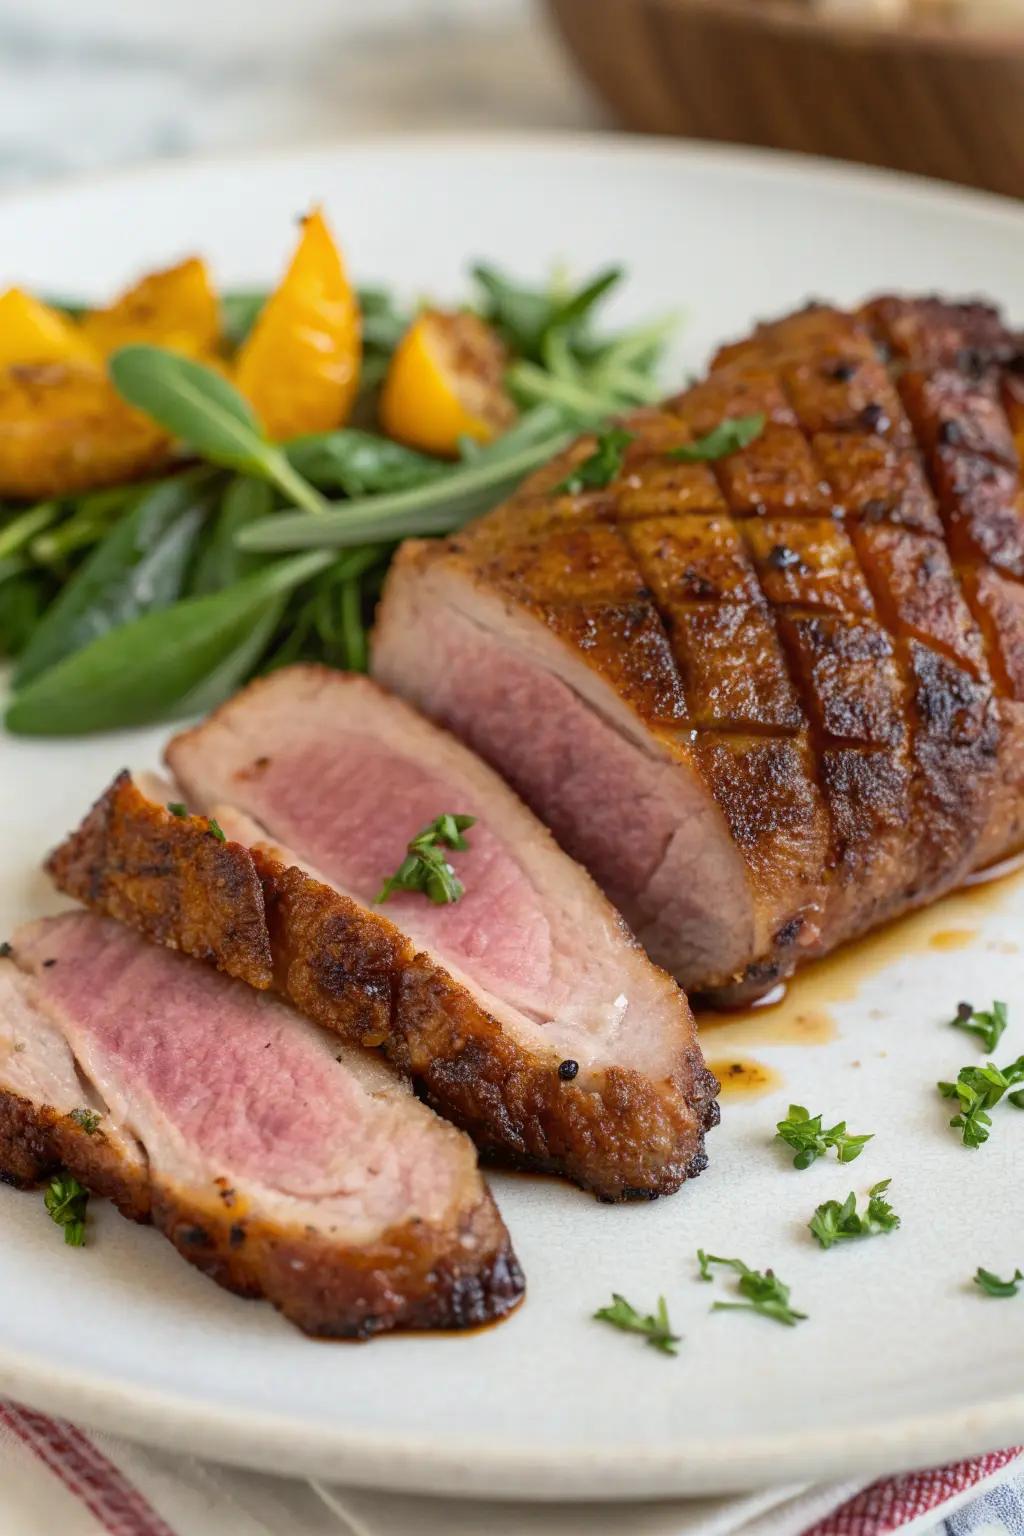
Air Fryer Duck Breast
Ingredients
Equipment
Method
- Preheat the air fryer to 400°F (200°C) for about 5 minutes.
- Score the skin of each duck breast in a crosshatch pattern, being careful not to cut into the meat.
- Season both sides of the duck breasts generously with salt and black pepper. Drizzle with olive oil and rub it into the skin.
- Place the duck breasts skin-side down in the air fryer basket. Cook for 8 minutes.
- After 8 minutes, flip the duck breasts so they are skin-side up and cook for an additional 7 minutes, or until the internal temperature reaches 135°F (57°C) for medium-rare.
- Remove the duck breasts from the air fryer and let them rest for 5 minutes before slicing.