

There’s something undeniably comforting about a classic Chicken Parmesan, especially when it’s made with fresh basil and a hearty tomato sauce. This dish takes me back to Sunday dinners at my grandmother’s house, where the aroma of bubbling tomato sauce and melting mozzarella would fill the air, making everyone eagerly gather around the table. The nostalgia associated with this dish makes it more than just a meal; it’s a cherished memory served on a plate. Today, I’m excited to share my own version of this beloved recipe with you, perfect for a cozy family dinner or a special gathering. The combination of flavors and textures in this dish makes it a timeless classic that never fails to impress.
Why You’ll Love This Comforting Dish
Chicken Parmesan is not just about its taste; it’s about the memories and feelings it evokes. Here are a few reasons why this dish stands out:
-
Simple Ingredients: You probably have most of the ingredients in your pantry already, making it a convenient option for busy evenings. Stocking up on basics such as flour, eggs, and breadcrumbs means you’ll rarely find yourself unable to whip up this dish. Furthermore, these staples are incredibly versatile and can be used in a variety of other recipes, making them a valuable addition to any pantry. These ingredients not only simplify the preparation process but also ensure that you can enjoy a homemade meal without the hassle of a trip to the store.
-
Kid-Friendly: This dish is a hit with children and adults alike, thanks to the crispy chicken and gooey cheese. Even the fussiest eaters can’t resist a hearty serving of Chicken Parmesan, making it a reliable choice for family dinners. The mild flavors are approachable and universally appealing, often becoming a go-to favorite for picky eaters. Its familiar taste can make even the most hesitant diners feel at ease, transforming dinnertime into a joyful experience.
-
Quick to Prepare: With a prep time of just 15 minutes, you can have this classic on the table in no time. The quick cooking time doesn’t compromise the flavor, ensuring you get a delicious meal without a long wait. This makes it ideal not only for weeknight dinners but also for last-minute gatherings where you want to impress without stress. It’s perfect for those nights when you need a comforting meal but are short on time.
-
Versatile Serving Options: Pair it with pasta, salad, or crusty bread for a complete meal. The flexibility in side dishes allows you to cater to various dietary preferences or simply use what you have on hand. You can also experiment with different pasta shapes or add a side of roasted vegetables for a more balanced meal. This adaptability means you can tailor the dish to suit different occasions, from casual weeknights to festive celebrations.
-
Leftover Magic: Tastes even better the next day, perfect for lunch or a quick dinner. The flavors meld beautifully overnight, giving you a second meal that’s as delightful as the first. Plus, the ease of reheating makes it a convenient option for meal prep enthusiasts. Having leftovers ensures that the deliciousness extends beyond one meal, providing comfort and satisfaction when time is tight.
The Recipe
Prep Time: 15 minutes
Cook Time: 25 minutes
Servings: 4
Calories: 450 per serving
Ingredients
- 4 boneless, skinless chicken breasts
- 1 cup all-purpose flour
- 2 large eggs, beaten
- 1 cup breadcrumbs
- 1 cup grated Parmesan cheese
- 2 cups marinara sauce
- 2 cups shredded mozzarella cheese
- Fresh basil leaves, for garnish
- Salt and pepper, to taste
- Olive oil, for frying
Instructions
- Prepare the Chicken: Preheat your oven to 400°F (200°C). Season the chicken breasts with salt and pepper. Dredge each breast in flour, dip in the beaten eggs, and then coat with a mixture of breadcrumbs and Parmesan cheese. This three-step coating process ensures a crispy exterior that seals in the juices, keeping the chicken tender.
- Tip: For an extra crunchy texture, consider using panko breadcrumbs. They tend to stay crispier than traditional breadcrumbs during the baking process. This small change can elevate the dish from great to exceptional.
- Fry the Chicken: In a large skillet, heat olive oil over medium-high heat. Fry the chicken breasts until golden brown and crispy, about 3-4 minutes per side. Transfer to a baking dish. Frying the chicken before baking gives it a crunchy crust that holds up well under the sauce and cheese.
- Tip: Avoid overcrowding the pan when frying. This ensures even cooking and helps maintain the oil’s temperature, which is crucial for achieving a golden crust. A well-heated pan is key to achieving the perfect sear.
- Assemble the Dish: Pour marinara sauce over the fried chicken breasts. Sprinkle shredded mozzarella cheese evenly over the top. The balance of marinara and cheese is crucial; too much sauce can make the dish soggy, while too little may lead to dryness.
- Tip: For a richer flavor, add some crushed garlic to the marinara sauce or sprinkle a little extra Parmesan on top of the mozzarella before baking. These small touches can enhance the depth of flavor significantly.
- Bake: Place the dish in the preheated oven and bake for 15 minutes or until the cheese is bubbly and golden brown. Baking allows the cheese to melt perfectly, forming a delicious, gooey topping that everyone loves.
- Tip: If you prefer a slightly browned top, switch to the broiler for the last 2 minutes of baking. Keep a close eye on it to prevent burning. The broiler can transform the cheese into a beautifully caramelized layer.
- Garnish and Serve: Remove from the oven and let it cool slightly. Garnish with fresh basil leaves before serving. The fresh basil not only adds a pop of color but also a hint of freshness that complements the rich flavors.
- Tip: If fresh basil is not available, a sprinkle of dried Italian herbs can be a good substitute, though fresh herbs are always preferable for their vibrant flavor. The aromatic touch of basil elevates the entire dish.
Kitchen Tools You’ll Need
-
Large Skillet: Essential for frying the chicken to a perfect golden brown. A non-stick skillet can make this process easier and reduce the need for excess oil. The right skillet can make all the difference in achieving that perfect crust.
-
Baking Dish: Use a dish that’s large enough to hold all chicken breasts in a single layer. This ensures even cooking and prevents the cheese from sticking too much to the sides. A high-quality baking dish can improve heat distribution.
-
Shallow Bowls for Dredging: Makes it easier to coat the chicken evenly with flour, eggs, and breadcrumbs. Using shallow bowls or plates helps streamline the coating process and minimizes mess.
-
Tongs: Helpful for turning the chicken while frying and transferring them to the baking dish. Tongs provide better control than a fork and help keep the coating intact. They are an essential tool for precision handling.
-
Oven-safe Thermometer (Optional): Ensures the chicken is cooked to the right temperature, providing peace of mind, especially for beginners. Insert the thermometer into the thickest part of the chicken to check doneness.
The Benefits of Each Ingredient
Understanding the role of each ingredient can enhance your cooking experience:
-
Chicken Breasts: Protein-rich and low in fat, providing the main substance to the dish. Opt for organic or free-range chicken for better flavor and quality. These choices often result in more tender and juicier meat. Choosing high-quality chicken can make a noticeable difference in taste and texture.
-
Parmesan and Mozzarella Cheese: Add creaminess and flavor; Parmesan gives a nutty taste, while mozzarella offers that melt-in-your-mouth texture. Use freshly grated Parmesan for the best taste, as pre-grated versions can contain anti-caking agents that affect melting.
-
Marinara Sauce: Provides a rich, tangy base that complements the crispy chicken. Making your own marinara can elevate the dish, but good quality store-bought versions work well too. Look for sauces with simple, natural ingredients for the best flavor. A homemade marinara can add a personal touch and depth of flavor.
-
Fresh Basil: Adds a fresh, aromatic finish, enhancing the dish’s overall flavor profile. If basil is unavailable, consider using parsley or a sprinkle of Italian seasoning. Basil’s vibrant flavor is unmatched, but these alternatives can still add depth.
What to Serve With This Classic Dish
Pair your Chicken Parmesan with a side of spaghetti tossed in olive oil and garlic, or a fresh green salad for a lighter option. For a more indulgent meal, serve it with buttery garlic bread to soak up the delicious sauce. Check out my Homemade Garlic Bread recipe for a perfect pairing option. To add a touch of elegance, consider serving it with a chilled glass of white wine, such as Chardonnay or Sauvignon Blanc, which complements the rich flavors of the dish beautifully. The right wine can elevate the meal into a gourmet experience.
- Tip: A simple side of steamed vegetables or sautéed spinach can add a healthy contrast to the richness of the Chicken Parmesan. This balance of flavors makes for a more complete and satisfying meal.
Storage & Leftover Tips
Store any leftovers in an airtight container in the refrigerator for up to three days. To reheat, place it in a 350°F oven until warmed through, or use a microwave if you’re in a hurry. For longer storage, freeze the
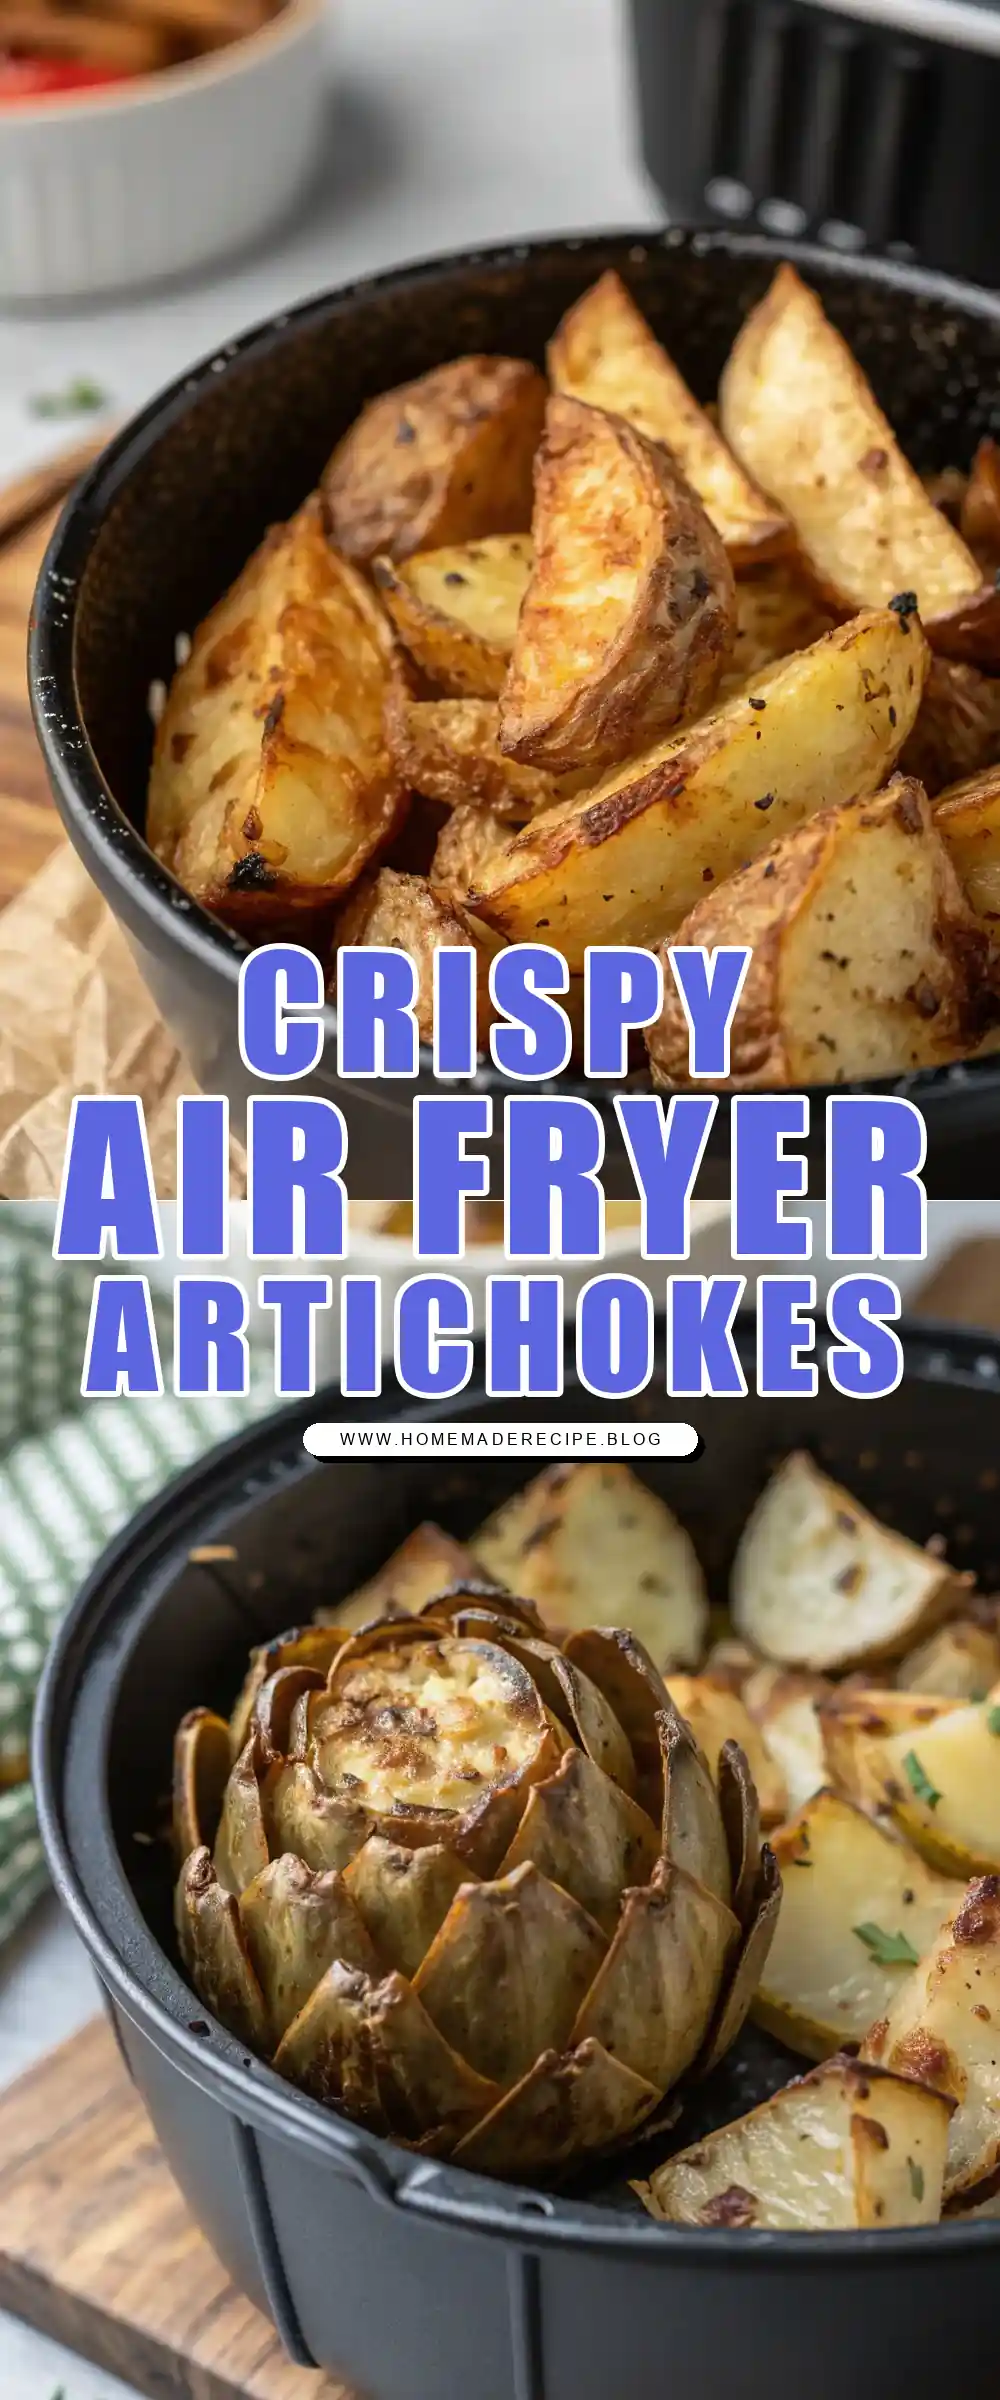
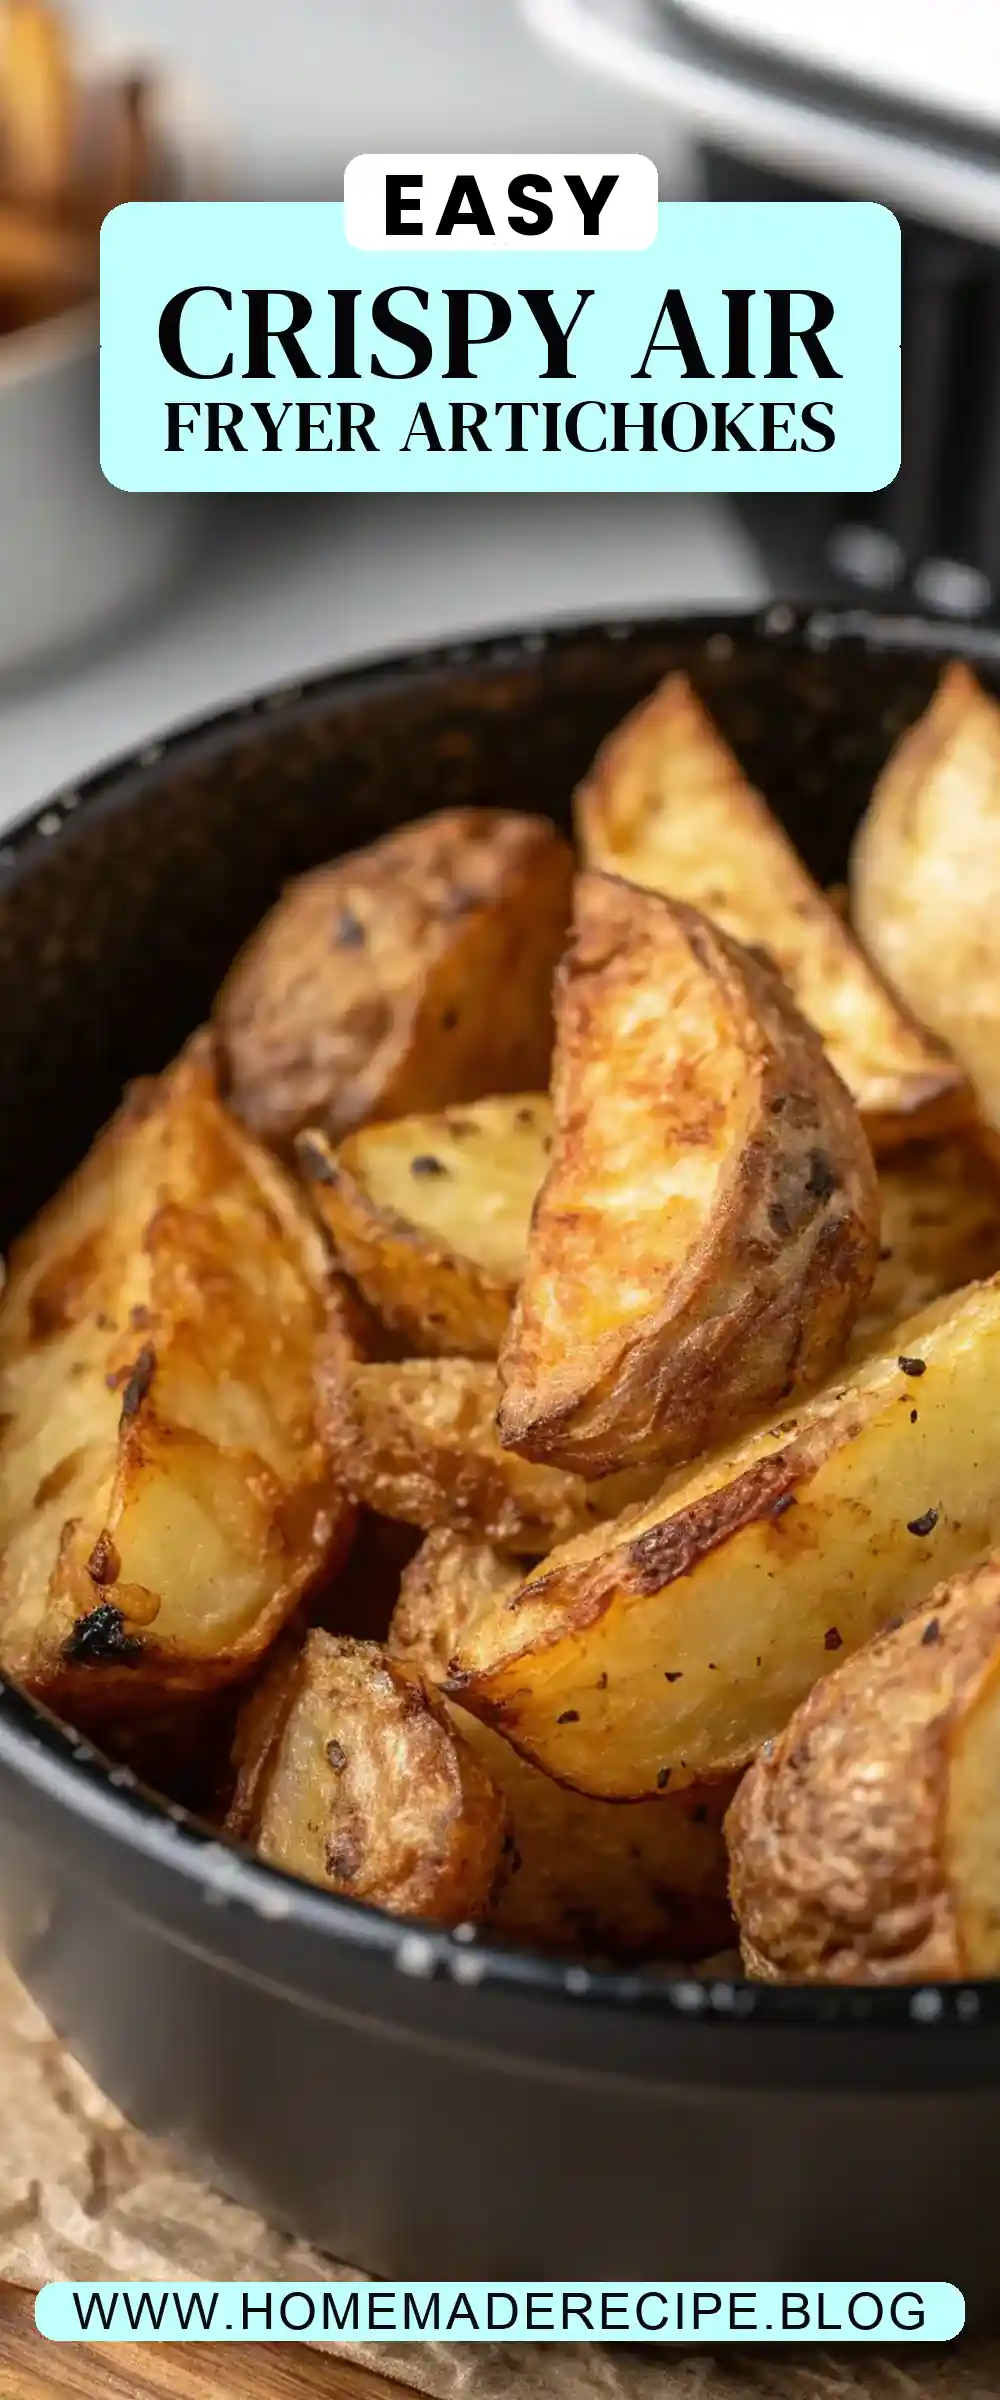
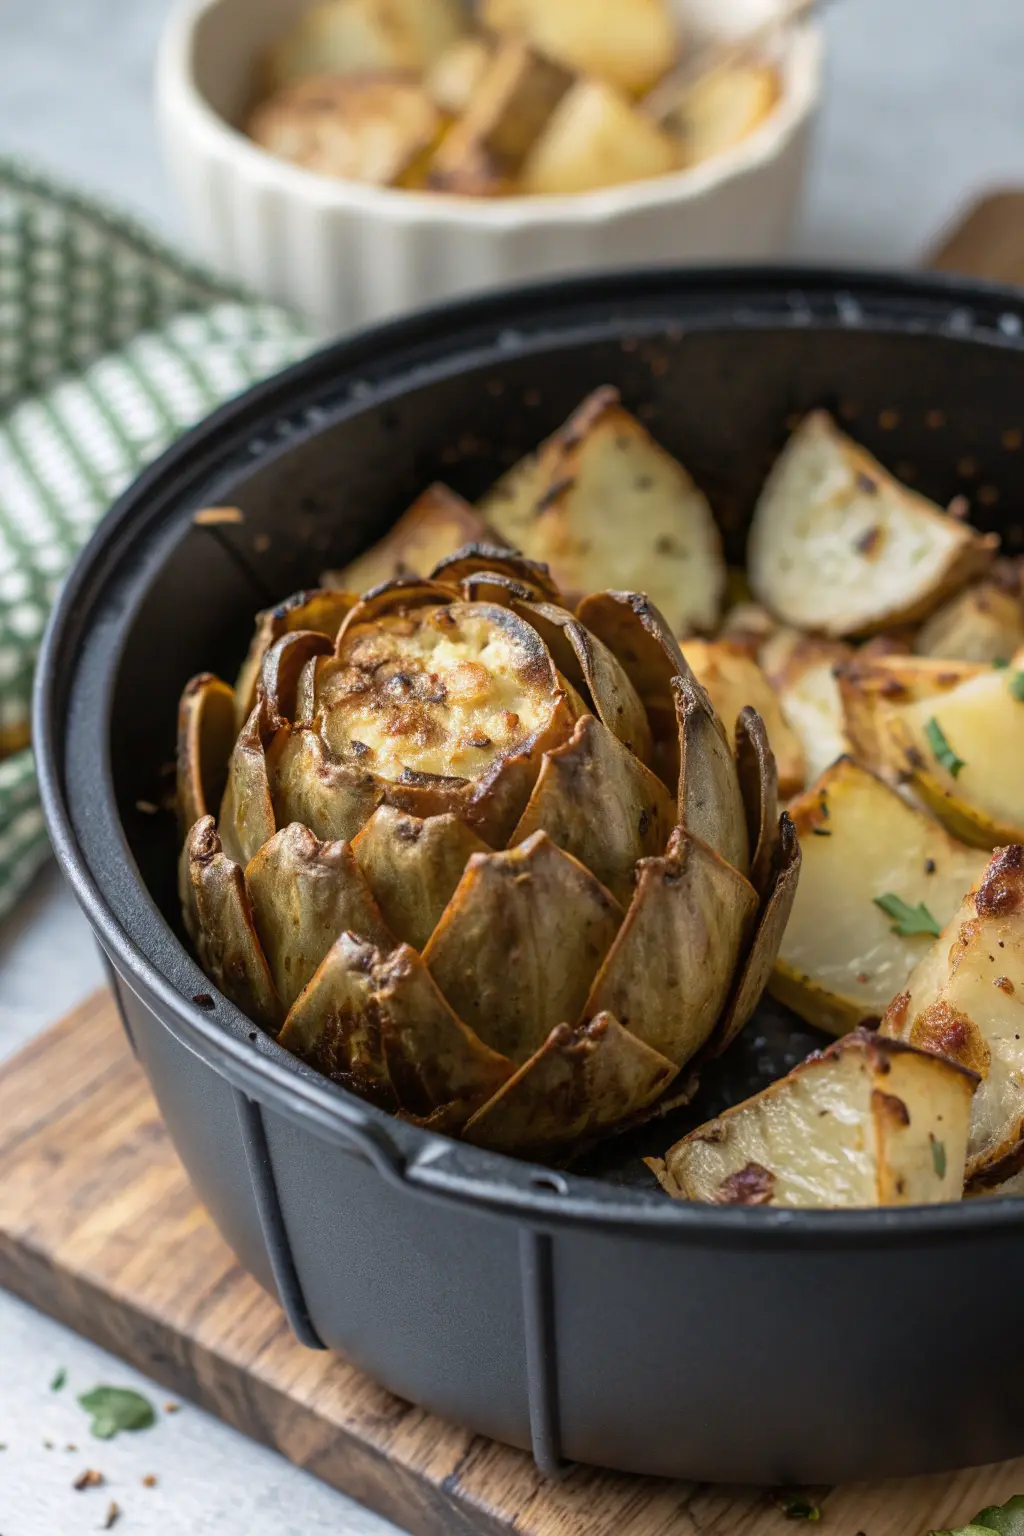
Air Fryer Jerusalem Artichoke
Ingredients
Equipment
Method
- Cut the Jerusalem artichokes into even-sized pieces, about 1 inch thick, to ensure even cooking.
- In a bowl, toss the cut artichokes with olive oil, salt, pepper, garlic powder, and herbs (if using) until evenly coated.
- Preheat the air fryer to 400°F (200°C) for 3 minutes.
- Place the coated artichokes in the air fryer basket in a single layer, making sure they are not overcrowded.
- Cook for 25 minutes, shaking the basket halfway through for even cooking.
- Check for tenderness; they should be golden and crispy on the outside. If needed, cook for an additional 5 minutes.
- Serve warm as a side dish or snack.