
There’s something truly comforting about the aroma of a homemade chicken pot pie wafting through the house. It’s a dish that has graced my family table for as long as I can remember. The rich, creamy filling and buttery, flaky crust make it a meal that feels like a warm hug on a chilly day. I recall my grandmother making pot pie on Sunday afternoons, her kitchen filled with laughter and the promise of a delicious meal. It’s these cherished memories that make this dish so special to me, and I am thrilled to share my favorite version with you today.
Why You’ll Love This Chicken Pot Pie
- Comfort Food at Its Best: This chicken pot pie combines a creamy filling with tender chicken and fresh vegetables, all encased in a buttery, flaky crust. It’s the epitome of comfort food. The crust acts as a golden, crispy shell that locks in all the savory goodness, making each bite a delightful experience. The first bite offers a satisfying crunch, followed by a burst of creamy, savory filling that warms you from the inside out.
- Family-Friendly: Perfect for a cozy family dinner, this dish is a hit with both kids and adults alike. It’s hearty enough to satisfy large appetites and mild enough for picky eaters. You can also engage the kids in the kitchen by letting them help roll out the crust or arrange the top layer. This activity not only makes the cooking process fun but also encourages children to try out the meal they’ve helped prepare.
- Make-Ahead Friendly: You can prepare the filling ahead of time, making it easy to assemble and bake when you’re ready. This is particularly handy for busy weekdays or when you’re entertaining guests. Simply prepare the filling a day in advance and store it in the refrigerator until you’re ready to use it. This flexibility allows you to enjoy a homemade meal without the rush, while also freeing up your time to focus on other activities.
- Nutrient-Rich Ingredients: Packed with protein from the chicken and vitamins from the vegetables, it’s a meal you can feel good about serving. The combination of ingredients ensures a balanced meal that provides energy and nutrients essential for the whole family. The dish offers a range of colors and flavors, ensuring it’s as visually appealing as it is delicious.
- Versatile: Easily adapt this recipe to include your family’s favorite vegetables or use leftovers from a roast chicken. You can substitute or add ingredients like mushrooms, corn, or green beans. This flexibility allows you to cater to personal preferences and dietary needs, ensuring everyone at the table finds something to love in this dish.
The Recipe
Prep Time: 30 minutes
Cook Time: 45 minutes
Servings: 6
Calories: Approximately 450 per serving
Ingredients:
- 2 cups cooked chicken, diced
- 1 cup carrots, diced
- 1 cup peas
- 1 cup potatoes, diced
- 1/4 cup unsalted butter
- 1 small onion, diced
- 1/3 cup all-purpose flour
- 1 3/4 cups chicken broth
- 2/3 cup milk
- Salt and pepper, to taste
- 1 package (two sheets) puff pastry or pie crust
Instructions:
- Preheat your oven to 400°F (200°C).
This step ensures that your oven is at the right temperature when your pie is ready to go in. A hot oven helps achieve a perfectly browned crust. Preheating is crucial for ensuring the crust bakes evenly and crisps up beautifully.
- Sauté Vegetables: In a large saucepan, melt the butter over medium heat. Add the onion, carrots, and potatoes, sautéing until the vegetables are tender.
This step builds the base flavors of your pie filling. Make sure to stir occasionally to prevent sticking, and cook until the onions are translucent and the carrots and potatoes are slightly softened. The fragrance of sautéed onions and butter is a delightful precursor to the dish’s final aroma.
- Make the Sauce: Stir in the flour, salt, and pepper until well blended. Gradually add the chicken broth and milk, cooking and stirring until the mixture is bubbly and thickened.
The flour acts as a thickening agent, giving your sauce that perfect, creamy consistency. Be patient and continue stirring to avoid lumps. The sauce should coat the back of a spoon when it’s ready, indicating it’s thick enough to hold the pie together.
- Add Chicken and Peas: Stir in the chicken and peas. Remove from heat. Spoon the chicken mixture into a 9-inch pie dish.
Adding the chicken and peas at this stage ensures they remain flavorful and retain their texture without overcooking. The vibrant green peas add a pop of color, making the dish more visually appealing.
- Prepare the Crust: Roll out the puff pastry or pie crust to fit over the top of the pie dish. Place over the filling, pressing the edges to seal. Cut slits in the top to allow steam to escape.
Ensure the crust edges are well-sealed to prevent the filling from bubbling over. The slits are crucial as they allow steam to escape, preventing the crust from becoming soggy. For a decorative touch, use a fork or your fingers to crimp the edges of the crust.
- Bake: Bake in the preheated oven for 30-35 minutes, or until the crust is golden brown. Let cool for at least 10 minutes before serving.
Cooling the pie slightly before serving allows the filling to set, making it easier to cut and serve. This rest time also ensures you won’t burn your tongue on the hot filling.
Kitchen Tools You’ll Need
- Large Saucepan: For sautéing vegetables and making the sauce. A heavy-bottomed saucepan is ideal as it distributes heat evenly, preventing hot spots that can lead to burning.
- 9-inch Pie Dish: To assemble and bake the pot pie. If you don’t have a pie dish, a similarly sized baking dish will work. Glass or ceramic dishes are excellent choices as they conduct heat evenly.
- Rolling Pin: If you’re rolling out pie crust or puff pastry, a rolling pin will help you achieve an even thickness. An evenly rolled crust ensures consistent baking results.
- Sharp Knife: For dicing vegetables and cutting the crust. A good quality knife makes preparation faster and safer, allowing for precise cuts that cook evenly.
The Benefits of Each Ingredient
- Chicken: A great source of lean protein, chicken keeps the dish filling and satisfying. Its mild flavor also pairs well with the creamy sauce and vegetables. Choosing high-quality chicken can enhance the overall taste of the pie.
- Carrots and Peas: These add a touch of sweetness and a burst of vitamins A and C. They’re also rich in fiber, aiding in digestion. The natural sweetness of these vegetables complements the savory elements of the pie.
- Potatoes: Provide heartiness and make the pie extra filling. They’re a good source of vitamin C and potassium. Potatoes absorb the flavors of the sauce, adding to the dish’s depth.
- Onions: Add depth of flavor and a touch of sweetness. Onions are also known for their anti-inflammatory properties. They form the aromatic base of the filling, enhancing each bite.
- Butter and Flour: Essential for creating a thick, creamy sauce that binds the filling together. The butter adds richness, while the flour thickens the sauce. These ingredients create a luscious texture that envelops the chicken and vegetables.
What to Serve With This Chicken Pot Pie
Pair this chicken pot pie with a simple green salad or steamed green beans for a complete meal. A crisp, refreshing side dish balances the rich, creamy pie perfectly. You might also enjoy serving it with a fresh loaf of crusty bread, perfect for soaking up every last bit of the delicious filling. For a lighter option, consider a citrusy vinaigrette on the salad to cut through the richness of the pie. A light, chilled white wine, such as a Sauvignon Blanc, complements the dish’s flavors beautifully.
Storage & Leftover Tips
Refrigerate: Store any leftovers in an airtight container in the refrigerator for up to 3 days. Reheat in the oven at 350°F until warmed through to maintain the crust’s texture. Avoid microwaving, as it can make the crust soggy. If you must use a microwave, opt for a lower power setting to gently warm the pie.
Freeze: You can freeze the assembled, unbaked pie for up to 2 months. Just wrap it tightly in plastic wrap and foil. When you’re ready to eat, bake it directly from the freezer, adding about 15-20 minutes to the baking time. This makes it an excellent option for meal prep or unexpected guests. Label your pie with the date it was made to keep track of its freshness.
Sharing this classic chicken pot pie recipe feels like passing on a family treasure. It’s a dish that brings warmth and joy to any table, creating memories with every bite. I hope it becomes a beloved staple in your home, just as it is in mine. Happy cooking!

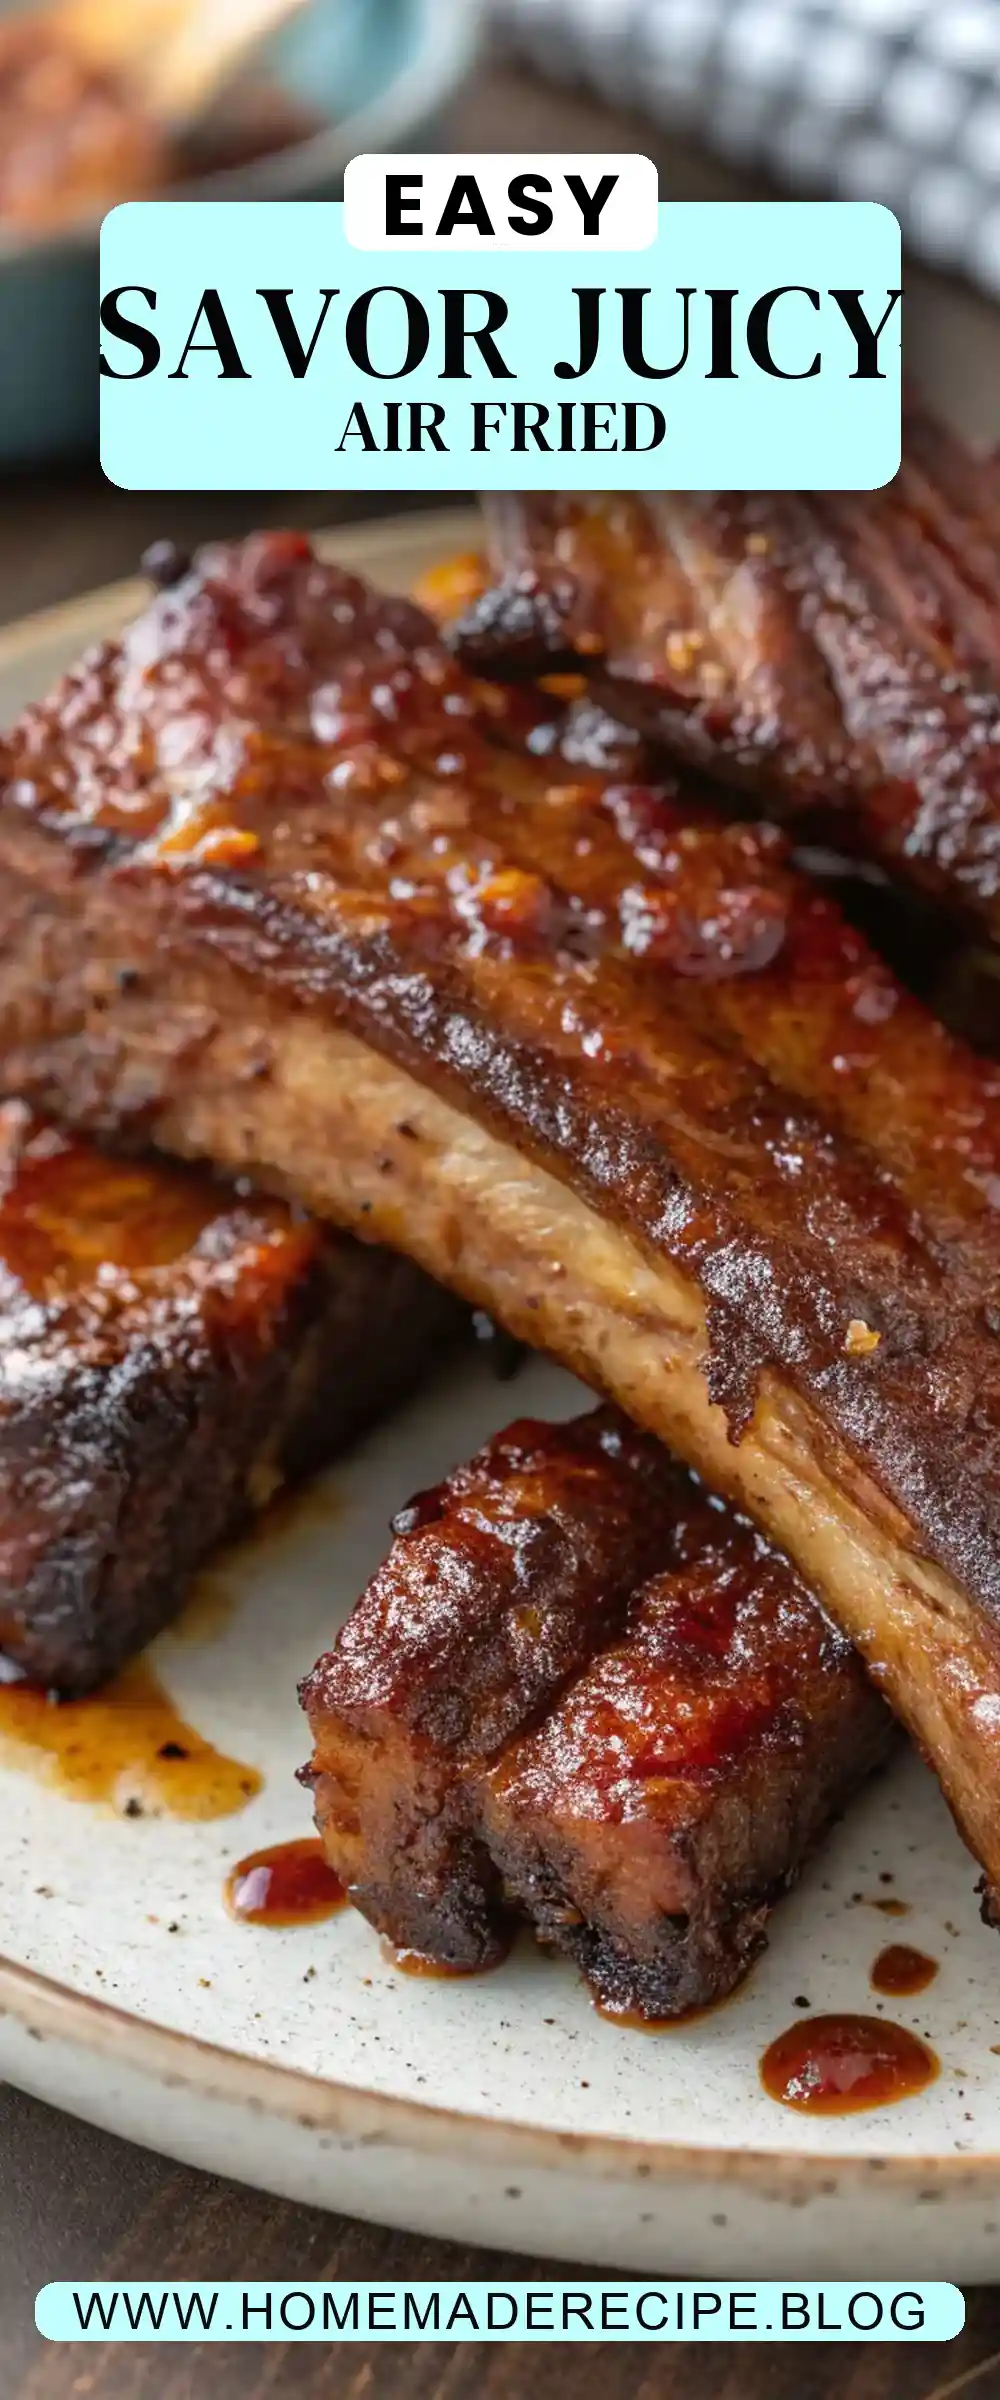
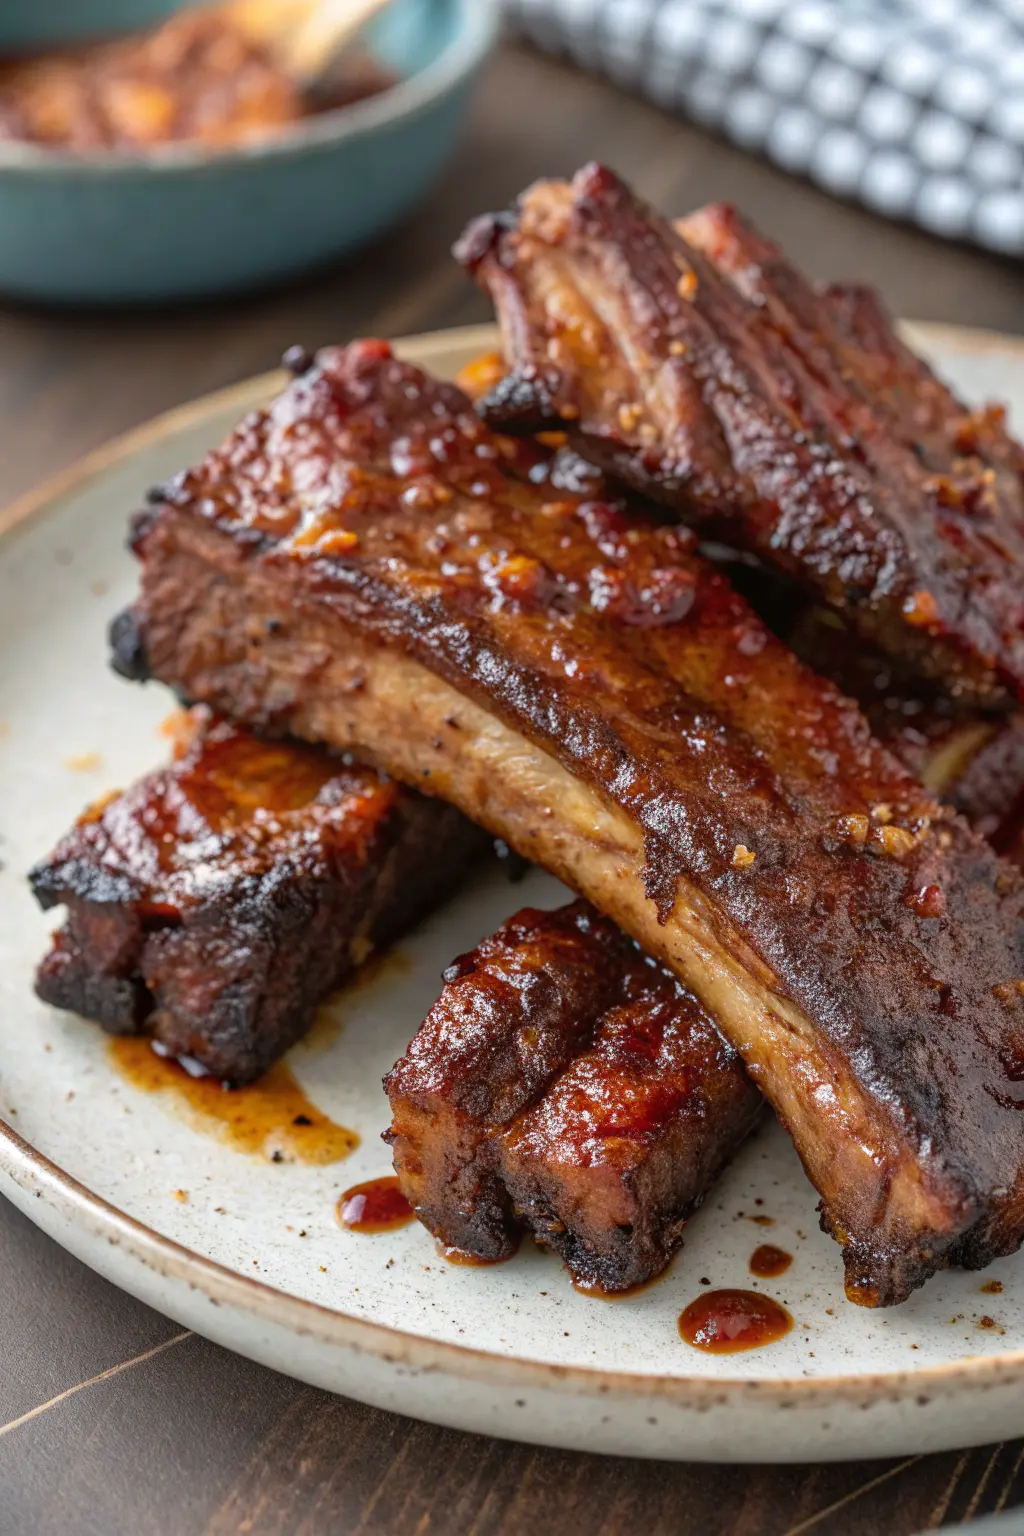
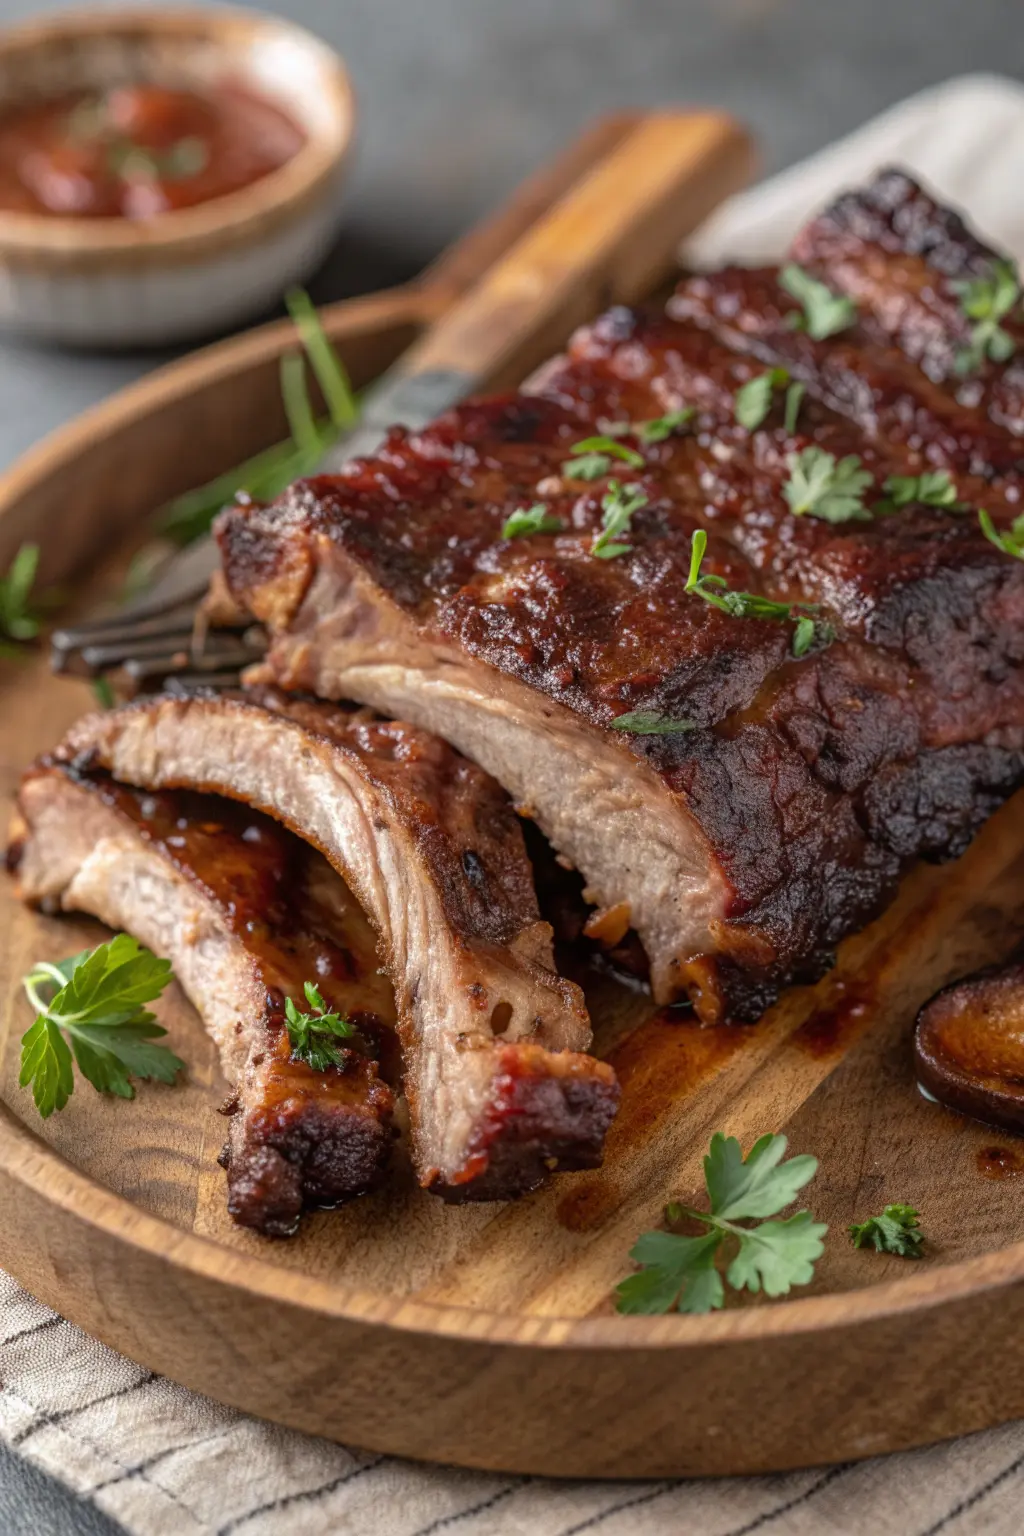
Air Fryer Elk Ribs
Ingredients
Equipment
Method
- Preheat the air fryer to 400°F (200°C).
- In a large bowl, combine olive oil, salt, black pepper, smoked paprika, garlic powder, onion powder, and cayenne pepper. Mix well.
- Rub the spice mixture evenly over the elk ribs.
- Place the seasoned elk ribs in the air fryer basket in a single layer, ensuring they are not overcrowded.
- Cook the ribs at 400°F for 15 minutes.
- After 15 minutes, flip the ribs and cook for an additional 15 minutes.
- Check for doneness; the internal temperature should reach at least 145°F (63°C). If needed, cook for an additional 5 minutes.
- Remove the ribs from the air fryer and let them rest for 5 minutes before serving with barbecue sauce.