
There’s something magical about the aroma of a chicken pot pie baking in the oven, filling the house with warmth and comfort. I remember my grandmother making this classic dish on chilly Sunday afternoons, her kitchen a cozy haven of delicious smells and laughter. The sight of her expertly rolling out the dough and the sound of vegetables sizzling in a pan are cherished memories that have stayed with me. Over the years, I’ve made this recipe my own, and it has become a beloved tradition in my family. The combination of tender chicken, vibrant vegetables, and a creamy sauce all encased in a flaky pastry crust feels like a hug in a dish. Let me share this family-favorite recipe with you, so you can bring the same warmth and joy to your home.
Why You’ll Love This Comforting Chicken Pot Pie
- Ultimate Comfort Food: This dish is the epitome of comfort food, perfect for a cozy family dinner. The creamy sauce and flaky crust make it irresistibly satisfying. It’s the kind of meal that brings everyone to the table, eager to indulge in something genuinely heartwarming. The aroma alone is enough to gather everyone around, anticipating that first comforting bite.
- Family-Friendly: Even picky eaters will love the creamy filling and buttery crust, making it an excellent choice for family meals where everyone gets a taste of something they enjoy. The versatility of the ingredients allows you to tailor it to suit your family’s preferences, ensuring smiles all around. Customize it with your family’s favorite herbs and spices to make it truly your own.
- Make-Ahead Friendly: You can prepare parts of this recipe in advance, making dinner time a breeze. The filling can be made a day ahead, allowing the flavors to meld beautifully. When you’re ready to bake, simply assemble and pop it in the oven for a stress-free meal. The convenience of preparing it ahead of time means more quality moments spent with your loved ones.
- Nutritious and Satisfying: Packed with protein, veggies, and a hearty sauce, it’s a well-rounded meal. Each ingredient contributes to a balanced dish that is both nourishing and filling. It’s a hidden gem of nutrition disguised as indulgence. Every bite is a perfect blend of health and comfort, making this dish a delightful way to enjoy wholesome ingredients.
- Customizable: Easily adapt the recipe to include your favorite vegetables or make it vegetarian. Swap chicken for mushrooms or tofu for a delightful meat-free version. You can also experiment with seasonal vegetables to keep things fresh and exciting. Tailor it to suit the changing seasons, making it a versatile dish all year round.
The Recipe
Prep Time: 30 minutes
Cook Time: 45 minutes
Servings: 6
Calories: Approximately 450 per serving
Ingredients
- 1 pound boneless, skinless chicken breasts, cubed
- 1 cup carrots, diced
- 1 cup peas
- 1 cup potatoes, diced
- 1/2 cup celery, diced
- 1/3 cup butter
- 1/3 cup all-purpose flour
- 1/2 teaspoon salt
- 1/4 teaspoon black pepper
- 1/4 teaspoon onion powder
- 1 3/4 cups chicken broth
- 2/3 cup milk
- 1 (9-inch) double crust pie pastry
Instructions
- Preheat the Oven: Start by preheating your oven to 425°F (220°C). This ensures the pie cooks evenly and the crust becomes golden and flaky. A properly preheated oven is key to achieving the perfect texture and flavor. Ensuring your oven is at the right temperature is a small step that makes a significant difference in the final dish.
- Cook the Chicken and Vegetables: In a large saucepan, combine chicken, carrots, peas, potatoes, and celery. Add water to cover and boil for 15 minutes. Remove from heat, drain, and set aside. Boiling the vegetables and chicken together not only saves time but also infuses the broth with rich flavors, enhancing the overall taste of your pie.
- Prepare the Sauce: In the saucepan, over medium heat, melt the butter. Stir in flour, salt, pepper, and onion powder. Slowly whisk in the chicken broth and milk. Simmer over medium-low heat until thick. Remove from heat and set aside. This step requires patience; whisk continuously to avoid lumps and ensure a smooth, creamy sauce. A well-prepared sauce is the heart of this dish, binding all elements together in a deliciously cohesive way.
- Assemble the Pie: Place the chicken mixture in the bottom pie crust. Pour hot liquid mixture over the chicken mixture. Cover with top crust, seal edges, and cut away excess dough. Make several small slits in the top to allow steam to escape. A good seal ensures the filling stays inside, while slits prevent the crust from becoming soggy. This attention to detail ensures every bite is as perfect as the first.
- Bake the Pie: Bake in the preheated oven for 30 to 35 minutes, or until pastry is golden brown and filling is bubbly. Cool for 10 minutes before serving. Allowing the pie to cool slightly helps the filling set, making it easier to serve neatly. The resting time also allows the flavors to settle, enhancing the dish’s taste.
Kitchen Tools You’ll Need
- Large Saucepan: Essential for boiling the chicken and vegetables, as well as preparing the creamy sauce. A heavy-bottomed saucepan works best to prevent scorching. It ensures even distribution of heat, which is crucial for a perfectly cooked filling.
- Whisk: Helps in creating a smooth, lump-free sauce. It’s a small tool that makes a big difference in the texture and consistency of your sauce. A sturdy whisk is an invaluable asset in ensuring your sauce reaches the desired creaminess.
- Pie Dish: A sturdy, deep dish is recommended to hold the generous filling. A glass or ceramic dish can offer even baking and a lovely presentation. The right pie dish not only aids in baking but also showcases your beautiful creation.
- Rolling Pin: Useful if you’re rolling out homemade pie crust or adjusting store-bought pastry. A rolling pin ensures you get the right thickness for your crust, contributing to its flakiness. Achieving the right thickness is key to ensuring the crust bakes evenly.
- Pastry Brush: Perfect for brushing the top crust with a little milk or egg wash to enhance browning. A light wash gives your pie a beautiful, golden finish. The finishing touch of a well-browned crust is visually appealing and adds to the pie’s flavor.
The Benefits of Each Ingredient
- Chicken: Provides lean protein to keep you full and satisfied. Chicken breast is a healthy choice as it’s low in fat and high in essential nutrients like B vitamins and phosphorus. This lean protein source is not only nutritious but also versatile in flavor.
- Carrots and Peas: Add sweetness and color, plus a dose of vitamins. These vegetables are rich in beta-carotene and fiber, contributing to a balanced diet. Their natural sweetness also adds depth to the savory profile of the dish.
- Potatoes: Make the dish hearty and satisfying. They offer a good source of energy and nutrients like potassium, which is essential for heart health. Potatoes add a comforting, filling element that complements the other ingredients.
- Celery: Adds a subtle crunch and depth of flavor. Celery is low in calories but high in antioxidants, making it a great addition to the pie. Its unique flavor profile rounds out the dish beautifully.
- Butter and Flour: Create a rich, creamy sauce that ties everything together. The roux (butter and flour mixture) is the foundation of the sauce, providing thickness and richness that are essential for the perfect pot pie.
- Pie Crust: Provides a flaky, buttery contrast to the creamy filling. A well-made crust is essential for texture and flavor balance, offering a satisfying crunch with every bite.
What to Serve With This Classic Dish
Pair this chicken pot pie with a simple side salad or steamed green beans for a complete meal. The freshness of a salad or the crispness of green beans complements the rich, creamy pie. A glass of crisp white wine or a refreshing iced tea makes the perfect beverage companion. For dessert, consider a light sorbet or a slice of apple pie to keep the comforting theme going. These choices round out the meal without overwhelming the palate, allowing each dish to shine. The balance of fresh and rich flavors creates a delightful dining experience from start to finish.
Storage & Leftover Tips
Store any leftovers in an airtight container in the refrigerator for up to 3 days. Reheat slices in the oven at 350°F (175°C) for about 15 minutes to keep the crust crispy. This dish can also be frozen; just wrap tightly in plastic wrap and aluminum foil, and it will keep for up to 2 months. Thaw in the refrigerator overnight before reheating. When reheating, cover with foil to prevent the crust from over-browning. Proper storage ensures that you can enjoy this comforting dish any time you please, without losing its delightful flavors and textures. With these tips, you’ll always have a delicious meal ready to enjoy.
Bringing this chicken pot pie to your table is sure to make any meal feel special. The rich flavors and comforting textures are like a warm embrace from your kitchen to your heart. Enjoy making this dish part of your family’s cherished traditions, just as it has become in mine. Happy cooking!

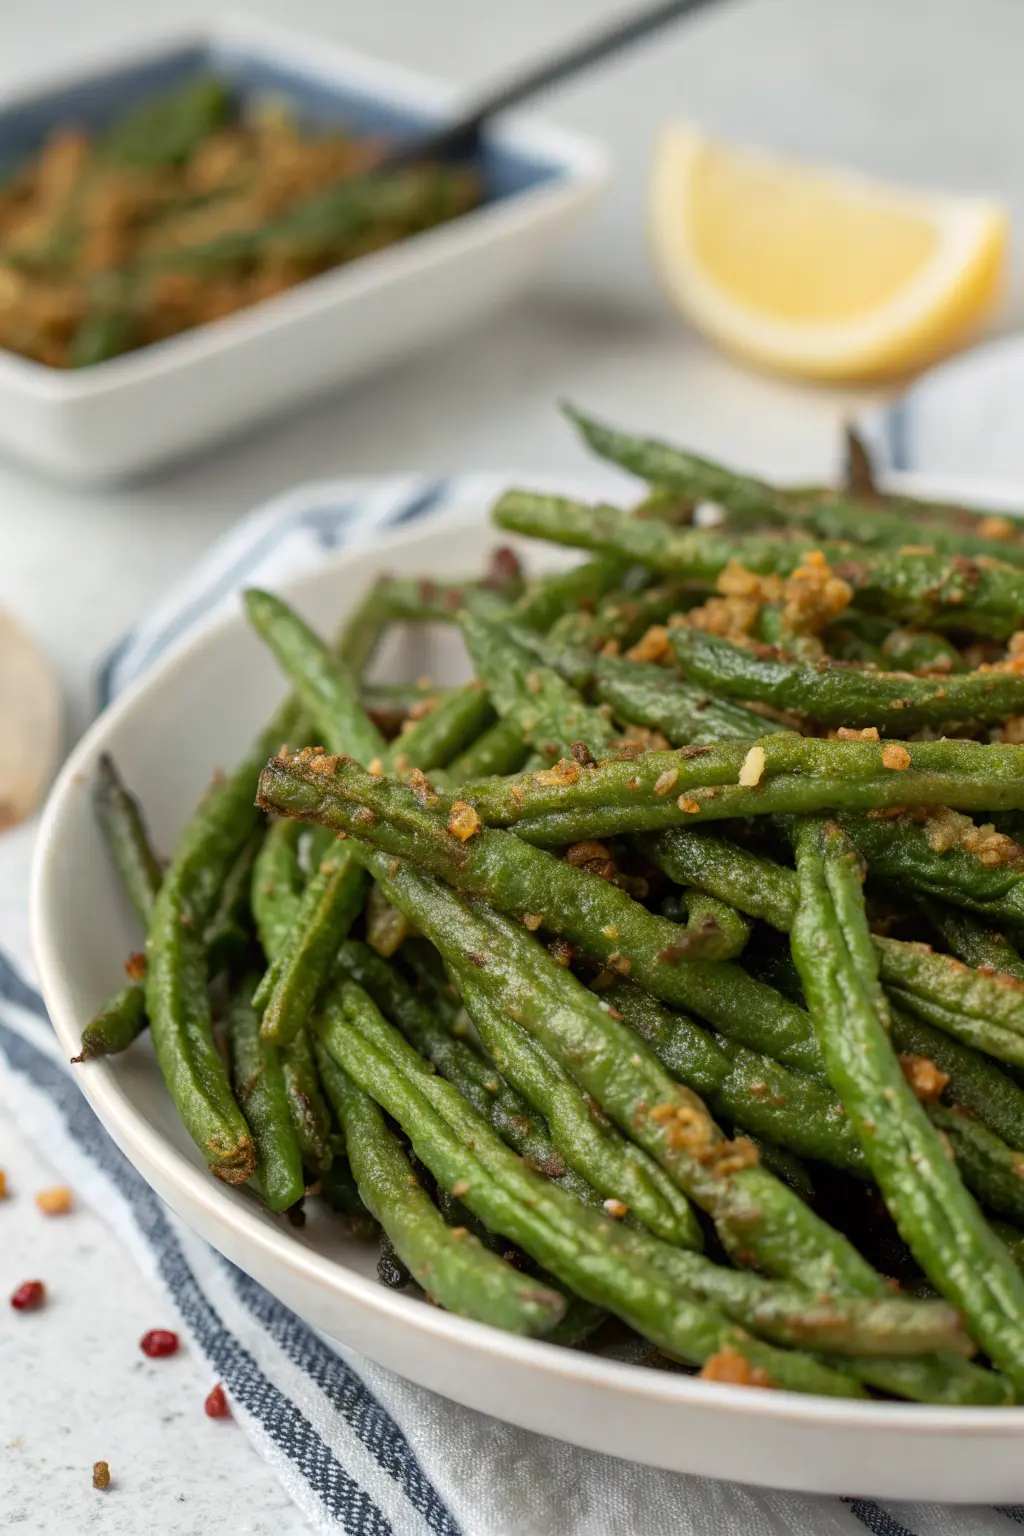
Air Fryer Sea Beans
Ingredients
Equipment
Method
- Rinse the sea beans under cold water and pat them dry with a paper towel.
- In a mixing bowl, combine the sea beans, olive oil, garlic powder, black pepper, and sea salt. Toss until evenly coated.
- Preheat the air fryer to 400°F for 3-5 minutes.
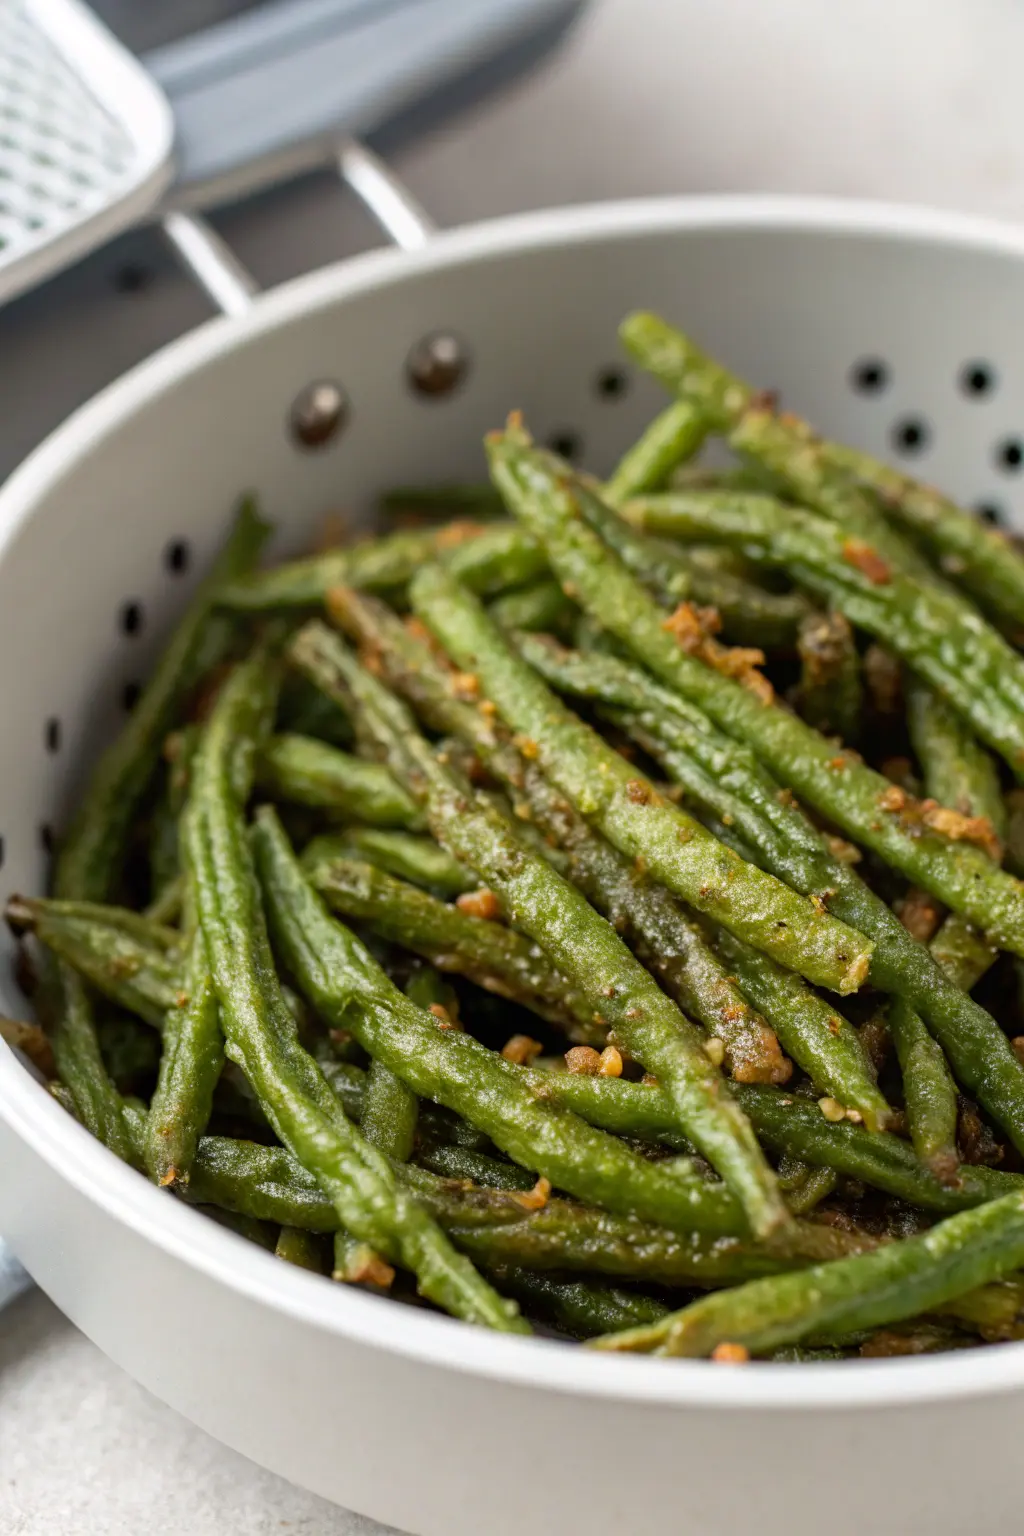
- Place the seasoned sea beans in the air fryer basket in a single layer. Avoid overcrowding for even cooking.
- Air fry for 8-10 minutes, shaking the basket halfway through for even crispness.
- Once done, remove from the air fryer and squeeze fresh lemon juice over the sea beans before serving.