
Ah, the aroma of a homemade chicken pot pie baking in the oven. It’s one of those scents that transports me straight back to Sunday afternoons in my grandmother’s kitchen. She’d always invite the family over, and as soon as we walked through the door, the smell of buttery pastry and savory filling would greet us like a warm hug. Chicken pot pie isn’t just a meal; it’s a memory, a piece of home that I’m thrilled to share with you today. Preparing this dish is not just about the end result; it’s about the journey of crafting something with love and care. As you chop, stir, and bake, you’re creating more than a meal—you’re creating an experience that can be savored and remembered for years to come.
Why You’ll Love This Comfort Food Classic
- Heartwarming and Satisfying: This dish is like a cozy blanket on a cold day, perfect for family dinners or a comforting night in. Imagine coming home after a long day and being welcomed by the soothing scent of baking pie. It’s a simple pleasure that never gets old. The combination of tender chicken, creamy sauce, and flaky crust is just the comfort you need after a busy day. Each bite envelops you in warmth, making even the most ordinary day feel special.
- Versatile Ingredients: You can easily adapt it to include your favorite vegetables or use up leftovers. Whether you have some extra mushrooms, green beans, or corn, feel free to toss them in for added nutrition and flavor. This makes chicken pot pie a great way to reduce food waste while adding diversity to your meals. Customizing the ingredients allows you to tailor the pot pie to fit your dietary preferences or dietary restrictions without sacrificing flavor.
- Make-Ahead Friendly: Prepare it in advance and pop it in the oven when you’re ready, making it ideal for busy weekdays. You can even prepare the filling a day ahead and refrigerate it, saving time when you need it the most. This flexibility allows you to enjoy a homemade meal without the last-minute rush. Planning meals ahead of time can be a real game-changer, especially when juggling a hectic schedule.
- Freezer-Friendly: It stores well, so you can enjoy a homemade meal anytime. Make a double batch and freeze one for those days when cooking feels like a chore. Simply thaw and bake, and you have a delicious meal ready to go, perfect for when unexpected guests arrive. Having a homemade meal ready in the freezer can be a lifesaver, particularly during busy times or when you crave comfort food without the effort.
- Crowd-Pleaser: Even the pickiest eaters can’t resist the flaky crust and creamy filling. Serve it at family gatherings or potlucks, and watch it disappear quickly. It’s a universally loved dish that brings people together, evoking a sense of nostalgia and comfort. Sharing this dish is like sharing a piece of your heart, creating bonds over the shared love of good food.
The Recipe
Prep Time: 30 minutes
Cook Time: 45 minutes
Servings: 6
Calories: Approximately 450 per serving
Ingredients
- 2 cups cooked chicken, diced
- 1 cup frozen peas and carrots mix
- 1/2 cup diced potatoes
- 1/4 cup chopped onion
- 1/4 cup butter
- 1/3 cup all-purpose flour
- 1/2 teaspoon salt
- 1/4 teaspoon black pepper
- 1/4 teaspoon celery seed
- 1 3/4 cups chicken broth
- 2/3 cup milk
- 1 package refrigerated pie crusts
Instructions
- Preheat the Oven: Set your oven to 425°F (220°C) to get it nice and hot for that perfect crust. A well-preheated oven ensures the crust turns out golden and crisp. This step is crucial for achieving that desirable flaky texture. An even bake relies on consistent heat, which is why preheating is a step that shouldn’t be skipped.
- Cook the Vegetables: In a saucepan, melt the butter over medium heat. Add the onion, and cook until translucent. Stir in flour, salt, pepper, and celery seed. Gradually whisk in chicken broth and milk, cooking until the mixture thickens. This step forms the base of your creamy filling, and cooking it slowly is key to developing deep flavors. The roux should be smooth and free of lumps for the best consistency. Taking the time to cook the onions properly enhances the overall flavor of the dish.
- Combine the Filling: Stir in the chicken, peas, carrots, and potatoes. Remove from heat. Make sure everything is well-coated in the sauce for a consistent taste throughout the pie. Mixing thoroughly ensures that each bite is balanced with chicken, vegetables, and sauce. This is where all the flavors meld together, creating a harmonious blend that is both satisfying and delicious.
- Assemble the Pie: Roll out one pie crust and place in a 9-inch pie dish. Pour the chicken mixture into the crust. Cover with the second crust, crimp edges, and cut slits to allow steam to escape. Crimping the edges effectively seals the pie, preventing any delicious filling from escaping during baking. Additionally, the slits are crucial for letting steam out, which prevents the crust from becoming soggy. This step is essential for achieving the perfect texture and ensuring that your pie looks as good as it tastes.
- Bake: Place in the preheated oven and bake for 30 to 35 minutes, or until the pastry is golden brown and filling is bubbly. Cool for 10 minutes before serving. Letting it cool slightly makes it easier to slice and serve without the filling running out. This resting time allows the filling to set, making it easier to serve neat slices. The anticipation as the pie cools adds to the enjoyment of the meal, building excitement for that first delicious bite.
Kitchen Tools You’ll Need
- 9-inch pie dish: Ensures the perfect size and depth for a hearty pie. Look for a dish with a slightly raised edge to help catch any potential overflow. A good pie dish not only enhances the presentation but also aids in even cooking, resulting in a perfectly baked pie.
- Medium saucepan: Essential for preparing the filling. A nonstick saucepan can prevent the roux from sticking and burning. Choosing the right pan can make a significant difference in the ease and outcome of your cooking.
- Whisk: Helps in smoothly blending the sauce without lumps. A balloon whisk is particularly effective for incorporating the flour into the liquid. A good whisk is a kitchen staple, ensuring your sauces and batters are always smooth and lump-free.
- Rolling pin: To evenly roll out the pie crusts. If you don’t have a rolling pin, a clean wine bottle can be a good substitute. This simple tool allows you to achieve the right thickness for your crust, which is essential for even baking.
- Cutting board and knife: For chopping vegetables and chicken. A sharp knife ensures clean cuts for evenly sized pieces, which cook uniformly. Investing in a quality knife and cutting board makes prep work more efficient and enjoyable.
The Benefits of Each Ingredient
- Chicken: Provides lean protein and a hearty texture. It’s not only filling but also rich in essential amino acids, which are vital for muscle repair and overall health. Quality protein is crucial for a balanced diet, and chicken is an excellent source that fits well into a variety of dishes.
- Peas and Carrots: Add sweetness and color, along with fiber and vitamins. They offer a delightful contrast to the creamy sauce and flaky crust. Carrots are a great source of beta-carotene, while peas add additional protein. Including a variety of vegetables ensures a range of nutrients, contributing to a well-rounded meal.
- Potatoes: Give a comforting, starchy base that complements the creamy filling. They also help to thicken the filling naturally as they cook, providing a smooth, satisfying texture. Potatoes are a versatile ingredient that not only enhances the flavor but also the heartiness of the dish.
- Onion: Enhances the savory flavor profile. Sautéing them in butter releases their natural sweetness, adding depth to the pie. Onions are also packed with antioxidants, which are beneficial for health. Their subtle sweetness and depth of flavor are crucial components of the dish.
- Butter and Flour: Create the roux, which thickens the sauce for a rich, creamy texture. The roux is the backbone of the sauce, providing that luxurious mouthfeel. Butter adds richness, while flour acts as a binding agent. A well-made roux is the secret to a great sauce, providing the perfect base for many dishes.
- Chicken Broth and Milk: Form the luscious sauce that ties all the ingredients together. The combination of broth and milk creates a balanced, flavorful sauce that isn’t too heavy. Choosing a low-sodium broth can help control the salt content of the dish. This balance ensures that the pie is flavorful but not overwhelming, allowing each ingredient to shine.
What to Serve With This Comfort Food Classic
Pair this chicken pot pie with a simple side salad or steamed green beans for a complete meal. A light vinaigrette on the salad can cut through the richness of the pie, while green beans add a fresh, crisp texture. A glass of chilled white wine, such as Chardonnay, or a refreshing iced tea complements the savory flavors beautifully, enhancing your dining experience. For a more indulgent pairing, consider serving it with creamy mashed potatoes or buttery corn on the cob. These sides add variety and can elevate a simple meal into a memorable dining experience.
Storage & Leftover
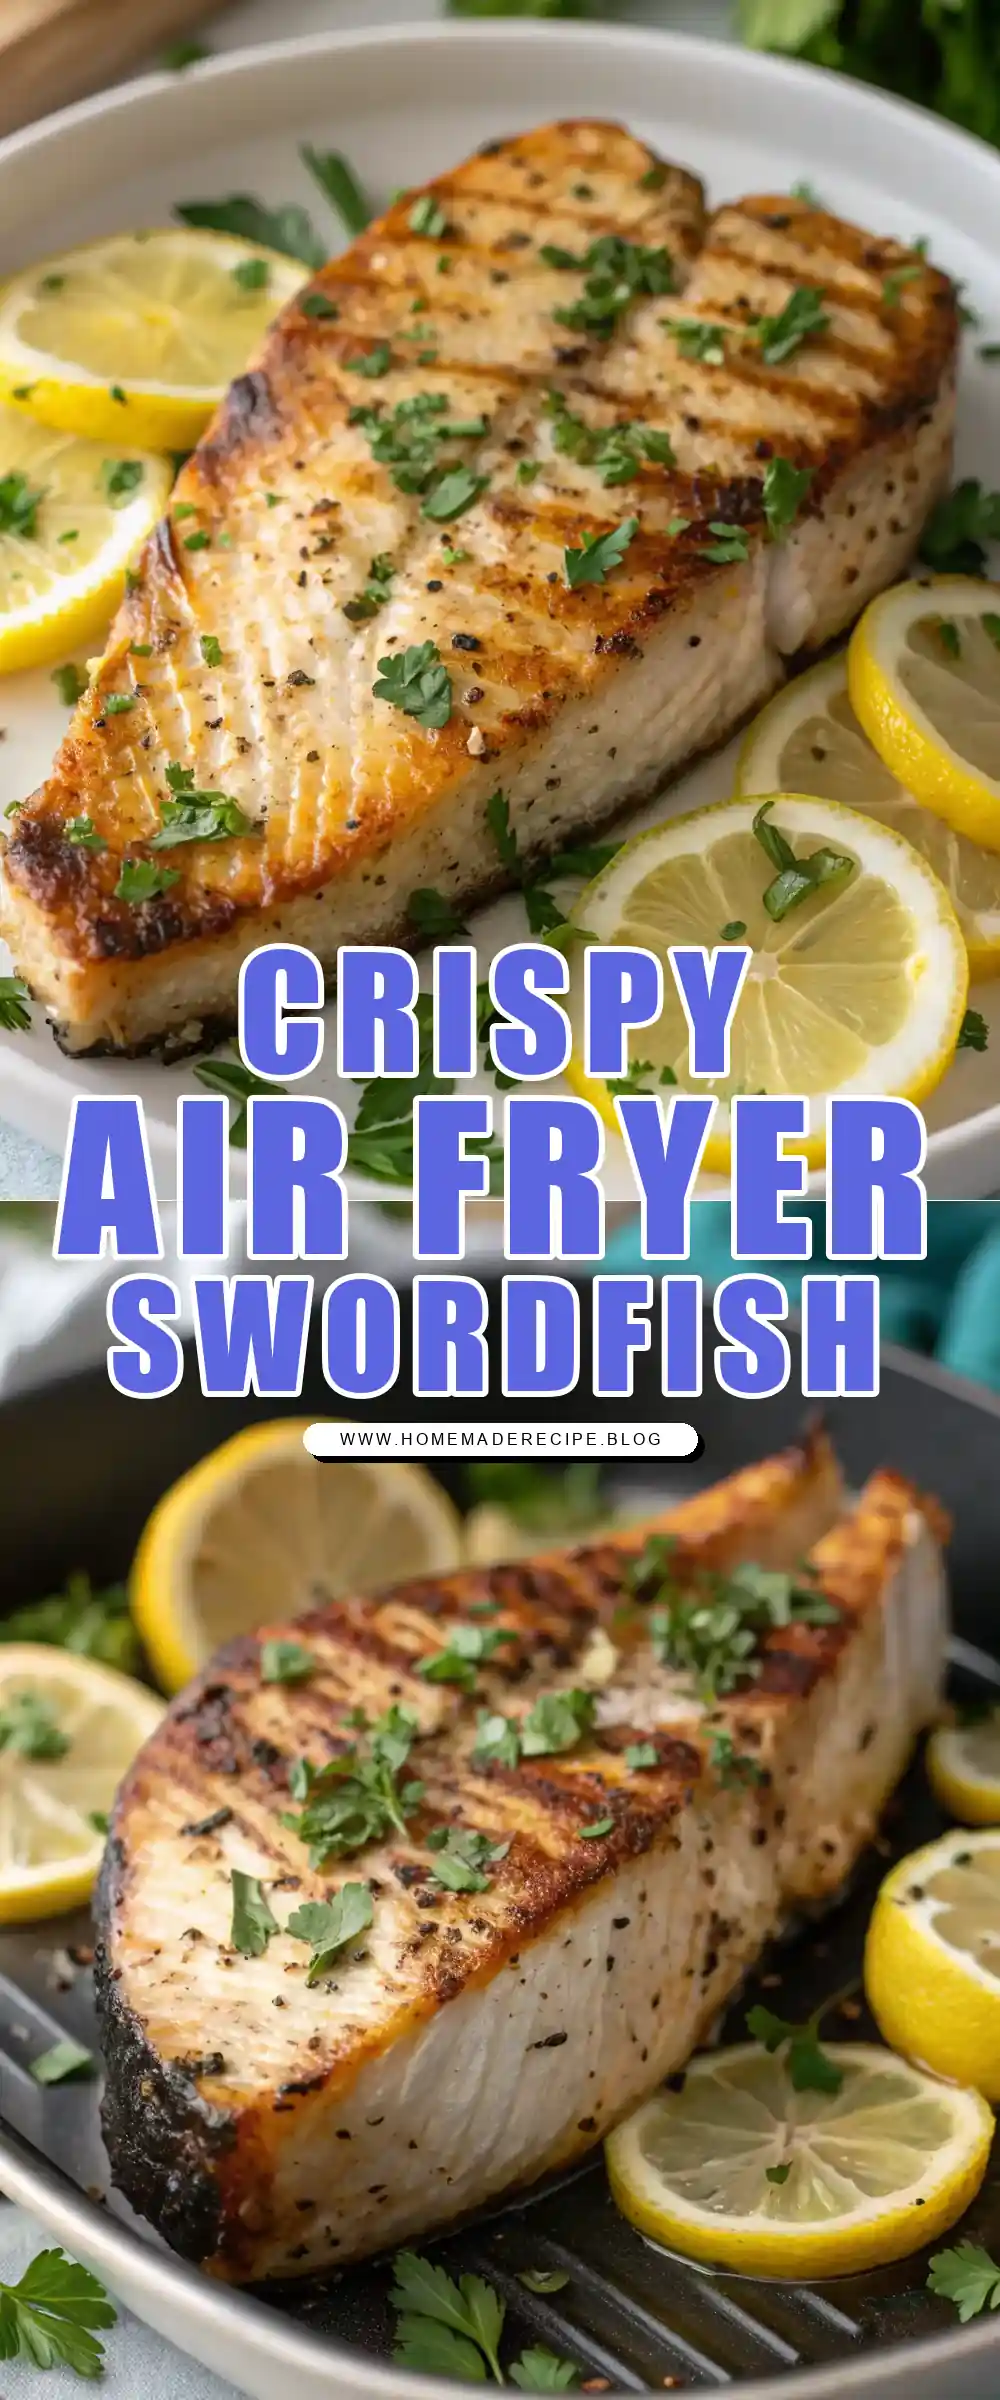

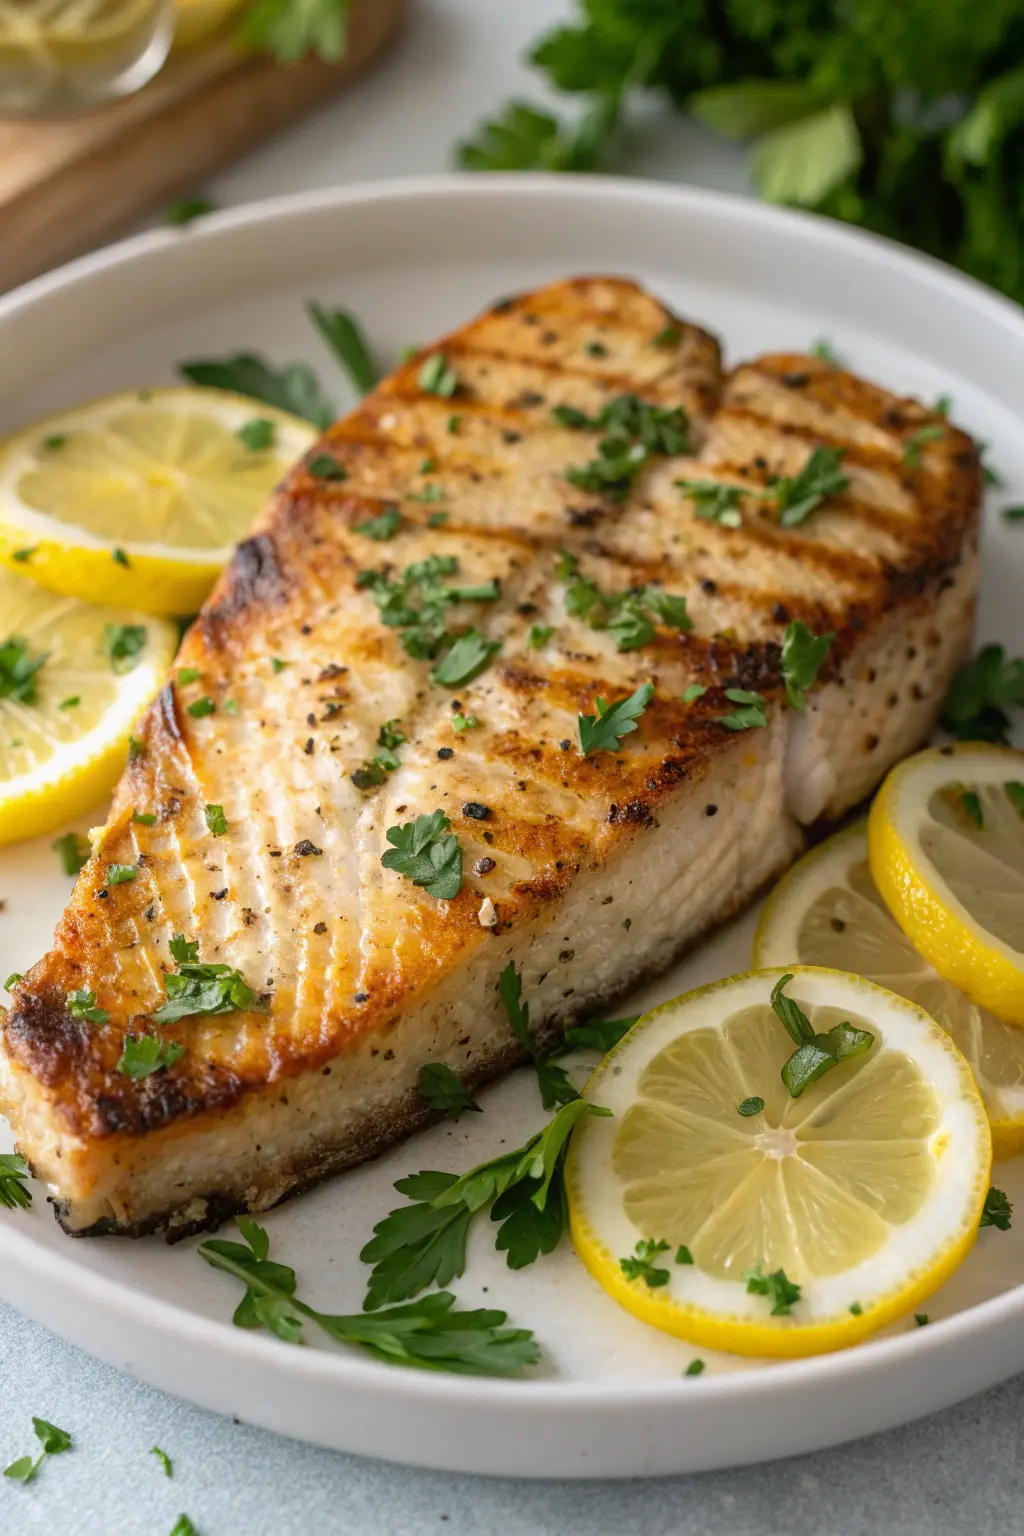
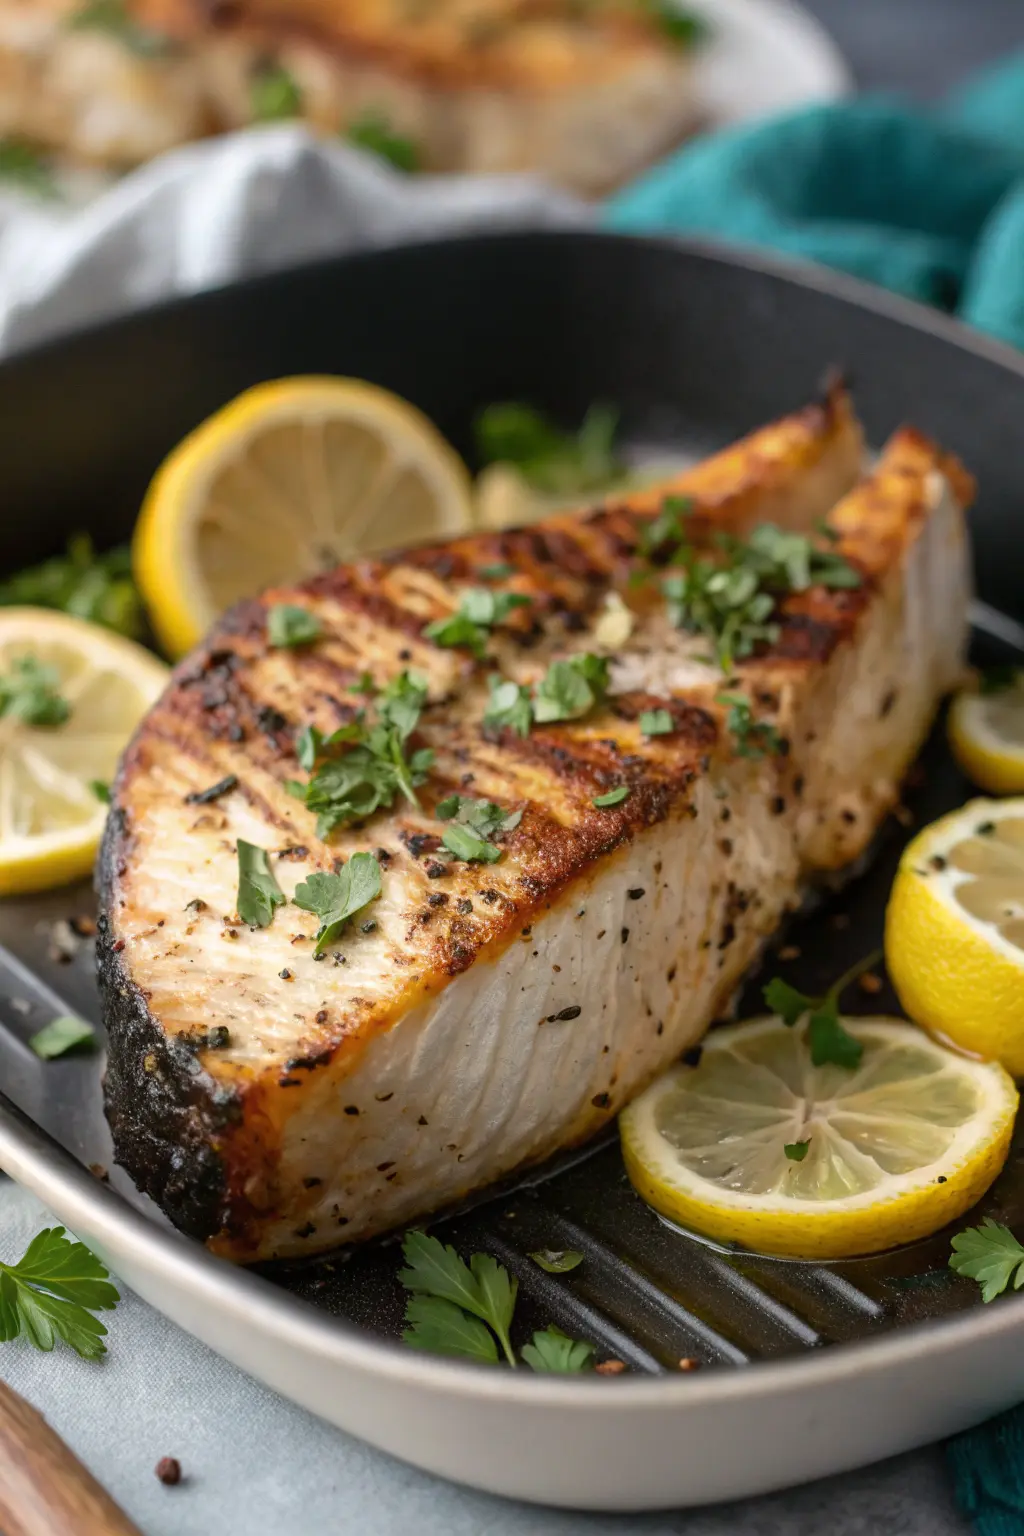
Air Fryer Swordfish
Ingredients
Equipment
Method
- Preheat the air fryer to 400°F (200°C) for 5 minutes.
- Pat the swordfish steaks dry with paper towels.
- In a small bowl, mix olive oil, garlic powder, paprika, salt, and black pepper.
- Brush the seasoning mixture evenly over both sides of the swordfish steaks.
- Place the swordfish steaks in the air fryer basket, ensuring they are not overlapping.
- Cook at 400°F for 8-10 minutes, flipping halfway through, until the fish is opaque and flakes easily with a fork.
- Remove from the air fryer and let rest for 2 minutes before serving with lemon wedges.