
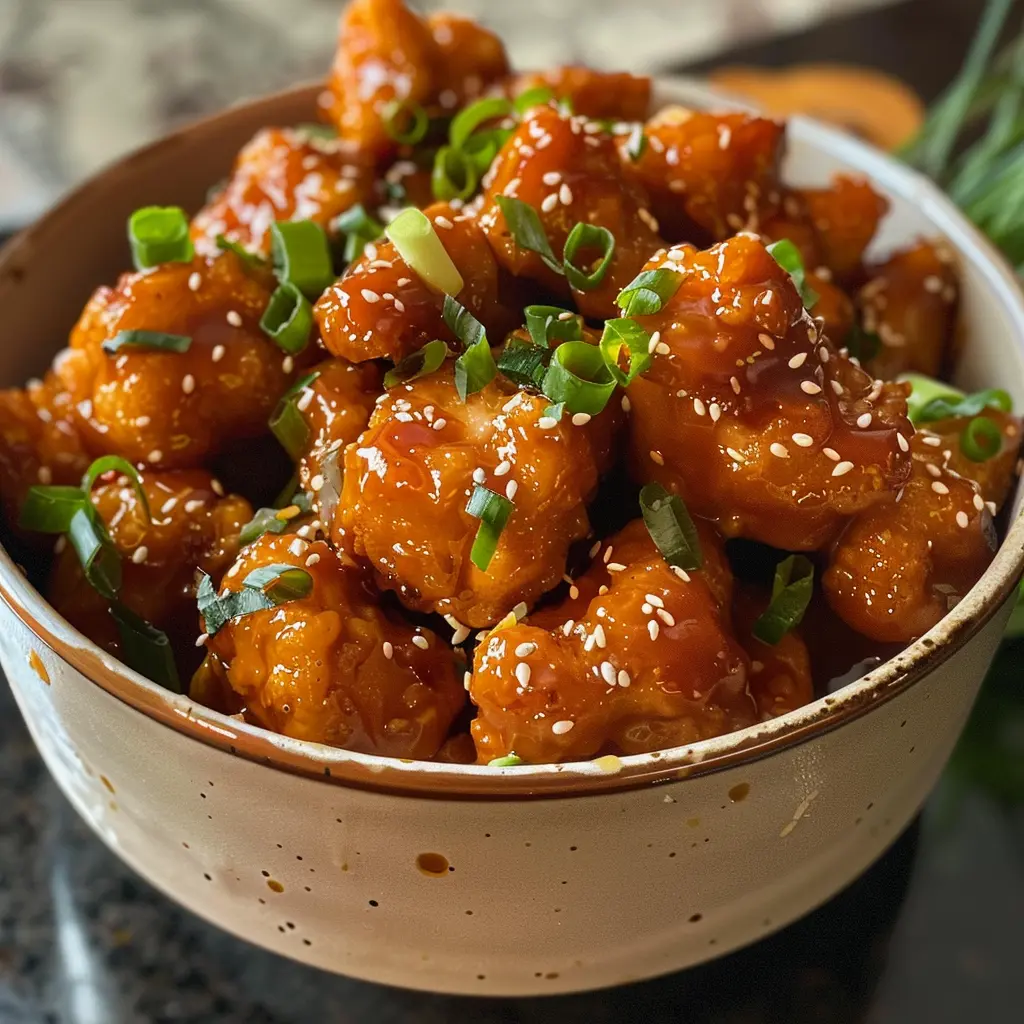
Skip the takeout menu tonight! This homemade Chinese Orange Chicken is everything you want it to be: crispy, golden-fried chicken bites tossed in a sticky, sweet-and-tangy orange glaze. By making it at home, you get to control the quality of the ingredients, ensuring the chicken stays juicy and the sauce has that perfect balance of citrus brightness and savory depth. It’s a restaurant-quality meal that is surprisingly straightforward to master in your own kitchen.
| Detail | Info |
|---|---|
| Prep Time | 20 minutes |
| Chill Time | 30 minutes |
| Cook Time | 15 minutes |
| Total Time | 1 hour 5 minutes |
| Servings | 4 servings |
| Difficulty | Intermediate |
Why This Recipe Works
The secret is the batter and the fry. The combination of flour and cornstarch creates a coating that is much lighter and crispier than flour alone, mimicking that signature Chinese takeout texture. Chilling the chicken in the batter for 30 minutes helps the coating adhere perfectly, preventing it from sliding off during the fry. Finally, finishing the dish by tossing the crispy chicken in the sauce right before serving ensures the coating stays crunchy on the inside while being perfectly glazed on the outside.
Ingredients
The Chicken & Batter
| Ingredient | Quantity |
|---|---|
| Chicken thighs or breasts | 1 lb, cut into 1-inch cubes |
| All-purpose flour | 1 ½ cups |
| Cornstarch | ½ cup |
| Large egg | 1 |
| Water | 1 ¼ cups |
| Vegetable oil | 1 tbsp (for batter) + frying oil |
| Salt & Pepper | ½ tsp / ¼ tsp |
The Orange Sauce
| Ingredient | Quantity |
|---|---|
| Orange | 1 large (zest and juice needed) |
| Soy sauce | 2 tbsp |
| Rice (or white) vinegar | ¼ cup |
| Brown sugar | ½ cup (packed) |
| Garlic | 2 cloves (minced) |
| Cornstarch slurry | 1 tbsp cornstarch + 1 tbsp water |
Step-by-Step Instructions
Phase 1: Prep and Batter
- In a medium bowl, whisk together the flour, cornstarch, salt, and pepper. Add the egg, 1 tablespoon of oil, and water. Whisk until the batter is smooth.
- Add the chicken cubes to the batter, tossing to coat thoroughly. Cover and chill in the fridge for 30 minutes (this helps the coating stick!).
Phase 2: The Fry
- Heat 2 inches of oil in a deep pot or skillet to 350°F (177°C).
- Fry the chicken in batches of 10–15 pieces. Fry for 2–3 minutes until golden brown, turning halfway through.
- Remove with a slotted spoon to a paper towel-lined plate. Keep warm.
Phase 3: The Sauce and Assembly
- In a medium saucepan, combine the orange juice, zest, soy sauce, vinegar, brown sugar, and garlic. Bring to a low boil over medium heat.
- Taste Test: This is the time to adjust! If you want it sweeter, add more sugar; more savory, add a dash of soy.
- Pour in the cornstarch slurry and whisk constantly until the sauce thickens and coats the back of a spoon.
- Add the fried chicken to the sauce and toss gently until every piece is glossy and coated. Garnish with sesame seeds, green onions, and red pepper flakes. Serve immediately!
Chef Tips for Perfect Results
The Temperature is Key. Use a kitchen thermometer if you have one. If the oil is too cold, the chicken will be greasy; if it’s too hot, the batter will burn before the chicken is cooked through.
Fresh Citrus. Do not substitute the orange juice with bottled juice. The zest is what provides the authentic, aromatic “orange” flavor that makes this dish pop.
Serve Immediately. This dish is best enjoyed the moment it is made. If it sits too long, the sauce will soften the crispy coating.
Conclusion
There is immense satisfaction in making your own Orange Chicken at home. You get to control the crispiness and the balance of the sauce, and it beats out any delivery speed once you have your oil heated. It’s a wonderful, vibrant dish that brings a restaurant-style experience right to your dinner table.