
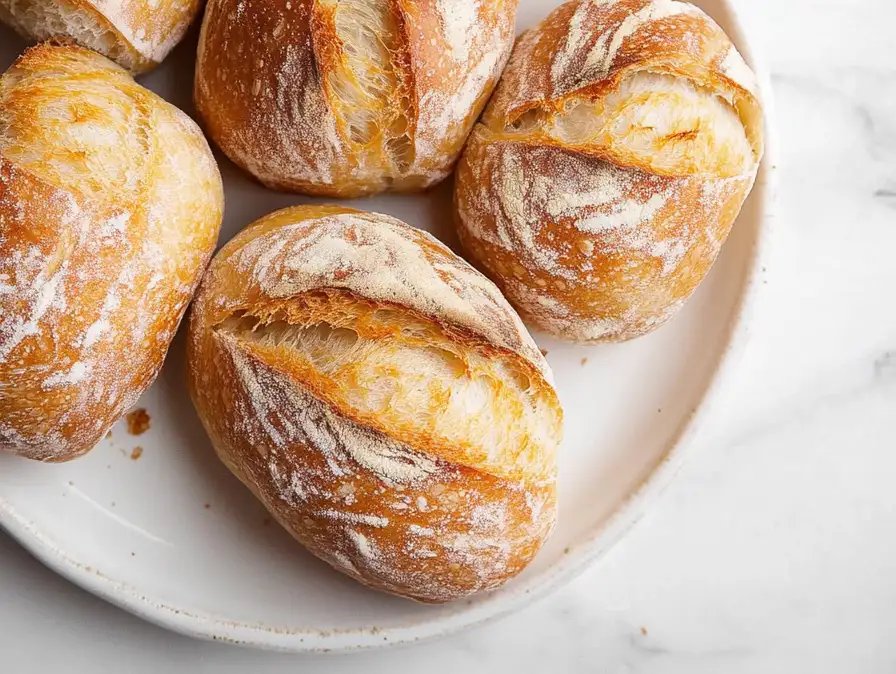
Crusty Mini Baguettes are a delightful addition to any meal, bringing a touch of French bakery charm right to your home kitchen. These mini baguettes are not only visually appealing but also incredibly satisfying, with a crusty exterior and a soft, chewy interior. Whether you’re serving them alongside a comforting family meal or using them as the base for gourmet sandwiches, these crusty mini baguettes will surely impress your loved ones. Let’s dive into the details of making these little wonders at home.
For those new to baking or looking to perfect their technique, understanding the science behind bread-making can be incredibly beneficial. The role of gluten, for example, is crucial in achieving the desired texture for your baguettes. Serihttps://homemaderecipe.blog/maple-glazed-salmon/ous Eats offers a comprehensive guide on gluten development, which is key to creating the perfect airy and chewy texture. Additionally, mastering the art of fermentation can significantly enhance the flavor of your bread. For an in-depth exploration of fermentation, you might find the resources on King Arthur Baking particularly helpful.
Table of Contents
Why You’ll Love This Dish
There’s something magical about homemade bread, and these crusty mini baguettes have all the elements to make bread-making a joy rather than a chore. Here’s why you’ll fall in love with them:
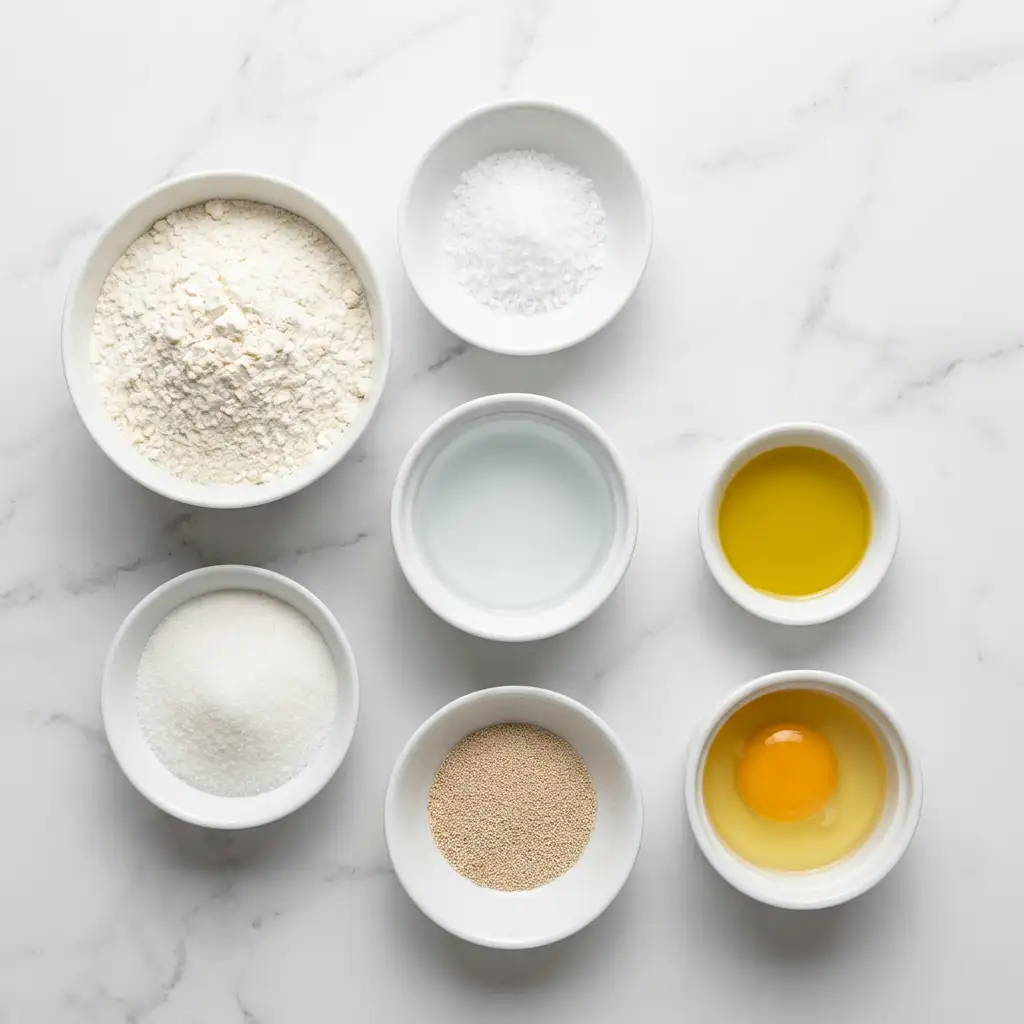
- Simple Ingredients: Made with pantry staples, this recipe doesn’t require any fancy ingredients. The beauty of this recipe lies in its simplicity, allowing the minimal ingredients to shine through. Flour, salt, sugar, yeast, water, and a touch of olive oil are all you need to create these delightful baguettes. Each component plays a crucial role in developing the flavor, texture, and appearance of the final product. This simplicity also means you can whip up these baguettes without a special trip to the store, making them a convenient option for spontaneous baking sessions.
- Quick Prep: With just 20 minutes of active prep time, you can have these baguettes ready in a couple of hours. The process is straightforward and doesn’t involve any complicated techniques. Once you get the hang of it, you’ll find that making these baguettes is a relaxing and rewarding activity that fits easily into your schedule. The satisfaction of producing such delightful bread in a relatively short amount of time is unmatched and can quickly become a favorite weekend ritual.
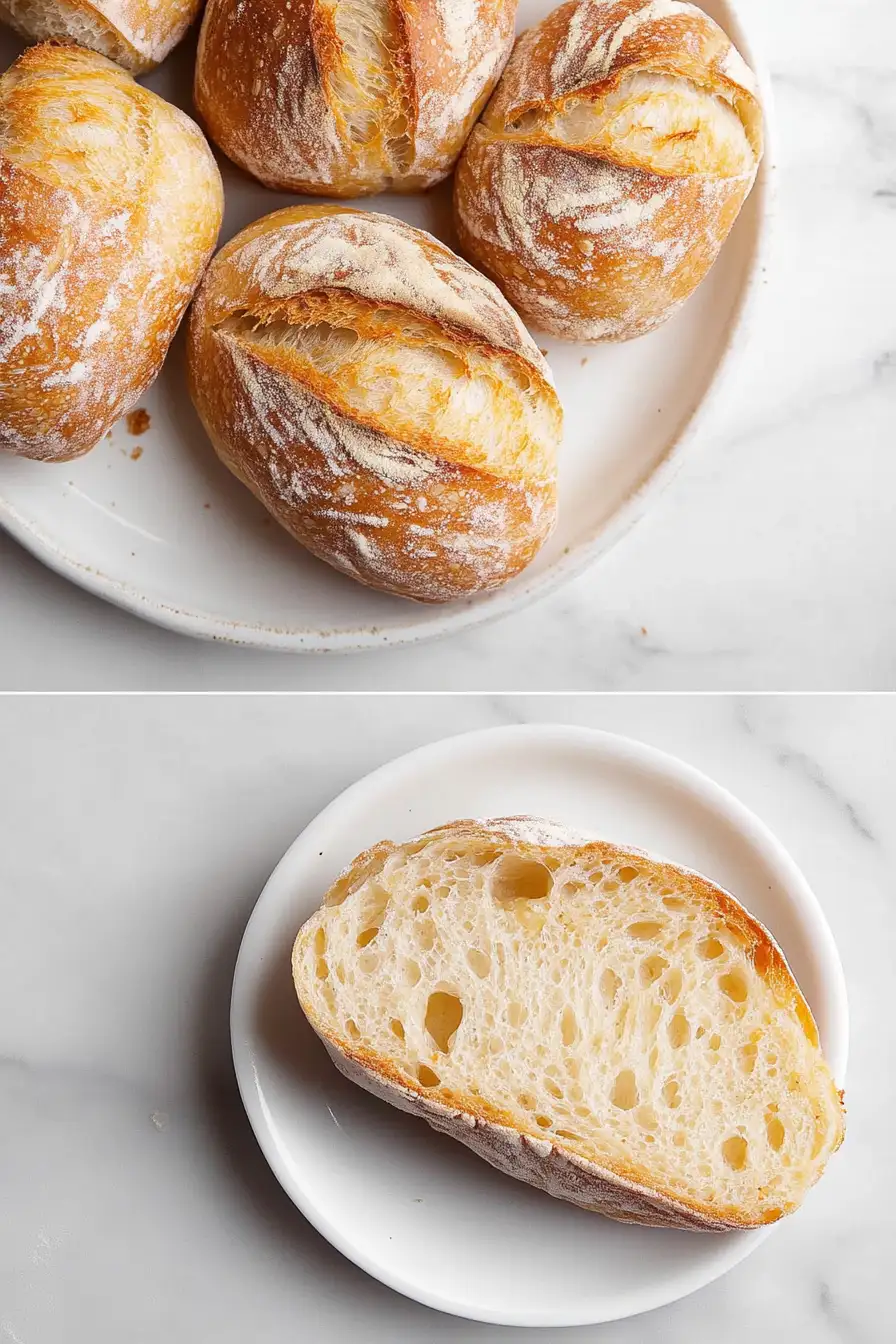
- Versatile Use: Perfect for sandwiches, soups, or just as a snack with butter and jam. Their petite size makes them ideal for a variety of uses. Slice them open for sandwiches, toast them for a crispy snack, or serve them alongside a steaming bowl of soup. Their versatility ensures they can be a staple in your culinary repertoire. They’re perfect for breakfast with a spread of avocado or a dollop of your favorite jam. For lunch, they make the ideal base for a classic ham and cheese or a more elaborate gourmet sandwich.
- Family Friendly: A great way to get the kids involved in the kitchen, from kneading the dough to shaping the baguettes. Baking bread is an excellent educational activity for children, teaching them about measuring, mixing, and the science of yeast. Plus, kids will love shaping their own mini baguettes, giving them a sense of accomplishment when they see the final baked product. It’s a wonderful opportunity to bond with the little ones while teaching them valuable culinary skills.
The Recipe
For the Dough:
| Amount | Ingredient | Notes |
|---|---|---|
| 270 g | all-purpose flour | Consider using bread flour for a chewier texture |
| 1 tsp | salt | — |
| 1 tsp | sugar | — |
| 1 packet | active dry yeast | 2 1/4 teaspoons |
| 180 ml | warm water | About 110°F/43°C |
| 1 tbsp | olive oil | Replace with melted butter for a richer flavor |
| 1 egg | Optional, for egg wash | — |
- Begin by activating the yeast. In a small bowl, combine warm water, sugar, and yeast. Let it sit for 5–10 minutes until the mixture becomes frothy. This step is crucial as it ensures that the yeast is alive and ready to work its magic on your dough, providing the necessary lift and light texture. It’s always satisfying to see the yeast come alive, a testament to the fascinating science of bread-making.
- In a large bowl, whisk together the flour and salt. Add in the yeast mixture and olive oil. Stir until a shaggy dough forms. The initial mixing phase is about combining the ingredients to form a cohesive dough. Don’t worry if the dough looks rough at this stage; it will come together beautifully during kneading. This stage is all about patience and trust in the process.
- Transfer this dough to a floured surface. Knead for 8–10 minutes until the dough is smooth and elastic. Kneading develops gluten, which is essential for a good bread structure. You’ll know the dough is ready when it becomes soft, smooth, and springs back when lightly pressed with a finger. The tactile satisfaction of kneading is one of the joys of making bread by hand.
- Place the dough in a greased bowl, cover it with a towel, and let it rise in a warm place for 1 hour, or until doubled in size. The first rise is important for developing flavor and volume in your bread. Be patient and let the yeast do its work, transforming the dough into a light and airy mass. Watching the dough rise is like witnessing a small miracle, as it swells and becomes pillowy soft.
- Punch down the dough and divide it into 4–6 equal pieces. Shaping the dough into mini baguettes is both an art and a science. Roll each piece into a ball, then elongate them into a baguette shape about 6 inches long. Place them on a parchment-lined baking sheet. This is your chance to get creative with shapes and sizes, making each baguette unique.
- Cover the shaped baguettes loosely and let them rise for 30 minutes. Meanwhile, preheat your oven to 425°F (220°C). The second rise allows the dough to relax and expand further, giving you a lighter and fluffier end product. The anticipation builds as you prepare for the final stage of baking.
- If using, beat the egg with 1 tablespoon of water and brush it over the baguettes. Score each loaf with 2–3 diagonal slashes using a sharp knife. Scoring is not just decorative; it allows the baguettes to expand properly in the oven, preventing them from bursting open in unwanted places. The scoring adds a touch of artisanal flair and ensures a beautiful final appearance.
- To create steam, place a pan of hot water on the lower oven rack. Bake the baguettes for 15–18 minutes until they are golden brown and crisp. The steam is crucial for developing that signature crusty exterior, reminiscent of traditional French baguettes. As they bake, your kitchen will fill with the heartwarming aroma of fresh bread, a scent that’s hard to resist.
- Let them cool on a wire rack before serving, allowing the crust to firm up perfectly. Cooling is an important step in bread baking, as it allows the interior to finish cooking and the crust to set properly. Though it may be hard to wait, this step ensures the best texture and flavor.
Kitchen Tools You’ll Need
| Tool | Why you need it |
|---|---|
| Baking Sheet | Essential for baking the mini baguettes evenly |
| Parchment Paper | Prevents sticking and makes cleanup easy |
| Mixing Bowls | For combining ingredients and allowing the dough to rise |
| Whisk | To combine dry ingredients smoothly |
| Sharp Knife | Necessary for scoring the baguettes |
Having the right tools can make a world of difference in your baking experience. A sturdy baking sheet ensures even heat distribution, essential for achieving that perfect crust. Parchment paper not only prevents sticking but also makes cleanup a breeze. Mixing bowls of various sizes will help you manage the different stages of dough preparation, while a whisk ensures your dry ingredients are thoroughly combined. A sharp knife is key for proper scoring, which is both functional and decorative. Investing in quality tools can elevate your baking from good to great, ensuring consistent results every time.
The Benefits of Each Ingredient
| Ingredient | What it does here |
|---|---|
| All-purpose flour | Provides structure to the baguettes |
| Salt | Enhances flavor and strengthens gluten network |
| Sugar | Feeds the yeast for proper fermentation |
| Active dry yeast | Leavens the dough, creating airy texture |
| Warm water | Activates the yeast and hydrates the flour |
| Olive oil | Adds richness and improves dough texture |
| Egg | (Optional) Gives a glossy finish to the crust |
Understanding the role of each ingredient helps you appreciate the science behind bread-making. Flour is the backbone, providing the necessary structure. Salt not only enhances flavor but also helps strengthen the gluten network, essential for a good rise. Sugar acts as food for the yeast, kick-starting the fermentation process. Yeast is the powerhouse that produces carbon dioxide, creating the airy texture we all love. Warm water activates the yeast and allows the ingredients to meld together. Olive oil adds a subtle richness and improves the dough’s elasticity. An egg wash is optional, but it imparts a beautiful sheen to the crust, making your baguettes bakery-worthy. Each ingredient, simple as it may be, plays a crucial role in the transformation of dough into a delicious baguette.
What to Serve With This Dish
| Idea | Why it pairs well |
|---|---|
| French Onion Soup | Complements the rich, savory flavors with the baguettes’ crust |
| Cheese and Charcuterie | Perfect for |
FAQs About Crusty Mini Baguettes
Can I use bread flour instead of all-purpose flour?
Yes, using bread flour can give your baguettes a slightly chewier texture, which some people prefer.
How should I store leftover baguettes?
Store the baguettes in a paper bag at room temperature for up to 2 days. For longer storage, wrap them tightly and freeze for up to 3 months.
Can I make these baguettes ahead of time?
Absolutely! You can prepare the dough the night before and let it rise slowly in the refrigerator. Just bring it to room temperature before shaping and baking.

Crusty Mini Baguettes
Ingredients
Equipment
Method
- In a small bowl, combine warm water, sugar, and yeast. Let sit for 5–10 minutes until frothy.
- In a large bowl, whisk together the flour and salt. Add the yeast mixture and olive oil. Stir until a shaggy dough forms.
- Transfer the dough to a floured surface. Knead for 8–10 minutes until smooth and elastic.
- Place the dough in a greased bowl. Cover with a towel and let rise in a warm place for 1 hour, or until doubled in size.
- Punch down the dough and divide it into 4–6 equal pieces. Shape each into a mini baguette about 6 inches long. Place on a parchment-lined baking sheet.
- Cover the shaped baguettes loosely and let them rise for 30 minutes. Meanwhile, preheat the oven to 425°F (220°C).
- If using, beat the egg with 1 tablespoon of water and brush it over the baguettes. Use a sharp knife to score each loaf with 2–3 diagonal slashes.
- Place a pan of hot water on the lower oven rack (for steam). Bake the baguettes for 15–18 minutes until golden brown and crisp.
- Cool on a wire rack before serving. This allows the crust to firm up perfectly.