
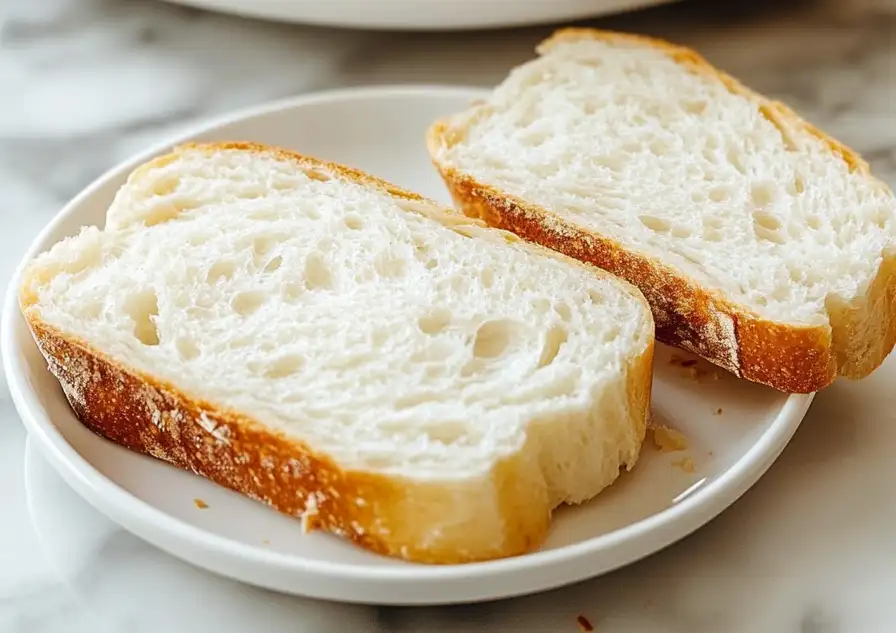
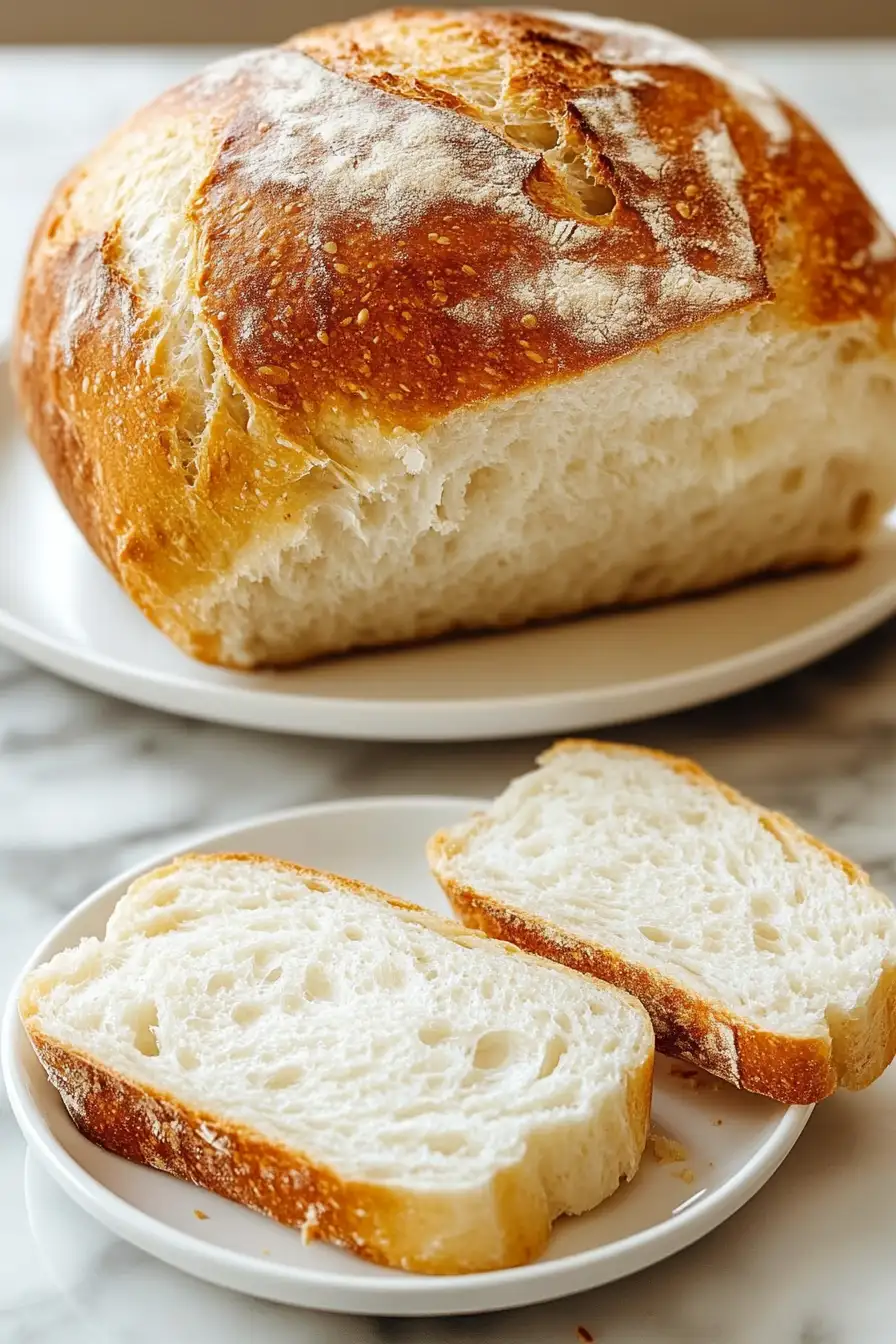
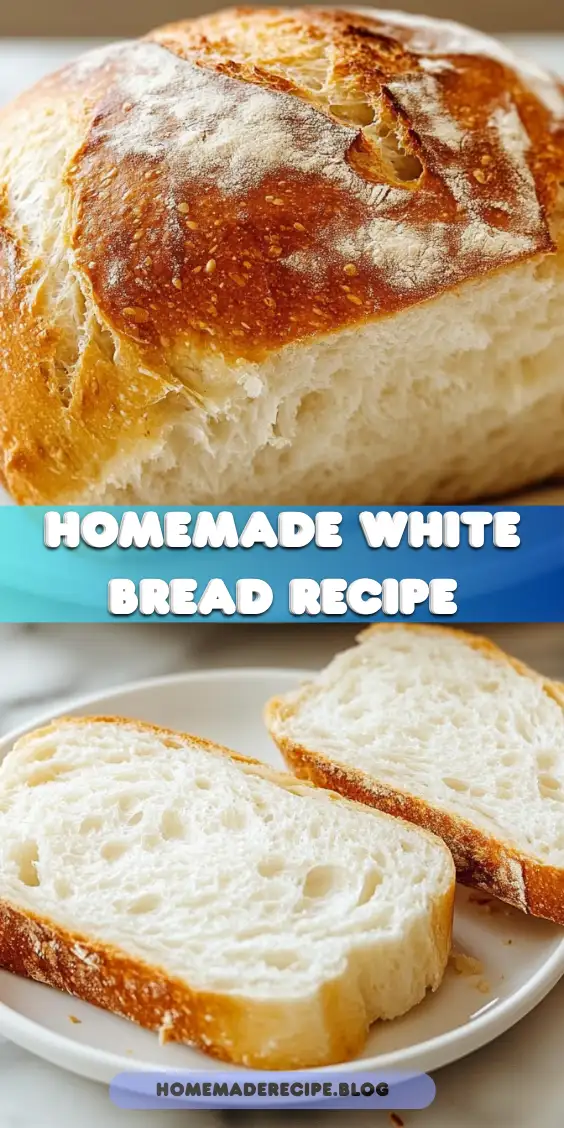
Easy Homemade White Bread is a classic recipe that brings comfort and joy to any meal. There’s something undeniably special about the smell of freshly baked bread wafting through the house, and this easy homemade white bread recipe is perfect for both novice bakers and seasoned pros. With simple ingredients and clear instructions, you can enjoy a warm slice of homemade goodness in no time. Whether you’re gathering around the table with family or seeking solace in a quiet moment with a book, this bread is a timeless companion that elevates everyday experiences.
For those interested in delving deeper into the art of bread making, exploring resources on Serious Eats can provide a wealth of knowledge on different techniques and recipes. Additionally, the King Arthur Baking Company offers an extensive guide on bread baking that includes tips for achieving the perfect crust and crumb. These resources can enhance your skills and inspire new baking adventures.
Table of Contents
Why You’ll Love This Bread
There are countless reasons to love this easy homemade white bread. For one, it’s incredibly versatile. Whether you want to make a sandwich, enjoy a slice with butter and jam, or serve it alongside a hearty soup, this bread fits the bill. It’s also a fantastic way to involve the family in the kitchen; kneading dough can be a fun and therapeutic activity for kids and adults alike. As you stretch and fold the dough, you’ll find a rhythm that soothes the mind and engages the senses.
Moreover, homemade bread is free from the preservatives and additives often found in store-bought versions, making it a healthier option. The ability to customize your loaf with your favorite herbs and spices or to keep it simple and classic offers endless possibilities. Imagine infusing your bread with rosemary and garlic for a savory twist or adding a hint of honey for subtle sweetness. The satisfaction of pulling a perfectly golden loaf from the oven is unmatched and is sure to become a cherished family tradition. The pride and joy in creating something from scratch is an experience that enriches the soul and nourishes the body.
The aroma of freshly baked bread is an experience in itself. It fills the home with warmth and anticipation, stirring memories and creating new ones. There’s a sense of accomplishment that comes with baking your own bread—a tangible, delicious result of your efforts. Plus, the flexibility to experiment with different flavors and ingredients means you can make this recipe fit your taste preferences perfectly, whether you’re in the mood for something sweet or savory.
The Recipe
This recipe is straightforward and rewarding, making it a wonderful introduction to bread baking. The ingredients are simple and likely already in your pantry, ensuring that you can whip up a loaf whenever the mood strikes.
For the Pie Crust:
| Amount | Ingredient | Notes |
|---|---|---|
| 1 piece | unbaked 9-inch pie crust | store-bought or homemade |
For the Filling:
| Amount | Ingredient | Notes |
|---|---|---|
| 1.5 cups | granulated sugar | — |
| 0.25 cup | all-purpose flour | — |
| 0.25 tsp | salt | — |
| 1 cup | whole milk | — |
| 2 pieces | large eggs | lightly beaten |
| 1 tsp | vanilla extract | — |
| 0.5 cup | unsalted butter | melted |
| 0.25 tsp | ground nutmeg or cinnamon | optional, for topping |

- Preheat your oven to 350°F (175°C).
- In a mixing bowl, combine the sugar, flour, and salt. Whisk together until blended. The act of whisking not only combines the ingredients but also aerates the mixture, ensuring a light and fluffy texture.
- Add the milk, beaten eggs, vanilla extract, and melted butter to the dry ingredients. Mix until smooth. The transformation from dry to wet is a moment of alchemy, as ingredients meld together into a cohesive, luscious batter.
- Pour the mixture into the pie crust. The gentle pour creates a sense of anticipation as the filling settles into its new home.
- If using, sprinkle the ground nutmeg or cinnamon on top. This small touch adds a layer of aromatic complexity that enhances every bite.
- Bake in the preheated oven for 30 minutes or until set. The waiting game begins, as the kitchen fills with tantalizing aromas that promise delicious rewards.
This pie is delicious served warm or cold. Try adding a dollop of whipped cream or a scoop of vanilla ice cream for an extra treat. The contrast between the warm, spiced pie and the cool, creamy toppings is a delightful symphony of flavors and textures.
Kitchen Tools You’ll Need
Having the right tools makes the baking process smoother and more enjoyable. Here’s what you’ll need:
| Tool | Why you need it |
|---|---|
| Mixing bowl | To combine dry and wet ingredients |
| Whisk | For blending the ingredients smoothly |
| Oven | To bake the pie to perfection |
| Measuring cups | To ensure ingredient accuracy |
| Pie dish | To hold the pie crust and filling |
These tools are essential for creating a seamless experience in the kitchen. The mixing bowl becomes a vessel of creativity, while the whisk acts as your magic wand, bringing ingredients together with a flick of the wrist. Measuring cups ensure precision, which is key to achieving the perfect texture and flavor in your bread. The pie dish, though simple, is the stage where the culinary magic happens, holding your creation as it transforms in the oven.
The Benefits of Each Ingredient
Understanding the role of each ingredient enhances your appreciation of the baking process. Here’s a closer look:
| Ingredient | What it does here |
|---|---|
| Granulated sugar | Sweetens the pie filling |
| All-purpose flour | Thickens the filling |
| Whole milk | Adds creaminess to the texture |
| Eggs | Provides structure and richness |
| Vanilla extract | Enhances the flavor |
| Unsalted butter | Adds richness and tenderness |
| Ground nutmeg or cinnamon | Offers a warm, spiced topping |
Each ingredient plays a crucial part in creating the perfect pie. The sugar sweetens and caramelizes, the flour stabilizes, and the milk enriches. Eggs bind everything together, while vanilla and butter add depth and luxury. Nutmeg or cinnamon offers a final aromatic flourish that lingers pleasantly on the palate.
The sugar not only sweetens but also caramelizes during baking, giving the pie a delightful taste and appealing color. Flour acts as a thickening agent, ensuring the filling sets properly. Milk adds a smooth, creamy texture, enhancing the overall mouthfeel. Eggs are essential for structure, helping the pie hold its shape while adding richness. Vanilla extract amplifies the flavors, while butter brings a luxurious taste and tender texture. Nutmeg or cinnamon, if used, provides a fragrant, warm spice that complements the sweetness perfectly.
What to Serve With This Pie
Pairing your pie with complementary sides can elevate the dining experience. Here are some ideas:
| Idea | Why it pairs well |
|---|---|
| Whipped cream | Adds a light, creamy contrast |
| Vanilla ice cream | Complements the warm spices |
| Fresh berries | Offers a refreshing, tart balance |
These accompaniments bring out the best in your pie, adding layers of flavor and temperature contrast that keep each bite exciting. The creamy smoothness of whipped cream or ice cream contrasts beautifully with the pie’s texture, while fresh berries add a tart, vibrant note that refreshes the palate. Each of these pairings offers a unique experience, from the lightness of whipped cream to the decadent richness of ice cream, and the bright, juicy burst of fresh berries.
Storage & Leftover Tips
Proper storage ensures that your pie remains delicious for days. Here’s how to keep it fresh:
| Method | How long | Tip |
|---|---|---|
| Room temperature | 2 days | Store in an airtight container |
| Refrigerate | 5 days | Wrap tightly with plastic wrap |
| Freeze | 1 month | Slice before freezing for easy serving |
These tips help you enjoy your pie at its best, whether freshly baked or saved for later. By planning ahead, you can savor a slice of homemade goodness whenever the craving strikes. Storing the pie at room temperature allows it to maintain its texture for a couple of days, while refrigeration extends its life by preserving freshness. Freezing is an excellent option for longer storage, especially if you slice the pie first, allowing you to thaw and enjoy individual servings as desired.
As you embark on your baking adventure, remember that homemade bread is as much about the process as it is about the final product. The aroma, the anticipation, and the joy of sharing it with loved ones are what make it special. Each step, from measuring ingredients to the final presentation, is an opportunity to create memories. Enjoy every step, and don’t be afraid to experiment with flavors and techniques to make this recipe truly your own. Whether you’re a novice baker or an experienced pro, this easy homemade white bread is a testament to the simple pleasures of life, offering warmth and nourishment to all who partake.
Embrace the process and allow yourself to be fully present in the moment. Notice the texture of the dough as you knead it, the changes in aroma as it bakes, and the satisfaction of slicing into a warm loaf. These small details are what make homemade bread baking a rewarding experience. As you become more comfortable with the recipe, try experimenting with different flours, adding seeds for texture, or incorporating dried fruits for a sweet surprise. Each variation is an opportunity to make the recipe uniquely yours, delighting your taste buds and those of anyone lucky enough to share in your creation.
FAQs About Easy Homemade White Bread
Can I substitute whole milk with a non-dairy alternative?
Yes, you can use almond milk, soy milk, or oat milk as a substitute for whole milk, though it may slightly affect the flavor and texture.
How should I store the pie to keep it fresh?
To keep the pie fresh, store it at room temperature for up to 2 days in an airtight container, or refrigerate for up to 5 days.
Can I make this recipe ahead of time?
Absolutely! Prepare the pie a day in advance and store it in the refrigerator. It tastes delicious either warm or cold, so you can serve it straight from the fridge or reheat it gently.
Easy Homemade White Bread
Ingredients
Equipment
Method
- Preheat your oven to 350°F (175°C).
- In a mixing bowl, combine the sugar, flour, and salt. Whisk together until blended.
- Add the milk, beaten eggs, vanilla extract, and melted butter to the dry ingredients. Mix until smooth.
- Pour the mixture into the pie crust.
- If using, sprinkle the ground nutmeg or cinnamon on top.
- Bake in the preheated oven for 30 minutes or until set.