
Welcome to my cozy kitchen, where today we’re diving into a delightful treat that has won the hearts of my family and friends time and again: the No Bake Double Good Dessert. Picture this: a dessert so irresistible that my kids have dubbed it “the vanishing bars.” The first time I made these, the whole pan disappeared in a flash during a family potluck. There’s something magical about the creamy layers and the satisfying crunch of cookies that just draws everyone in. The best part? You won’t even need to turn on your oven, making it perfect for those days when you want something sweet without the fuss.
Table of Contents
- Why You’ll Love This Dessert
- The Recipe
- Kitchen Tools You’ll Need
- The Benefits of Each Ingredient
- What to Serve With This Dessert
- Storage & Leftover Tips
Why You’ll Love This Dessert
- Quick and Easy: With just a few simple steps, this dessert comes together effortlessly. Perfect for busy weekdays or when unexpected guests arrive. You can whip it up with minimal preparation, making it a go-to solution for dessert emergencies. It’s the kind of recipe that makes you look like a culinary genius without breaking a sweat.
- No Baking Required: Forget the oven! This dessert saves you time and keeps your kitchen cool. It’s especially great during those hot summer months when the last thing you want is to heat up your kitchen. Plus, no-bake means fewer dishes and less cleanup.
- Crowd-Pleaser: Whether it’s a family gathering or a casual get-together, this treat is always a hit. Its rich flavors and creamy texture make it a favorite for all ages. Kids and adults alike will find themselves reaching for another piece. It’s the perfect balance of sweet and savory, creamy and crunchy.
- Versatile Ingredients: Most of the items you’ll need are pantry staples, making it easy to whip up whenever the craving strikes. You can even substitute with what you have on hand, making this a flexible recipe. Experiment with different flavors of sandwich cookies or add a layer of sliced bananas or strawberries for a fruity twist.
- Make-Ahead Friendly: You can prepare it in advance, leaving more time to enjoy with your family and friends. It’s perfect for stress-free entertaining. Just pull it out of the freezer when you’re ready to serve, and you’re all set!
The Recipe
Prep Time: 15 minutes
Additional Time: 1-2 hours (freezing)
Total Time: About 2 hours
Servings: 36
Calories per Serving: 135
Ingredients
- 20 chocolate sandwich cookies, crushed
- 1 (8 ounce) package cream cheese, softened
- 2 cups confectioners’ sugar
- ¾ cup peanut butter
- 1 (12 ounce) container frozen whipped topping, thawed
Instructions
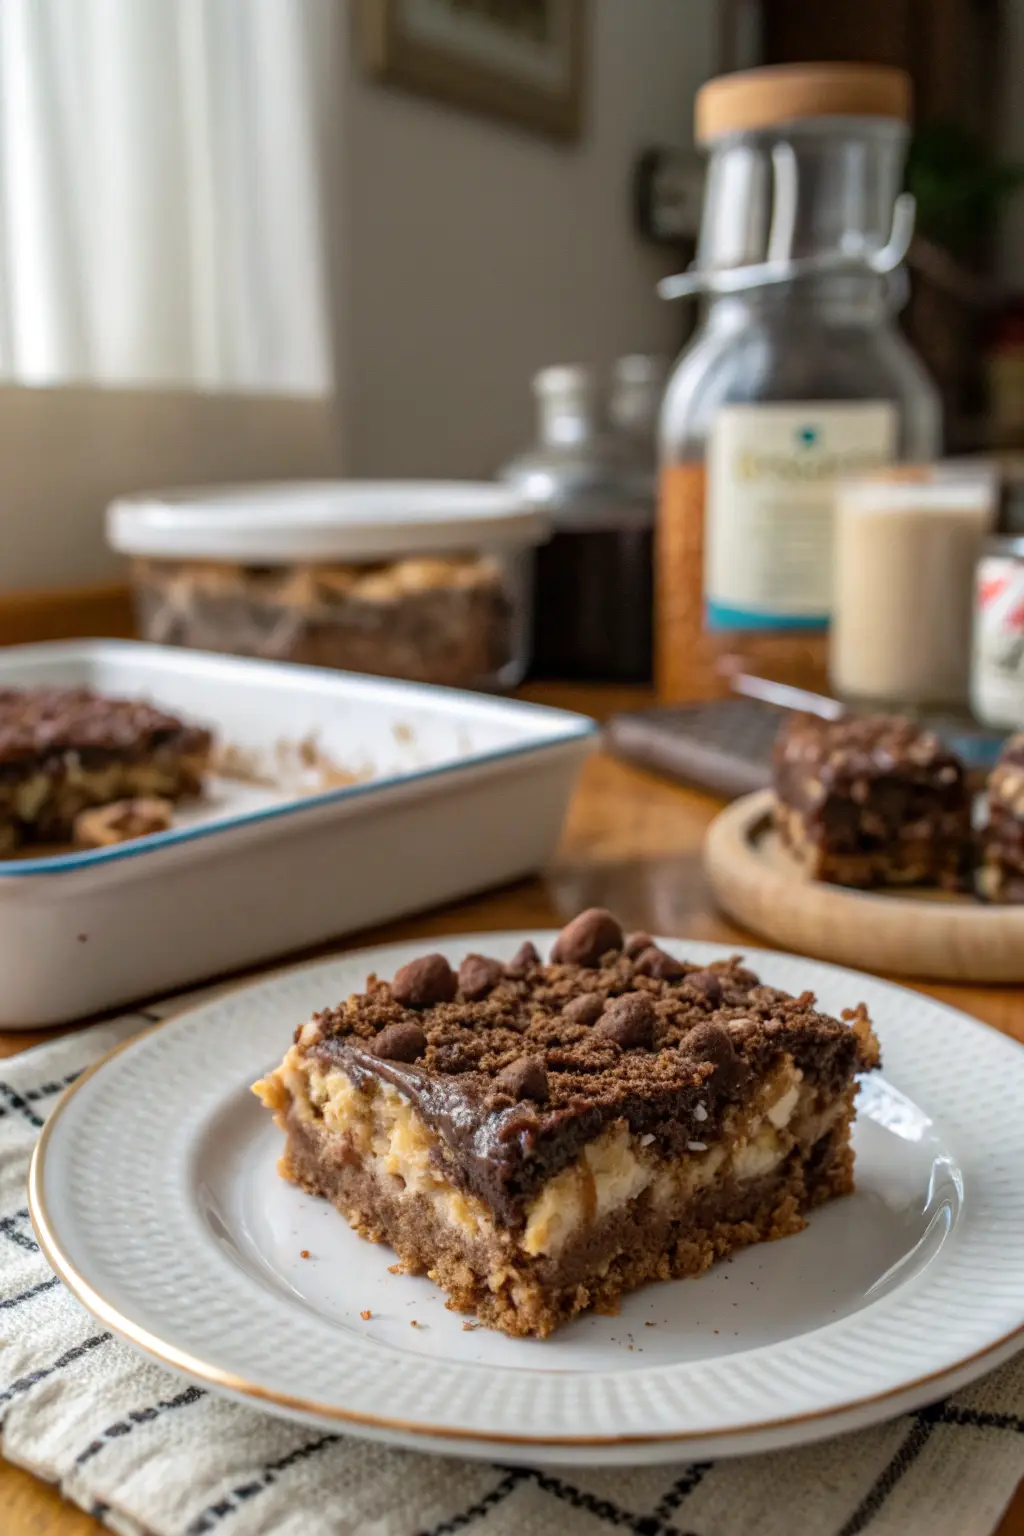
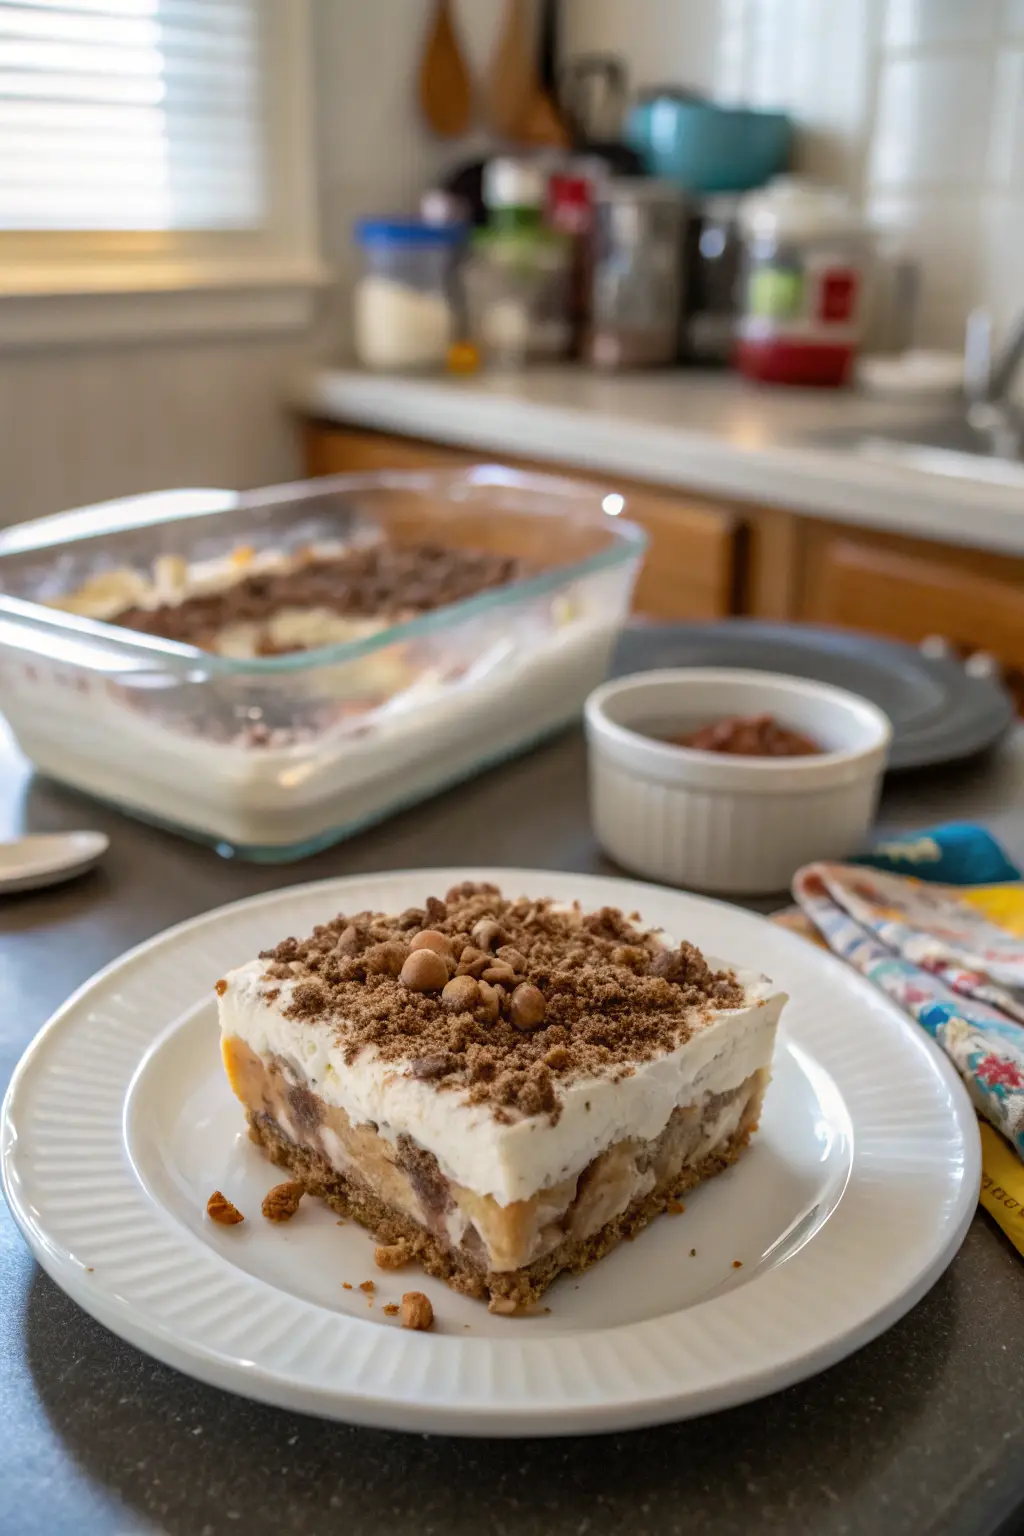
- Prepare the Cookie Base: Start by pressing the crushed chocolate sandwich cookies into the bottom of a 9×13 inch pan. Make sure you reserve a few of these crumbs for decoration later on. This base sets the stage for the creamy layers above, providing a delightful crunch that complements the smooth filling. For an extra touch, consider adding a pinch of salt or a sprinkle of cinnamon to the cookie crumbs to enhance the flavor.
- Mix the Creamy Layer: In a medium bowl, beat together the softened cream cheese and confectioners’ sugar until smooth. This creates a sweet, creamy base that blends beautifully with the peanut butter. Ensure there are no lumps to achieve that perfect texture. If you’re feeling adventurous, try adding a teaspoon of vanilla extract or a dash of almond extract for added depth of flavor.
- Blend in the Peanut Butter: Stir in the peanut butter until the mixture is well-blended and creamy. The peanut butter adds a rich, nutty flavor that complements the sweet cream cheese mixture. Using a creamy peanut butter ensures a smooth consistency. For those who prefer a crunchier texture, you can opt for chunky peanut butter or even stir in some chopped nuts.
- Fold in Whipped Topping: Gently fold in the thawed whipped topping. This adds a light, airy texture to the dessert, making each bite melt in your mouth. Be careful not to overmix, as you want to maintain the fluffiness of the whipped topping. If you’re a fan of chocolate, consider folding in a handful of mini chocolate chips for an extra surprise.
- Assemble the Layers: Spread the creamy mixture evenly over the crushed cookie base. Ensure it’s smooth and covers all the corners for an even layer. Take your time to smooth it out with a spatula for a professional finish. Pay attention to the edges, making sure the filling reaches every corner to avoid any uneven bites.
- Decorate and Freeze: Sprinkle the reserved cookie crumbs on top for a decorative touch. Freeze the dessert for 1 to 2 hours, allowing it to set. The freezing process helps the dessert hold its shape when cut into bars. For a festive look, consider adding a drizzle of chocolate syrup or a sprinkle of cocoa powder before freezing.
- Serve and Enjoy: Before serving, thaw the dessert for 10 to 15 minutes. This makes it easier to cut into bars and enhances the creamy texture. Enjoy the smiles as everyone digs in! Each bite is a delightful combination of rich, creamy, and crunchy textures that are sure to satisfy any sweet tooth.
Kitchen Tools You’ll Need
- 9×13 inch baking pan: A staple for bar desserts, it allows for even distribution and easy slicing. Consider lining the pan with parchment paper for easy removal and cleanup.
- Medium mixing bowl: Ideal for combining your creamy ingredients without making a mess. A glass or stainless steel bowl works best for easy cleaning.
- Electric mixer or whisk: An electric mixer will save you time and ensure a smooth cream cheese mixture. If using a whisk, make sure to beat vigorously to eliminate any lumps.
- Spatula: Perfect for spreading the creamy layer evenly across the cookie base. A silicone spatula works well for scraping every last bit of the mixture from the bowl.
- Measuring cups and spoons: Precision is key in baking, even no-bake recipes! Accurate measurements ensure consistent results every time.
The Benefits of Each Ingredient
- Chocolate Sandwich Cookies: These provide the essential crunch and a chocolatey base that contrasts perfectly with the creamy layers. They’re also versatile and can be substituted with different flavors if desired. Consider mint-flavored cookies for a refreshing variation.
- Cream Cheese: Adds a rich, tangy flavor that balances the sweetness of the dessert, while also providing a smooth, creamy texture. It’s the backbone of the creamy layer. Opt for full-fat cream cheese for the best texture and flavor.
- Confectioners’ Sugar: This finely ground sugar blends easily with the cream cheese, ensuring a smooth and sweet mixture. Its powdery texture helps achieve the perfect consistency. Sift the sugar to prevent any lumps in the mixture.
- Peanut Butter: Offers a comforting, nutty flavor that pairs beautifully with chocolate, creating a classic combination that everyone loves. Opt for creamy for a silky texture, or crunchy if you desire a bit more texture. Natural peanut butter can be used for a less sweet option.
- Whipped Topping: Lightens the dessert and adds a fluffy texture, making each bite airy and delightful. It’s an essential component that balances the richness of the peanut butter and cream cheese. For a homemade touch, you can whip your own cream instead of using store-bought topping.
What to Serve With This Dessert
Pair this No Bake Double Good Dessert with a warm cup of coffee or a chilled glass of milk for a delightful contrast. It’s also fantastic with a scoop of vanilla ice cream on the side for an extra indulgent treat. If you’re hosting a gathering, consider serving it alongside my easy homemade lasagna or a comforting bowl of chicken noodle soup, both of which can be found on homemaderecipe.blog. These savory dishes complement the sweetness of the dessert beautifully. For a complete dessert table, add some fresh fruit or a light fruit salad to balance the richness.
Storage & Leftover Tips
Should you find yourself with leftovers (which is rare in my house!), store them in an airtight container in the freezer. This dessert keeps well for up to a week, making it a convenient option for make-ahead treats. Be sure to label the container with the date, so you remember when it’s best to enjoy it by. To serve, simply remove from the freezer and let it sit at room temperature for about 10 minutes before slicing. This allows the dessert to reach the perfect texture for slicing and serving. If you’re planning to transport this dessert, consider freezing it in a disposable pan with a lid for easy travel.
In conclusion, this No Bake Double Good Dessert is more than just a treat—it’s a delightful experience that brings joy to any occasion. Whether you’re making it for a special celebration or simply because you deserve something sweet, it’s a recipe that promises warmth and happiness in every bite. So gather your ingredients, invite a friend or two, and enjoy the process of creating this delicious dessert together. Happy no-baking!
No Bake Double Good Dessert
Ingredients
Equipment
Method
- Press crushed cookies into the bottom of a 9×13 inch pan, reserving a few for decoration.
- In a medium bowl, beat together the cream cheese and confectioners’ sugar.
- Stir in the peanut butter until well blended, then fold in the whipped topping.
- Spread the creamy mixture over the crushed cookie base.
- Sprinkle the remaining cookie chunks on top and freeze for 1 to 2 hours.
- Thaw the dessert for 10 to 15 minutes before cutting and serving.