
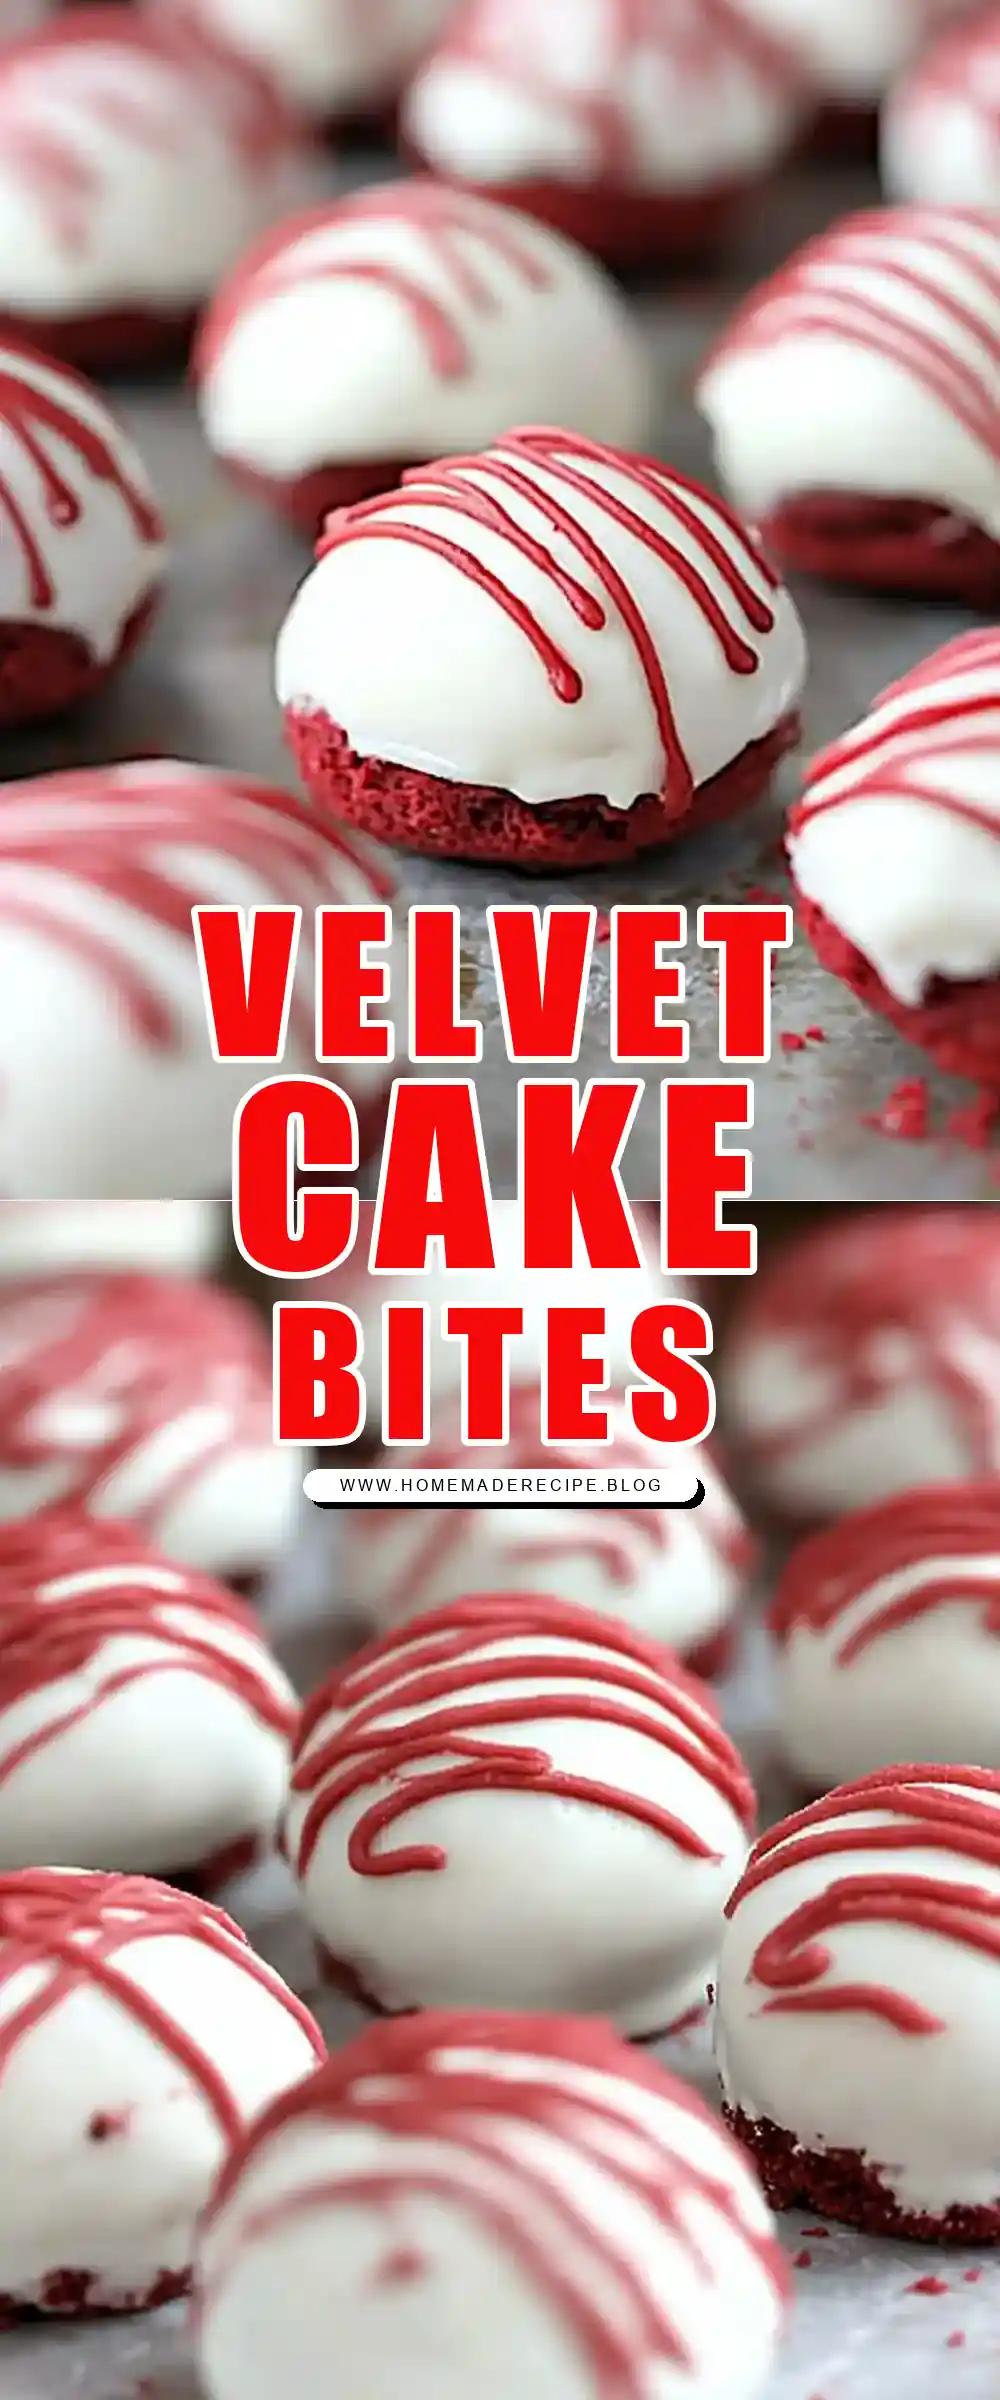
Unveiling the Magic: Crafting Delightful Red Velvet Cake Bites
There’s something truly magical about creating little bites of joy in your kitchen, and Red Velvet Cake Bites are just that—tiny morsels of delight that bring a smile to anyone’s face. I remember the first time I made these for a family gathering; the air was filled with laughter and the scent of freshly baked cake. As I watched everyone savor each bite, I knew this was a recipe worth sharing. These Red Velvet Cake Bites are perfect for any occasion, from festive parties to a cozy night in with family. Let me walk you through the process of making these delightful treats, and I promise, you’ll fall in love with them just as I did.
Why You’ll Love These Cake Bites
- Quick and Easy: Using a box of red velvet cake mix, these bites come together in no time, making them perfect for last-minute dessert needs.
- Perfectly Portable: Their bite-sized nature makes them ideal for parties, potlucks, or lunchbox treats.
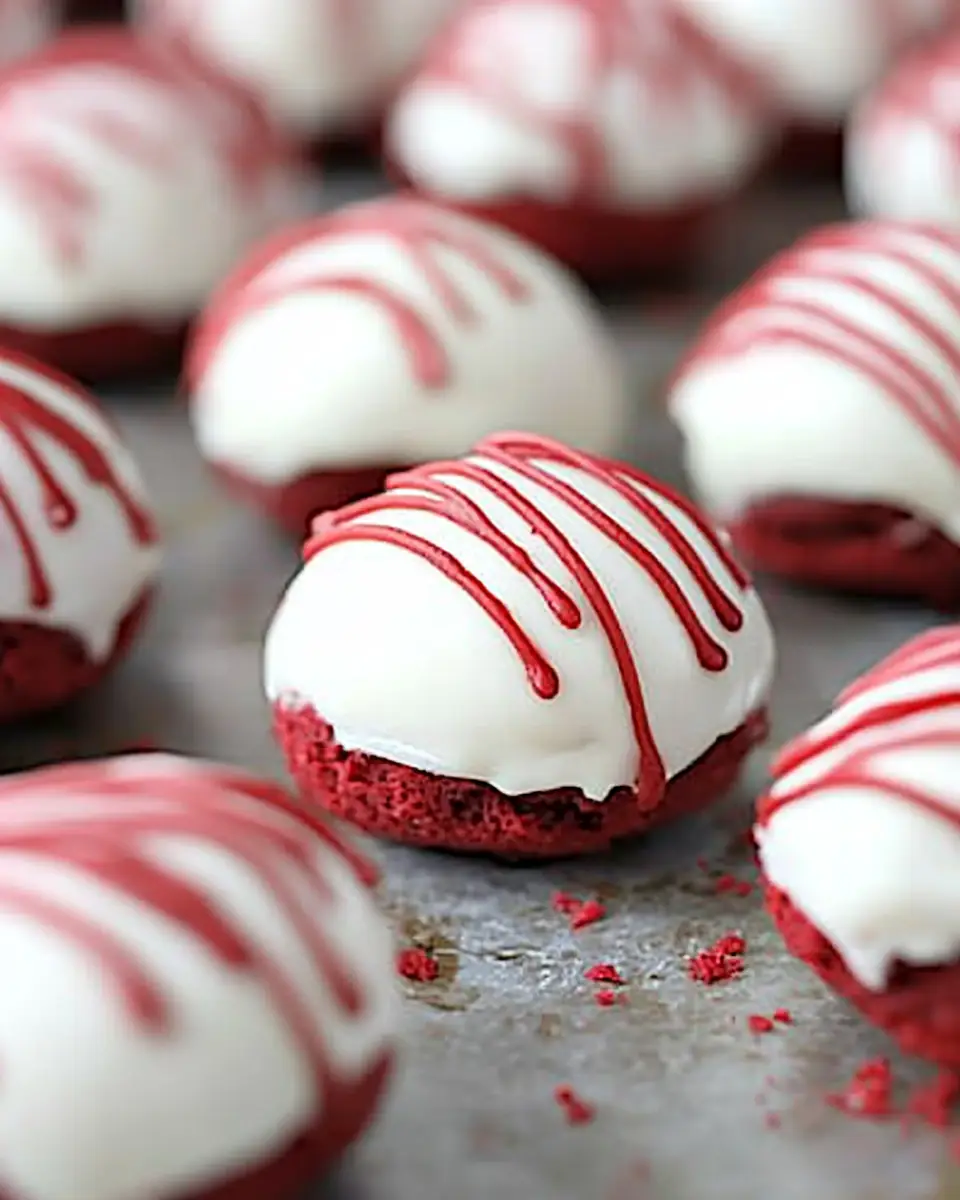
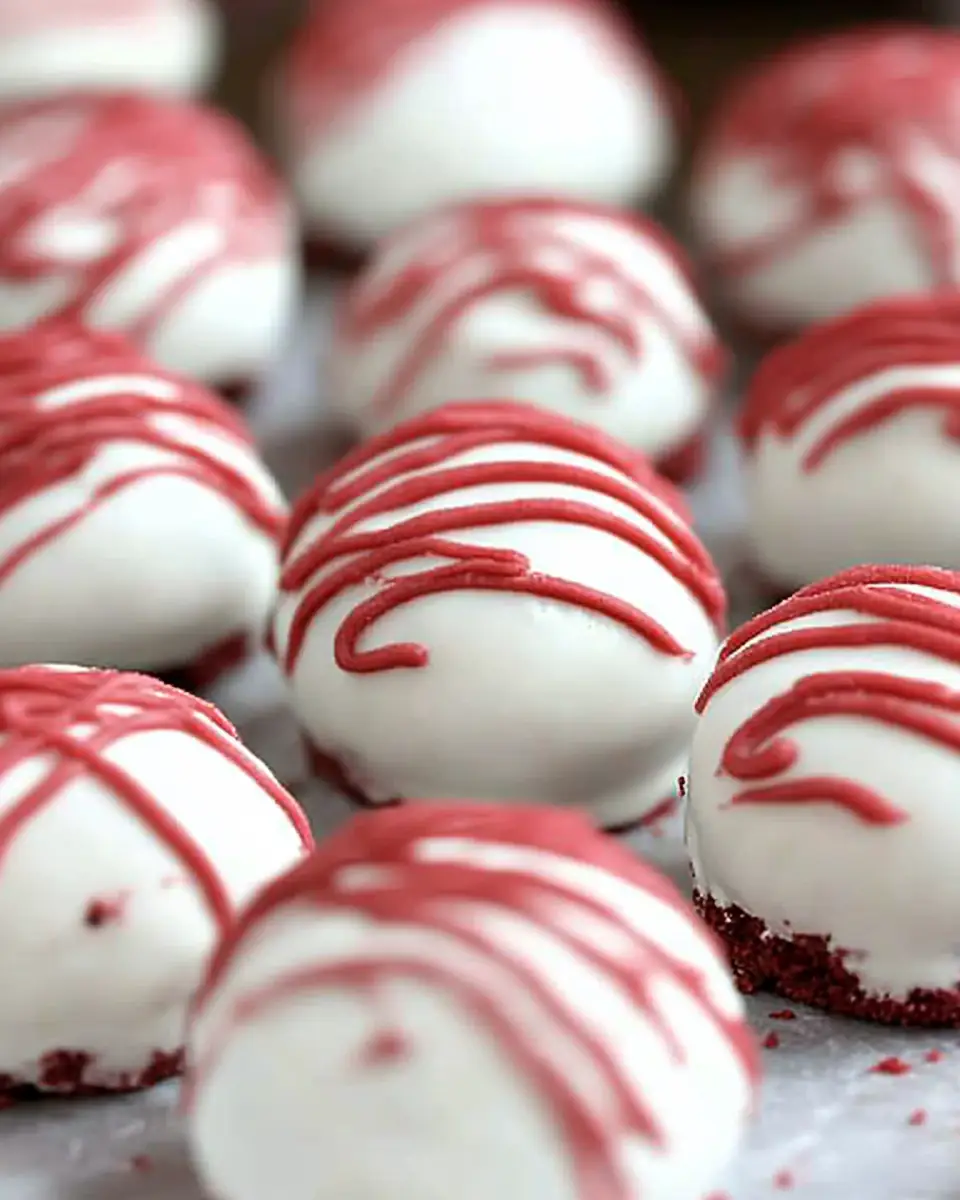
- Rich and Creamy: Each bite combines the moistness of cake with the creamy goodness of cream cheese frosting, coated in a luscious white chocolate shell.
- Versatile Decoration: You can customize these bites with your choice of sprinkles or a drizzle of melted red candy for a festive touch.
- Family-Friendly Activity: The rolling and dipping process is a fun and engaging task for kids and adults alike.
The Recipe
Ingredients:
- 15.25 ounces Red Velvet Cake Mix (1 box)
- 1 ¼ cups water (as per cake box instructions)
- 3 eggs (as per cake box instructions)
- ½ cup vegetable oil (as per cake box instructions)
- 16 ounces cream cheese frosting (store-bought or homemade)
- 1 pound white chocolate candy coating or almond bark
- 15 Red Candy Melts (optional for red stripes on top)
Directions:
Bake the Cake: Follow the package instructions to bake the red velvet cake. Once baked, let it cool completely. For a quick cool-down, place it in the freezer for about 45 minutes.
Crumble the Cake: In a large bowl, crumble the cooled cake using your hands until it resembles fine crumbs.
Mix with Frosting: Gradually add the cream cheese frosting to the crumbled cake, about ½ cup at a time, until the mixture holds together when rolled.
Shape the Bites: Roll the mixture into small balls or discs, then place them on a large baking sheet. Chill in the fridge for about 30 minutes to firm up.
Coat with Chocolate: Melt the white chocolate candy coating as per package instructions. Using a skewer, dip each cake bite into the melted coating, ensuring it’s fully covered. Place them back on the baking sheet.
Decorate: If desired, melt the red candy melts and drizzle over the cake bites using a sandwich bag with a clipped corner. Allow the coating to set completely.
Nutrition:
- Calories: 150 kcal per serving
- Prep Time: 2 hours
- Cook Time: 30 minutes
- Total Time: 2 hours 30 minutes
- Servings: Multiple servings, depending on size
Kitchen Tools You’ll Need
- Large mixing bowl
- Baking sheet
- Freezer or refrigerator
- Skewer or dipping tool
- Wax paper (optional)
- Sandwich bag (for drizzling)
The Benefits of Each Ingredient
Red Velvet Cake Mix: Provides the base flavor and vibrant color, making it a convenient starting point for these delicious bites. The subtle cocoa flavor paired with the rich red hue adds a special touch that is both visually appealing and tastefully divine.
Cream Cheese Frosting: Adds a tangy creaminess that complements the sweetness of the cake. The cream cheese’s slight tartness balances the sugar, creating a harmonious blend that isn’t overly sweet but perfectly delightful.
White Chocolate Coating: Offers a smooth, sweet exterior that contrasts beautifully with the cake’s texture. The white chocolate not only enhances the visual appeal with its glossy finish but also adds a creamy richness that envelops each bite in decadence.
Red Candy Melts: These optional accents add a pop of color and a bit of fun flair to the finished bites. They are perfect for adding a festive touch, especially for themed occasions like Valentine’s Day or Christmas.
What to Serve With These Cake Bites
Red Velvet Cake Bites pair wonderfully with a hot cup of coffee or a glass of cold milk. They also make a delightful addition to a dessert platter featuring Chocolate Chip Cookies or Classic Sugar Cookies for a variety of textures and flavors. If you’re hosting a tea party, consider serving these alongside a selection of herbal teas, where their creaminess will complement the subtle flavors of chamomile or the zest of mint.
Storage & Leftover Tips
Store your Red Velvet Cake Bites in an airtight container in the refrigerator for up to a week. If you have a larger batch, they can also be frozen for up to three months. Simply thaw them in the refrigerator before serving, and they’ll be as delicious as the day you made them. For longer storage, consider wrapping each bite individually in wax paper before placing them in the container, which helps maintain their shape and prevents them from sticking together.
Creative Variations to Explore
While this classic recipe is a crowd-pleaser, don’t hesitate to experiment with different flavors and coatings to make these bites truly your own.
1. Flavor Twists:
Chocolate Ganache: Swap the white chocolate coating for a rich chocolate ganache. This variation elevates the bite’s richness and provides a deep chocolate flavor that pairs beautifully with the red velvet base.
Nutty Delight: Add chopped nuts like pecans or walnuts to the cake mixture to introduce a crunchy texture. You can also sprinkle them on top of the coating for added flair.
2. Coating Alternatives:
Dark Chocolate: For a more sophisticated taste, use dark chocolate for coating. The bitterness of the dark chocolate complements the sweetness of the cake and frosting.
Colored Coatings: Use different colors of candy melts to match the theme of your event. Pastel colors work wonderfully for spring gatherings or baby showers.
3. Filling Ideas:
Fruit Jam: Incorporate a dollop of raspberry or strawberry jam in the center of each ball before rolling. The fruity surprise adds a burst of flavor that is both unexpected and delightful.
Caramel Center: Place a small amount of caramel sauce in the center for a gooey, indulgent twist. The caramel pairs well with the cream cheese frosting and red velvet cake.
Engaging Kids in the Baking Process
Baking Red Velvet Cake Bites is a fantastic opportunity to engage kids in the kitchen. The process of crumbling the cake, mixing the frosting, and rolling the bites is not only fun but also educational. It’s a great way to teach kids about measurements, textures, and the science of baking in a hands-on manner.
Tips for Baking with Kids:
Safety First: Ensure that kids are supervised, especially during the baking and chocolate melting stages. Teach them to use tools safely and handle ingredients with care.
Decorating Fun: Allow children to personalize their cake bites with their favorite sprinkles or edible glitter. This step encourages creativity and makes them feel proud of their creations.
Taste Testing: Let kids taste test different stages of the process, from the raw batter (omit the raw eggs for safety) to the finished product. Discuss the flavors and textures to develop their palate.
Hosting a Red Velvet Themed Party
Imagine hosting a party where red velvet is the star! Your Red Velvet Cake Bites can be a centerpiece to a themed gathering that includes other red velvet delights such as cupcakes, donuts, and even a red velvet smoothie. Decorate your space with red and white accents, and consider providing little recipe cards for guests to take home.
Party Ideas:
Red Velvet Dessert Bar: Create a dessert bar with a variety of red velvet treats. Include different toppings and coatings for guests to customize their cake bites.
Baking Station: Set up a mini baking station where guests can try rolling and decorating their own cake bites. This interactive activity is sure to be a hit!
In conclusion, these Red Velvet Cake Bites are a delightful treat that brings warmth and joy to any occasion. With their easy preparation and irresistible taste, they are sure to become a favorite in your home. Enjoy making and sharing them with your loved ones, and relish the smiles they bring! Whether you stick to the classic recipe or venture into new flavor territories, these cake bites are a testament to the joy of home baking.

Red Velvet Cake Bites
Ingredients
Equipment
Method
- Bake the cake according to directions on the package.
- Let it cool completely in the freezer for about 45 minutes or overnight.
- Crumble the entire cake in a bowl using your hands.
- Stir in the frosting into the crumbled cake, about ½ cup at a time, until it holds together.
- Roll the mixture into balls and place on a baking sheet; chill for 30 minutes.
- Melt the white chocolate candy coating and dip each ball to cover.
- Let the bites set up in the fridge or at room temperature.
- Melt red candy melts, spoon into a bag, and drizzle over the set bites.