
The Magic of Baking and Memories
Growing up in a household where baking was a way of life, there was always something magical about the aroma of freshly baked goods wafting through the house. It was more than just a smell; it was a signal of warmth, family, and love. One of my most cherished memories is of my grandmother pulling tray after tray of cupcakes out of the oven, each one a promise of sweet delight. The anticipation of biting into one of her creations was a joy that I have carried into my own kitchen.
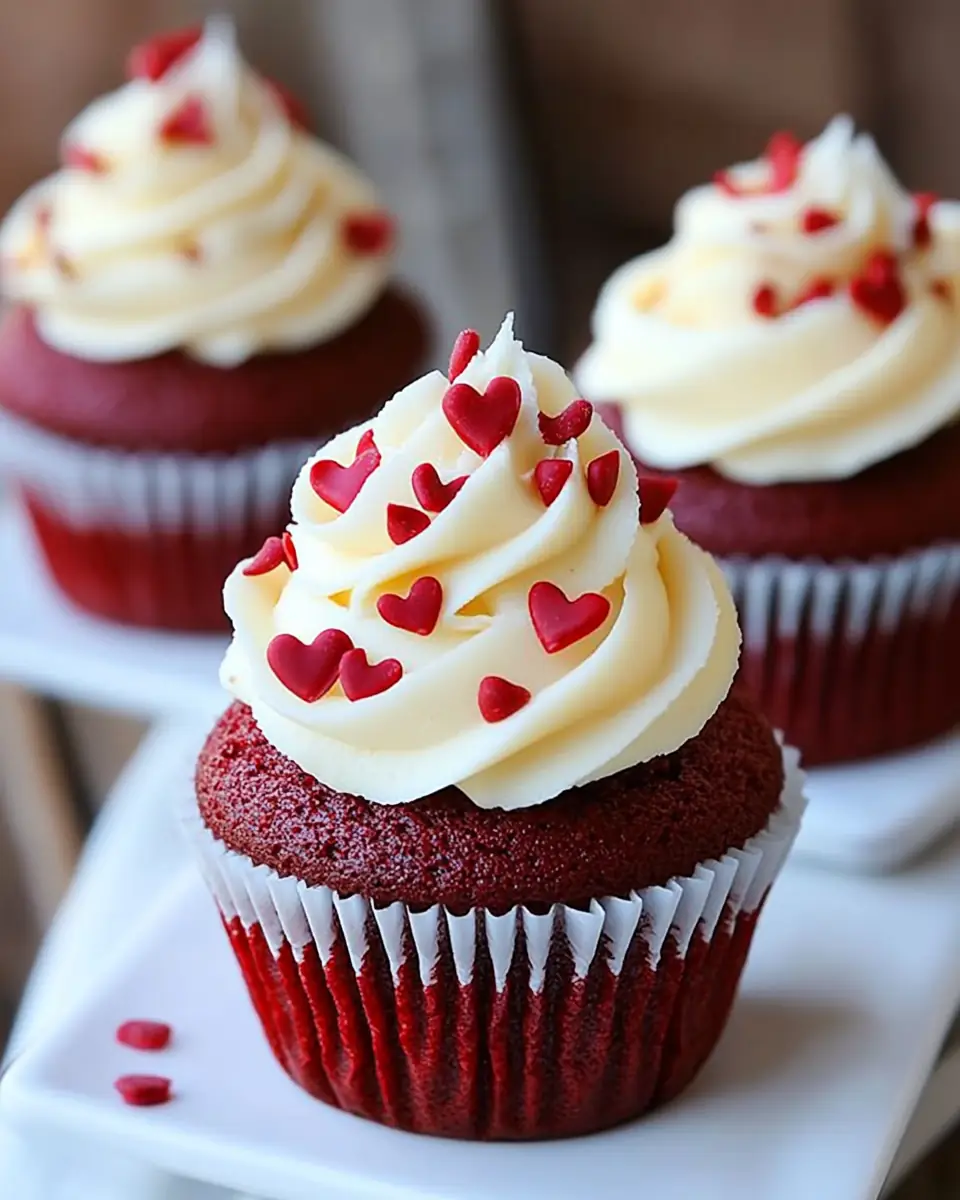
Inheriting her love for baking, I’ve continued the tradition with a recipe that holds a special place in my heart: Red Velvet Cupcakes with White Chocolate Mousse. These cupcakes are more than just a treat; they are a celebration of love, warmth, and family. Whether you’re baking for a special occasion or just because, these cupcakes will fill your home with joy and your heart with satisfaction.
Why You’ll Love This Dessert
- Irresistible Flavor Combo: The rich, velvety texture of the red velvet cupcake perfectly complements the creamy, sweet white chocolate mousse topping, creating a taste sensation in every bite. The tanginess of the red velvet, often highlighted by a hint of cocoa, pairs beautifully with the smooth, vanilla-like sweetness of white chocolate. This balance makes each bite a delightful experience, a harmonious blend that satisfies cravings and delights the senses.
- Easy to Make: With a boxed cake mix as the base, you can have these bakery-quality cupcakes ready without the hassle of starting from scratch. This approach not only saves time but also ensures consistency, making it easier for bakers of all skill levels to achieve impressive results. The simplicity of the recipe allows more focus on the joy of baking rather than the stress of potential mishaps, making the process enjoyable and rewarding.
- Perfect for Any Occasion: These cupcakes are a hit at birthdays, holidays, and family gatherings, bringing smiles to both kids and adults alike. Their vibrant color and luxurious topping make them a standout choice for festive occasions. Whether you’re celebrating a birthday, an anniversary, or simply enjoying a weekend treat, these cupcakes are sure to be a crowd-pleaser. They have a universal appeal that transcends age and occasion.
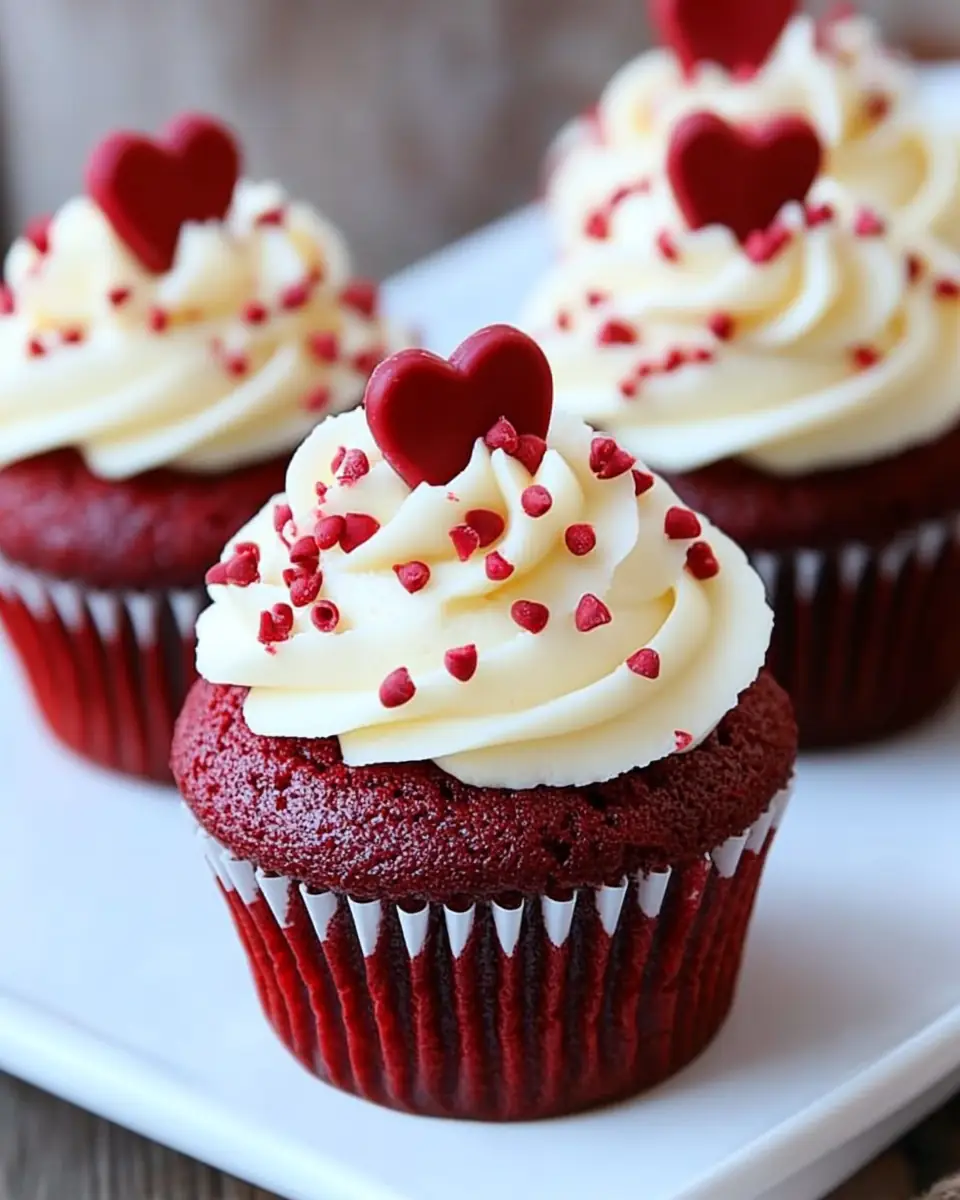
- Impressive Presentation: The striking red hue topped with a luscious white mousse makes these cupcakes a showstopper, perfect for impressing guests. The contrast between the bold red and the pristine white is visually appealing, making these cupcakes not just a treat for the palate but also for the eyes. They look as if they came straight from a high-end bakery, adding an element of sophistication to your table.
- Flexible Recipe: Customize with different sprinkles or add-ins to make these cupcakes your own. Perhaps you’d like to add a hint of citrus zest to the batter or sprinkle the mousse with crushed nuts for extra texture. The possibilities are endless, allowing you to tailor the recipe to suit your personal preferences or the theme of your event. This versatility means you can adapt the recipe for various tastes and occasions.
The Recipe
Prep Time: 20 minutes
Cook Time: 20 minutes
Servings: 24 cupcakes
Calories: Approximately 250 per cupcake
Ingredients:
- 1 box Red Velvet Cake mix
- 3 eggs
- 1/2 cup butter (melted and slightly cooled, or oil)
- 1 cup sour cream
- 1/2 cup milk
- 2 tsp vanilla extract
- 1 box White Chocolate Instant Pudding mix
- 3 cups Heavy Whipping Cream
Directions:
- Preheat your oven to 350°F and line your cupcake pans with liners. Proper preheating ensures even baking, which is crucial for achieving the perfect texture and rise in cupcakes. Consistent temperature helps in developing the desired crumb and texture.
- Sift the cake mix into a small bowl and set aside. This helps ensure a smooth batter by removing any lumps and aerating the dry ingredients. Sifting is a simple step that can make a big difference in the final product, contributing to a light, fluffy cupcake.
- In a large bowl, whisk together the eggs, melted butter, sour cream, milk, and vanilla extract until smooth. This step is essential for incorporating air into the mixture, which helps create a light and fluffy cupcake. The whisking process helps to integrate the ingredients thoroughly, ensuring a consistent batter.
- Stir in the sifted cake mix until just combined. Overmixing can lead to dense cupcakes, so mix just until the dry ingredients are incorporated. This gentle mixing helps maintain the airy structure needed for a tender crumb.
- Fill each cupcake liner 3/4 full. This ensures they rise perfectly without overflowing and provides a consistent size across all cupcakes. Proper filling is key to achieving uniformly sized cupcakes that bake evenly.
- Bake for 17-20 minutes, or until a knife inserted into the center comes out clean. This method checks for doneness without piercing too deeply and risking deflation. Perfectly baked cupcakes will spring back when gently pressed in the center.
- Allow cupcakes to cool completely on a wire rack. Cooling on a rack prevents the bottoms from becoming soggy and helps them cool evenly. Proper cooling is essential to maintain the texture and prevent the mousse from melting when applied.
- For the mousse, in a stand mixer, beat the instant pudding mix with heavy whipping cream until stiff peaks form. This creates a stable yet creamy topping that holds its shape beautifully. The mousse should be light, airy, and able to hold its form when piped.
- Pipe the mousse onto the cooled cupcakes and top with your choice of sprinkles. The piping technique adds an elegant touch, while sprinkles or other toppings can add color and texture. Piping allows for creative expression and customization of each cupcake.
Kitchen Tools You’ll Need
- Cupcake pans: For baking the perfect cupcakes, ensuring they rise evenly and maintain their shape.
- Cupcake liners: To prevent sticking and for easy cleanup, also adding a decorative element to your presentation.
- Mixing bowls: For combining ingredients efficiently and effectively, allowing for smooth mixing and incorporation.
- Whisk: To ensure a smooth batter, aerating the mixture and preventing lumps.
- Stand mixer: For whipping the mousse to perfection, achieving the desired consistency and texture.
- Piping bag and tips: To elegantly top your cupcakes with mousse, offering precision and artistic flair.
The Benefits of Each Ingredient
- Red Velvet Cake Mix: Provides a reliable base and rich color, saving time and effort. It offers consistency that is sometimes challenging to achieve from scratch, particularly for bakers less familiar with the nuances of red velvet cakes. The mix simplifies the process while still delivering on flavor and texture.
- Eggs: Add structure and stability to the cupcakes. They act as a binding agent and add richness to the batter. Eggs are essential for emulsifying ingredients and helping the cupcakes rise.
- Butter: Gives a rich flavor and tender crumb, but you can use oil for a lighter texture. Each fat type contributes differently, with butter providing a classic, rich taste and oil offering a slightly lighter, moister crumb. The choice between butter and oil allows for customization based on preference.
- Sour Cream: Adds moisture and a subtle tang that enhances the red velvet flavor. Its acidity also helps tenderize the gluten in the batter, resulting in a softer crumb. Sour cream is a secret weapon for maintaining moisture and enhancing flavor complexity.
- Milk: Helps to create a smooth batter and adds moisture, ensuring the cupcakes are light and tender. Milk contributes to the structure and tenderness of the cupcakes, balancing the dry ingredients.
- Vanilla Extract: Enhances the overall flavor profile, giving depth to the cake. It acts as a flavor enhancer that complements the cocoa in the red velvet mix. Vanilla extract is a classic addition that rounds out the flavors beautifully.
- White Chocolate Instant Pudding Mix: Creates a creamy mousse with just the right amount of sweetness. It adds stability to the mousse, allowing it to hold its shape when piped. The pudding mix provides a shortcut to a luxurious mousse that is both easy to make and delicious.
- Heavy Whipping Cream: The base for the mousse, it adds richness and texture. Its high-fat content allows it to whip up into a light, airy mousse that is luxurious and satisfying. Whipping cream is essential for achieving the desired lightness and stability in the mousse.
What to Serve With This Dessert
Pair these Red Velvet Cupcakes with White Chocolate Mousse with a simple cup of coffee or a glass of milk to balance the sweetness. The bitterness of coffee can offset the sweetness of the dessert, creating a complementary flavor profile. For a more festive occasion, they pair beautifully with a sparkling wine or a rich dessert wine. The effervescence of sparkling wine can cleanse the palate between bites, enhancing the enjoyment of each cupcake. If you’re hosting a party, consider serving alongside a selection of other homemade treats, like our Chocolate Chip Cookies or Lemon Bars for a delightful dessert spread. Combining different textures and flavors can create a well-rounded dessert experience for your guests.
Storage & Leftover Tips
Store any leftover cupcakes in an airtight container in the refrigerator for up to 3 days to maintain their freshness. The cool environment helps preserve the mousse’s texture and prevents the cupcakes from drying out. If you’d like to prepare them in advance, bake the cupcakes and make the mousse separately, then assemble them just before serving. This approach ensures the mousse remains fresh and the cupcakes maintain their desired texture. For longer storage, freeze the unfrosted cupcakes for up to a month and thaw before adding the mousse and serving. Freezing the cupcakes in a single layer prevents them from sticking together and maintains their shape.
A Tradition of Love and Sharing
Sharing these cupcakes with your loved ones is like sharing a piece of your heart. I hope this recipe brings as much joy to your home as it has to mine. The act of baking and sharing food is a tradition that transcends generations, creating memories that last a lifetime. Baking is not just about the end product; it is about the journey, the process, and the joy of creating something special for those you care about. These cupcakes are more than just a delicious treat; they’re a symbol of love and connection. Happy baking!
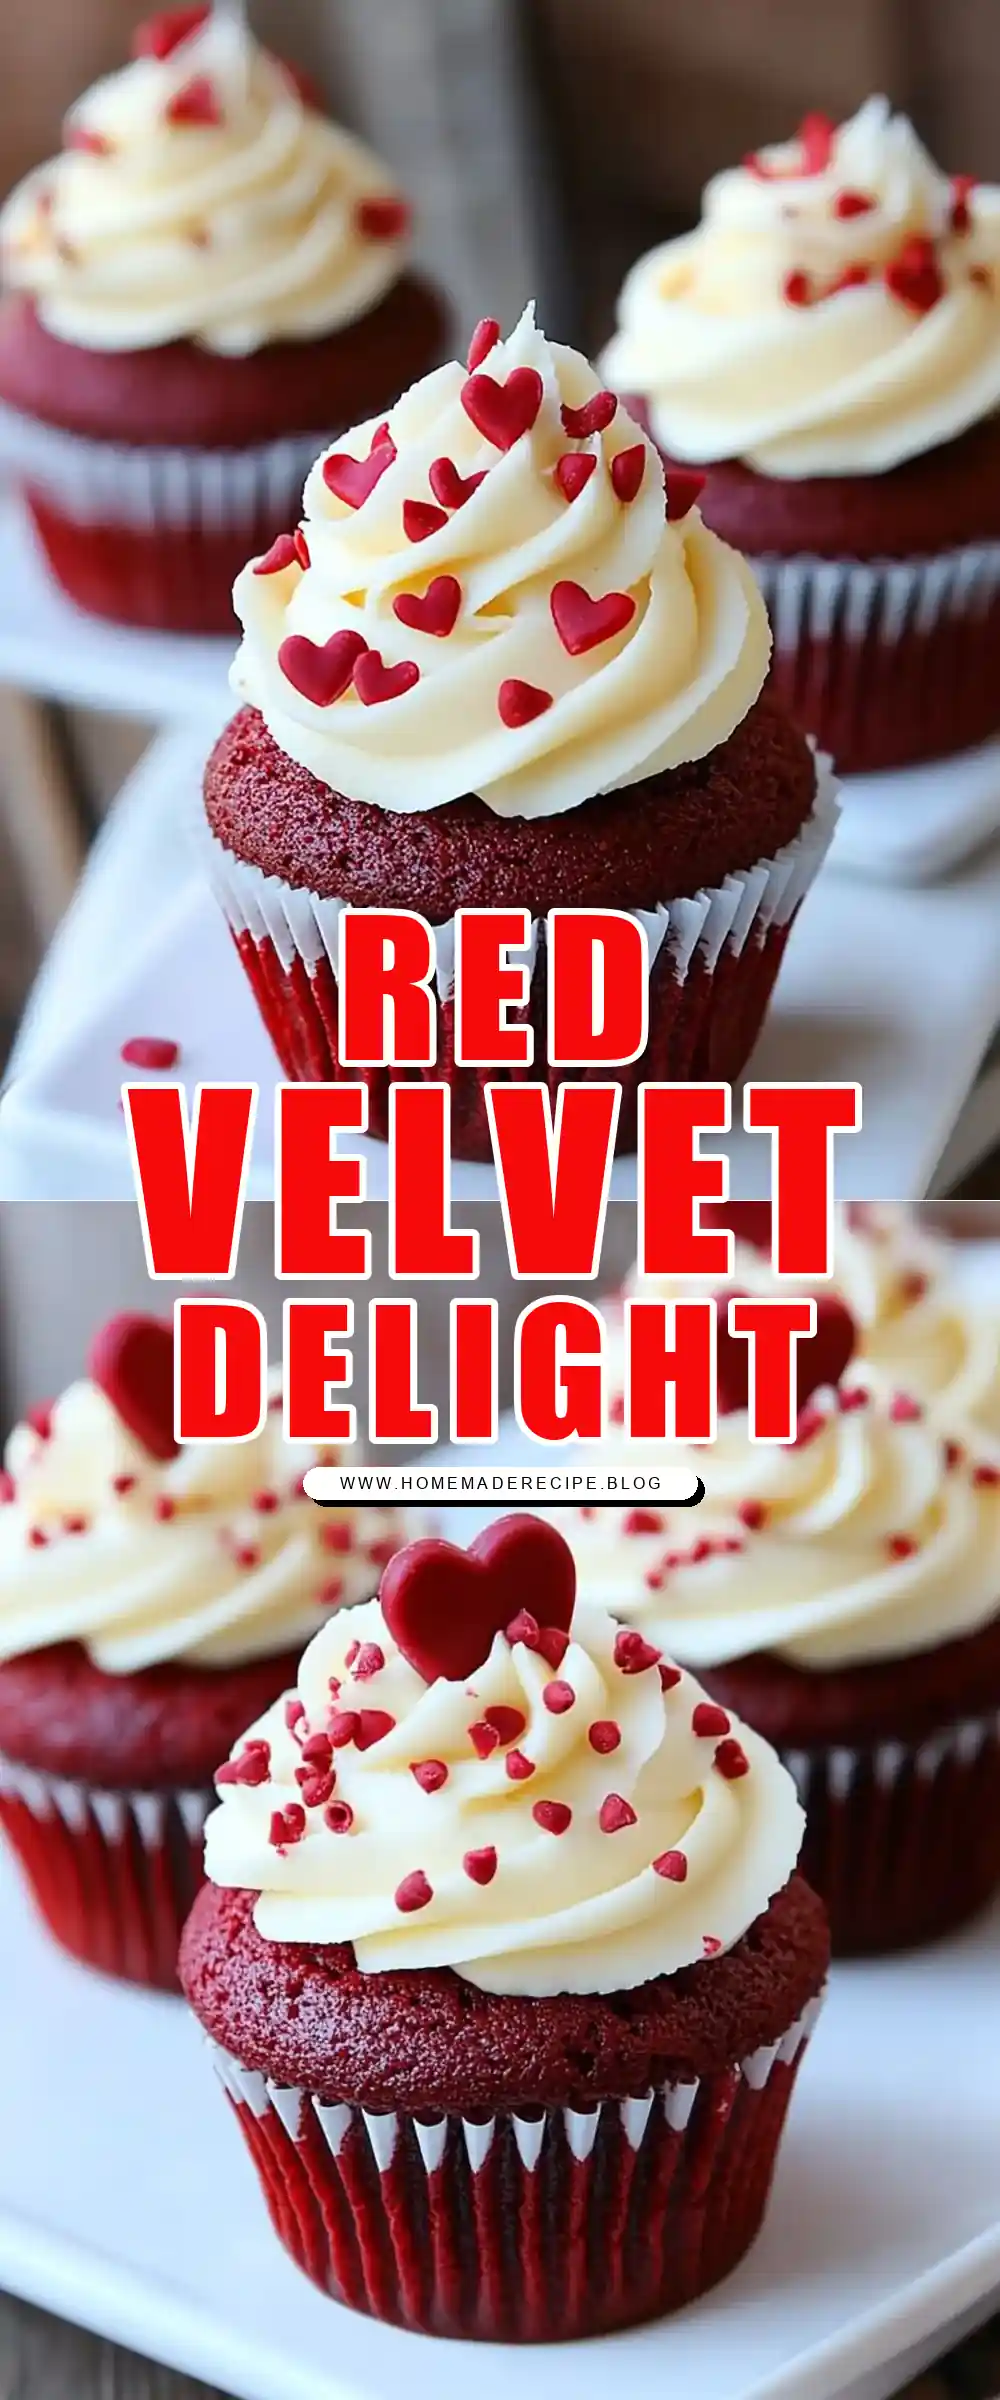
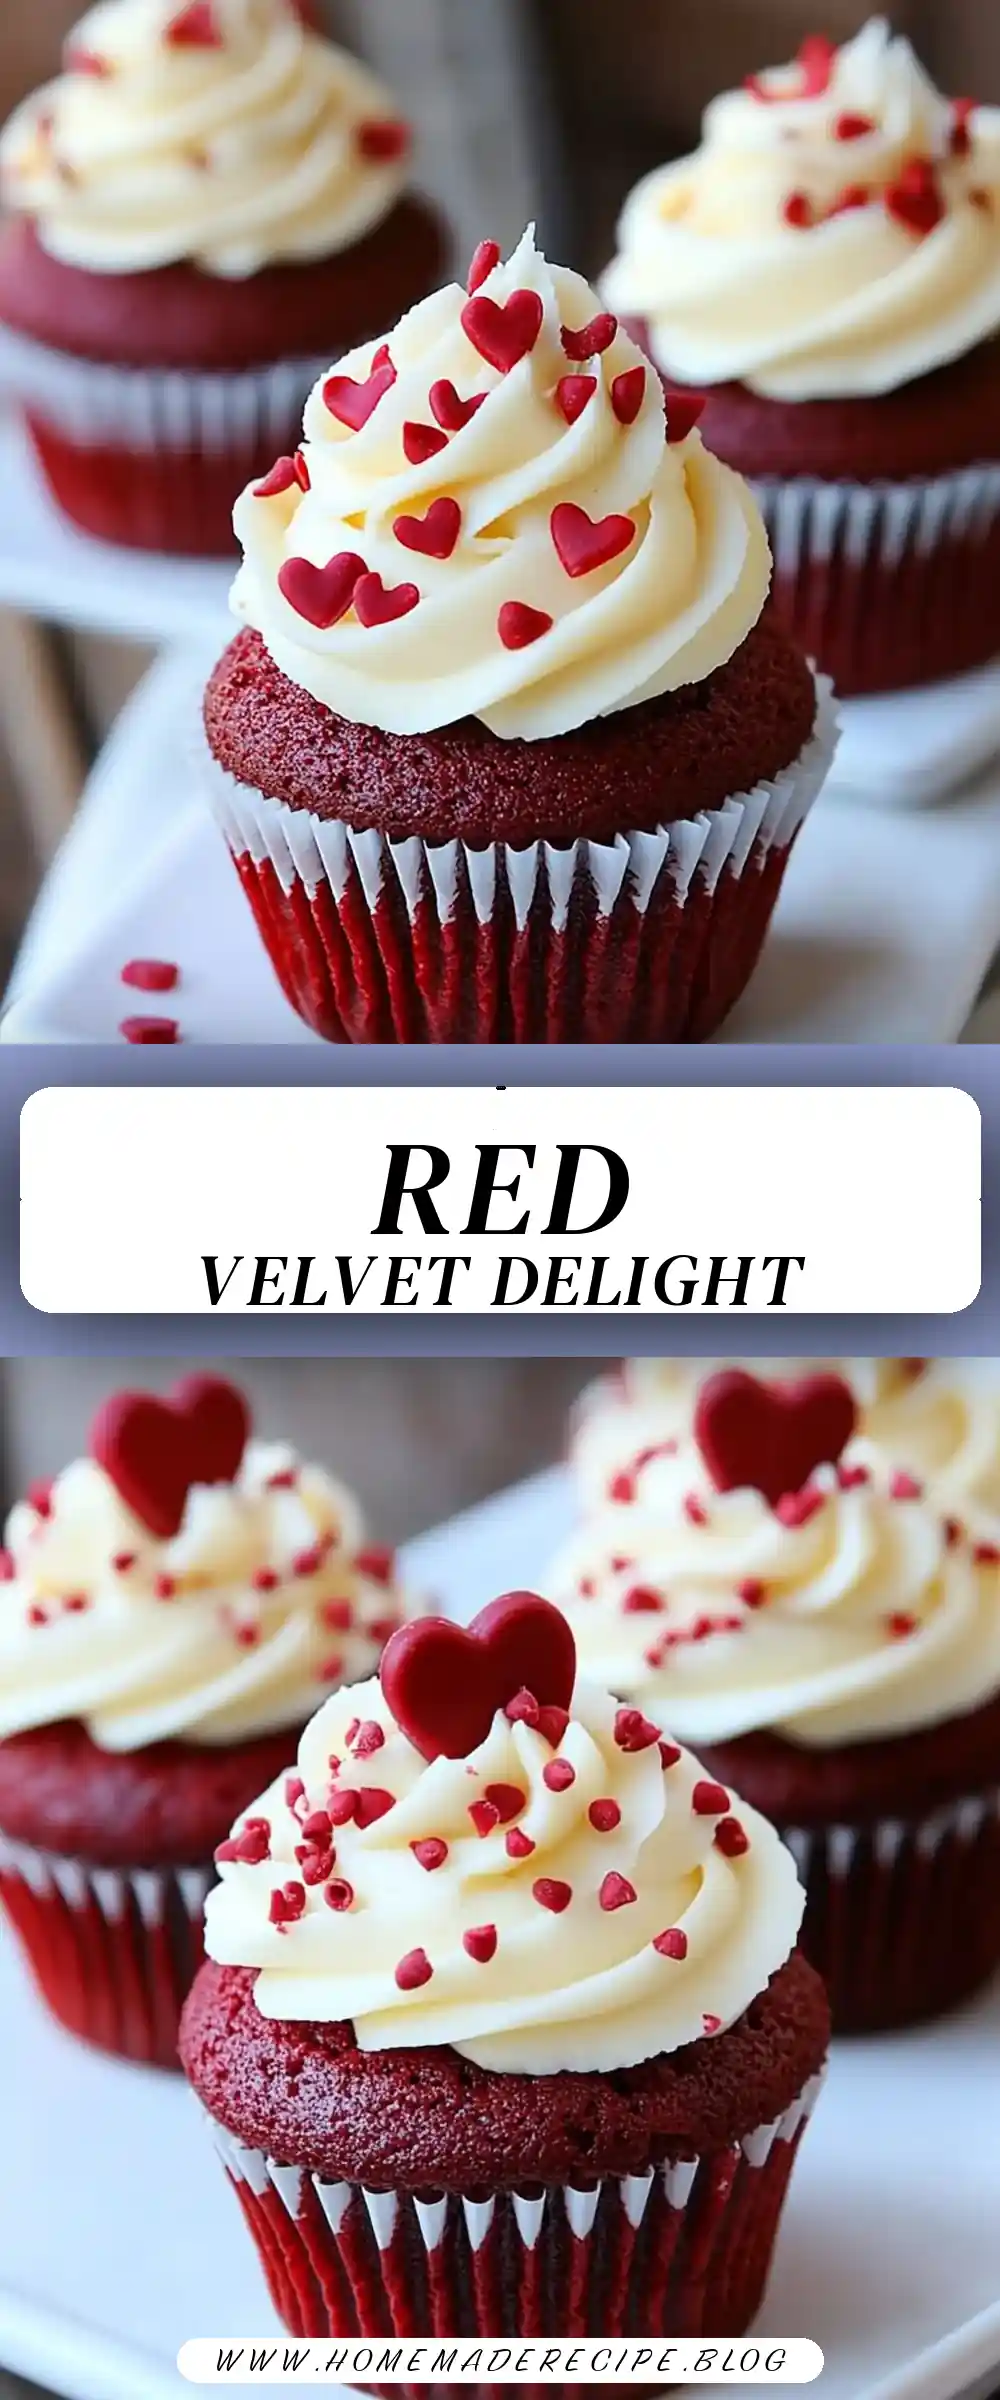
Red Velvet Cupcakes with White Chocolate Mousse
Ingredients
Equipment
Method
- Preheat oven to 350 degrees and line pans with cupcake liners.
- Sift cake mix into a small bowl and set aside.
- In a large bowl, combine eggs, butter, sour cream, milk and vanilla extract and whisk until smooth.
- Stir in cake mix.
- Fill cupcake liners 3/4 full and bake for 17-20 minutes or until an inserted knife comes out clean.
- Let cool.
- Quick Mousse: In a stand mixer using the whisk attachment, beat instant pudding mix and heavy whipping cream until stiff peaks form.
- Pipe mousse onto cooled cupcakes and top with sprinkles!