
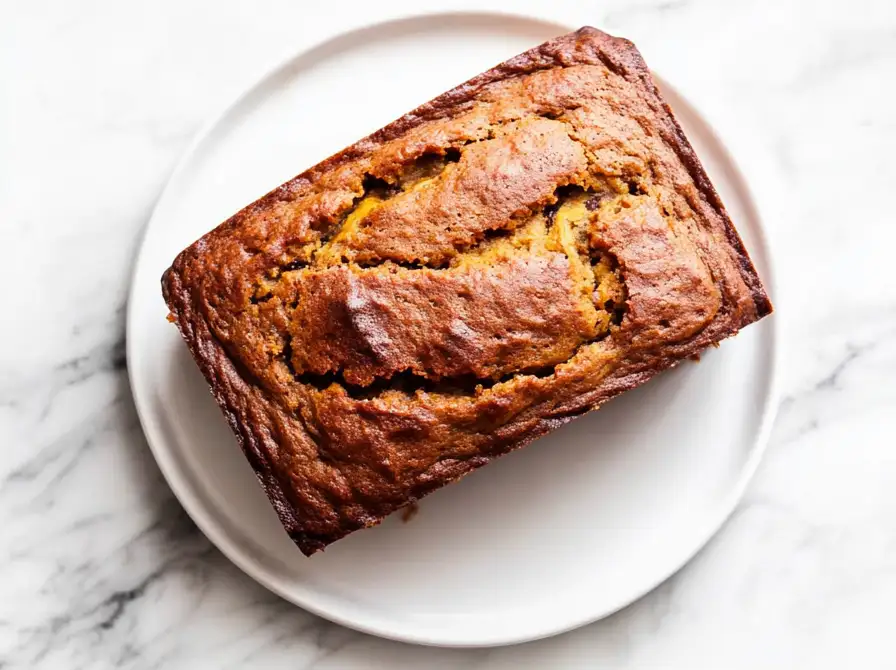
Sourdough Pumpkin Banana Bread is a deliciously moist and flavorful bread that combines the unique flavors of pumpkin and banana with the tang of sourdough. It’s one of those comfort foods that feels like a warm hug on a chilly day. I first stumbled upon this recipe when I had some leftover sourdough starter and overripe bananas sitting on my counter. The result was a bread that quickly became a family favorite. Whether you’re an experienced baker or just getting started, this recipe is straightforward and rewarding. Let’s dive in!
If you’re curious about the science behind sourdough and its benefits, you might find this guide to sourdough baking from King Arthur Baking a helpful resource. Additionally, if you’re looking for more ways to incorporate pumpkin into your baking, BBC Good Food offers an array of pumpkin recipes that are sure to inspire you.
Table of Contents
Why You’ll Love This Dish
There’s something magical about the combination of pumpkin and banana. The sweetness of the bananas perfectly complements the earthy richness of the pumpkin, while the sourdough adds a subtle tang that elevates the entire loaf. Here’s why you’ll love making and eating this bread:
- Family-friendly: Kids and adults alike will enjoy the familiar yet unique flavor profile. The combination of pumpkin and banana creates a flavor that is comforting and nostalgic, reminiscent of fall gatherings around the table or cozy mornings at home. The subtle sweetness and heartwarming spices make it appealing to a wide range of palates, providing a sense of togetherness and warmth.
- Versatile: Perfect for breakfast, a snack, or even dessert. You can serve it as a quick breakfast alongside a steaming cup of coffee or as a delightful dessert option with a scoop of vanilla ice cream. Its versatility means it can be enjoyed at any time of day, fitting seamlessly into your lifestyle whether you’re on the go or enjoying a leisurely morning.
- Easy to make: With simple, everyday ingredients, this recipe is accessible to everyone. You don’t need any special equipment or hard-to-find ingredients, which makes this a go-to recipe for busy days. The straightforward instructions are perfect for both novice bakers and seasoned pros, ensuring success with each loaf.
- Great use of leftovers: A perfect way to use up sourdough discard and overripe bananas. Instead of tossing out those brown bananas or extra sourdough starter, you can transform them into something delicious and satisfying. This not only reduces waste but also offers a creative use for ingredients that might otherwise be overlooked.
The Recipe
For the Sourdough Pumpkin Banana Bread:
| Amount | Ingredient | Notes |
|---|---|---|
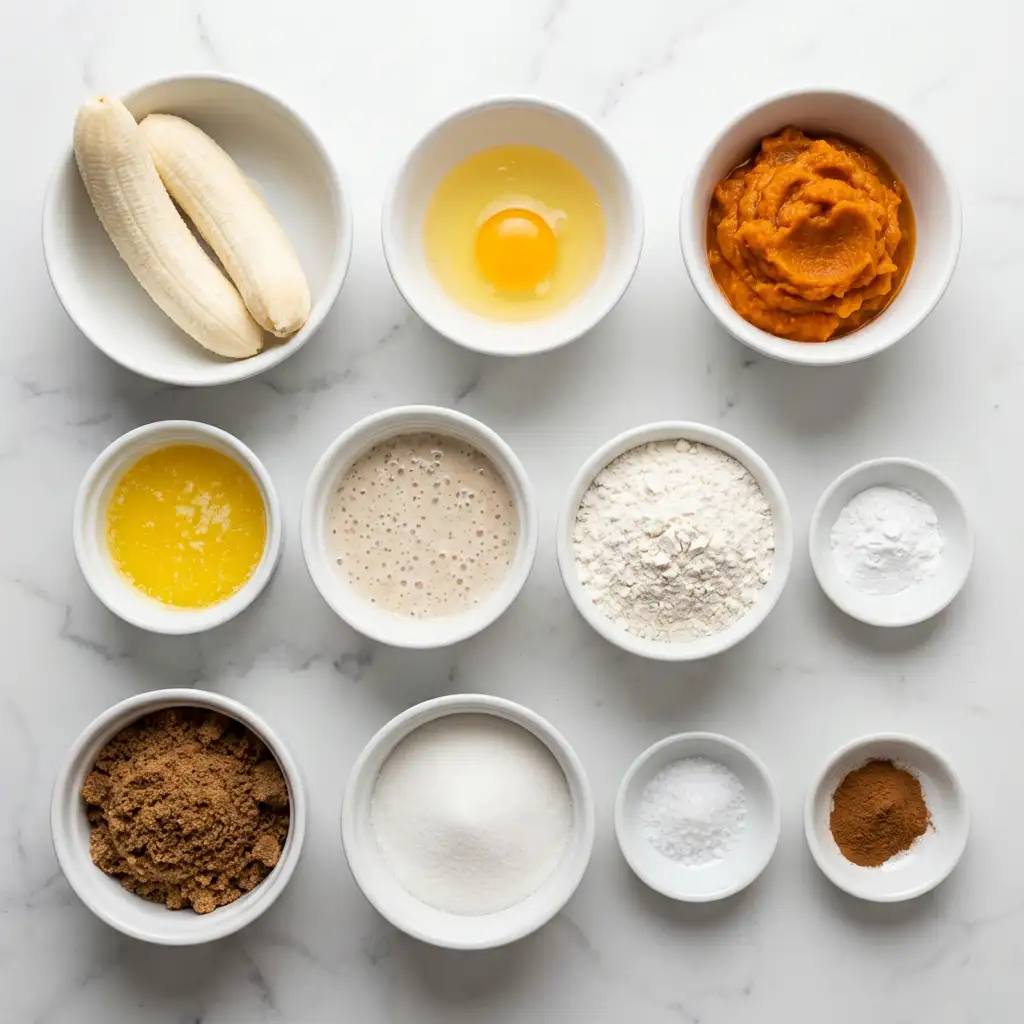
| 200 g | bananas | approx. 2 medium overripe bananas |
| 1 unit | egg | large 60g each |
| 150 g | pumpkin puree | — |
| 80 g | butter | melted – can be salted or unsalted |
| 100 g | sourdough starter | or sourdough discard |
| 200 g | all-purpose flour | — |
| 12 g | baking powder | — |
| 100 g | brown sugar | — |
| 50 g | white sugar | — |
| 1 pinch | salt | — |
| 0.5 tbsp | cinnamon | or pumpkin pie spice |
- Preheat your oven to 350°F (175°C). The right temperature is crucial for ensuring that your bread bakes evenly and develops a beautiful golden crust.
- In a large bowl, mash the bananas until smooth. The bananas should be mashed thoroughly to ensure that there are no large chunks, which could affect the texture of the bread. Using a fork or potato masher can help achieve the perfect consistency.
- Add the egg, pumpkin puree, melted butter, and sourdough starter to the bananas and mix well. This step combines all the wet ingredients together, ensuring that the flavors are evenly distributed throughout the batter. The melding of these ingredients forms the flavor base of the bread.
- In a separate bowl, whisk together the flour, baking powder, brown sugar, white sugar, salt, and cinnamon. Whisking the dry ingredients separately helps to evenly distribute the baking powder, which ensures that the bread rises evenly. This step is key to a light and fluffy loaf.
- Combine the dry ingredients with the wet ingredients and stir until just combined. Avoid overmixing, as this can lead to a denser loaf. The goal is a batter that is smooth and lump-free but not overly worked. Overmixing can activate the gluten in the flour too much, leading to a tougher texture.
- Pour the batter into a greased loaf pan. Greasing the pan is important to prevent sticking and to allow the bread to release easily after baking. Using parchment paper can also help ensure an effortless removal.
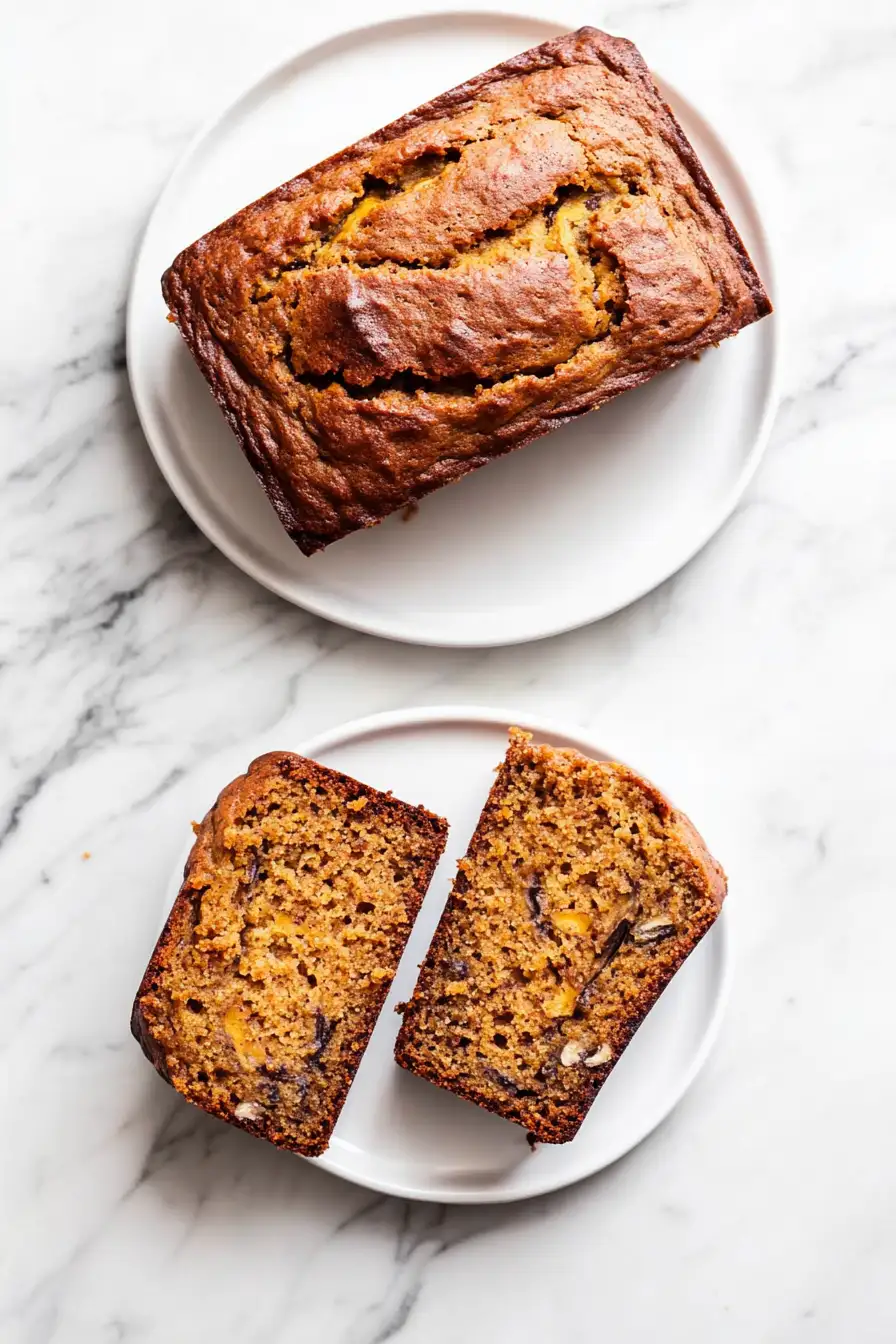
- Bake for 60 minutes or until a toothpick inserted in the center comes out clean. Depending on your oven, you might need to adjust the time slightly, so keep an eye on it towards the end. A beautifully risen, golden-brown loaf is your cue that it’s ready.
- Allow to cool in the pan for 10 minutes, then transfer to a wire rack to cool completely. Cooling on a wire rack prevents the bottom from becoming soggy and allows the bread to finish setting. This cooling period is crucial for achieving the perfect texture and flavor balance.
Enjoy this bread warm with a spread of butter or your favorite nut butter. It’s a treat any time of the day! The warmth enhances the flavors, making every bite a comforting delight.
Kitchen Tools You’ll Need
| Tool | Why you need it |
|---|---|
| Loaf Pan | To shape and bake your bread |
| Large Bowl | For mixing the wet ingredients |
| Whisk | To combine the dry ingredients evenly |
| Spatula | For gently folding the batter |
| Wire Rack | To cool the bread evenly after baking |
Having the right tools can make the baking process much smoother and more enjoyable. Each tool listed is essential for creating the perfect loaf, ensuring that the ingredients are properly combined and the bread is baked evenly. Investing in quality kitchen tools can elevate your baking experience, making it both efficient and pleasurable.
The Benefits of Each Ingredient
| Ingredient | What it does here |
|---|---|
| Bananas | Adds moisture and natural sweetness |
| Egg | Binds the ingredients together |
| Pumpkin Puree | Provides moisture and a rich flavor |
| Butter | Adds richness and tender texture |
| Sourdough Starter | Gives a unique tangy flavor |
| All-Purpose Flour | Provides structure to the bread |
| Baking Powder | Leavens the bread to create a light texture |
| Brown Sugar | Deepens the sweetness with a molasses note |
| White Sugar | Balances the flavors with additional sweetness |
| Salt | Enhances all the flavors |
| Cinnamon | Adds warmth and spice |
Each ingredient in this recipe plays a crucial role not only in flavor but also in texture and structure. The combination of sugars, for instance, adds a depth of sweetness and helps to create a tender crumb. Meanwhile, the sourdough starter not only provides flavor but also contributes to a moist texture. Understanding the role of each ingredient can enhance your baking skills, allowing you to experiment and adapt recipes with confidence.
What to Serve With This Bread
| Idea | Why it pairs well |
|---|---|
| Coffee or Tea | Complements the warm spices and sweetness |
| Cream Cheese Spread | Adds a creamy texture contrast |
| Maple Syrup Drizzle | Enhances the sweetness with a hint of maple |
| Fresh Fruit | Provides a refreshing contrast |
Pairing this bread with the right accompaniments can enhance your tasting experience. For a cozy morning treat, enjoy it with a cup of coffee or tea. For a more indulgent dessert, a drizzle of maple syrup adds a rich sweetness that complements the flavors of the bread beautifully. The right pairing can elevate your enjoyment, turning a simple slice into a gourmet experience.
If you’re interested in more comforting recipes, check out my Classic Banana Bread and Pumpkin Spice Muffins for more delicious ideas. Expanding your repertoire with these delightful options ensures that you always have a comforting treat at hand.
Storage & Leftover Tips
| Method | How long | Tip |
|---|---|---|
| Room Temp | 2-3 days | Store in an airtight container |
| Refrigerator | Up to 1 week | Wrap in plastic wrap for extra freshness |
| Freezer | Up to 3 months | Slice before freezing for easy thawing |
Proper storage is key to maintaining the freshness of your Sourdough Pumpkin Banana Bread. By following these tips, you can enjoy this delightful bread for days or even weeks after baking. Freezing individual slices is particularly handy for quick, convenient snacks or breakfasts. This approach not only preserves the bread’s quality but also provides flexibility, allowing you to enjoy a homemade treat at any time.
This Sourdough Pumpkin Banana Bread is sure to become a staple in your home. It’s a recipe that brings warmth and comfort with every bite. Whether you’re enjoying it alone or sharing with loved ones, it’s bound to bring a smile to your face. The blend of flavors and the moist, tender crumb make it a standout choice for any occasion, and the ease of preparation ensures that you can whip it up whenever the craving strikes. Whether it’s a holiday breakfast or a simple weekday treat, this bread is a celebration of flavor and comfort. Its universal appeal makes it a cherished addition to any culinary repertoire, promising satisfaction with every slice.
FAQs About Sourdough Pumpkin Banana Bread
Can I use another type of flour?
Yes, you can substitute whole wheat flour for a more dense texture, but the flavor will be slightly different.
How should I store leftovers?
Store leftovers in an airtight container at room temperature for up to three days. For longer storage, refrigerate or freeze as described above.
Can I make this recipe vegan?
To make it vegan, use a flax egg instead of a regular egg and replace the butter with a plant-based alternative. I hope you enjoy baking and sharing this delightful bread as much as I do. Happy baking!
Sourdough Pumpkin Banana Bread
Ingredients
Equipment
Method
- Preheat your oven to 350°F (175°C).
- In a large bowl, mash the bananas until smooth.
- Add the egg, pumpkin puree, melted butter, and sourdough starter to the bananas and mix well.
- In a separate bowl, whisk together the flour, baking powder, brown sugar, white sugar, salt, and cinnamon.
- Combine the dry ingredients with the wet ingredients and stir until just combined.
- Pour the batter into a greased loaf pan.
- Bake for 60 minutes or until a toothpick inserted in the center comes out clean.
- Allow to cool in the pan for 10 minutes, then transfer to a wire rack to cool completely.