
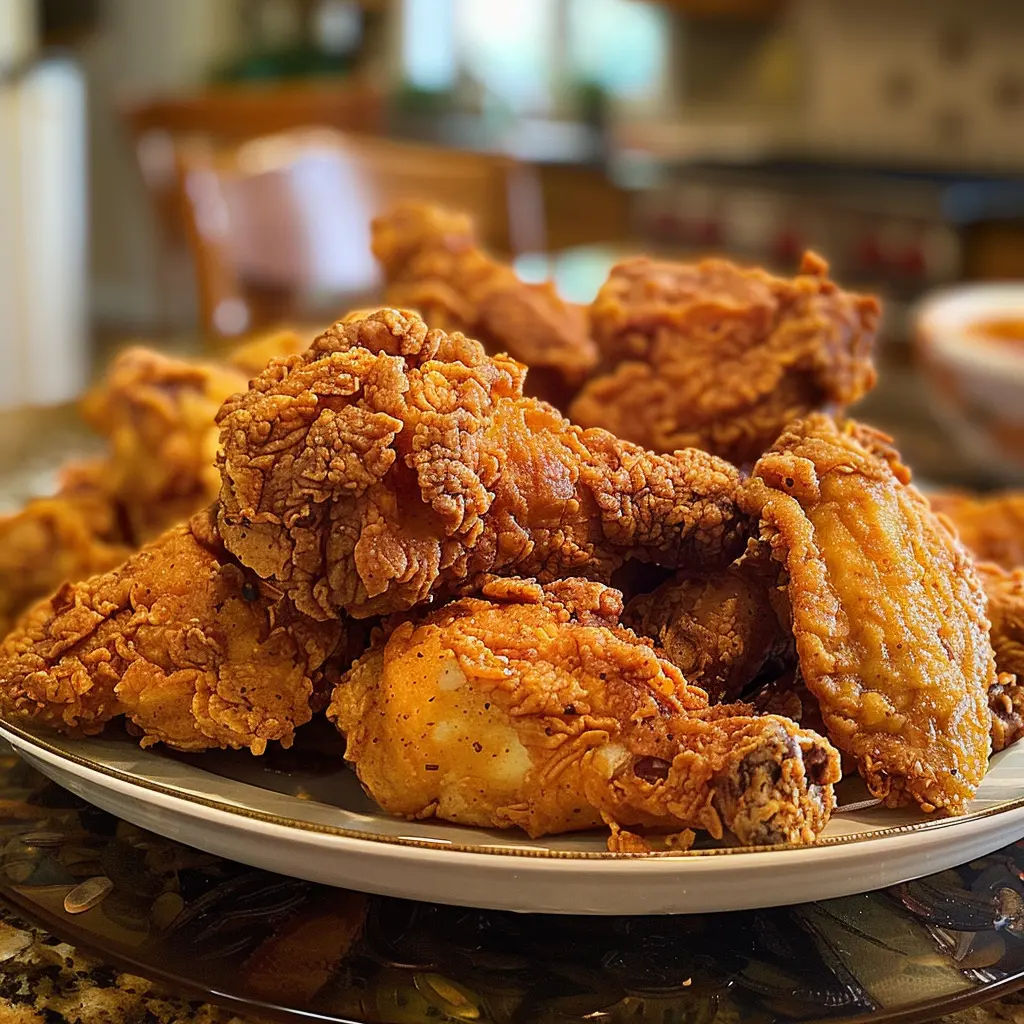
Southern fried chicken is more than just a meal; it is a culinary ritual. The magic lies in the contrast: a crust that is shatteringly crisp and highly seasoned, giving way to meat that remains succulent and juicy. Achieving this at home is entirely possible when you follow the fundamental rules of temperature control and resting time. This recipe delivers that quintessential golden-brown finish and deep, savory flavor that makes Sunday dinner feel like a celebration, whether you’re serving it on a picnic blanket or at the family table.
| Detail | Info |
|---|---|
| Prep Time | 20 minutes |
| Cook Time | 30 minutes |
| Total Time | 50 minutes |
| Servings | 4 |
| Difficulty | Medium |
| Cuisine | Southern American |
Why This Recipe Works
The “double-dip” method—coating the chicken in the egg-milk wash and then the seasoned flour—creates a thick, reliable crust that adheres perfectly to the meat. The poultry seasoning and garlic salt provide a classic, savory foundation that penetrates the coating, ensuring that every bite is as flavorful as the last.
The most important step in this recipe is often overlooked: letting the breaded chicken rest for 10–15 minutes before hitting the oil. This rest allows the flour to hydrate and the coating to “set” or bind to the chicken, preventing it from sliding off during the fry. Combined with the temperature-controlled fry, this creates a crust that is crisp enough to hold its own against the juicy meat within.
Ingredients
| Ingredient | Quantity | Notes |
|---|---|---|
| Whole chicken | 1 (3–4 lbs) | Cut into pieces; pat dry before dredging |
| All-purpose flour | 2 cups | The base for the crispy exterior |
| Eggs | 2 | Beaten; the binder for the coating |
| Milk | 1 cup | Creates a smooth wash that helps flour adhere |
| Paprika | 2 tsp | Adds color and mild sweetness |
| Poultry seasoning | 1/2 tsp | Classic herbal notes essential to Southern style |
| Garlic salt | 4 tsp | Provides saltiness and aromatic garlic flavor |
| Black pepper | 2 tsp | Freshly cracked preferred |
| Vegetable oil | As needed | For deep frying; high smoke point is essential |
Step-by-Step Instructions
Phase 1: Dredging and Setting
- In a medium bowl, whisk together the eggs and milk until fully combined.
- In a separate, wide shallow bowl, combine the flour, paprika, poultry seasoning, garlic salt, and black pepper. Mix thoroughly to distribute the spices.
- Dip each piece of chicken into the egg-milk mixture, allowing the excess to drip off, then press it firmly into the seasoned flour. Ensure every crevice is coated. For a thicker, extra-crispy crust, repeat the dipping and coating process.
- Place the coated chicken on a wire rack and let it rest for 10–15 minutes. This is critical for the coating to adhere properly.
Phase 2: The Fry
- Heat about 2 inches of vegetable oil in a large deep skillet or Dutch oven. Use a thermometer to bring the oil to 350°F (175°C). Maintaining this temperature is the key to crispiness without burning.
- Carefully lower the chicken into the oil in batches. Do not overcrowd the pan, as this causes the oil temperature to drop and makes the chicken greasy rather than crispy.
- Fry for 12–15 minutes per side, turning occasionally to ensure even browning. The chicken is done when it is golden brown and the internal temperature reaches 165°F (74°C).
Phase 3: The Finish
- Transfer the cooked chicken to a clean wire rack or a plate lined with paper towels to drain any excess oil.
- Let the chicken rest for 5 minutes before serving. This allows the juices to redistribute, ensuring the meat stays moist.
Chef Tips for Perfect Results
Maintain Oil Temperature. If your oil is too cool, the chicken will soak up the grease and become soggy. If it’s too hot, the outside will burn before the inside is cooked. Keep your thermometer handy and adjust the heat as needed between batches.
The Wire Rack Secret. Don’t place fried chicken directly onto a solid plate. Steam will trap underneath the pieces and soften the bottom crust. A wire rack allows air to circulate, keeping the entire piece of chicken crispy.
Pat it Dry. Before you even start the coating process, pat the chicken pieces dry with paper towels. Excess surface moisture on the chicken can create steam, which prevents the coating from getting that signature crunch.
Common Mistakes to Avoid
Overcrowding the Pan. Putting too many pieces in the oil at once causes the oil temperature to plummet. It’s better to fry in smaller batches to maintain that consistent, high-heat crisping environment.
Skipping the Rest. We know it’s hard to wait, but the 15-minute rest after coating is what prevents the “crust-slide”—where the coating separates from the chicken during frying.
Variations and Substitutions
Spicy Fried Chicken: Add 1 teaspoon of cayenne pepper or a dash of hot sauce to the egg-milk mixture for a kick that pairs perfectly with the crispy crust.
Buttermilk Substitute: If you have buttermilk on hand, use it in place of the milk. The acidity of the buttermilk helps tenderize the chicken meat even further, resulting in an even more succulent final product.
Conclusion
Southern fried chicken is a labor of love that pays off in every crunchy, flavorful bite. By controlling your oil temperature, using a seasoned flour dredge, and allowing the chicken to rest properly, you can produce a restaurant-quality meal right in your own kitchen. Serve it alongside creamy mashed potatoes, tangy coleslaw, or buttery biscuits, and you’ve got a meal that defines true comfort food.