
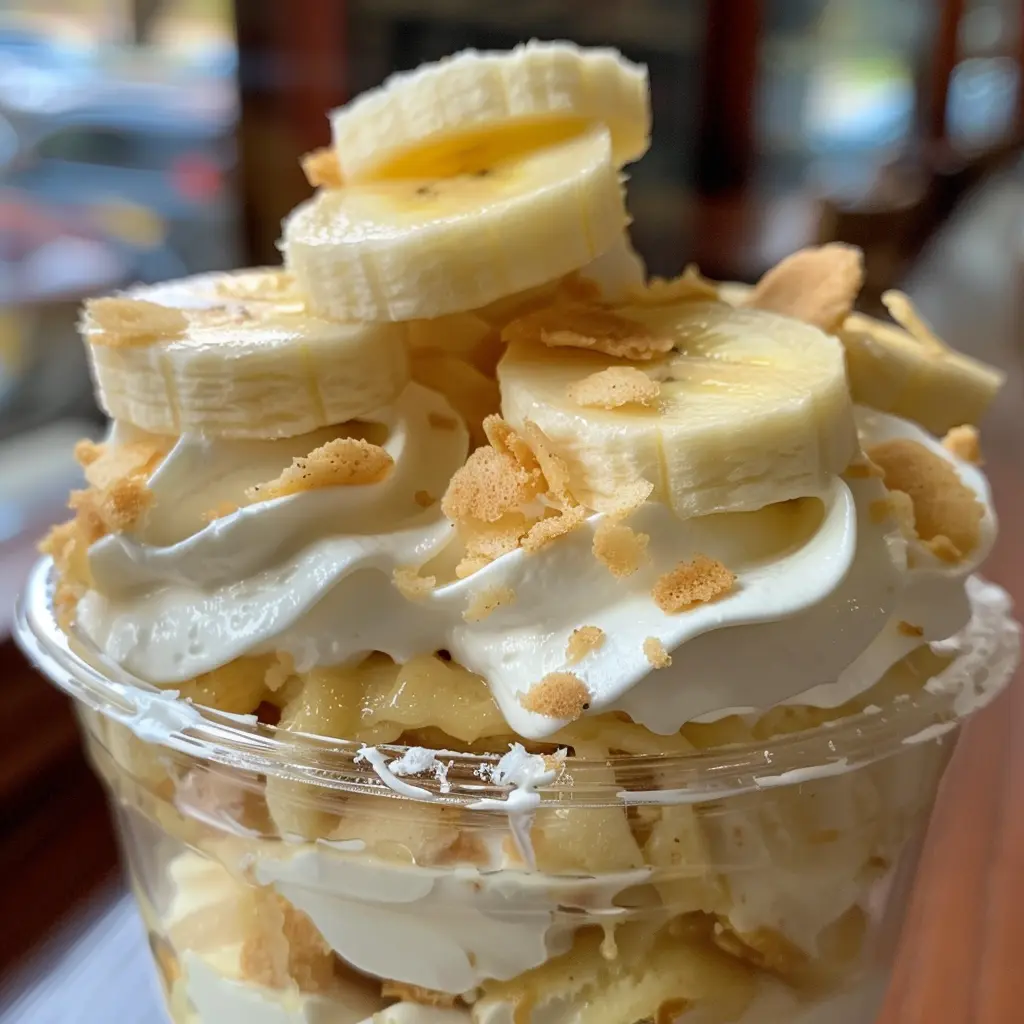
There are few desserts as nostalgic as banana pudding, but serving it in a traditional bowl at a crowded party or outdoor BBQ can be cumbersome. Enter “Walking Banana Pudding”—a genius, deconstructed version of the classic that turns individual snack bags of vanilla wafers into edible, portable cups. It’s the perfect solution for summer gatherings, school events, or casual picnics where you want the comfort of a homemade dessert without the hassle of serving spoons and plates. It’s fun, interactive, and completely mess-free.
| Detail | Info |
|---|---|
| Prep Time | 10 minutes |
| Cook Time | 0 minutes (Chill time optional) |
| Total Time | 10 minutes |
| Servings | 8 bags |
| Difficulty | Very Easy |
| Cuisine | American |
Why This Recipe Works
The “walking” concept relies on the structural integrity of the mini wafer bags, which serve as the perfect vessel for the pudding. By utilizing instant pudding mix, you get a velvety, stable texture that doesn’t melt instantly, allowing the guests to enjoy the dessert while mingling. Because the assembly is done on the fly, the wafers retain their crunch for longer than if they were submerged in a large-batch trifle.
This recipe balances the creamy richness of the pudding with the fresh, bright sweetness of sliced bananas and the light, airy texture of whipped topping. It’s a texture-rich experience in a grab-and-go package, requiring zero baking and minimal cleanup, which is a major advantage for any host.
Ingredients
| Ingredient | Quantity | Notes |
|---|---|---|
| Instant banana pudding mix | 1 (5.1 oz) box | The foundation for the creamy flavor |
| Cold milk | 2 cups | Use whole milk for the creamiest result |
| Mini vanilla wafer bags | 8 single-serving | The “bowls” for the pudding |
| Banana | 1 large | Sliced into rounds |
| Whipped topping | 1 (8 oz) tub | Thawed; provides the airy crown |
Step-by-Step Instructions
Phase 1: Preparing the Pudding
- In a medium mixing bowl, whisk together the instant banana pudding mix and the cold milk. Whisk vigorously for about 1–2 minutes until no powder clumps remain.
- Let the pudding mixture sit undisturbed for 5 minutes. This allows the thickening agents to activate, resulting in a firm, spoonable consistency that won’t leak through the cookie bags.
Phase 2: Assembly
- Carefully open the tops of the mini vanilla wafer snack bags. Roll the top edges of the bags down slightly to create a wider, more accessible opening for serving.
- Using a spoon, portion the thickened pudding into each of the 8 bags. Fill them about halfway to leave room for the fruit and topping.
- Add 3 to 4 fresh banana slices into each bag, nestling them into the pudding.
- Finish each bag with a generous dollop of whipped topping.
- Serve immediately with a small spoon.
Chef Tips for Perfect Results
The Lemon Juice Trick. If you aren’t serving these immediately, toss your banana slices in a tablespoon of lemon juice before assembly. The acidity prevents the fruit from oxidizing and turning brown, keeping the dessert looking fresh and appetizing.
Manage Your Crispiness. The beauty of this recipe is the crunch of the wafers. If you assemble these hours in advance, the wafers will soften. For the best “snap,” assemble the bags just 10–15 minutes before serving.
The Topping Finish. For a pro touch, sprinkle a few crushed extra vanilla wafers or a dash of cinnamon over the whipped topping right before handing them out. It adds a professional, finished look to a simple treat.
Common Mistakes to Avoid
Over-filling the bags. It’s tempting to pack the bags to the brim, but remember that the pudding will displace as you add bananas and whipped topping. Leave about an inch of space at the top to avoid spills.
Using warm milk. The pudding won’t thicken properly if the milk is warm. Make sure your milk is straight from the refrigerator to get the best set in those 5 minutes.
Variations and Substitutions
Chocolate Lovers: Drizzle a little chocolate syrup or add a handful of mini chocolate chips into the bag for a “chunky monkey” style walking pudding.
Nutty Crunch: Add a tablespoon of chopped toasted pecans or walnuts on top for a delightful contrast in texture to the soft pudding.
Healthy Swap: Use sugar-free pudding mix and fat-free whipped topping for a lighter version that doesn’t sacrifice the classic flavor profile.
Storage and Reheating
Refrigerator: Because these are assembled individually in bags, they don’t store well once the pudding is added. The cookies will turn mushy quickly. It is best to prepare the pudding ahead of time and keep it chilled, then assemble the bags right before the party begins.
Conclusion
Walking Banana Pudding proves that you don’t need a formal kitchen setup to deliver a spectacular dessert. It’s a whimsical, practical, and delicious way to serve a classic flavor combination. Whether you’re wrangling kids at a backyard BBQ or just looking for a low-stress dessert for a casual dinner party, these little bags of happiness are sure to be the hit of the day.