Ingredients
Equipment
Method
- Preheat your oven to 350°F (175°C) and line a 12-cup muffin pan with cupcake liners.
- In a large bowl, beat together the softened butter, sugar, and vegetable oil until light and fluffy, about 2-3 minutes.
- Add the egg and vanilla extract, beating until fully incorporated.
- In a separate bowl, sift together the flour, cocoa powder, and salt.
- Add half of the dry ingredients to the wet ingredients, mixing on low speed until just combined.
- Pour in the buttermilk, followed by the remaining dry ingredients, mixing gently to avoid over-mixing.
- In a small bowl, combine the baking soda and vinegar (it will bubble up). Quickly add this mixture to the batter and mix well.
- Add pink food coloring, a few drops at a time, until you reach your desired shade of pink. Stir gently to ensure the color is evenly distributed.
- Fill each cupcake liner about 2/3 full with batter.
- Bake in the preheated oven for 18-20 minutes, or until a toothpick inserted into the center of a cupcake comes out clean.
- Remove the cupcakes from the oven and let them cool in the pan for 5 minutes, then transfer to a wire rack to cool completely.
- In a large mixing bowl, beat the softened butter on high speed until creamy and smooth, about 2 minutes.
- Gradually add the powdered sugar, one cup at a time, beating on low speed until combined.
- Add the vanilla extract and a pinch of salt, then beat on medium-high speed until fully incorporated.
- Slowly add the heavy cream, one tablespoon at a time, until the frosting reaches a smooth, spreadable consistency.
- Continue beating on high speed for 2-3 minutes to make the frosting extra fluffy.
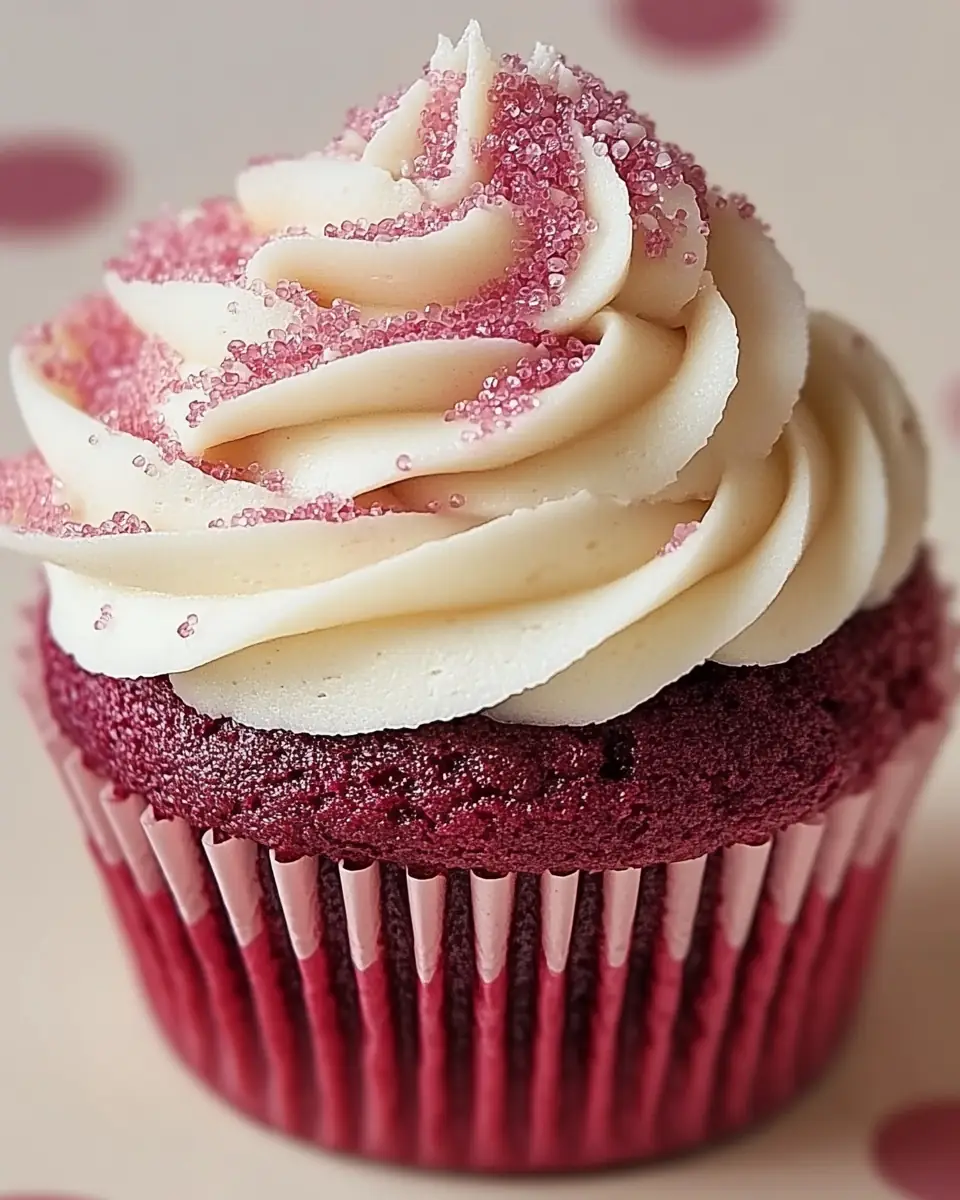
- Using a piping bag fitted with a large star tip, pipe a generous swirl of frosting onto each cooled cupcake.
- For a touch of sparkle, sprinkle each cupcake with pink sanding sugar or edible glitter.
Nutrition
Calories: 320kcal
Notes
Ensure the cupcakes are fully cooled before frosting to prevent the frosting from melting. Adjust the pink food coloring to your desired shade for a personalized touch.
Tried this recipe?Let us know how it was!