
There’s a certain allure to a Red Velvet Cake that transcends mere culinary delight. Perhaps it’s the striking red hue that captivates your senses before you even take a bite, or maybe it’s the luxurious, velvety texture that transforms each morsel into a comforting embrace. In my family, Red Velvet Cake isn’t just a dessert; it’s a tradition, a memory forged in the warmth of a home kitchen, and a symbol of joy shared among loved ones. I fondly remember Sunday afternoons spent with my grandmother, the kitchen alive with laughter and the sweet smell of cake batter promising a delightful treat. This cake is more than just ingredients and instructions; it’s an experience, a piece of history passed down through generations.
The Enchantment of Red Velvet Cake
What makes Red Velvet Cake so special? Its unique combination of flavors and textures creates an unforgettable experience for both the baker and the eater. Let’s delve deeper into what sets this cake apart and why it continues to be a beloved choice for celebrations and everyday indulgence.
A Feast for the Eyes
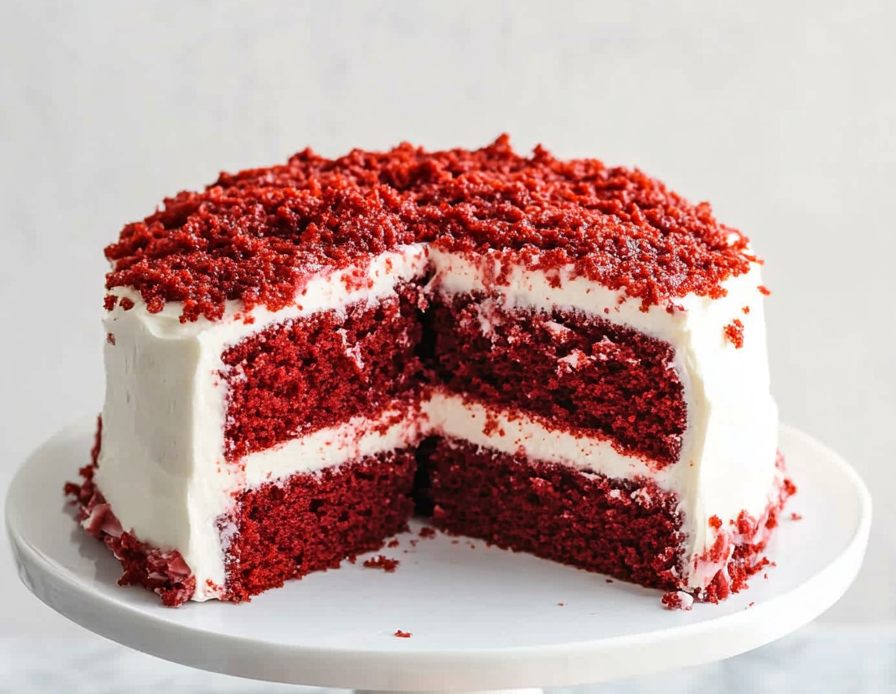
Red Velvet Cake is a visual masterpiece. Its vibrant red color, contrasted with the creamy white of the frosting, makes it a showstopper at any event. This striking appearance is not only inviting but also evokes a sense of occasion and festivity. Whether it’s a birthday, wedding, or just a family gathering, a Red Velvet Cake has a way of elevating the atmosphere with its presence alone.
A Symphony of Flavors
Beyond its visual appeal, the cake offers a complex flavor profile that entices the palate. The subtle hint of cocoa adds depth to the cake, while the tangy cream cheese frosting provides a perfect balance, creating a harmonious blend of sweet and slightly savory notes. Each bite is a delightful dance of flavors, where the cake’s mild chocolate undertone meets the rich creaminess of the frosting, leaving you yearning for more.
Textural Perfection
The cake’s texture is where its magic truly lies. The combination of vegetable oil and butter ensures a moist crumb, while the addition of sour cream contributes to a tender, melt-in-your-mouth experience. The result is a cake that feels light yet indulgent, making it difficult to resist a second slice.
An Accessible Delight
Despite its sophisticated appearance and flavor, Red Velvet Cake is surprisingly straightforward to prepare. With ingredients commonly found in most kitchens and a simple recipe that even novice bakers can follow, this cake is accessible to all. Its versatility also allows for adaptations to suit various dietary needs, making it a flexible option for any celebration.
The Legacy of Red Velvet Cake
Red Velvet Cake’s origins are as rich and varied as its flavor. Although the exact beginnings of this cake are shrouded in mystery, it is generally believed to have gained popularity in the early 20th century, particularly in the American South. The cake’s distinctive red color was once achieved using beetroot or beet juice, as cocoa powder available at the time was more acidic and would produce a red hue when combined with vinegar and buttermilk. Today, red food coloring is commonly used to achieve the cake’s signature look.
The cake’s association with luxury and special occasions can be traced back to its early days in prominent American hotels and restaurants. Over time, Red Velvet Cake has become a staple in home kitchens, cherished for its unique charm and unforgettable taste.
The Recipe: Crafting a Classic
Creating a Red Velvet Cake is more than just following a recipe; it’s about crafting a moment to be cherished. Here’s a detailed guide to making this timeless classic.
Ingredients and Their Importance
For the Cake
- All-Purpose Flour: Provides structure and stability, essential for a dense yet tender cake.
- Cocoa Powder: Adds a subtle chocolate flavor that complements the tangy frosting.
- Baking Soda and Salt: These leavening agents ensure the cake rises properly and the flavors are balanced.
- Butter and Vegetable Oil: A combination that ensures moisture and richness in the crumb.
- Granulated Sugar: Sweetens the cake while contributing to its tender texture.
- Sour Cream and Milk: These ingredients add moisture and a slight tang, enhancing both texture and flavor.
- Eggs: Provide structure and stability, helping the cake to rise and hold its shape.
- Vanilla Extract: Adds depth and warmth to the cake’s flavor profile.
- Red Food Coloring: Gives the cake its iconic hue, turning it into a visual delight.
For the Frosting
- Cream Cheese: The star of the frosting for its creamy, tangy profile that pairs perfectly with the cake.
- Butter: Adds richness and helps achieve a smooth, spreadable consistency.
- Powdered Sugar: Sweetens the frosting while contributing to its light, fluffy texture.
- Vanilla Extract and Salt: Enhance the flavor, ensuring the frosting is well-balanced and not overly sweet.
Step-by-Step Instructions
For the Cake
- Preheat the Oven: Set your oven to 350°F (175°C). Prepare three 9-inch round cake pans by greasing them and setting them aside for later use.
- Mix Dry Ingredients: In a large bowl, whisk together the flour, cocoa powder, baking soda, and salt. This ensures even distribution and prevents lumps.
- Combine Wet Ingredients: In a stand mixer fitted with the paddle attachment, beat the melted butter, vegetable oil, and sugar until smooth. Gradually add the sour cream, milk, eggs, vanilla extract, and red food coloring, mixing until fully combined.
- Incorporate Dry Ingredients: Gradually add the dry ingredients to the wet mixture, mixing until just combined. Be careful not to overmix, as this can lead to a dense cake.
- Divide and Bake: Evenly distribute the batter among the prepared cake pans, approximately 634 grams per pan. Bake for 25-30 minutes, or until a toothpick inserted into the center comes out clean. Allow the cakes to cool for at least 10 minutes before removing them from the pans.
For the Frosting
- Beat Cream Cheese: In a stand mixer with the whisk attachment, beat the cream cheese until smooth.
- Add Butter: Incorporate the butter, mixing until fully combined.
- Sweeten the Mixture: Sift in the powdered sugar, mixing well until smooth and creamy.
- Flavor the Frosting: Add vanilla extract and salt, beating until the frosting holds stiff peaks.
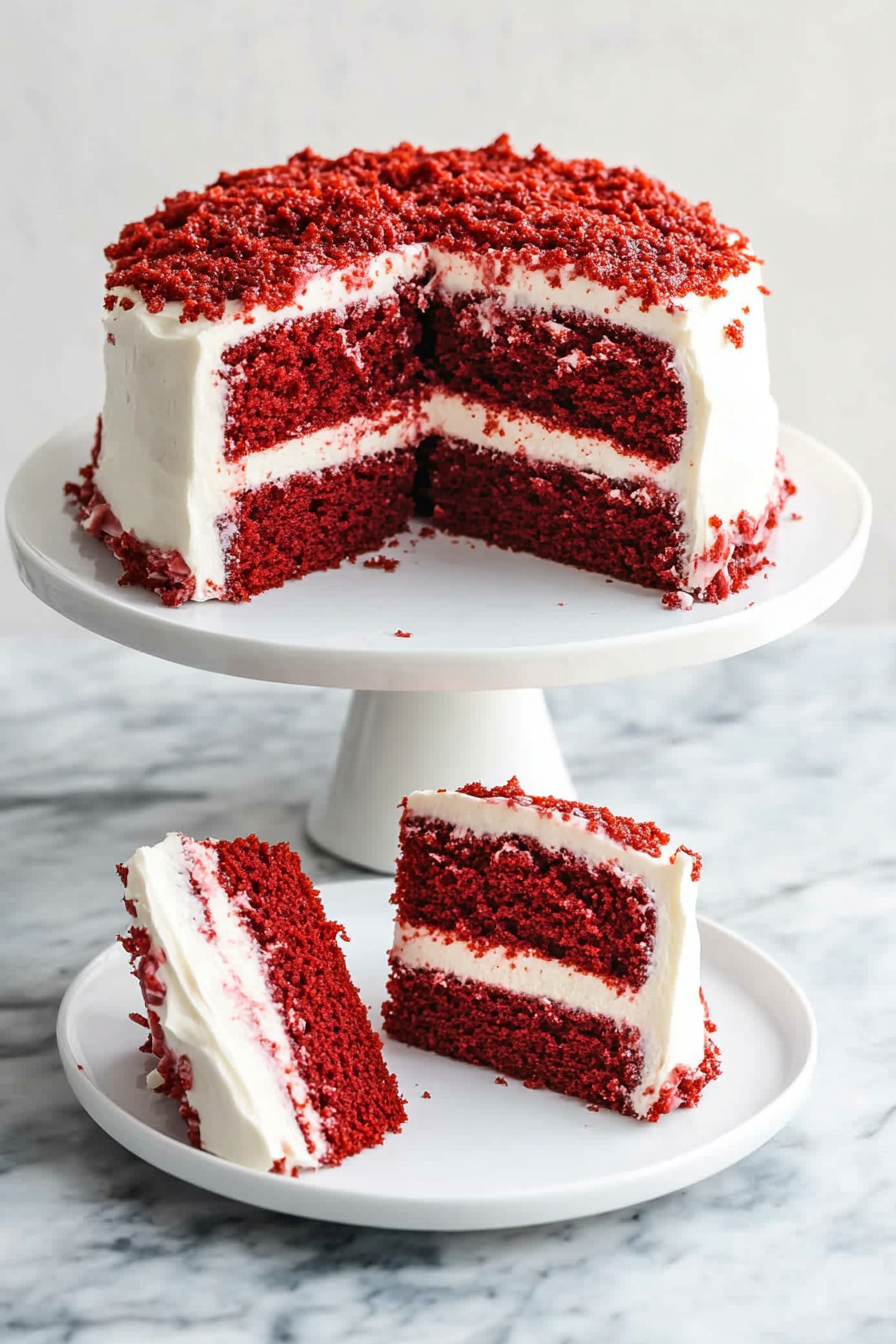
Assembling the Cake
- Level the Layers: Use a bread knife to trim the top of each cake layer, creating a flat surface for even stacking.
- Layer and Frost: Place one layer on a cake stand and spread a generous amount of frosting on top. Repeat this process with the second layer.
- Finish the Cake: Add the final layer and cover the entire cake with the remaining frosting. Use cake crumbs or additional frosting for decoration if desired.
Kitchen Tools You’ll Need
Creating a Red Velvet Cake is a seamless process with the right tools. Ensure you have the following:
– Stand mixer with paddle and whisk attachments
– Three 9-inch round cake pans
– Large mixing bowls
– Whisk
– Bread knife for leveling the cake
– Cake stand for assembly
Serving Suggestions
Red Velvet Cake is a standout star on its own, but it pairs beautifully with a variety of accompaniments. Consider serving it with a glass of milk or a hot cup of coffee to complement its rich flavors. For a complete dessert experience, serve it alongside fresh berries or a scoop of vanilla ice cream, which can add a refreshing contrast to the cake’s richness.
Storage & Leftover Tips
To keep your cake fresh and delicious, store it in an airtight container in the refrigerator for up to 3 days. If you have leftovers or want to prepare the cake in advance, you can also freeze it for up to 3 months. Make sure to wrap the cake tightly in plastic wrap and foil before freezing to preserve its moisture and flavor.
Conclusion
Crafting a Red Velvet Cake is more than just baking; it’s about creating moments that linger in the heart. Whether you’re making it for a special occasion or simply because you want to share something sweet with your loved ones, this cake is sure to bring smiles and create lasting memories. Its vibrant color, delectable flavors, and perfect texture make it a timeless classic that never fails to impress. So, don’t hesitate to dive in and try it yourself — you might just discover a new family favorite that will be cherished for generations to come.
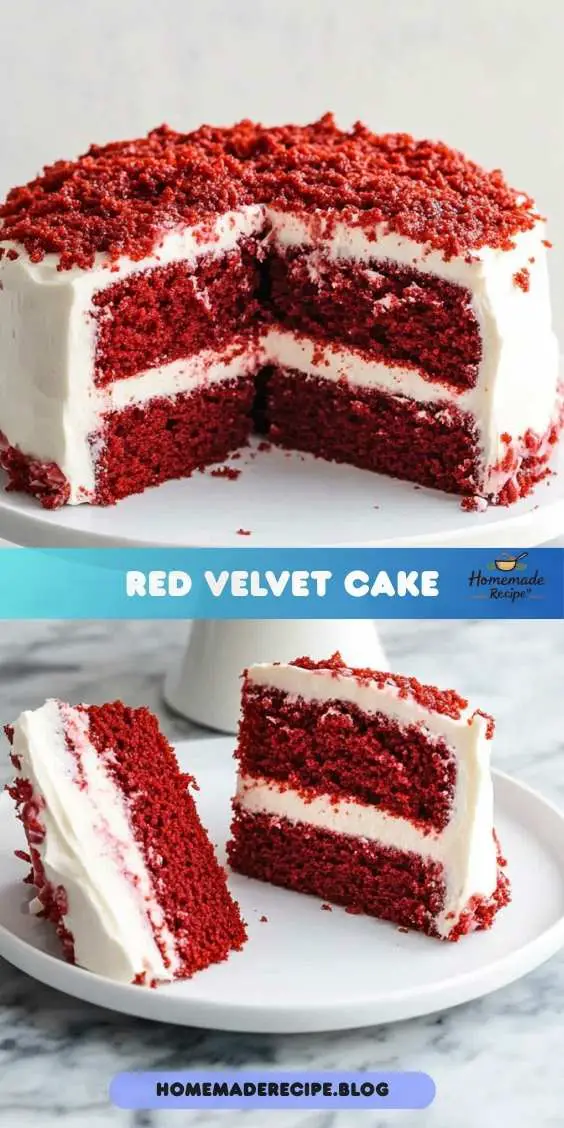
Red Velvet Cake
Ingredients
Equipment
Method
- Preheat oven to 350°F. Grease three 9-inch round cake pans. Set aside.
- Add the flour, cocoa powder, baking soda, and salt to a large bowl and whisk until combined.
- In the bowl of a stand mixer fitted with the paddle attachment, beat the butter, vegetable oil, and sugar together until smooth.
- Add in the sour cream, milk, eggs, and vanilla extract and beat until smooth. Add in the red food coloring and beat until fully incorporated.
- Add the dry ingredients to the wet ingredients and mix until just combined.
- Divide the batter evenly among the 3 cake pans (about 634 grams per pan).
- Bake for 25-30 minutes, or until a toothpick inserted in the center of the cake comes out clean. Let the cake cool for at least 10 minutes.
- In the bowl of a stand mixer fitted with the whisk attachment, beat the cream cheese until smooth.
- Add in the butter and beat until incorporated.
- Sift in the powdered sugar through a fine-mesh sieve. Mix until well incorporated.
- Add in the vanilla extract and salt and mix again until the frosting reaches a smooth and creamy consistency with stiff peaks.
- For Assembly: Using a bread knife, shave off the rounded top of each cake to create a flat top. Save the cake scraps for decoration.
- Place 1 cake layer on a cake stand cut side down. Spread a generous layer of frosting on top.
- Add on the 2nd cake layer and spread a layer of frosting on top.
- Add on the 3rd cake layer.
- Frost the entire exterior of the cake with the remaining frosting.
- If desired, crumble the leftover cake scraps and decorate the sides or top of the cake with them. Additionally, pipe decorations on the top of the cake with leftover frosting.