
Cake mix peanut butter cookies come together with four pantry ingredients, no chilling required, and produce a batch of soft, chewy cookies with that unmistakable peanut butter flavor in under 30 minutes. The cake mix handles the leavening and sweetness automatically, which means the texture is consistent every time and the margin for error is nearly zero — even for beginner bakers.
| Detail | Info |
|---|---|
| Prep Time | 10 minutes |
| Cook Time | 12 minutes per batch |
| Total Time | 30 minutes |
| Yield | About 30 cookies |
| Difficulty | Easy |
| Cuisine | American |
Why This Recipe Works
Yellow cake mix is doing most of the structural work here. It already contains flour, leavening agents, and a measured amount of sugar, which means you’re adding peanut butter and fat to a pre-balanced dry mixture rather than trying to build the cookie from scratch. The result is a dough that behaves predictably and bakes consistently regardless of how carefully you measured, which is exactly what makes this recipe so reliable for bakers of any skill level.
Creamy peanut butter — not natural peanut butter — is the right choice here. Natural peanut butter has an unstable oil content that separates and affects the texture of the dough. Conventional creamy peanut butter like Jif or Skippy has a homogenized, stable oil content that incorporates evenly into the cake mix and produces a smooth, cohesive dough. The texture of the finished cookie depends on this stability.
Vegetable oil keeps these cookies soft and chewy rather than cakey. Butter-based cookies are more tender and rich, but they can also turn cakier when combined with cake mix. Oil doesn’t contain water like butter does, so it doesn’t activate the gluten in the flour the same way. The result is a cookie with a slightly denser, chewier texture that holds its softness for days after baking.
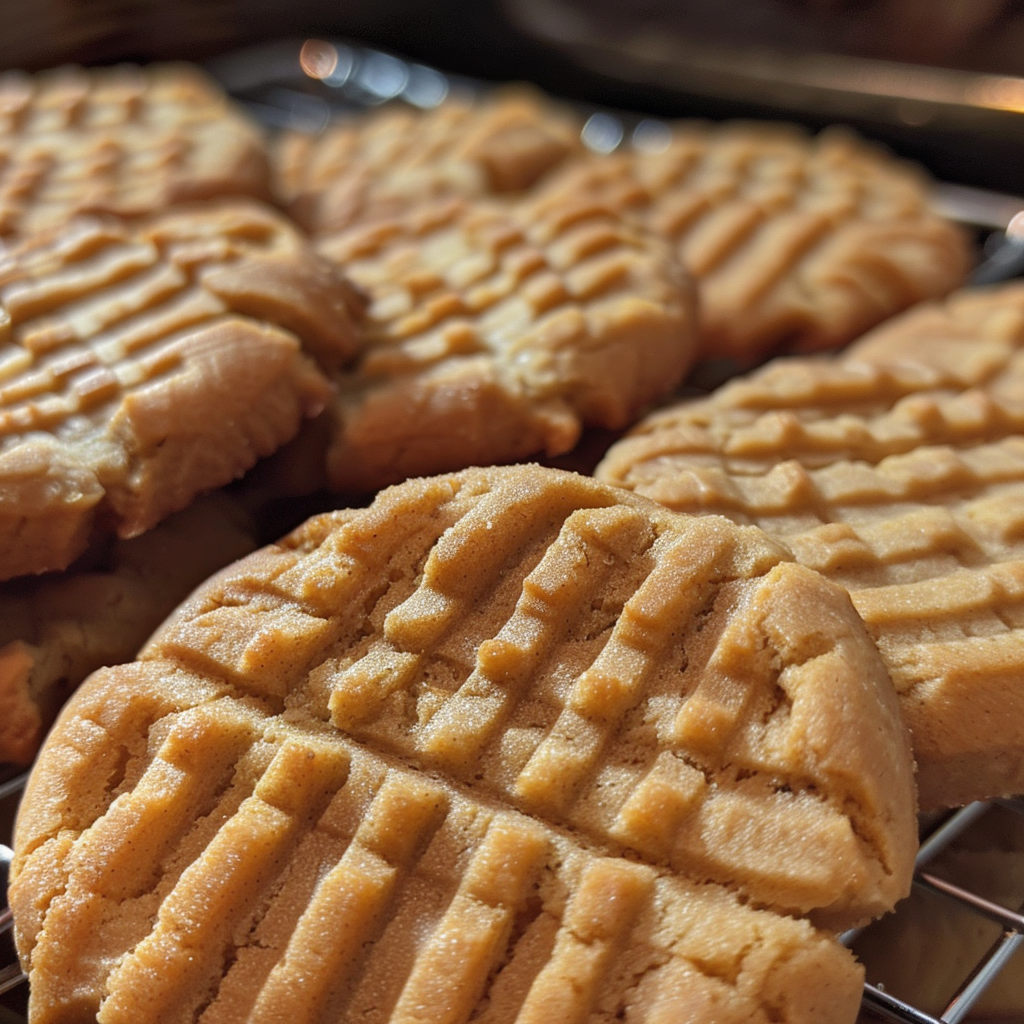
The crisscross fork pattern pressed into each cookie ball before baking is one of those small details that carries real functional purpose beyond aesthetics. Pressing the ball flat ensures even thickness, which means the edges and center bake at the same rate. Without flattening, the ball bakes into a domed cookie that’s overdone at the edges before the center is set. The crisscross is the traditional mark of a peanut butter cookie and it’s there for good reason.
Leaving the cookies on the baking sheet for 15 minutes after pulling them from the oven is the step most people skip and the one that matters most for the final texture. These cookies look underdone when they come out — the centers will be pale and soft. They firm up as they cool, and moving them too early causes them to fall apart. The 15-minute rest on the hot pan continues the baking process gently and locks in the soft, chewy center.
Ingredients
| Ingredient | Quantity | Notes |
|---|---|---|
| Yellow cake mix | 1 box (13.25 oz) | Standard size box; white cake mix also works for a milder flavor |
| Creamy peanut butter | 1 cup | Conventional creamy style (Jif, Skippy); do not use natural or chunky |
| Vegetable oil | 1/2 cup | Canola oil works equally well |
| Large eggs | 2 | Room temperature eggs incorporate more smoothly into the dough |
Step-by-Step Instructions
Phase 1: Make the Dough
- Preheat the oven to 350 degrees F. Line three baking sheets with parchment paper. Parchment prevents sticking without the need for greasing and promotes even browning on the bottom of the cookies.
- In a large mixing bowl, combine the cake mix, peanut butter, vegetable oil, and eggs. Beat with an electric hand mixer on medium speed until a soft, cohesive dough forms, about 1 to 2 minutes. The dough will look slightly crumbly at first — keep mixing and it will come together. Stop when no dry streaks of cake mix remain.
- Test the dough by pressing a small amount between your fingers. It should hold together without crumbling. If it’s still crumbly, mix for another 30 seconds. If the dough seems sticky, refrigerate it for 15 to 20 minutes before scooping.
Phase 2: Scoop and Shape
- Using a 1.5 tablespoon cookie scoop, portion the dough into balls. A consistent scoop size ensures all cookies bake in the same amount of time. If you don’t have a cookie scoop, use a tablespoon to portion the dough and roll each piece between your palms to form a smooth ball.
- Place the dough balls on the prepared baking sheets, spacing them about 2 inches apart. They spread modestly during baking, so they don’t need as much space as drop cookies, but they do need room to breathe.
- Dip a fork in a small bowl of water (this prevents sticking) and press a crisscross pattern into each cookie ball. Press firmly enough to flatten the cookie to about half its original height — too light a press and the cookie stays too thick to bake evenly; too heavy and it spreads too thin and turns crispy rather than chewy.
Phase 3: Bake and Cool
- Bake one sheet at a time on the center rack for 10 to 12 minutes. The edges should be lightly golden and the centers should look pale and slightly underdone. This is correct — do not bake until the centers look set or the cookies will be dry once cooled.
- Remove the baking sheet from the oven and place it on a wire rack. Leave the cookies on the hot baking sheet for exactly 15 minutes without touching them. They will look too soft to move at first; that’s exactly right. The residual heat from the pan finishes the bake and firms the cookies up perfectly.
- After 15 minutes, transfer the cookies to a wire rack using a thin spatula and allow them to cool completely before stacking or storing. Repeat with the remaining batches.
Chef Tips for Perfect Results
Add peanut butter chips to the dough. Fold a half cup of peanut butter chips into the finished dough for pockets of concentrated peanut butter flavor distributed throughout the cookies. Chocolate chips are equally popular — the combination of peanut butter and chocolate in a soft, chewy cookie is always right.
Sprinkle flaky sea salt on top before baking. A pinch of flaky salt pressed onto each cookie right before it goes into the oven creates a sweet-salty contrast that makes each bite more interesting. It also makes the cookies look deliberately finished rather than simple.
Dip the fork in water between each cookie. Peanut butter dough sticks to a dry fork aggressively. A quick dip in water before each press keeps the fork clean and the crisscross pattern sharp and clean rather than torn and ragged.
Chill sticky dough before scooping. On humid days or if your peanut butter is particularly soft, the dough may be sticky enough to make scooping difficult. Twenty minutes in the refrigerator firms the dough just enough for clean scooping without making it too cold to press with the fork.
Use white cake mix for a slightly different texture. White cake mix has a lighter, more neutral flavor than yellow and produces a cookie that tastes more purely of peanut butter without the buttery, vanilla-forward note of yellow cake. Both are delicious; the choice depends on how prominently you want the peanut butter flavor to read.
Common Mistakes to Avoid
Using natural peanut butter. Natural peanut butter’s oils separate and its texture is less stable than conventional brands. In this dough, it produces a greasy, inconsistent texture that doesn’t hold together as well and can make the cookies spread too thin or bake unevenly.
Overbaking. This is the most reliable way to end up with dry, crumbly cookies instead of soft and chewy ones. Pull them out when the centers look underdone — they finish baking on the hot pan during the rest period. If the centers look fully set and dry in the oven, the cookies are already overbaked.
Moving the cookies too soon. Fresh from the oven, these cookies have almost no structural integrity. They fall apart if you try to lift them before the 15-minute rest on the baking sheet. Set a timer and leave them alone. The patience pays off every time.
Skipping parchment paper. Greased baking sheets can cause the bottoms of these cookies to brown too quickly because the fat conducts heat more aggressively than parchment. Parchment creates a slight buffer that promotes even browning and makes cleanup effortless.
Not pressing the cookies flat. An unpressed dough ball bakes into a thick, domed cookie with an underdone center and overdone edges. The fork press ensures uniform thickness and even baking from edge to center. It takes five seconds per cookie and makes a real difference in the final result.
Variations and Substitutions
Chocolate chip peanut butter cookies: Fold a half cup to a full cup of semi-sweet or milk chocolate chips into the dough before scooping. This is the most popular variation and with good reason — the combination is classic for a reason and the chocolate melts into pockets throughout the soft cookie.
Reese’s Pieces version: Fold in a half cup of Reese’s Pieces instead of chocolate chips. They hold their shape during baking and add a candy-coated crunch and additional peanut butter flavor that kids especially love.
Chocolate cake mix base: Swap the yellow cake mix for chocolate fudge cake mix and keep everything else the same. The result is a chocolate peanut butter cookie that tastes like a peanut butter cup in cookie form. Use a fork dipped in cocoa powder instead of water for pressing to keep the chocolate aesthetic consistent.
Spiced version: Add a teaspoon of cinnamon and a quarter teaspoon of cayenne pepper to the dough for a sweet-spicy-savory cookie that’s more sophisticated than it sounds. The heat from the cayenne blooms slowly after the initial peanut butter and sweet notes and creates a memorable aftertaste.
Chunky peanut butter: If you want additional texture and visible peanut pieces in the cookies, chunky peanut butter from a conventional brand (not natural) works in this recipe. The texture of the dough changes slightly — it’s a little less smooth — but the baked cookies have a pleasant crunch from the peanut pieces.
Serving Suggestions
Serve these cookies warm from the cooling rack with a glass of cold milk for the most straightforward and satisfying version of cookie enjoyment. For a dessert platter, arrange them alongside chocolate cookies and snickerdoodles for a classic cookie tray.
These cookies also work well as the base for ice cream sandwiches. Let them cool completely, then sandwich a scoop of vanilla or chocolate ice cream between two cookies and freeze for an hour before serving. The soft, chewy texture holds up well to freezing and makes a genuinely excellent ice cream sandwich.
Storage and Reheating
Room temperature: Store in an airtight container at room temperature for up to 4 days. Place a slice of bread in the container alongside the cookies — the bread absorbs excess moisture and helps keep the cookies soft for longer.
Refrigerator: Store in an airtight container in the refrigerator for up to 7 days. Allow them to come to room temperature before serving — cold cookies lose some of their soft, chewy character and taste best at room temperature.
Freezer (baked): Freeze baked, cooled cookies in a single layer on a baking sheet until solid, then transfer to a freezer-safe bag. They keep for up to 3 months. Thaw at room temperature for 20 to 30 minutes before serving.
Freezer (unbaked): Scoop the dough into balls, press with a fork, and freeze on a baking sheet until solid. Transfer to a freezer bag and freeze for up to 3 months. Bake directly from frozen at 350 degrees F, adding 1 to 2 extra minutes to the baking time. Fresh-baked cookies from frozen dough are noticeably better than thawed pre-baked ones.
Nutritional Information
| Nutrient | Per Cookie (based on 30 cookies) |
|---|---|
| Calories | 145 |
| Protein | 3g |
| Carbohydrates | 15g |
| Fat | 9g |
| Saturated Fat | 1.5g |
| Fiber | 0.5g |
| Sodium | 150mg |
Nutritional values are estimates based on standard ingredients. Values will vary based on specific cake mix brand and peanut butter used.
FAQ
Why is my dough too crumbly to roll into balls?
The most common cause is a peanut butter that’s on the drier side, or a cake mix that absorbed moisture from the air. Add one tablespoon of vegetable oil at a time, mixing between additions, until the dough comes together and holds its shape when pressed. Don’t add water — it changes the texture of the finished cookie. Alternatively, mix with your hands for a minute; the warmth helps the oils in the peanut butter bind the dough more effectively.
Can I use butter instead of vegetable oil?
You can swap in melted butter for a richer, slightly more complex flavor. The texture of the cookie changes slightly — butter-based versions tend to be a little cakier and less chewy than oil-based ones. Use the same amount — half a cup — melted and cooled to room temperature before mixing into the dough.
Why did my cookies spread too much?
Excess spreading usually comes from dough that’s too warm. If your kitchen is warm or your peanut butter was very soft, the dough softens quickly and the fat melts before the structure sets in the oven. Refrigerate the portioned dough balls for 15 to 20 minutes before baking to firm them up and reduce spreading. Also make sure you’re baking on cool baking sheets — reusing a hot pan from a previous batch causes the next batch to spread faster.
Can I make these without eggs?
Yes. Replace each egg with three tablespoons of unsweetened applesauce for a soft, slightly denser egg-free version. The texture is slightly different — a little less chewy and more tender — but the cookies hold together well and taste excellent. Aquafaba (the liquid from a can of chickpeas) at three tablespoons per egg is another option that works particularly well in this recipe.
Can I double the recipe?
Easily. Use two boxes of cake mix and double all other ingredients. Mix the dough in the largest bowl you have or mix in two batches to ensure even incorporation. The recipe scales perfectly with no adjustments needed to baking time or temperature.
Conclusion
Cake mix peanut butter cookies prove that a great cookie doesn’t require an elaborate recipe or a long list of ingredients. Four items, one bowl, 30 minutes, and you have a batch of soft, chewy cookies that hold their texture for days and satisfy every peanut butter craving without compromise. Keep the ingredients stocked in your pantry and you’re always 30 minutes away from something genuinely good.